

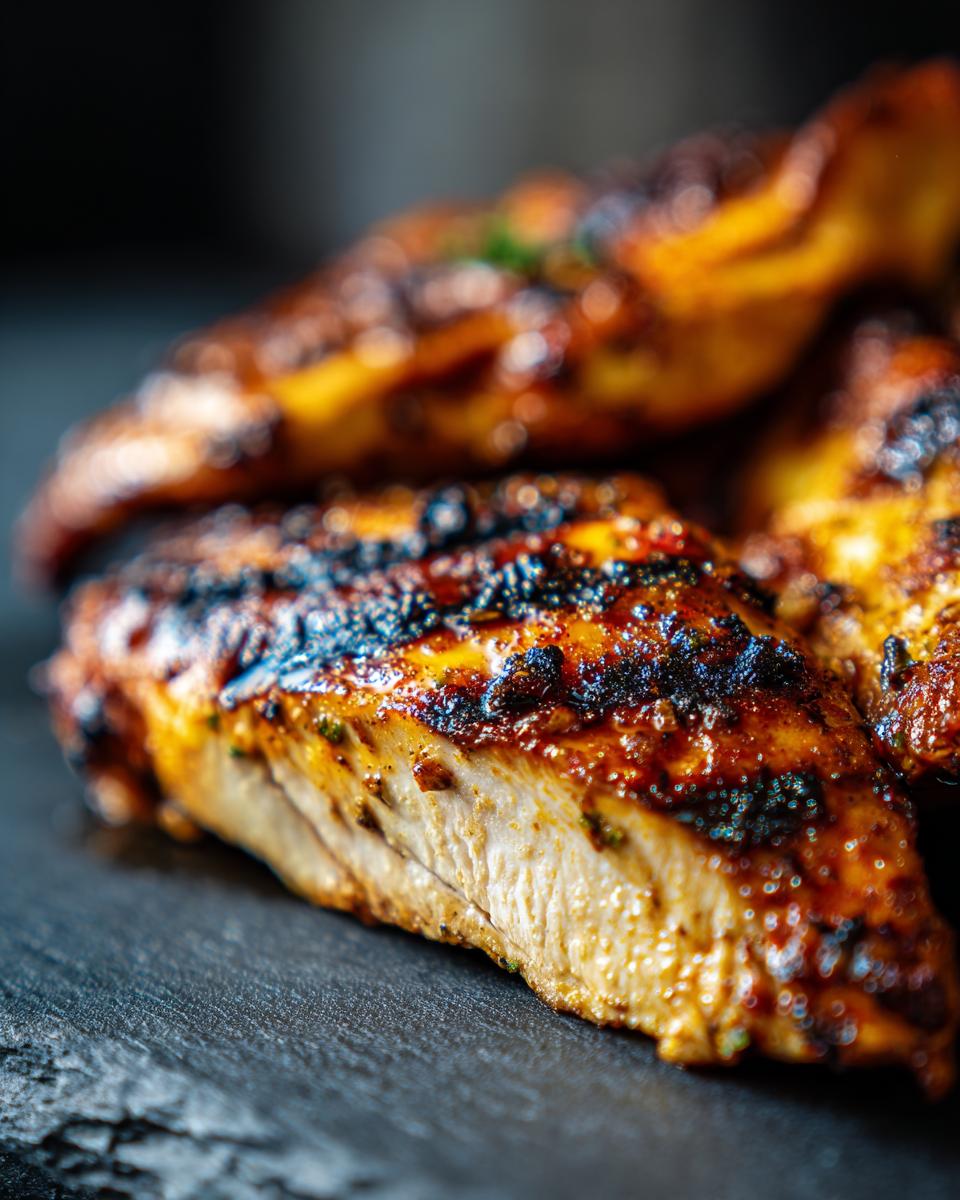
Oh, that perfect piece of grilled chicken! You know the one – juicy all the way through, a little bit smoky, with those amazing charred grill marks that just scream summertime. It’s what we all dream of when we fire up the grill, right? Well, I’ve got a grilled chicken recipe that delivers exactly that, every single time, in about 30 minutes! It’s all thanks to a super simple brine and a little trick called two-zone grilling. I learned from my own kitchen adventures and from my Grandma, that simple, reliable recipes are the best way to get dinner on the table without the stress. You can read more about my food philosophy here – it’s really all about making delicious food accessible for everyone, busy schedules and all!
- Why This Grilled Chicken Recipe is a Summer BBQ Favorite
- Ingredients for Juicy Grilled Chicken
- Mastering the Grilled Chicken Brine
- Setting Up Your Grill for the Perfect Grilled Chicken Recipe
- Seasoning and Grilling Your Chicken
- The Importance of Resting Your Grilled Chicken
- High-Protein Meal Prep with Grilled Chicken
- Tips for the Best Grilled Chicken
- Frequently Asked Questions about Grilled Chicken
- Nutritional Information
- Share Your Grilled Chicken Creations!
Why This Grilled Chicken Recipe is a Summer BBQ Favorite
Seriously, what’s not to love about this recipe? It takes all the guesswork out of grilling chicken, which, let’s be honest, can sometimes go wrong. Here’s why it’s become my go-to for any backyard get-together:
- It’s FAST: We’re talking juicy, perfectly cooked chicken in about 30 minutes from start to finish. Perfect for those weeknights when you just want something delicious without a ton of fuss.
- It’s EASY: The brine is super simple to whip up, the seasoning mix takes two seconds, and the two-zone grilling method means you’re way less likely to burn your chicken. Trust me, it’s beginner-friendly grilling at its best!
- It’s DELICIOUS: Forget dry, boring chicken! The brine guarantees moisture, and searing it on direct heat gives you those gorgeous, craveable char marks. It’s tender, flavorful, and just plain satisfying.
- It’s VERSATILE: This is your ultimate summer BBQ chicken! But it doesn’t stop there. Shred it, dice it, slice it – it’s amazing in salads, wraps, sandwiches, or simply served alongside your favorite grilled veggies. It’s practically a chameleon for your meal prep!
This recipe isn’t just about throwing chicken on the grill; it’s about making it foolproof so you can actually enjoy your time with friends and family.
Ingredients for Juicy Grilled Chicken
You don’t need fancy stuff for amazing grilled chicken! Here’s what you’ll need to make these breasts incredibly juicy and flavorful:
- 2 boneless, skinless chicken breasts (about 6-8 ounces each – look for ones that are roughly the same size so they cook evenly!)
- 1/4 cup kosher salt (Kosher salt has larger flakes, which makes it easier to measure and dissolve evenly for brining.)
- 1/4 cup brown sugar (This adds a touch of sweetness and helps with caramelization on the grill.)
- 4 cups cold water (To dissolve the salt and sugar for our brine.)
- 1 tablespoon olive oil (Just a little bit to help our spices stick.)
- 1 teaspoon garlic powder
- 1 teaspoon onion powder
- 1/2 teaspoon paprika (Smoked paprika is great here if you have it!)
- 1/2 teaspoon black pepper
- 1/4 teaspoon cayenne pepper (Optional, but it gives a nice little kick!)
Mastering the Grilled Chicken Brine
Okay, let’s talk about the magic secret weapon for super juicy, tender grilled chicken: a brine! Honestly, this step sounds a little fancy, but it’s SO easy and it makes a HUGE difference. It’s my tried-and-true method for getting that perfect, moist chicken every single time, especially for breasts which can dry out if you’re not careful.
So, what’s the deal with a grilled chicken brine? Basically, it’s a salty-sweet water bath that helps the chicken hold onto moisture while it cooks. The salt helps break down some of the proteins, making the chicken more tender, and it also helps it absorb liquid (and flavor!) like a sponge. The sugar? It balances out the salt and helps with that beautiful caramelization on the grill.
Here’s how it works: Grab a bowl – any bowl will do! — and stir together the 1/4 cup kosher salt and 1/4 cup brown sugar with 2 cups of cold water. My Grandma always told me it’s super important to make sure that salt and sugar are totally dissolved before the chicken goes in. Give it a good stir until you don’t see any grainy stuff at the bottom. Then, just pop your chicken breasts right in, make sure they’re fully submerged, and pop the whole thing in the fridge. You only need about 15 to 30 minutes. Any longer and it can get a little *too* salty, but this short soak is perfect for adding juiciness and flavor without changing the chicken’s texture too much. It’s a game-changer for achieving truly juicy grilled chicken and super tender grilled chicken!
Setting Up Your Grill for the Perfect Grilled Chicken Recipe
Alright, this next part is key to getting that restaurant-worthy char without cooking your chicken to oblivion! We’re going to set up what’s called two-zone grilling. It sounds technical, but trust me, it’s SO simple and totally transforms your grilling game. Think of it like having a hot spot and a cooler spot on your grill.
First things first, make sure your grill is nice and hot. Give it a good 10-15 minutes to preheat thoroughly. For a charcoal grill, push all the hot coals to one side. For a gas grill, turn the burners ON on one side and OFF on the other. This creates your two zones: a direct heat zone (where the coals or burners are on) and an indirect heat zone (where it’s cooler). We want that direct side screaming hot, aiming for around 400-450°F (that’s 200-230°C). This setup is your secret weapon for that beautiful sear and perfectly cooked interior!
Seasoning and Grilling Your Chicken
Okay, your chicken has had its little spa treatment in the brine! Now, before we hit the flames, we’ve got to get it seasoned up. This part is where the flavor really comes alive. First, grab some paper towels and give those chicken breasts a really good pat-down. You want them as dry as possible so that our delicious seasoning mix actually sticks and the grill gets nice and happy with those char marks. Toss that leftover brine, please!
Now, in a little bowl, mix up the magic dust: 1 tablespoon of olive oil, followed by 1 teaspoon of garlic powder, 1 teaspoon of onion powder, 1/2 teaspoon of paprika, 1/2 teaspoon of black pepper, and if you’re feeling a little spicy, that 1/4 teaspoon of cayenne. Give it all a good whisk. This is your best grilled chicken rub, simple but so effective. Brush this mixture all over both sides of your chicken breasts. Make sure you get into all the little nooks and crannies for maximum flavor!
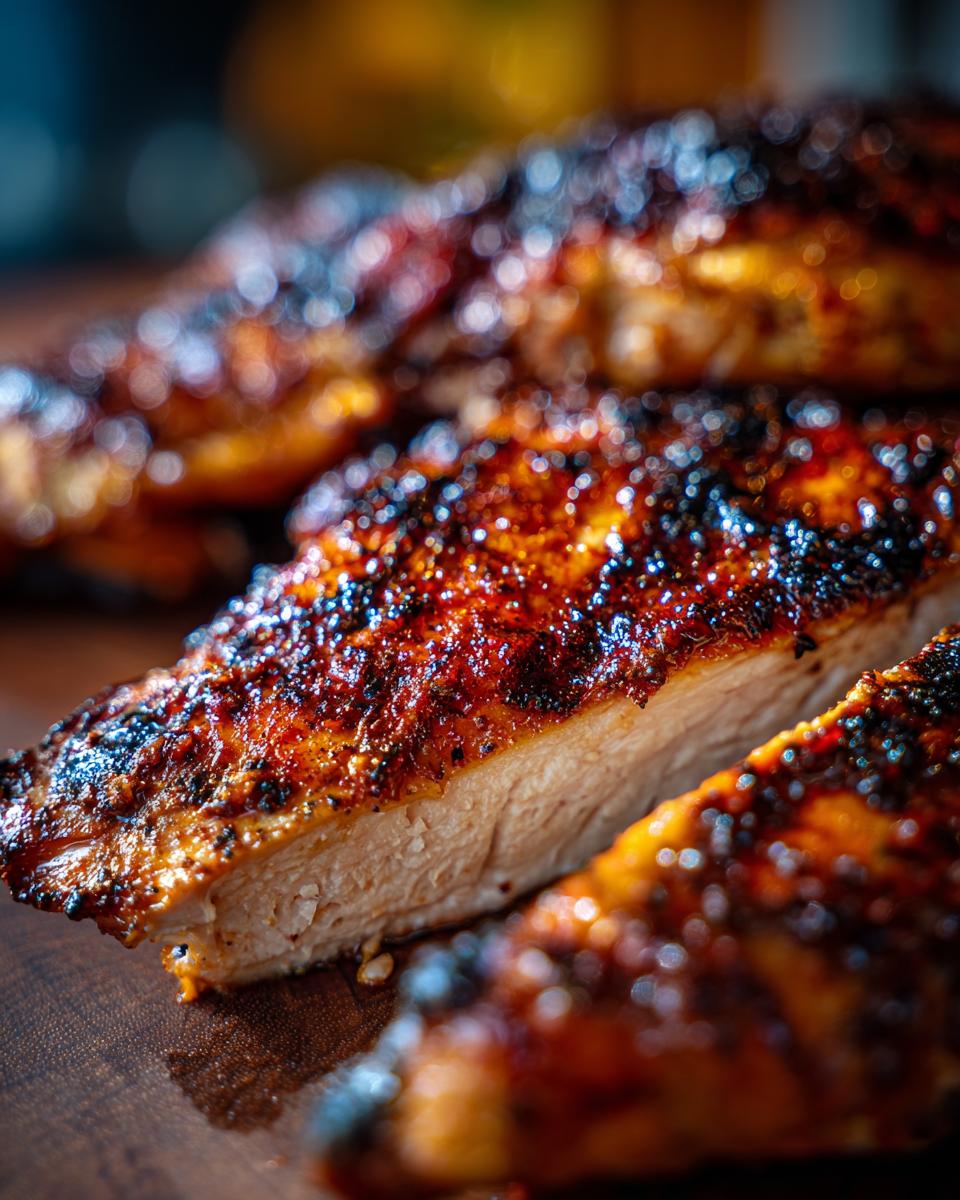
Time to grill! Remember that two-zone setup? Head over to the direct heat side of your grill – that’s the nice, hot zone. Place your seasoned chicken breasts right down. We’re going to sear them for about 2-3 minutes per side. You’re looking for those beautiful, dark grill marks to appear. Don’t move them around too much just yet; let them get a nice crust!
Once you’ve got those lovely marks, it’s time to move them over to the indirect heat side of the grill. This is the cooler zone, and it’s where the chicken will finish cooking gently without burning. Pop the lid down on your grill. This is important – it traps the heat and helps cook them through evenly. Let them cook for another 10-15 minutes. The best way to know if they’re done is to use a meat thermometer. You want the internal temperature to hit 165°F (that’s 74°C) right in the thickest part. This whole grilling process ensures you end up with tender grilled chicken every time for your grilled chicken recipe!
The Importance of Resting Your Grilled Chicken
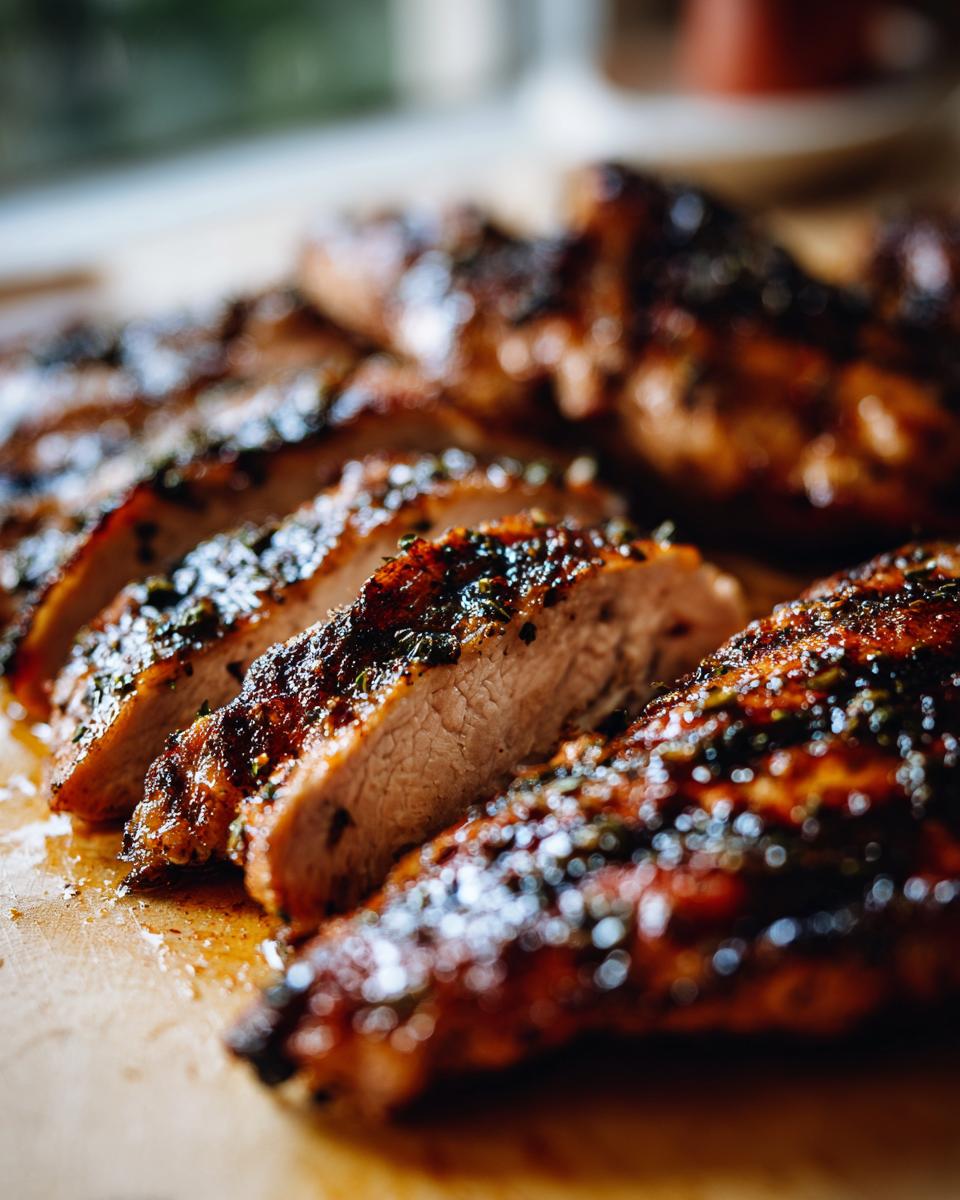
Okay, so you’ve pulled this gorgeous, perfectly cooked chicken off the grill. It smells amazing, looks even better, and you’re starving! But hold on just a second – there’s one crucial step left that makes all the difference between good chicken and *great, juicy* chicken. We gotta let it rest! That means taking your beautifully grilled chicken breasts and setting them on a clean cutting board for about 5 to 10 minutes before you even think about slicing into them.
Why, you ask? Think of all those juicy, flavorful liquids trapped inside while the chicken was cooking. When you cut into it too soon, all that deliciousness just runs out onto the board (or your plate!), leaving you with drier chicken. Letting it rest allows those juices to redistribute evenly throughout the meat, making every single bite incredibly moist and tender. It’s a super simple step, and honestly, it’s one of those little secrets that my Grandma swore by for making sure her food was always perfect. It truly is vital for that amazing juicy grilled chicken you worked so hard for!
High-Protein Meal Prep with Grilled Chicken
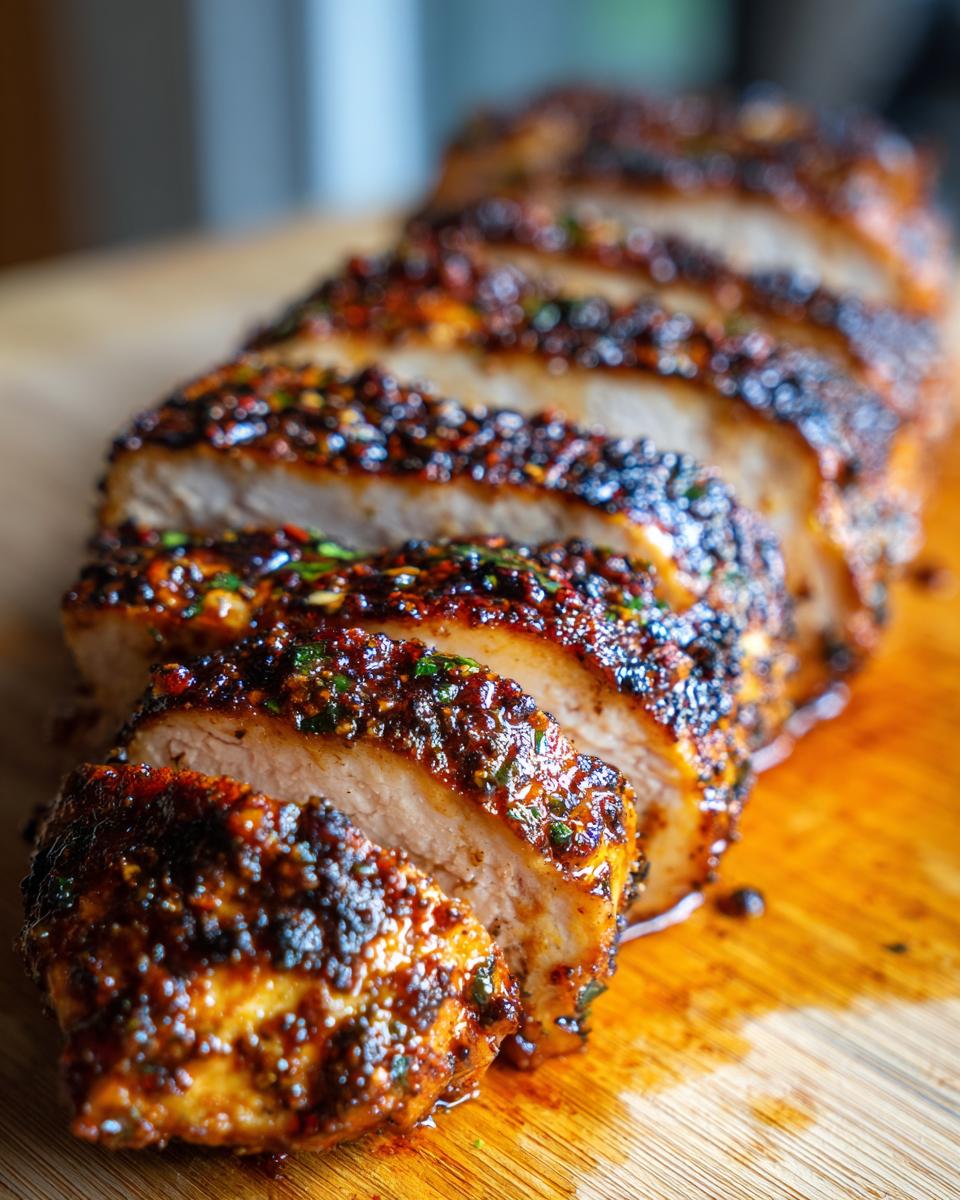
This grilled chicken recipe isn’t just for your immediate summer BBQ needs; it’s a total game-changer for meal prep too! Because we’re using that simple brine and two-zone grilling, you end up with chicken that stays super moist and flavorful even after it’s been cooked and cooled. It’s the perfect foundation for lunches and dinners all week long.
Once your chicken has rested, go ahead and slice it up. Then, just pop those slices into airtight containers. Thanks to the brining and proper cooking, it’ll stay fresh and delicious in the fridge for about 3 days. I love portioning mine into individual containers so I can just grab-and-go. It’s fantastic for building quick salads (like a hearty Cobb or a simple green salad), stuffing into sandwiches or wraps, or tossing into a grain bowl for a super satisfying, high protein meal prep option. You can find some more ideas for healthy lunches here!
Tips for the Best Grilled Chicken
Alright, you’ve got the recipe, you know the brine trick, and you’re ready to grill up some seriously amazing chicken. But just in case you want to elevate your game even more – or if you’re just looking for those little nuggets of wisdom that make a big difference – here are a few more tips from my kitchen to yours. These little things really help make sure every bite is perfect, whether it’s a quick weeknight dinner or part of a bigger summer feast.
Choose the Right Chicken Breasts
When you’re at the store, try to grab chicken breasts that are pretty similar in size and thickness. If one is way thicker than the other, it’s going to cook unevenly. You don’t want one piece done perfectly and the other one dry! If they look a bit uneven, no worries – you can just pound the thicker side a little with a meat mallet (or even a rolling pin!) between two pieces of plastic wrap until they’re more uniform. This simple step helps ensure consistent cooking, leading to that wonderfully juicy grilled chicken we all love.
Don’t Skip the Dry Pat-Down!
I know I mentioned this before, but it’s SO important, I have to say it again! After brining, patting your chicken breasts *completely* dry with paper towels is crucial. If they’re wet, instead of searing and getting those gorgeous grill marks, they’ll just steam. And nobody wants steamed chicken when they’re dreaming of perfectly grilled food. Seriously, take the extra minute to go at ’em with the paper towels!
Watch the Heat Like a Hawk
That two-zone grilling setup is your best friend, but you still gotta pay a little attention. Start on the direct heat side to get those lovely char marks, but don’t let them burn! If you see things getting *too* black too quickly, move that piece over to the indirect heat side a little sooner. The goal is delicious char, not charcoal! This is key for avoiding overcooking and keeping your chicken tender. It really makes this a fantastic weeknight grill recipe.
Frequently Asked Questions about Grilled Chicken
Got a burning question about grilling chicken? I’ve got you covered! Here are some common ones I get, with answers to help you make the best, juiciest chicken possible.
Can I use boneless, skinless thighs instead of breasts?
Absolutely! Chicken thighs are actually a bit more forgiving and harder to dry out, making them naturally tender grilled chicken. They might take a few minutes longer to cook, but follow the same two-zone grilling method. Just aim for that 165°F internal temperature, and you’ll be golden!
How do I prevent my chicken from sticking to the grill?
Sticking is the worst, right? First, make sure your grill grates are clean and hot *before* you put the chicken on. And definitely don’t skip patting your chicken super dry after brining; moisture is the enemy of a good sear and leads to sticking! A little bit of oil on the chicken itself also helps. If you’re still worried, you can use a grill mat on the indirect heat side.
What if I don’t have time for the brine? Can I skip it?
You *can* skip the brine, but trust me, it makes a huge difference for that super juicy result! If you’re really short on time, at least give the chicken a good pat-down and use a flavorful rub like the one in the recipe, maybe adding a little extra olive oil or even some lemon juice. It won’t be quite as foolproof for moisture, but it’ll still be delicious!
What internal temperature is safe for grilled chicken?
For chicken, the USDA recommends an internal temperature of 165°F (74°C) for safety. This ensures any harmful bacteria are killed. Using a meat thermometer is the best way to be sure your chicken is cooked through and safe to eat, while still keeping it tender and juicy!
Nutritional Information
Just so you know, the numbers below are estimates based on the ingredients listed. Your actual values might be a little different depending on the exact chicken you use and the brands of seasonings, but this will give you a good idea:
- Serving Size: 1 chicken breast
- Calories: About 250
- Fat: Around 8g
- Protein: A fantastic 35g!
- Carbohydrates: Roughly 10g
- Sodium: Around 800mg
- Sugar: About 5g
Share Your Grilled Chicken Creations!
Alright, now it’s your turn! I would absolutely LOVE to hear how your grilled chicken turned out. Did you try it for a summer BBQ? Maybe it became your new go-to for high-protein meal prep? Drop a comment below with your thoughts and any tips or tricks you discovered. And if you took any mouth-watering photos, be sure to tag us on social media – we love seeing your culinary triumphs! You can always reach out with questions here too!
PrintJuicy Grilled Chicken Breasts
Learn how to grill chicken breasts that are juicy, tender, and perfectly charred in about 30 minutes. This recipe uses a simple brine and two-zone grilling for reliable results.
- Prep Time: 10 min
- Cook Time: 20 min
- Total Time: 30 min
- Yield: 2 servings 1x
- Category: Dinner
- Method: Grilling
- Cuisine: American
- Diet: High-Protein
Ingredients
- 2 boneless, skinless chicken breasts (about 6–8 ounces each)
- 1/4 cup kosher salt
- 1/4 cup brown sugar
- 4 cups cold water
- 1 tablespoon olive oil
- 1 teaspoon garlic powder
- 1 teaspoon onion powder
- 1/2 teaspoon paprika
- 1/2 teaspoon black pepper
- 1/4 teaspoon cayenne pepper (optional)
Instructions
- In a bowl, dissolve the salt and brown sugar in 2 cups of cold water. Submerge the chicken breasts in the brine and refrigerate for 15-30 minutes.
- While the chicken brines, prepare your grill for two-zone cooking. Set up one side for direct heat (coals or burners on) and the other for indirect heat (coals or burners off). Aim for a grill temperature of around 400-450°F (200-230°C) on the direct side.
- Remove chicken from brine and pat thoroughly dry with paper towels. Discard the brine.
- In a small bowl, mix together olive oil, garlic powder, onion powder, paprika, black pepper, and cayenne pepper (if using). Brush this mixture evenly over both sides of the chicken breasts.
- Place the seasoned chicken breasts on the direct heat side of the grill. Sear for 2-3 minutes per side, until grill marks appear.
- Move the chicken breasts to the indirect heat side of the grill. Close the grill lid and cook for an additional 10-15 minutes, or until the internal temperature reaches 165°F (74°C) when checked with a meat thermometer.
- Remove chicken from the grill and let it rest on a clean cutting board for 5-10 minutes before slicing.
Notes
- For meal prep, slice the rested chicken and store in airtight containers in the refrigerator for up to 3 days.
- This chicken is excellent in salads, sandwiches, or served with your favorite sides.
- Adjust seasonings to your preference. A simple rub of salt, pepper, and garlic powder also works well.
Nutrition
- Serving Size: 1 chicken breast
- Calories: 250
- Sugar: 5g
- Sodium: 800mg
- Fat: 8g
- Saturated Fat: 2g
- Unsaturated Fat: 6g
- Trans Fat: 0g
- Carbohydrates: 10g
- Fiber: 1g
- Protein: 35g
- Cholesterol: 100mg