
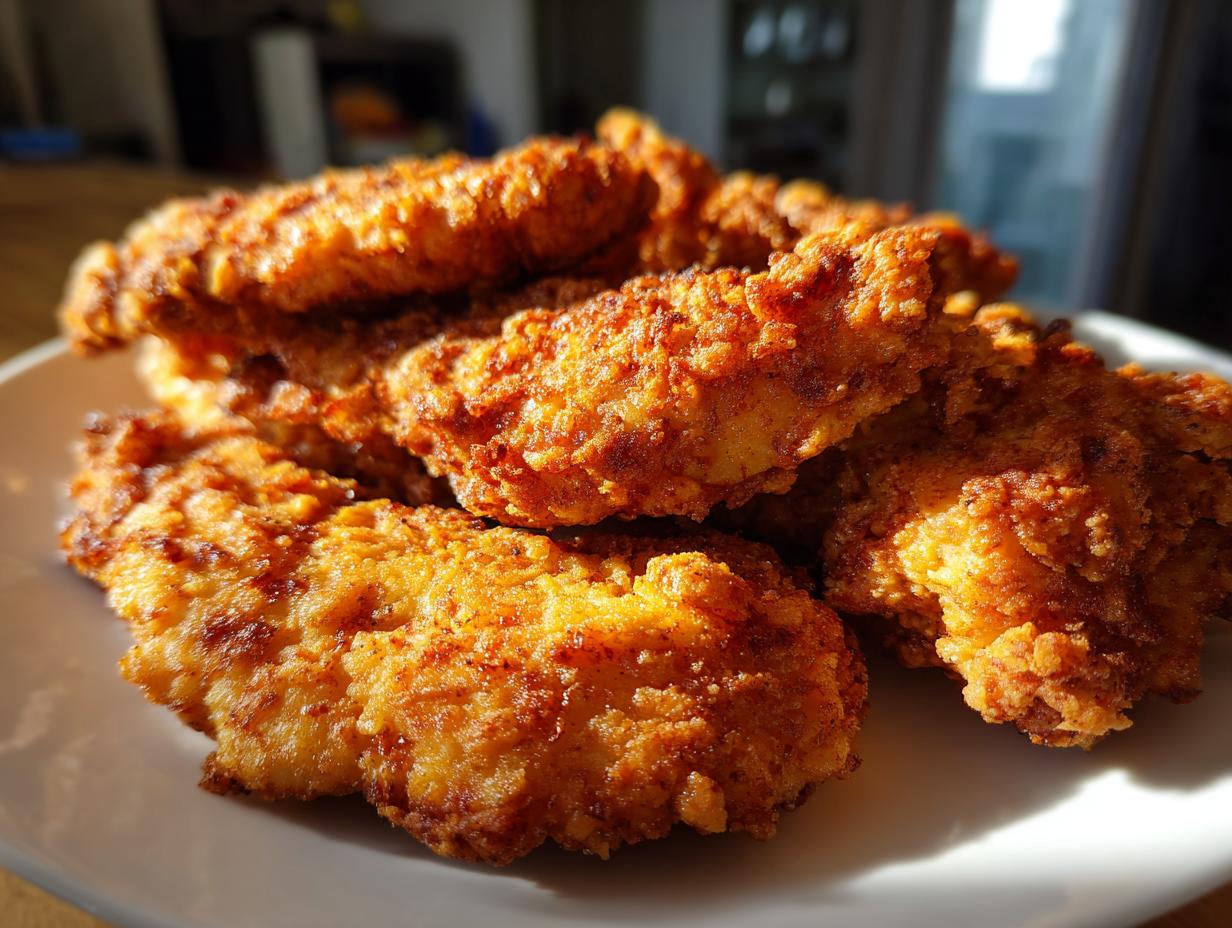
You know that feeling? That deep, soul-satisfying craving for something truly, undeniably crunchy? That’s the craving these crispy chicken tenders are here to fix! Back when my kitchen was just a tiny apartment, I’d sometimes get this intense hankering for the food of home, food that just *felt* right. And honestly, nothing says comfort and pure, simple joy like perfectly fried chicken tenders. The secret, I learned, is all in the buttermilk bath and a killer breading that, trust me, gives you that shatter-crisp texture everyone goes wild for. It takes me right back to simple suppers and happy gatherings.
- Why You'll Love These Crispy Chicken Tenders
- Ingredients for Perfect Crispy Chicken Tenders
- Mastering the Buttermilk Marinade for Crispy Chicken Tenders
- How to Fry Crispy Chicken Tenders to Golden Perfection
- Make Ahead and Freeze Your Crispy Chicken Tenders
- Frequently Asked Questions about Crispy Chicken Tenders
- Estimated Nutritional Information
- Share Your Crispy Chicken Tenders Creations!
Why You’ll Love These Crispy Chicken Tenders
Seriously, these tenders are a game-changer! Here’s why you’ll be making them over and over:
- Super Speedy: We’re talking melt-in-your-mouth deliciousness in under an hour, perfect for those weeknight scrambles.
- Kid Favorite Guaranteed: If there’s one thing kids always go wild for, it’s these! They disappear faster than you can say “seconds, please!”
- Party Perfect: Need an appetizer that wows a crowd? These crispy beauties are ideal for game day, parties, or just because.
- Taste of Home: They just taste *good*. That classic, comforting flavor that reminds you of happy times and good food.
- Extra Crunchy Breading: We’ve nailed that super-crunchy coating that stays crispy, even when dipped!
Ingredients for Perfect Crispy Chicken Tenders
Alright, let’s get our arsenals ready for some seriously good crispy chicken tenders! The beauty of this recipe is that it uses pretty standard pantry stuff, so you probably have most of it already. Here’s what you’ll need:
- 2 pounds boneless, skinless chicken tenders (the star of the show!)
- 2 cups buttermilk (this is KEY for tenderizing!)
- 1 tablespoon hot sauce (optional, but it adds a little something-something!)
- 2 cups all-purpose flour (for that perfect dredge)
- 1 teaspoon salt
- 1 teaspoon black pepper
- 1 teaspoon paprika
- 1/2 teaspoon garlic powder
- 1/2 teaspoon onion powder
- 1/4 teaspoon cayenne pepper (if you like it with a little kick!)
- 3 cups vegetable oil, for frying (or another high-heat neutral oil like canola or peanut)
Make sure your chicken is of good quality, and don’t skimp on the oil – it makes all the difference for that golden-brown crispiness everywhere!
Mastering the Buttermilk Marinade for Crispy Chicken Tenders
Okay, so here’s where the magic really starts for our crispy chicken tenders – the buttermilk marinade! You might think, “Why buttermilk?” Well, trust me on this, it’s not just some old wives’ tale. Buttermilk’s acidity is like a gentle hug for the chicken, breaking down those tough muscle fibers so you end up with super tender, juicy tenders inside. Plus, its slightly thicker texture is just *perfect* for helping that delicious breading stick like glue. I remember when I was first figuring this out, I tried a few things, but the tang and tenderness you get from buttermilk? Nothing else comes close. For maximum flavor and tenderness, let the chicken hang out in there for at least 30 minutes, but if you can swing it for up to 4 hours in the fridge, even better! Want to add a little zing? A tablespoon of your favorite hot sauce whisked into the buttermilk gives it a subtle kick that’s just divine. It really elevates these chicken strips from good to absolutely unforgettable.
The Secret to Extra Crunchy Breading
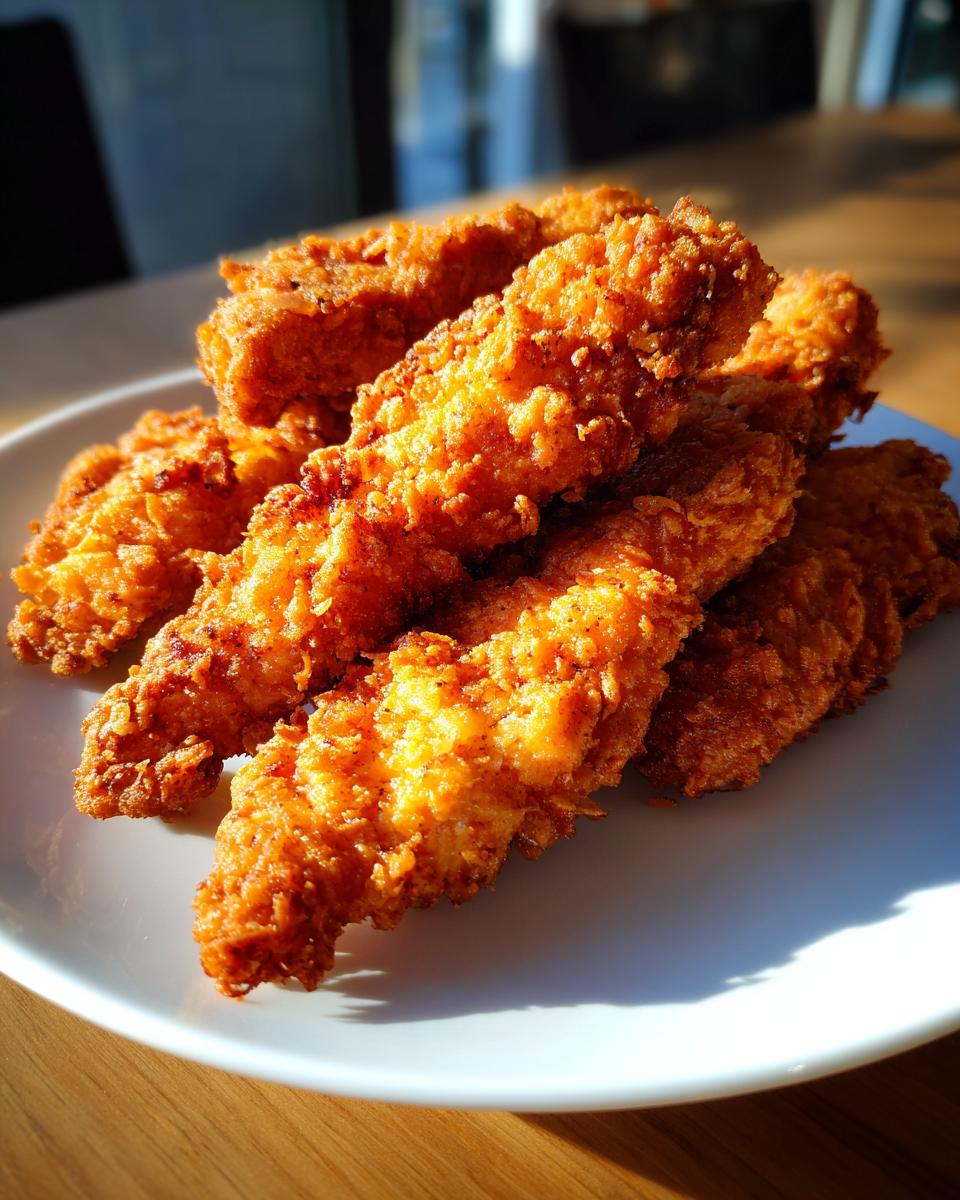
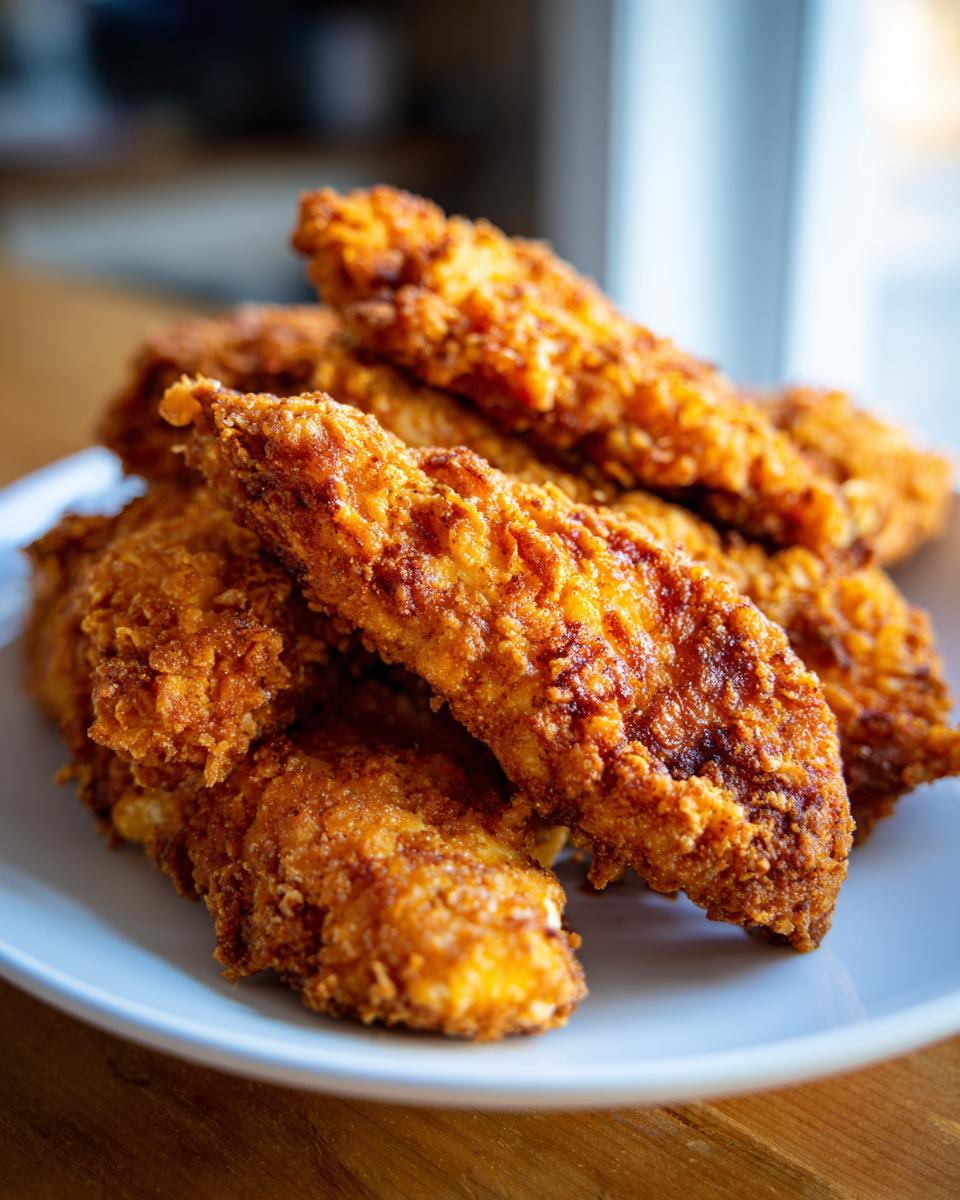
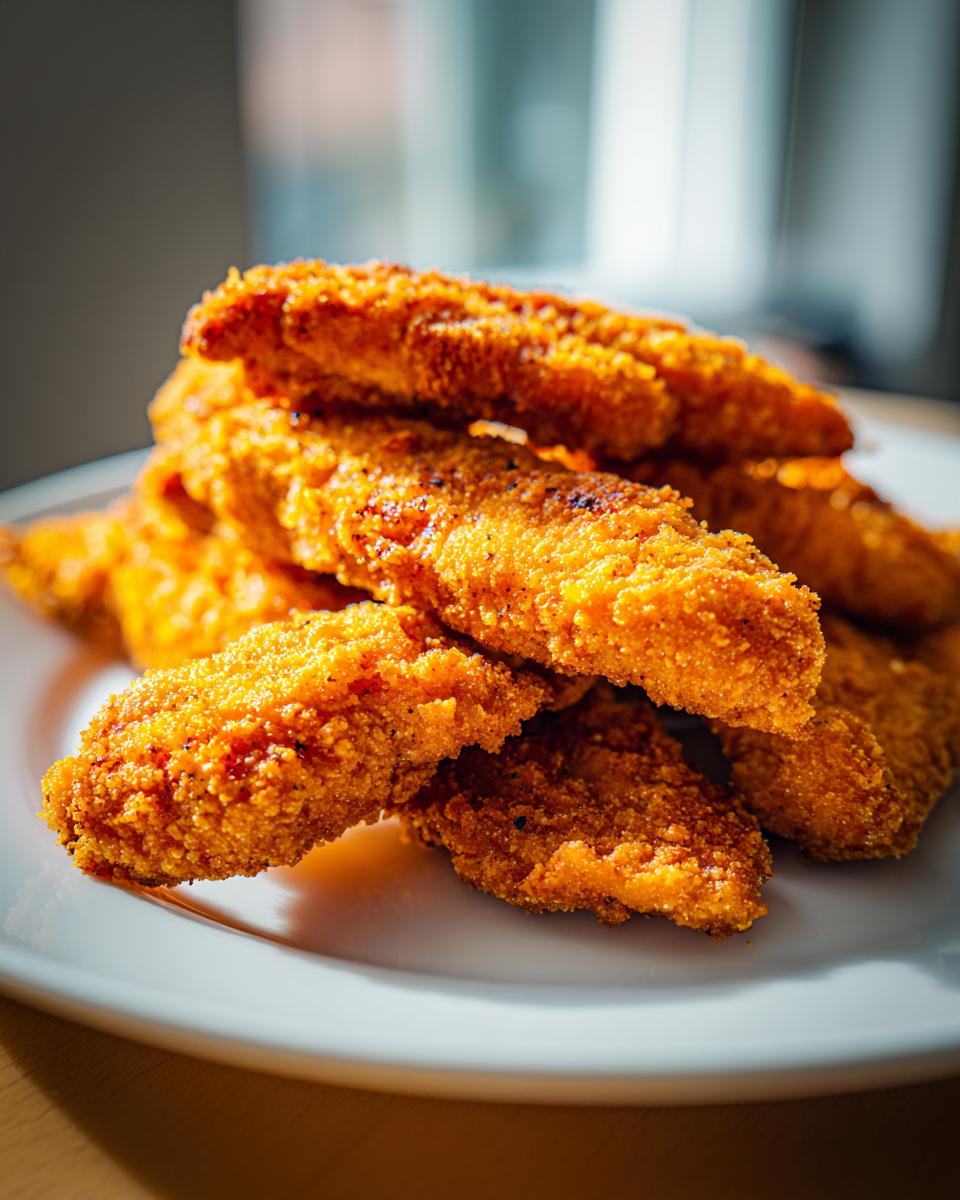
Now, for that shatter-crisp coating everyone raves about! This is where we turn simple flour into crispy gold. We’re using all-purpose flour as our base, and we’re seasoning it up to perfection with salt, pepper, paprika for that lovely color, garlic powder, and onion powder for depth. A little pinch of cayenne pepper is totally optional, but oh boy, does it add a fun little surprise! Make sure you whisk it all together really well so those spices are distributed evenly. Then, you’ll take those buttermilk-soaked tenders, let just a little bit of the excess drip off, and give them a good dredge in our seasoned flour. Really press it on there! For that *extra* crunch, the secret is a double-dip. So, after the first flour coating, dip it back into the buttermilk for just a second, then right back into the flour mixture for another good coating. This builds up those little crispy bits that make our fried chicken strips so irresistible!
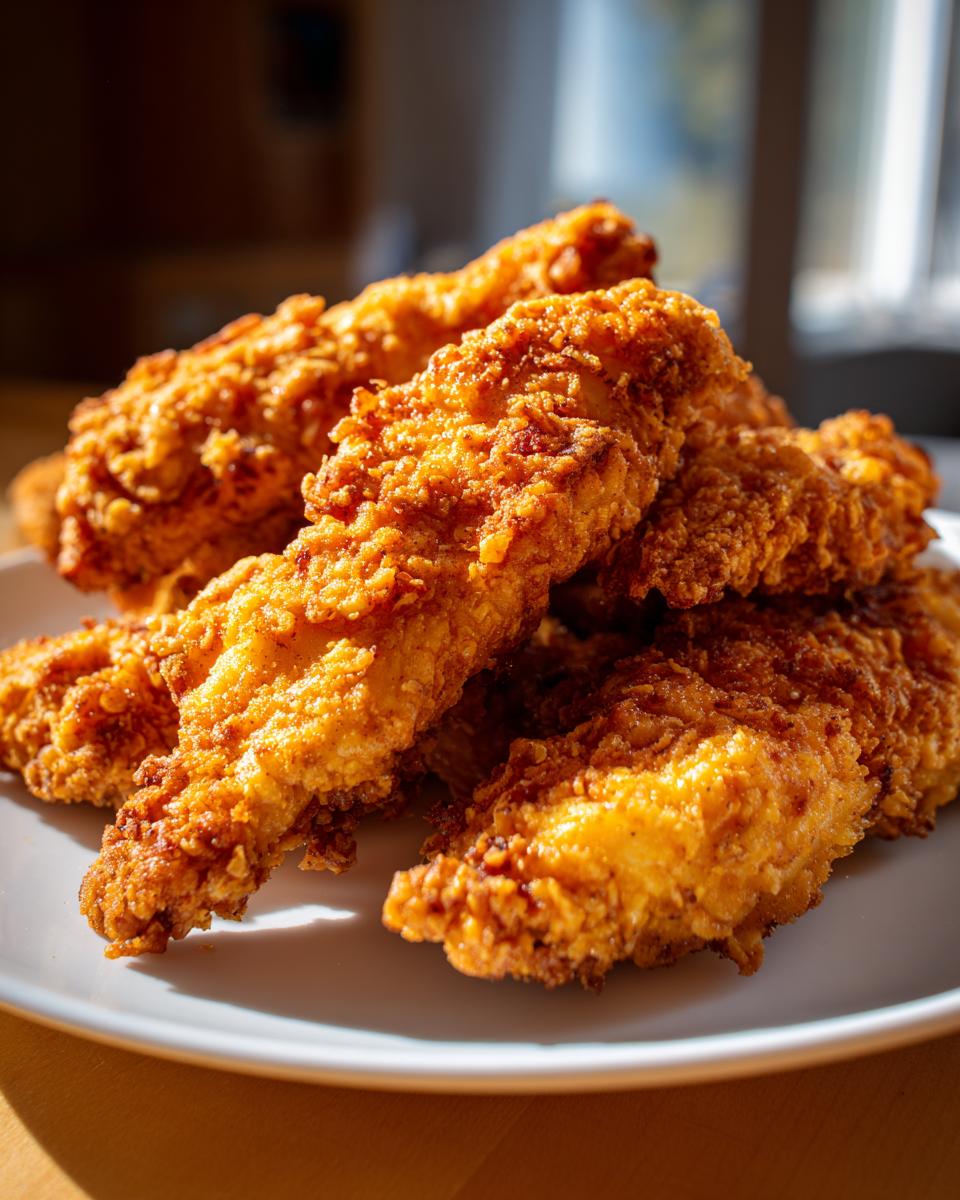
How to Fry Crispy Chicken Tenders to Golden Perfection
Alright, the moment of truth! We’ve got our chicken marinated and perfectly coated, and now it’s time to get them nice and golden-brown. Frying can seem a little intimidating, but if you follow these simple steps, you’ll have *crispy chicken tenders* that are just restaurant-quality. First things first, you absolutely NEED to get your oil to the right temperature. We’re aiming for a steady 350°F (175°C). Using a good kitchen thermometer is key here – it makes all the difference between perfectly crisp and sadly greasy. You don’t want the oil too cool, or the tenders will soak up too much. Pour about 3 cups of neutral oil, like vegetable, canola, or peanut oil, into a big, heavy skillet or a Dutch oven. Let it heat up over medium-high heat. Be careful when you add the chicken tenders; they can splatter! Work in batches – seriously, don’t crowd the pan. You want each tender to have room to sizzle and get that delicious crust all around. Fry them for about 5 to 7 minutes, flipping them gently halfway through, until they’re a beautiful golden brown and cooked all the way through. Pop a thermometer in the thickest one – it should read 165°F (74°C). Then, lift them out with a slotted spoon or tongs and place them on a wire rack set over a baking sheet. This is SO important for keeping them crispy! Letting them drain on a rack allows air to circulate, preventing that dreaded soggy bottom. For even more crispy goodness, check out how we make crispy air fryer chicken wings – lots of tips there apply here too!
Serving Suggestions and Dipping Sauce Ideas
Okay, so your crispy chicken tenders are out of the oil and looking glorious! Now, what to dip ’em in? This is where you can really have fun! Classic honey mustard is always a winner, and you can even whip up a quick homemade version. For something a little smoky and sweet, some good old BBQ sauce is a must. If you’re feeling creamy, a good ranch dip or even a zesty garlic aioli is fantastic. And don’t forget about sweet chili sauce for that perfect sweet-and-spicy combo! Honestly, these crispy tenders are so good, they’re practically begging for a delicious dip. You can find my easy recipe for honey BBQ sauce here, or try this creamy garlic aioli here. And if you love fresh dips, my tzatziki sauce is incredible with them too!
Make Ahead and Freeze Your Crispy Chicken Tenders
Life gets crazy, right? That’s why I *love* that you can totally make these crispy chicken tenders ahead of time and stash them away for later. It’s a total lifesaver for busy weeknights or when surprise guests pop over! Once they’re cooked and cooled completely (this is important to avoid steam making them soggy!), spread them out in a single layer on a baking sheet. Pop that baking sheet in the freezer until the tenders are totally solid – this usually takes about an hour. Then, transfer those frozen beauties into a freezer bag or an airtight container. They’ll keep well for about 2-3 months. When you’re ready to enjoy them, just pop them back into a preheated oven at 375°F (190°C) for about 10-15 minutes, or until they’re heated through and have regained that glorious crispiness. You’d honestly never even know they were frozen!
Frequently Asked Questions about Crispy Chicken Tenders
Got questions about making these addictively crispy chicken tenders? I’ve got answers! It’s all about those little tricks that make a big difference.
Can I bake these instead of frying for healthier crispy chicken tenders?
You sure can! While frying gives you that ultimate crisp, you can get pretty close by baking. Toss your coated tenders with a little bit of oil spray on a wire rack set over a baking sheet and bake at 400°F (200°C) for about 15-20 minutes, flipping halfway. They won’t be *exactly* the same, but they’ll still be delicious and much lighter!
How do I prevent soggy tenders?
Oh, soggy tenders are the worst! The biggest culprit is overcrowding the pan when frying – it lowers the oil temp and steams them instead of frying. Always fry in batches! Another tip is to make sure your oil is at the correct temperature (350°F/175°C) before you add the chicken. And, of course, draining them on a wire rack, not paper towels, lets that crucial air flow around them. That’s your ticket to staying super crunchy!
What’s the best oil for frying chicken tenders?
For that perfect golden color and crispiness, you want a neutral-flavored oil with a high smoke point. Vegetable oil, canola oil, or even peanut oil are all fantastic choices. You need enough oil to come at least halfway up the side of the pan, ideally more. Using the right amount and temperature is key to getting that fantastic crust on your fried chicken strips.
Can I use a different type of flour for the breading?
All-purpose flour is your reliable go-to, but you can experiment a little! Some folks like to add a bit of cornstarch or even almond flour to the mix for extra crispiness. Just make sure the flour you choose can handle absorbing moisture and getting nice and toasty. But for that classic, reliable crunch, good old all-purpose flour is my favorite for these kid favorite tenders!
Estimated Nutritional Information
Keep in mind these numbers are just estimates, because how much you devour and the exact ingredients can change things! But generally, a serving (about 4 ounces) of these glorious crispy chicken tenders will run you around 450 calories, with about 25g of fat (5g saturated). You’ll also be getting a fantastic 35g of protein to keep you full, and about 20g of carbs. Pretty darn good for something this delicious!
Share Your Crispy Chicken Tenders Creations!
Have you whipped up a batch of these amazing crispy chicken tenders? I’d absolutely *love* to hear how they turned out for you! Did your kids devour them? Did they impress your friends at that party? Leave a comment below with your thoughts, star rating, or any fun twists you tried! And if you snapped a pic, tag us on social media – seeing your creations makes my day! For any questions or to share more, you can always get in touch!
PrintCrispy Chicken Tenders

Make shatter-crisp chicken tenders with a buttermilk marinade and a crunchy breading. Perfect for family dinners or appetizers.
- Prep Time: 15 min
- Cook Time: 20 min
- Total Time: 35 min
- Yield: 4 servings 1x
- Category: Dinner
- Method: Frying
- Cuisine: American
- Diet: Vegetarian
Ingredients
- 2 pounds boneless, skinless chicken tenders
- 2 cups buttermilk
- 1 tablespoon hot sauce (optional)
- 2 cups all-purpose flour
- 1 teaspoon salt
- 1 teaspoon black pepper
- 1 teaspoon paprika
- 1/2 teaspoon garlic powder
- 1/2 teaspoon onion powder
- 1/4 teaspoon cayenne pepper (optional)
- 3 cups vegetable oil, for frying
Instructions
- In a bowl, combine buttermilk and hot sauce (if using). Add chicken tenders and marinate for at least 30 minutes, or up to 4 hours in the refrigerator.
- In a shallow dish, whisk together flour, salt, pepper, paprika, garlic powder, onion powder, and cayenne pepper (if using).
- Remove chicken tenders from buttermilk, letting excess drip off. Dredge each tender in the flour mixture, ensuring it is fully coated.
- In a large, heavy-bottomed skillet or Dutch oven, heat vegetable oil over medium-high heat to 350°F (175°C).
- Carefully place chicken tenders in the hot oil, working in batches to avoid overcrowding the pan.
- Fry for 5-7 minutes, turning occasionally, until golden brown and cooked through. The internal temperature should reach 165°F (74°C).
- Remove chicken tenders from the oil and place on a wire rack set over a baking sheet to drain.
- Serve immediately with your favorite dipping sauces.
Notes
- For extra crunch, double-dip the chicken tenders: dredge in flour, dip briefly in buttermilk, then dredge in flour again.
- You can make these ahead and freeze them. Place cooked and cooled tenders in a single layer on a baking sheet and freeze until solid. Transfer to a freezer bag. Reheat in a 375°F (190°C) oven for 10-15 minutes.
- Ensure your oil is at the correct temperature for crispy, not greasy, tenders. Use a thermometer to check.
- Dipping sauce ideas: honey mustard, BBQ sauce, ranch, or sweet chili sauce.
Nutrition
- Serving Size: 4 oz
- Calories: 450
- Sugar: 2g
- Sodium: 500mg
- Fat: 25g
- Saturated Fat: 5g
- Unsaturated Fat: 20g
- Trans Fat: 0g
- Carbohydrates: 20g
- Fiber: 1g
- Protein: 35g
- Cholesterol: 120mg