
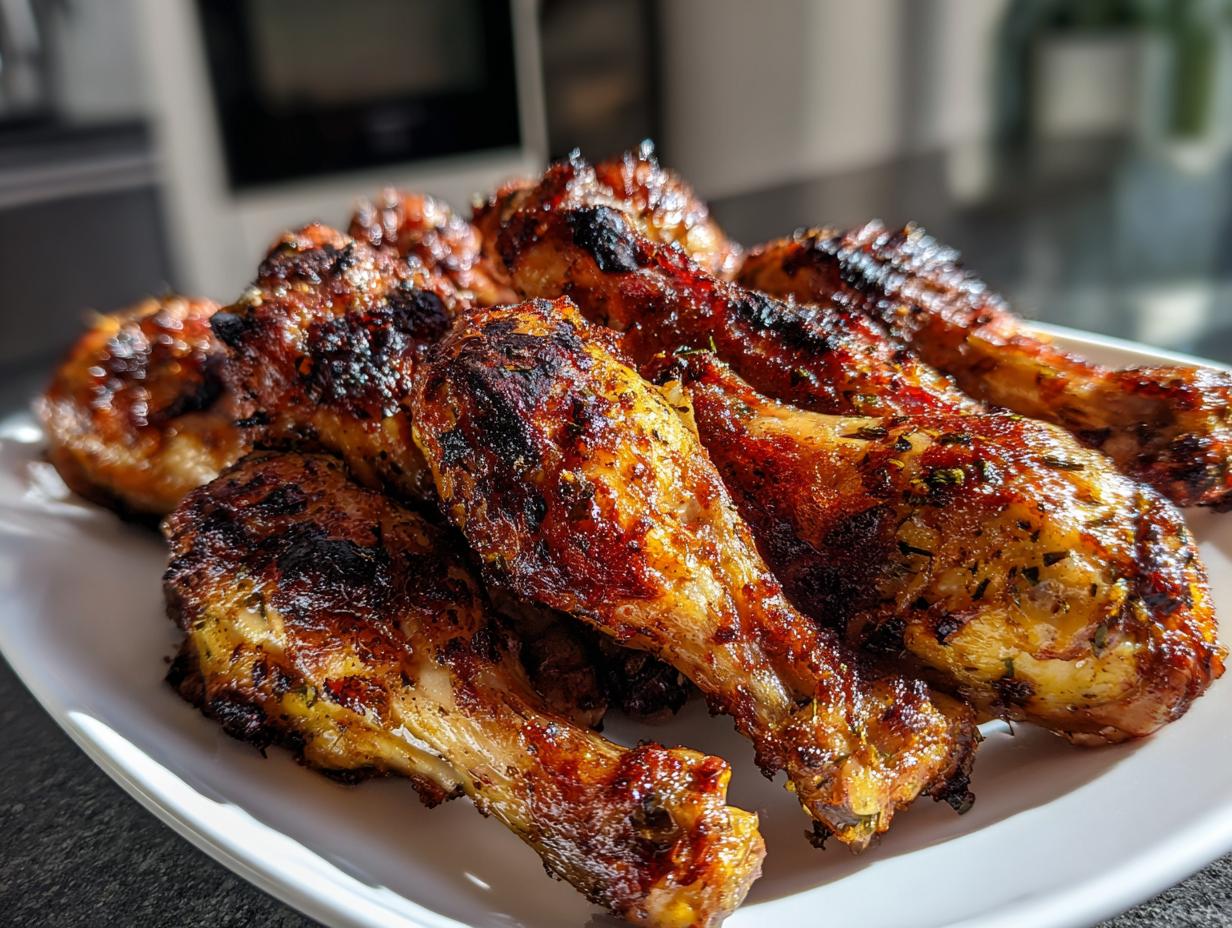
Oh, the agony of a soggy wing! If you’re like me, you crave that loud, satisfying *crunch* you get from the deep fryer, but you absolutely do not want the mess or the grease. I spent ages trying to crack the code for truly crispy baked chicken wing perfection. I promise you, friends, I found the technique that works every single time. This recipe uses a simple kitchen secret to deliver shatteringly crispy baked chicken wings that keep the meat unbelievably juicy inside. Maddie Thompson and the MDLATDMM team are dedicated to making sure your home cooking translates perfectly, and this oven technique is proof that you don’t need a fryer to win Game Day.
When you master this, you’ll have your go-to solution for quick weeknight dinners or the best party appetizers!
- Why This Baked Chicken Wing Technique Guarantees Crunch
- Ingredients for the Ultimate Crispy Baked Chicken Wings
- Simple Steps for Perfect Oven Fried Chicken Wings
- Flavor Variations for Your Crispy Baked Chicken Wings
- Tips for Game Day Chicken Wings Success
- Storage and Reheating Instructions for Leftover Chicken Wings
- Frequently Asked Questions About Crispy Baked Chicken Wings
- Nutritional Estimates for Baked Chicken Wings
- Share Your Homemade Chicken Wings Experience
Why This Baked Chicken Wing Technique Guarantees Crunch
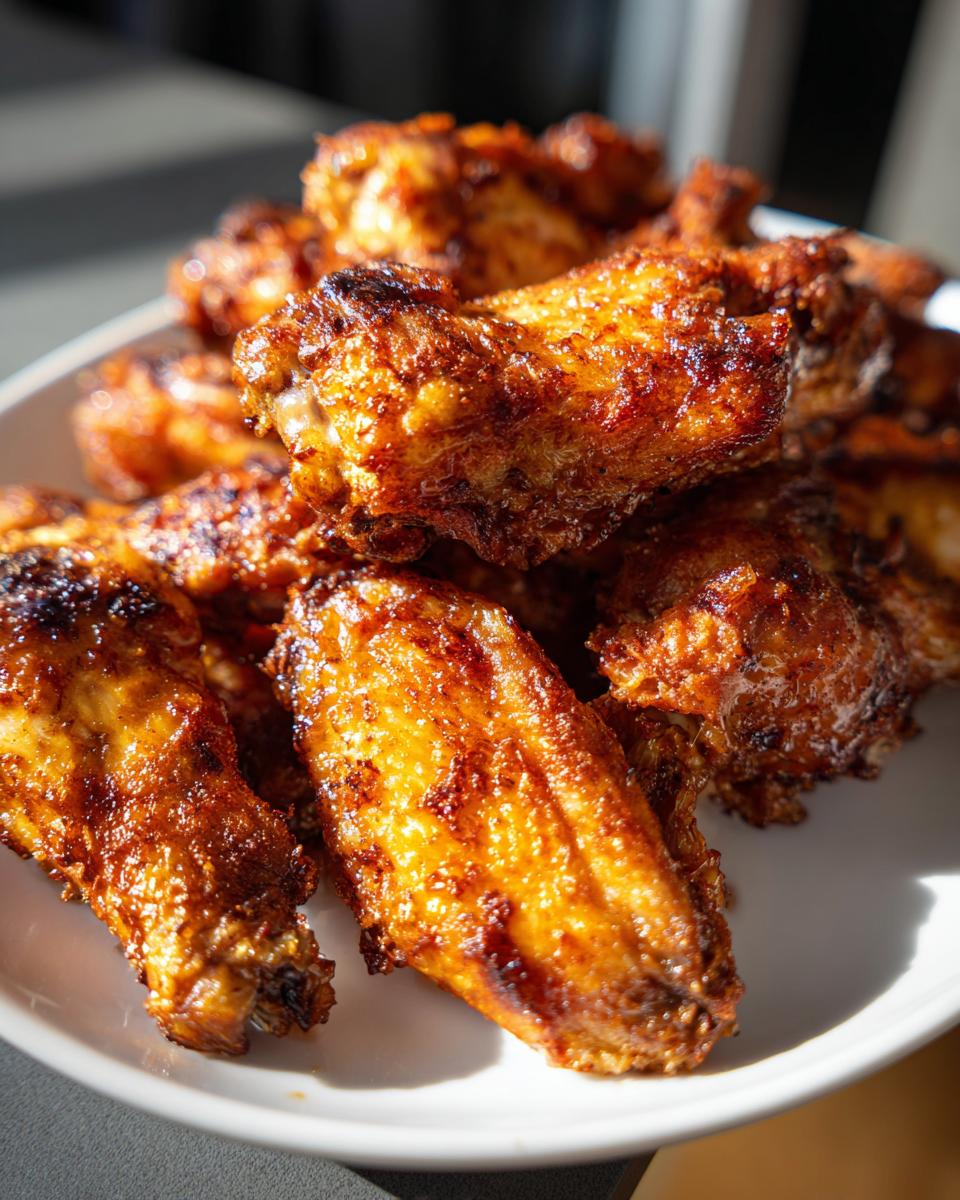
I know what you’re thinking: baking wings just makes them steam in their own juices. That used to be true for me too! But that’s why we have to talk about preparation—getting that skin totally dry is step one, and it’s non-negotiable. If there’s moisture clinging to the skin, you get rubber instead of crunch. Once they are bone dry, we add the magic dust. Honestly, once you learn this trick, it becomes the best chicken wing technique you’ll ever use for the oven. It’s the difference between an okay wing and a wing that makes people ask if you actually deep-fried them!
The Role of Baking Powder in Crispy Baked Chicken Wings
Now, let’s get into the science, but keep it simple. We aren’t using the baking powder to make the wings rise, obviously! We use it because it’s mildly alkaline, meaning it actually raises the pH level of the chicken skin when mixed with the moisture. This slight change is huge because it helps the surface brown faster and encourages the skin to dry out completely in the oven. That quick drying is what gives you incredible, shatteringly crisp skin that rivals anything you’d get from a fryer. Always look for aluminum-free if you can find it; it just tastes cleaner!
Ingredients for the Ultimate Crispy Baked Chicken Wings
You don’t need a giant grocery list for this recipe, which is part of why I love it so much for those busy days. It’s truly about focusing on technique over a hundred spices. Everything you need is right here, and I even linked my favorite site if you happen to be whipping up some easy breakfast ideas later in the week!
- 2 lbs chicken wings (flats and drumettes separated)
- 1 tablespoon baking powder (aluminum-free is best for crispness)
- 1 teaspoon kosher salt
- 1/2 teaspoon black pepper
- 1/2 teaspoon garlic powder
- 1/4 teaspoon cayenne pepper (optional)
Simple Steps for Perfect Oven Fried Chicken Wings
Okay, forget everything you think you know about making oven fried chicken wings at home because this is the method I finally perfected after way too many flat, sad batches. My first time trying this baking powder trick, I rushed the drying step and it was only *okay*. But the next time, when I meticulously patted those wings dry—and I mean *really* dry—the results were jaw-dropping! Seriously, they came out looking like they’d spent an afternoon in oil, but I just used my normal baking sheets. We’re making sure you don’t waste a batch, so follow these steps closely. This process ensures you get that amazing texture, which is why I linked my chicken broccoli casserole recipe as another make-ahead favorite!
Prepping and Coating Your Chicken Wing Pieces
First things first: Preheat your oven screaming hot to 425°F (220°C). If you have a wire rack that fits inside a rimmed baking sheet, use it! This lets air circulate underneath, which is critical. Now, take your paper towels and blot every single wing piece until it feels dry to the touch. Then, toss them with the spice mix until they are totally coated. When you lay them out, make absolutely sure they aren’t touching. If they overlap, they steam, and we worked too hard for steam!

Baking Times for Juicy Chicken Wings
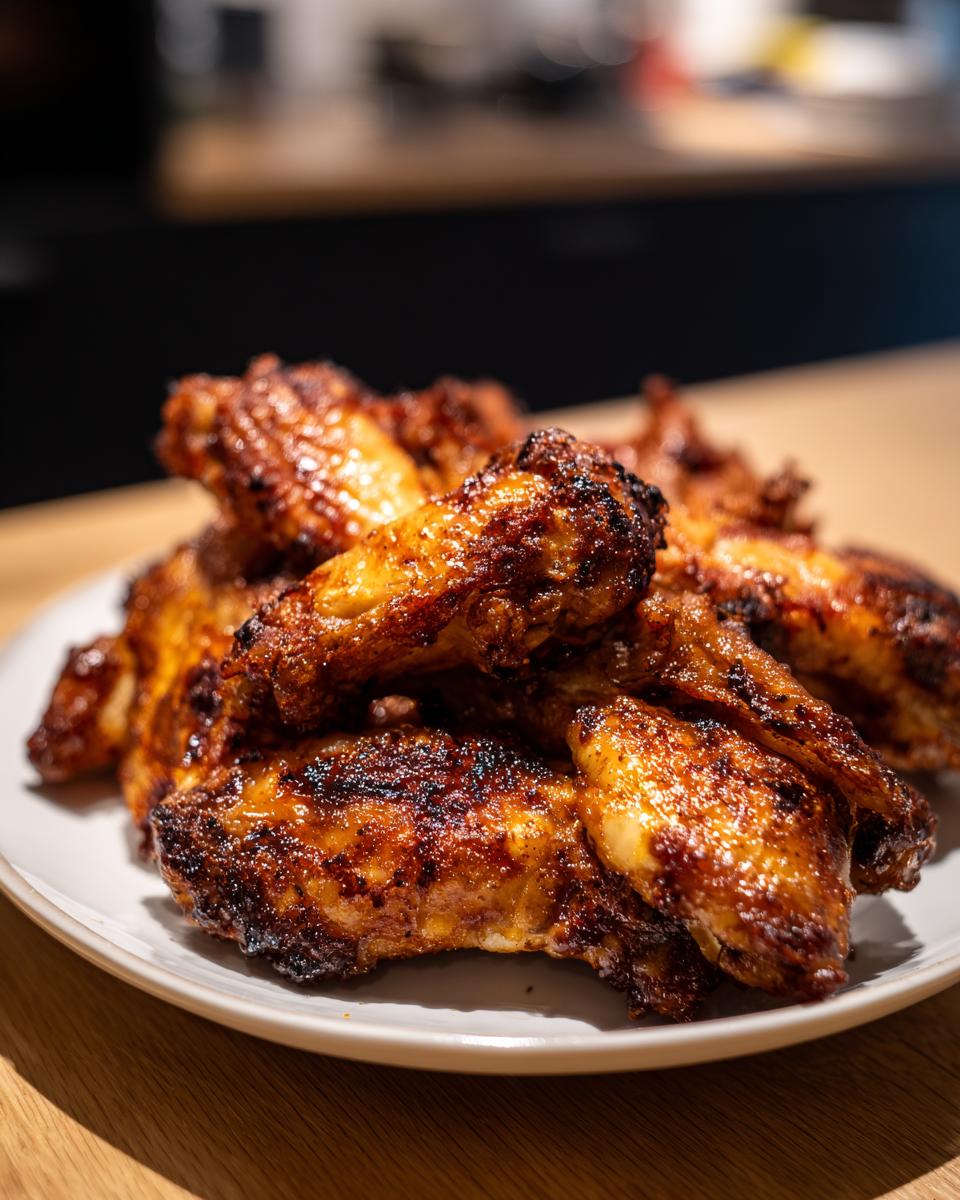
We bake in two stages to get the best results for juicy chicken wings. Start them off for 20 minutes at that high heat. After that time, pull them out and flip every single piece—don’t skip the flip! Pop them back in for another 20 to 25 minutes. You want that skin to be deep golden brown and look like it could crackle when you tap it. This timing keeps the meat tender, but the skin locks in all that crispiness.
Flavor Variations for Your Crispy Baked Chicken Wings
You’ve got your crispy base, which means now we get to have fun! A batch of these perfect chicken wing recipes is begging for some flavor, but the golden rule remains: sauce goes on *after* the crunch is locked in. Trust me, if you try to sauce them halfway through baking, that delicate crust we worked so hard to create will just steam off into sauce oblivion. When I’m serving these at a party, I often make a huge batch plain and then divide them up into bowls for different flavor profiles. I love having my favorite easy honey BBQ sauce ready to go, but sometimes a simple dry rub is best for keeping things light!
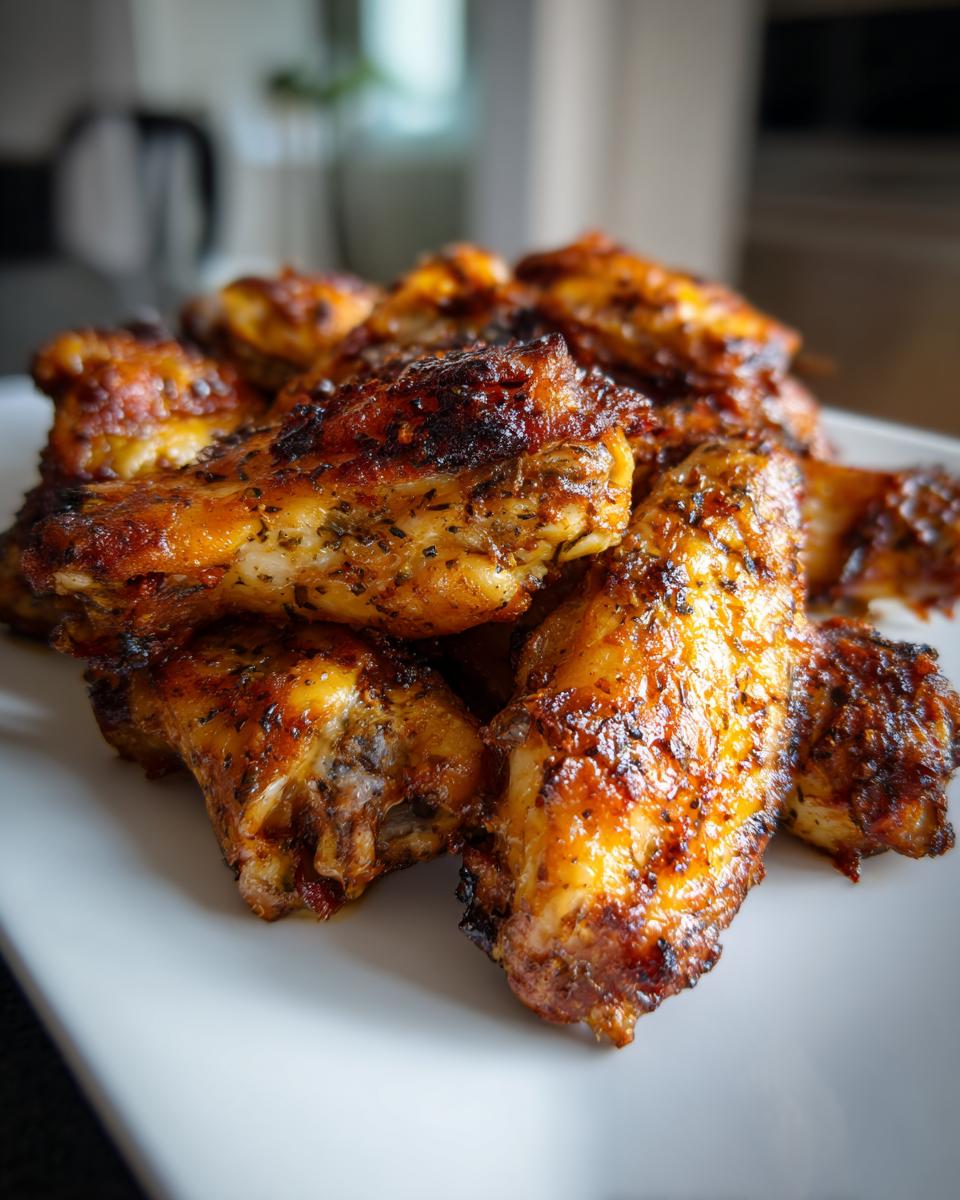
Quick Dry Rub Application
If you want to keep things super simple and stick to that ‘no fry’ spirit, a dry rub is fantastic. Right after they come out of the oven, while they are still piping hot, toss them right back into a clean bowl. Give them a shake with a mixture of smoked paprika, onion powder, a pinch more salt, and maybe some dried oregano. That heat helps the seasonings adhere perfectly, and you get that amazing texture without any sticky sauce residue.
Saucing After Baking for Maximum Crunch
If you crave that sweet, sticky coating, like luscious Honey Garlic Wings or a classic Buffalo kick, wait until the absolute last second. Immediately after removing the wings from the oven—like, *right away*—toss them in a bowl with just enough sauce to coat thinly. We’re talking about lightly glazing them, not dunking them! That residual heat will melt the sauce beautifully while the dry exterior keeps the crunch intact long enough for you to enjoy the perfect bite.
Tips for Game Day Chicken Wings Success
When you’re making something this good, naturally, you want to serve them when they are perfect, especially for those big Game Day Chicken Wings moments. The biggest party panic is trying to keep big batches hot without turning them soft. Honestly, the wings are best if you cook them right before everyone descends upon your spread, but I have a trick for when you need a head start!
You can absolutely bake them almost all the way through—say, about 15 minutes before they are totally done—set them aside, and then pop the entire tray back into a very hot 400°F oven for just 5 or 8 minutes right before serving. If you’ve sauced them, keep them in a slow cooker set to the lowest ‘Warm’ setting, but honestly, this method works best for dry rubs. If you’re making my famous crockpot buffalo chicken dip, those wings can happily sit next to the warm dip, but for maximum crunch, a quick reheat blast right before kickoff is key!
Storage and Reheating Instructions for Leftover Chicken Wings
Okay, let’s be real; sometimes there are leftovers, even if you try your darnedest to eat them all! If you manage to have any of these crispy baked chicken wings left over, the biggest mistake you can make is grabbing that microwave plate. Trust me, the microwave is the enemy of crunch. You want to refrigerate any leftover wings within two hours. You can keep them good for about three or four days tucked away in an airtight container.
The magic trick for getting that crispiness back is dialing up the heat! I highly recommend using a baking sheet in an oven preheated to 400°F for about 8 to 10 minutes. If you have an air fryer—and if you don’t, you should check out my guide on air fryer chicken wings—just run them for 4 minutes at 375°F. Either way, that blast of dry heat works wonders to revive the great texture we worked so hard to achieve!
Frequently Asked Questions About Crispy Baked Chicken Wings
I always love hearing what you all are curious about once you move past the core recipe! It means you’re getting ready to cook, and that’s the best feeling. Here are a few things I get asked all the time regarding these Chicken Wing Recipes. If you’re looking for more general guidance on healthier meals outside of wing night, make sure you check out my guide to healthy lunch recipes!
Can I substitute the baking powder in this chicken wing recipe?
Honestly, I really wouldn’t mess with it! Baking powder is critical because it changes the skin chemistry. If you use baking soda, you’ll end up with a metallic taste. For the best results among all healthy chicken wings options, stick to the aluminum-free baking powder we talked about; it’s the secret handshake for crispiness!
What is the best way to ensure juicy meat inside my chicken wing?
It comes down to two things: heat and space. Make sure you never crowd the pan—the air needs to move around every single wing. Also, watch your time! Because we use that high heat (425°F), the cooking time is precise. Pull them right when that skin looks fully browned and crunchy, and you’ll seal in all the juices perfectly.
Does the wire rack really matter for oven success?
It matters a bunch, but I won’t say you *can’t* skip it! If you don’t have a rack, line your sheet pan with parchment paper. The rack just lets air completely surround the bottom of the wing, which really prevents that inevitable sogginess that happens when the bottom sits directly on a hot, steamy surface. For the *ultimate* crisp, the rack is your best friend!
Can I make BBQ Chicken Wings Recipe ahead of time?
You can prep the dry coating the day before and keep the wings dry in the fridge, but I never suggest adding sauce until they are hot just before serving. If you need them done early, I recommend cooking them fully, letting them cool slightly, and then reheating them in a super hot oven right before you toss them in sauce. That way, you rescue that crunch!
Nutritional Estimates for Baked Chicken Wings
Now, because we baked these instead of frying, they are definitely a healthier choice for your Game Day spread! But I always have to say this—since everyone’s oven runs a little differently, and the exact brand of seasoning varies, these are just estimates for standard portions. We are looking at about 280 calories per serving of four wings, with 27 grams of wonderful protein. That’s mighty good for an appetizer if you ask me!
- Serving Size: 4 wings
- Calories: 280
- Protein: 27g
- Fat: 18g
- Sodium: 350mg (Keep an eye on this if you use heavy sauce!)
Share Your Homemade Chicken Wings Experience
Whew! We did it! I truly hope this recipe changes your relationship with oven-baked wings forever. Now that you have the secret to that ultimate crisp factor, the kitchen is yours! Please, please, please try this batch of chicken wings out for your next gathering, and then come back and let me know what you think in the comments below.
Did you dust them with a dry rub, or did you go for a big toss in a sweet and spicy sauce? I’m always looking for new flavoring inspiration, so tell me your favorite sauce combination—maybe it’s a Lemon Pepper Wing variation I haven’t tried yet! If you loved the texture, please consider leaving a star rating on the recipe card above; it really helps other home cooks find a dependable, non-fried favorite.
Don’t be a stranger; if you have any questions as you cook, you can always reach out to me through the contact page. Happy cooking, and enjoy every single crunchy bite!
PrintThe Ultimate Crispy Baked Chicken Wings (No Fry Needed)
Achieve shatteringly crispy baked chicken wings that rival deep-fried versions using a simple oven technique. These wings stay juicy inside while delivering the crunch you want, perfect for game day or appetizers.
- Prep Time: 10 min
- Cook Time: 45 min
- Total Time: 55 min
- Yield: 4 servings 1x
- Category: Appetizer
- Method: Baking
- Cuisine: American
- Diet: Low Fat
Ingredients
- 2 lbs chicken wings (flats and drumettes separated)
- 1 tablespoon baking powder (aluminum-free is best for crispness)
- 1 teaspoon kosher salt
- 1/2 teaspoon black pepper
- 1/2 teaspoon garlic powder
- 1/4 teaspoon cayenne pepper (optional)
Instructions
- Preheat your oven to 425°F (220°C). Line a large, rimmed baking sheet with parchment paper or a wire rack set over the sheet. Using a rack helps air circulate for maximum crispness.
- Pat the chicken wings completely dry using paper towels. This step is crucial for crispy skin.
- In a large bowl, combine the baking powder, salt, pepper, garlic powder, and cayenne pepper.
- Add the dried chicken wings to the bowl. Toss thoroughly until every piece is lightly and evenly coated with the baking powder mixture.
- Arrange the wings in a single layer on the prepared baking sheet or wire rack. Do not let the wings touch each other; space them out for even cooking.
- Bake for 20 minutes.
- Flip each wing over. Return the wings to the oven and bake for another 20 to 25 minutes, or until the skin is golden brown and very crisp.
- Remove the wings from the oven. You can serve them plain with a dry rub, or immediately toss them in your favorite sauce (like Honey Garlic or Buffalo) while hot.
Notes
- The baking powder reacts with the chicken skin proteins during baking, helping to dry out the surface and create that desirable crunch without frying.
- For extra flavor, toss the wings in a simple sauce made from melted butter and hot sauce after they come out of the oven.
- If you prefer a saucier wing, reserve about 1/4 cup of your chosen sauce and toss the wings in it right before serving.
Nutrition
- Serving Size: 4 wings
- Calories: 280
- Sugar: 0.5
- Sodium: 350
- Fat: 18
- Saturated Fat: 5
- Unsaturated Fat: 13
- Trans Fat: 0
- Carbohydrates: 1
- Fiber: 0
- Protein: 27
- Cholesterol: 95