
Oh, you know those days when you just *need* chocolate, but you refuse to turn on the oven? I totally get it! That’s exactly why I’m so excited to share this recipe with you today. We are diving headfirst into the world of **cool whip candy**—and trust me, this version is the one you’ll want to bookmark. It’s incredibly simple, truly a 3-ingredient, no-bake treat that channels the airy, fluffy magic of your favorite chocolate bar. When I test recipes for MDLATDMM, I want them to be foolproof, and this one delivers that nostalgic comfort perfectly, without any fuss. If you love quick fixes, you should definitely check out my recipe collection for other delicious dessert recipes as well. Get ready for the easiest, dreamiest melt-in-your-mouth confection ever!
- Why This Easy Whipped Topping Candy is Your New Go-To
- Gathering Ingredients for Your Cool Whip Candy
- Tips for Perfecting Your Cool Whip Candy Base
- Mastering the Chocolate Coated Cool Whip Finish
- Ingredient Notes and Substitutions for Your Cool Whip Candy
- Making Cool Whip Candy Ahead of Time
- Frequently Asked Questions About This Cool Whip Candy
- Serving Suggestions for Your Homemade Cool Whip Treats
- Share Your Whipped Topping Goodness
Why This Easy Whipped Topping Candy is Your New Go-To
Honestly, this is the definition of low-effort, high-reward baking—or rather, *no* baking! Life gets busy, but that doesn’t mean we can’t have something special waiting in the freezer. You’ll find yourself turning to this recipe again and again for quick fixes.
Quick 3 Ingredient Candy Assembly
- It cuts down your prep time because it genuinely only takes three main components to build the filling.
- Since you just mix and freeze, this is perfect for when you need last minute sweet treats popping up unexpectedly.
Fluffy Chocolate Candy Recipe Texture
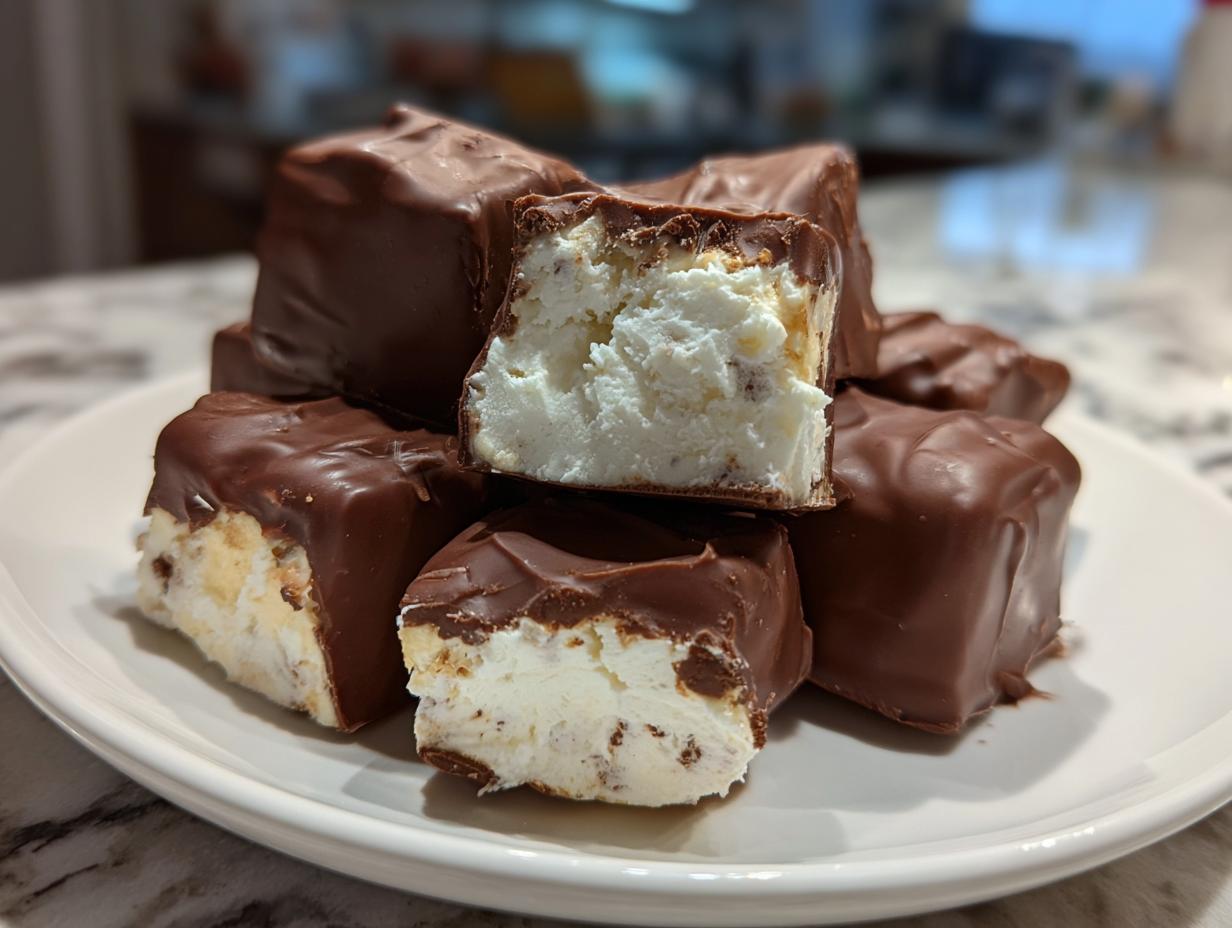
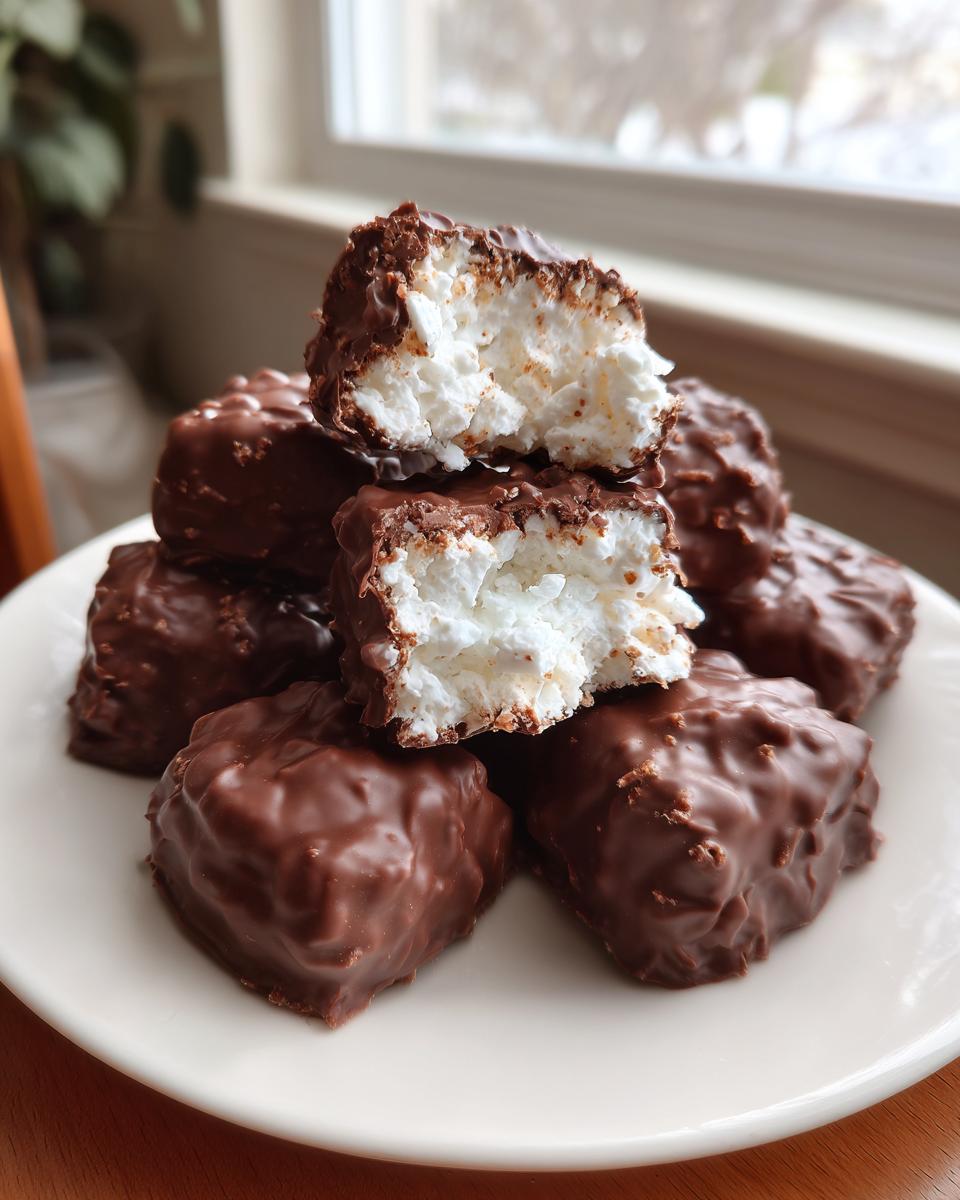
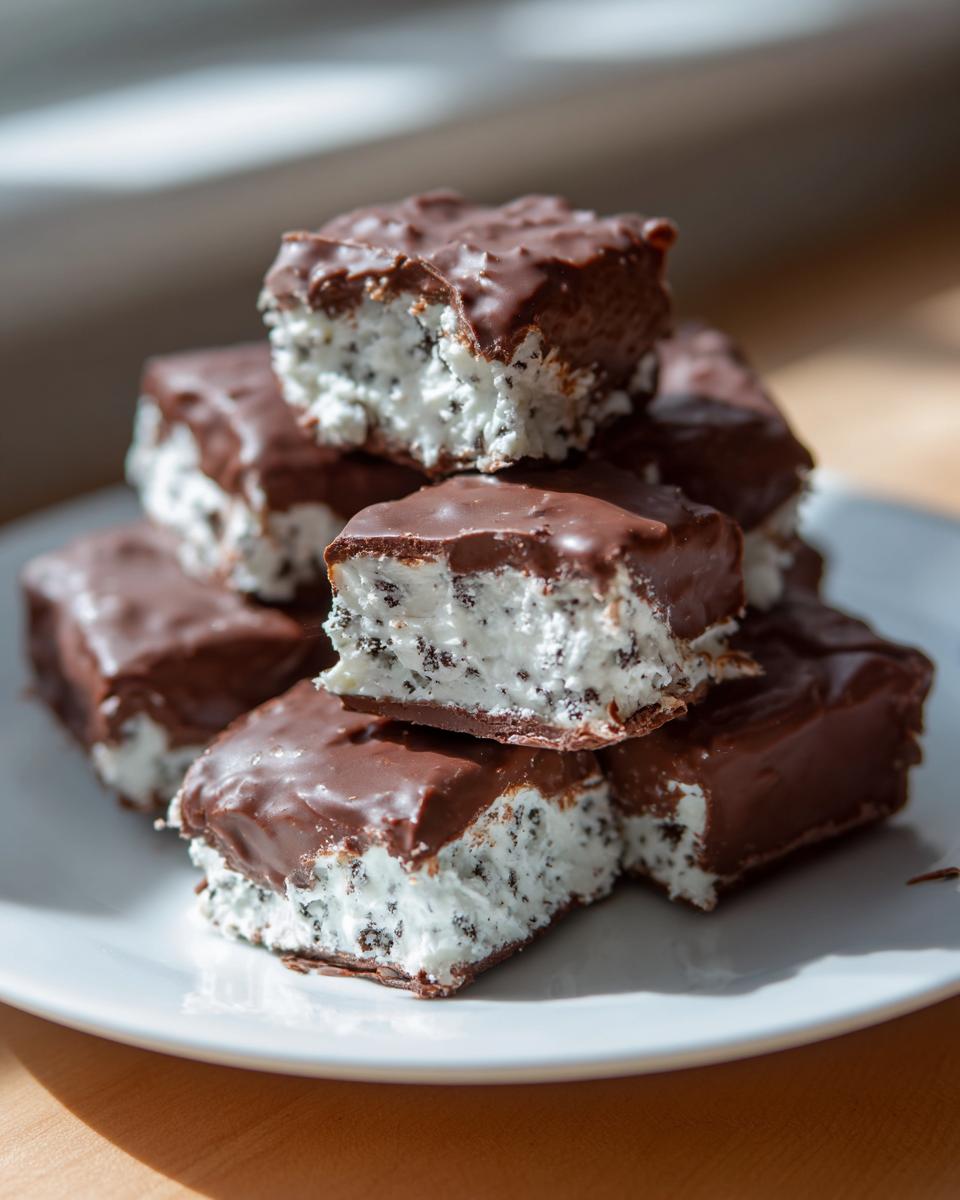
That texture, wow! It’s so light and cloud-like. When that chocolate shell snaps, your filling just melts away. We aren’t messing around with dense fudges here; this results in the prettiest, **light and airy confections** you can imagine.
Gathering Ingredients for Your Cool Whip Candy
Okay, let’s talk about what you need! The best part about this **Cool Whip Candy** is that you probably have half this list hiding in your pantry already. I always keep these things stocked because you never know when a craving will strike. This recipe leans heavily on accessibility—no weird trips to specialty stores here, I promise.
Core Components for Cool Whip Candy
We are keeping things super minimal so you can get this into the freezer ASAP. Here are the four stars of the show. Make sure you use ingredients that are room temperature or just thawed, except for the cookies!
- 1 cup marshmallow fluff. Nope, you cannot skip the fluff; that’s what gives us that signature chewiness!
- 1 cup thawed whipped topping (Cool Whip). Make sure it’s fully thawed but still cold when you mix it in.
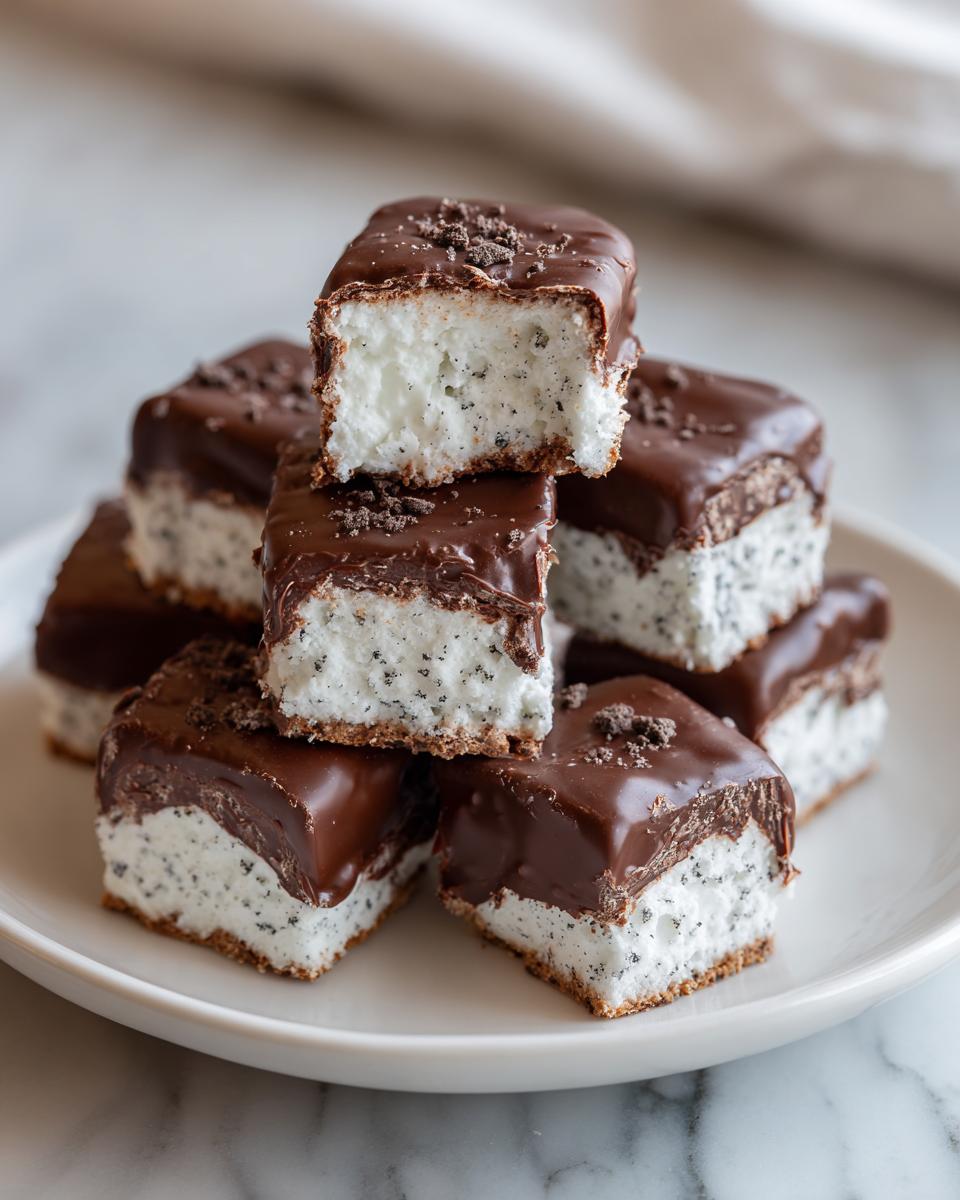
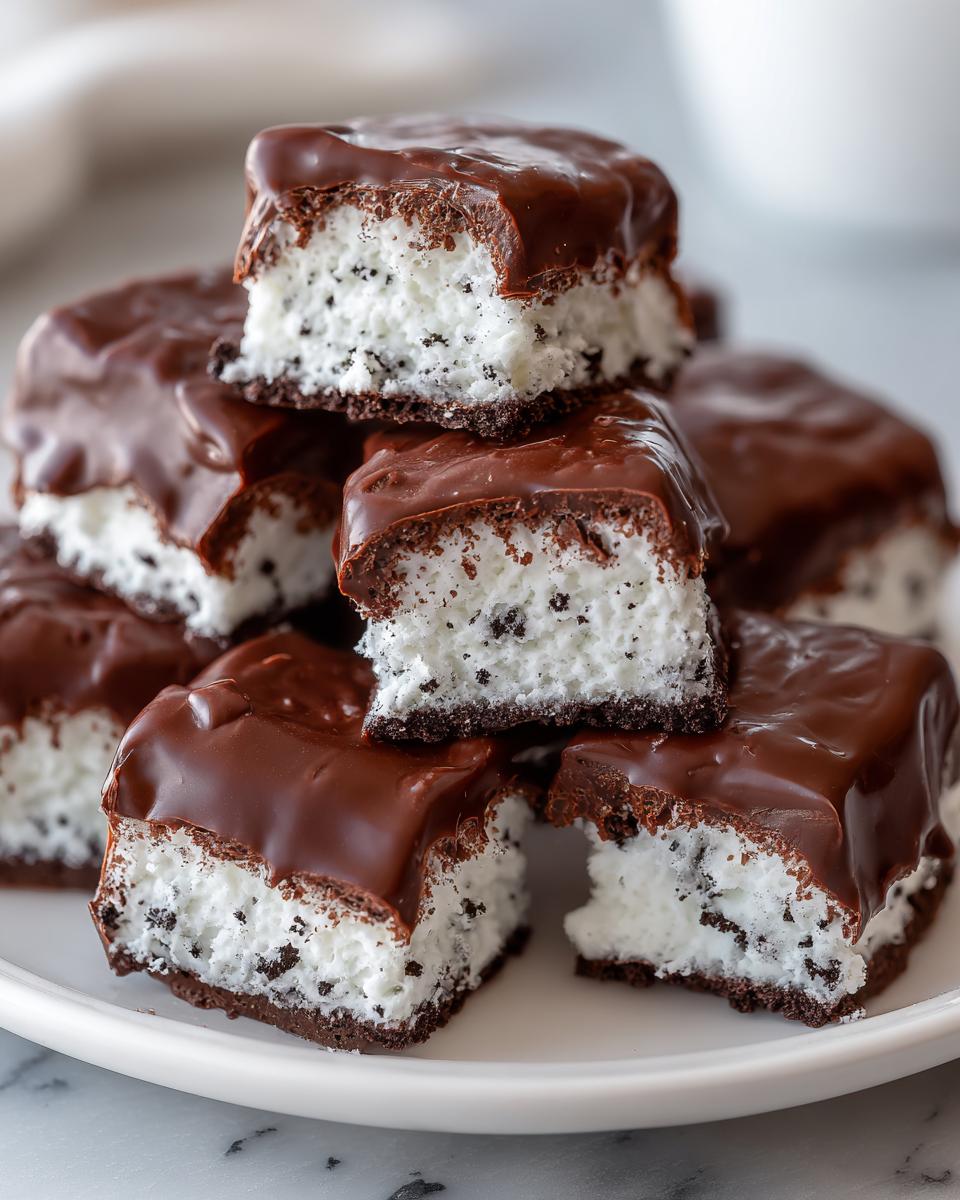
- 1 cup crushed chocolate sandwich cookies (like Oreos, filling removed). Taking the filling out helps keep the center from getting too soft when coated.
- 12 ounces milk chocolate melting wafers or chips. This is for the final chocolate bath.
Tips for Perfecting Your Cool Whip Candy Base
Before we even think about melting chocolate, we have to lock in that amazing soft texture for our **cool whip candy** base. This is where people often accidentally turn a fluffy dream into a dense hockey puck, so listen up! My testing process showed that technique matters way more than the ingredients themselves when we are talking about this melt-in-your-mouth quality. If you’re looking for other effortless sweets, check out my delicious dessert recipes too!
The Art of Folding: Making the Cool Whip Candy Filling
The number one rule here is: Do. Not. Stir. When you combine the marshmallow fluff and the thawed whipped topping, you need to use a spatula and gently *fold* it. Think about turning a blanket over on itself. If you beat it aggressively, you knock all the trapped air right out of the topping, and bam! You’ve just ruined your chance at a perfectly **fluffy chocolate candy recipe**. We want incorporation, not obliteration!
Freezing Time for Optimal Cutting
Once you press that glorious mixture into your prepared pan, it has to freeze solid enough to handle the chocolate dipping later. I always leave mine in the freezer for a minimum of two hours. If you try to cut it at one hour, it smears everywhere, and you end up with a giant messy blob instead of neat little squares. Giving it that full freeze time makes slicing easy, which is key for these neat **simple frozen delights**.
Mastering the Chocolate Coated Cool Whip Finish
Alright, we’ve got our perfect, airy centers—now for the best part! The chocolate coating is what turns this from a simple frozen filling into a true candy bar experience. Seriously, the way you handle the chocolate makes the difference between a professional-looking **chocolate coated Cool Whip** treat and something that looks like a toddler made it. Since these pieces are frozen solid, you have to work fast, but the result is absolutely worth the quick effort!
Melting Chocolate Wafers Like a Pro
For the melting, I strongly suggest using good quality melting wafers if you can find them. They set up so much nicer than regular chips, giving you that clean snap when you bite in. If you’re using the microwave, here’s my trick: use 30-second bursts, stirring thoroughly after *every* burst. If you let it sit too long, the chips scorch right along the bottom of your bowl, and you end up with grainy messes. Nobody wants gritty **no bake chocolate candy**, right? A double boiler works too if you’re feeling fancy, but careful, hot steam happens fast!
Dipping Technique for Smooth Cool Whip Candy
Once your chocolate is smooth and glossy, you need those candy pieces pulled straight from the freezer—they must be rock solid! Use a fork or a candy dipping tool to lower the frozen cube quickly into the melted chocolate. Just a quick dunk, let the excess drip off for one second, and pop it right onto a sheet of parchment paper. That frozen core firms up the chocolate coating almost instantly. Pop that baking sheet right back into the freezer while you do the next batch until everything is totally set up. Quick, easy, and so satisfying!
Ingredient Notes and Substitutions for Your Cool Whip Candy
When you’re working with something this simple, like our amazing **cool whip candy**, substitutions can seem scary, but I promise, we have a lot of wiggle room! I always want you to feel empowered in your kitchen, building on my tests to make something uniquely perfect for you. That’s why I always encourage people to check out my other delicious dessert recipes for inspiration on flavor swaps!
One of the best things about this recipe being a homemade **simple candy bar recipe** adaptation is that you can totally customize that fluffy center. We used crushed sandwich cookies because they add a nice, subtle crunch, but that’s not the only way to do it!
If you want a little zing or a different texture completely, just swap out the crushed cookies for something else that measures out to about one cup. I’ve tried:
- Finely chopped nuts—pecans or walnuts are great if you like the classic chocolate-nut combo.
- Crushed peppermint candies during the holidays. Talk about festive!
- Even a cup of small, melted and cooled peanut butter chips folded in works wonders if you want to lean into richer flavors.
Also, when it comes to making that chocolate coating smooth enough to really coat those frozen squares perfectly, sometimes melting wafers can be a little thick right out of the bag. Don’t stress! If your chocolate looks too stiff after melting, add just one small teaspoon of coconut oil or even plain vegetable shortening. It sounds weird, but that tiny bit of extra fat thins it right out so you get a gorgeous, even coat without any clumps. Keep those leftovers sealed up tight in the freezer, too!
Making Cool Whip Candy Ahead of Time
This is truly the star for busy bakers, especially around the holidays! Since this **No Bake Cool Whip Dessert** is already frozen, it’s perfect for making weeks in advance. Once you have them chilled firm and coated in chocolate, just pop the finished pieces into a sturdy, airtight container.
I usually stack them with small squares of parchment paper between the layers so they don’t stick together once they get really cold. They last great in the freezer for months! There’s no reheating needed, either. Just pull them out of the freezer about 10 minutes before you want to serve them, and they are ready to go. Perfect for when guests suddenly drop by!
Frequently Asked Questions About This Cool Whip Candy
I know you might have a few lingering questions before you run to freeze your first batch of **cool whip candy**. These treats seem magical, but there are definitely a few details that stop people from achieving that perfect, fluffy texture. I’ve gathered the most common things I hear from folks tackling this recipe for the first time. Honestly, knowing these little secrets makes all the difference!
Can I use real whipped cream instead of Cool Whip in this candy?
Oh, I totally get the impulse to use fresh cream, but please, stick to the thawed whipped topping for this one! Real heavy cream, even when stabilized and whipped stiff, just doesn’t freeze the same way. It gets icy and watery when you try to keep these **simple frozen delights** in the freezer for long periods. Cool Whip has stabilizers built in that keep that gorgeous, airy texture intact. It’s the key to that signature **melt in your mouth dessert** experience!
How do I make this a Copycat 3 Musketeers Bites recipe without the cookie filling?
That’s a fun idea! This recipe is already pretty close to being a true **Copycat 3 Musketeers Bites** recipe right out of the gate because we are focusing on fluffiness. If you want it even lighter, you can absolutely omit the crushed cookies entirely! Just fold the marshmallow fluff and the topping together until barely combined, press that into the pan, freeze, and then dip. It results in a lighter, smoother center, almost pure cloud!
What is the best way to store these Simple Holiday Candy treats?
Because we want them firm for dipping and eating, the freezer is your best friend. Keep your finished, coated **simple holiday candy** treats in a single layer if you can, or layer them separated by parchment paper. Pop them into a truly airtight container—I use a heavy-duty freezer Ziploc bag myself—to prevent any freezer burn or weird freezer smells from taking over. They hold up wonderfully for holiday prep weeks ahead of time!
If you’re curious about other easy recipes that pop up on the internet, you can check out what others are making over at Cool Whip Candy by BestAllTop, but I promise, our little family method here is the one that always works for me!
Serving Suggestions for Your Homemade Cool Whip Treats
Now that you have these gorgeous, melt-in-your-mouth wonders, how should you serve them up? These **simple party candy** squares are flexible! I love setting them out on a tiered tray alongside some dark roast coffee—the bitterness of the coffee really balances the sweetness of the coating.
They are fantastic cut small for a dessert buffet, or you can leave them slightly larger next to fresh berries if you want to pretend you’re being healthy! These **homemade Cool Whip treats** look elegant but cost virtually nothing to make. Explore those delicious dessert recipes for more easy presentation ideas while you’re at it!
Share Your Whipped Topping Goodness
Okay, that’s it! We’ve got the fluff, the crunch, the snappy chocolate shell—we’ve made magic with just a few items.
Now, here’s the deal: I need to know what you think! Did this **cool whip candy** turn out just as light and dreamy for you as it did for me? Seriously, please leave a star rating right below this section. It helps me know which recipes I should keep tweaking and which ones are perfect as they are.
If you took a picture of your finished treats—especially if you tried one of the fun swaps we talked about—I’d absolutely love to see it! Tag me on social media when you share your stunning **chocolate coated Cool Whip** results. Hearing about your kitchen successes is honestly my favorite part of this whole thing. Happy snacking!
PrintEasy 3-Ingredient No-Bake Cool Whip Candy

Make this incredibly simple, no-bake Cool Whip Candy that tastes like a fluffy chocolate bar. It requires only three ingredients and sets up quickly in the freezer.
- Prep Time: 15 min
- Cook Time: 10 min
- Total Time: 2 hours 35 min
- Yield: About 30 pieces 1x
- Category: Dessert
- Method: No-Bake/Freezing
- Cuisine: American
- Diet: Vegetarian
Ingredients
- 1 cup marshmallow fluff
- 1 cup thawed whipped topping (Cool Whip)
- 1 cup crushed chocolate sandwich cookies (like Oreos, filling removed)
- 12 ounces milk chocolate melting wafers or chips
Instructions
- Line an 8×8 inch baking pan with parchment paper, leaving an overhang for easy removal.
- In a medium bowl, gently fold together the marshmallow fluff and the thawed whipped topping until just combined. Do not overmix.
- Fold in the crushed chocolate sandwich cookies until evenly distributed throughout the mixture.
- Press the mixture evenly into the prepared pan.
- Freeze for at least 2 hours, or until firm enough to cut.
- Remove the mixture from the pan using the parchment paper overhang. Cut into small, bite-sized candy squares.
- Melt the chocolate wafers or chips according to package directions. You can use a double boiler or microwave in 30-second intervals, stirring between each interval.
- Dip each frozen candy square into the melted chocolate, ensuring it is fully coated. Place the coated candies on a parchment-lined baking sheet.
- Return the coated candies to the freezer until the chocolate sets completely, about 15 to 30 minutes.
Notes
- For a different texture, substitute the crushed cookies with 1 cup of chopped nuts or crushed peppermint candies.
- If you want a thinner chocolate coating, add 1 teaspoon of coconut oil or vegetable shortening to the melted chocolate.
- Store leftovers in an airtight container in the freezer.
Nutrition
- Serving Size: 1 piece
- Calories: 150
- Sugar: 18g
- Sodium: 85mg
- Fat: 8g
- Saturated Fat: 4g
- Unsaturated Fat: 4g
- Trans Fat: 0g
- Carbohydrates: 19g
- Fiber: 1g
- Protein: 2g
- Cholesterol: 5mg