
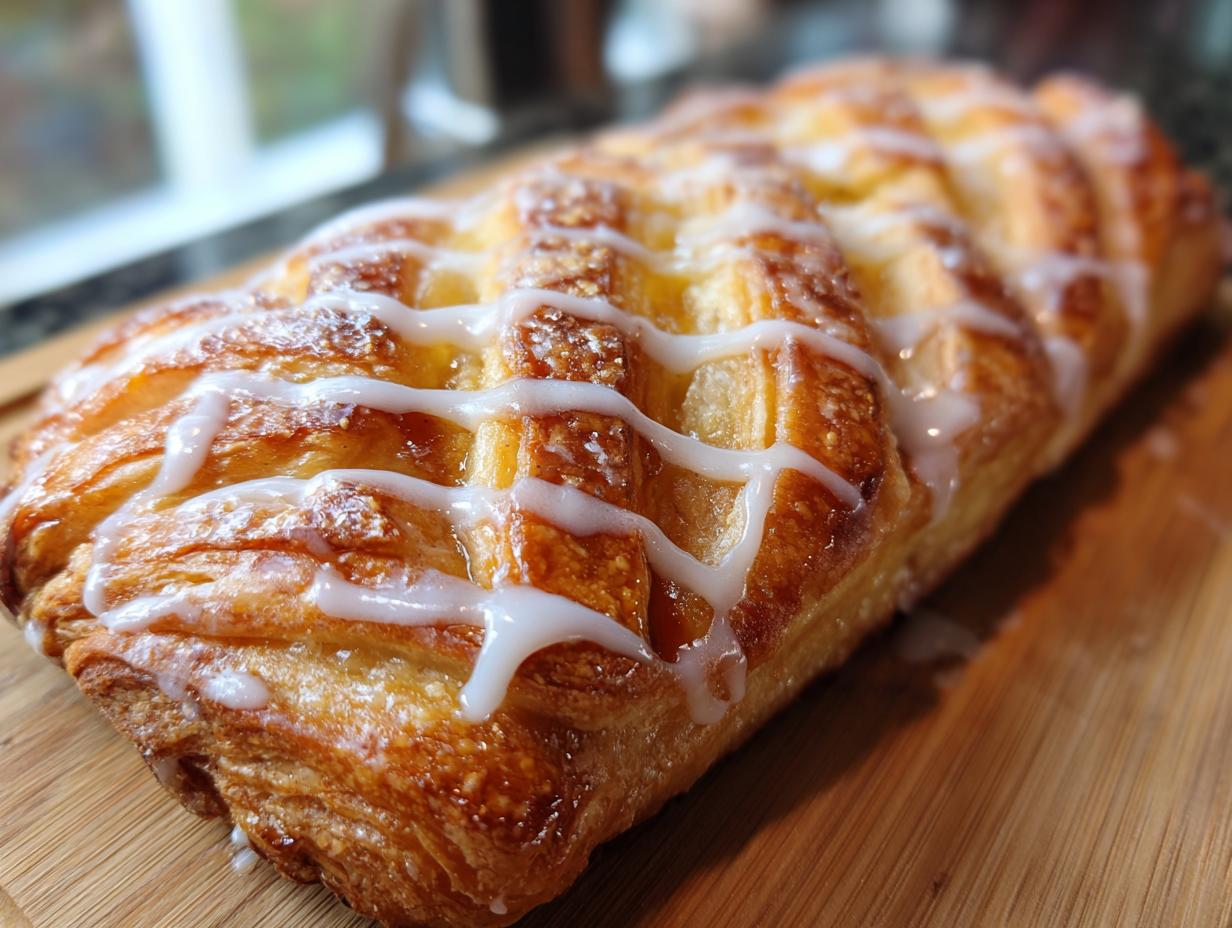
Oh, you know those gorgeous cheese danishes you see in bakery windows? The ones with the perfectly flaky layers, that creamy, dreamy filling, and just the right amount of sweet glaze? I always thought they were so complicated, like you needed some secret chef skills to make them at home. But let me tell you, after lots of testing and tinkering (because here at MDLATDMM, we love to make sure things *really* work!), I’ve cracked the code! This easy cream cheese danish uses store-bought puff pastry, so you get all those buttery, flaky layers with hardly any fuss. It’s proof that you don’t need to be a pastry pro to whip up something truly special. This recipe is all about bringing that simple, joyful home cooking spirit right into your kitchen, just like we believe here. It’s a little bit of magic that tastes like pure happiness.

- Why You'll Love This Cheese Danish Recipe
- Gather Your Ingredients for the Perfect Cheese Danish
- Step-by-Step Guide to Making Your Cheese Danish
- Tips for the Best Cheese Danish Every Time
- Variations for Your Cream Cheese Danish
- Frequently Asked Questions About Cheese Danish
- Estimated Nutritional Information
- Share Your Delicious Cheese Danish Creations!
Why You’ll Love This Cheese Danish Recipe
Seriously, why wouldn’t you love these? They’re little bites of heaven, and the best part is how *easy* they are. Trust me, you’ll be making these all the time!
- Incredibly Easy to Make: We’re talking store-bought puff pastry here, folks! It does all the hard work for you, giving you those gorgeous flaky layers without any fuss.
- Bakery-Quality Results at Home: Forget paying bakery prices. These taste just as amazing (if not better because you made them!) with that perfect cream cheese filling and delicate glaze.
- Quick & Simple: From start to finish, these danishes come together surprisingly fast. Perfect for those last-minute brunch guests or when a sweet craving hits.
- So Versatile: Think beyond just plain cream cheese! You can totally jazz these up with your favorite fruit preserves or even some fresh berries. Get creative!
- Perfect for Any Occasion: Whether it’s a fancy weekend brunch, a holiday spread, or just a Tuesday morning treat, these danishes are always a hit.
- Pure Comfort Food: There’s something so comforting about a warm, sweet pastry. It just feels like a hug in baked form, you know?
Gather Your Ingredients for the Perfect Cheese Danish
Alright, let’s get our ducks in a row! The beauty of this recipe is that it uses pretty standard stuff you might already have, plus that magic puff pastry from the freezer aisle. Here’s exactly what you’ll need to get these delicious cheese danishes made:
- 1 sheet puff pastry, make sure it’s thawed out according to package directions.
- 8 ounces cream cheese, and this really needs to be softened. That means letting it sit on the counter for a bit, not microwaved or anything!
- 1/4 cup granulated sugar, just your regular white sugar works perfectly here.
- 1 egg yolk, this helps make the filling rich and creamy.
- 1 teaspoon vanilla extract, for that lovely little vanilla kiss.
- For the Glaze:
- 1/4 cup powdered sugar (also called confectioners’ sugar or icing sugar).
- 1-2 tablespoons milk, just enough to get that drizzle-worthy consistency!
- Optional Goodies:
- Fruit preserves or jam of your choice (raspberry or apricot are amazing!), or a handful of fresh berries like blueberries or raspberries.
Step-by-Step Guide to Making Your Cheese Danish
Okay, let’s roll up our sleeves and get these beautiful cheese danishes made! It really is quite straightforward, and watching that puff pastry puff up and turn golden is just *so* satisfying. We’ll go through it step-by-step so you’re not left guessing. I’ve tested this out tons of times to make sure it’s super reliable – no baking fails here! If you’re looking for more inspiration for wonderful morning meals, be sure to check out our easy breakfast ideas for more delicious options.
Preparing the Puff Pastry for Your Cheese Danish
First things first, get that puff pastry ready. Carefully unfold your thawed sheet onto a lightly floured surface. Don’t be afraid to use just a little bit of flour to stop it from sticking! Then, using a sharp knife or pizza cutter, slice it into four equal rectangles. Easy peasy, right? You can check out some quick puff pastry recipes if you’re curious, but a store-bought sheet is our secret weapon today!
Crafting the Creamy Cheese Danish Filling
Now for the star of the show: that luscious cream cheese filling! In a medium bowl, just beat together your softened cream cheese, granulated sugar, that egg yolk, and the vanilla extract. You want to keep going until it’s all smooth and creamy, no lumps allowed! Then, just spoon about two tablespoons of this heavenly mixture onto one half of each puff pastry rectangle. Make sure you leave a little border all around, so the filling doesn’t decide to make a break for it in the oven.
Assembling and Baking Your Cheese Danish
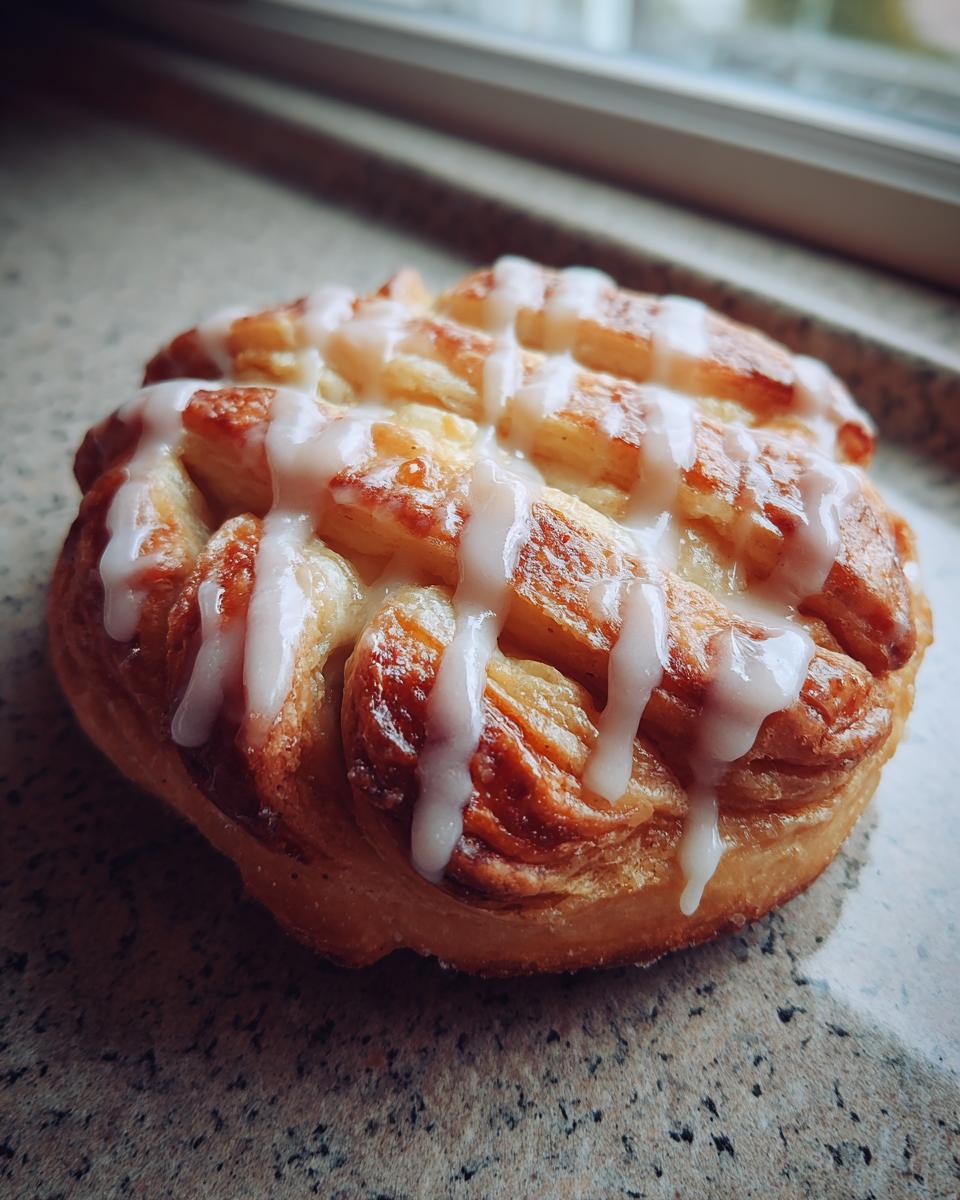
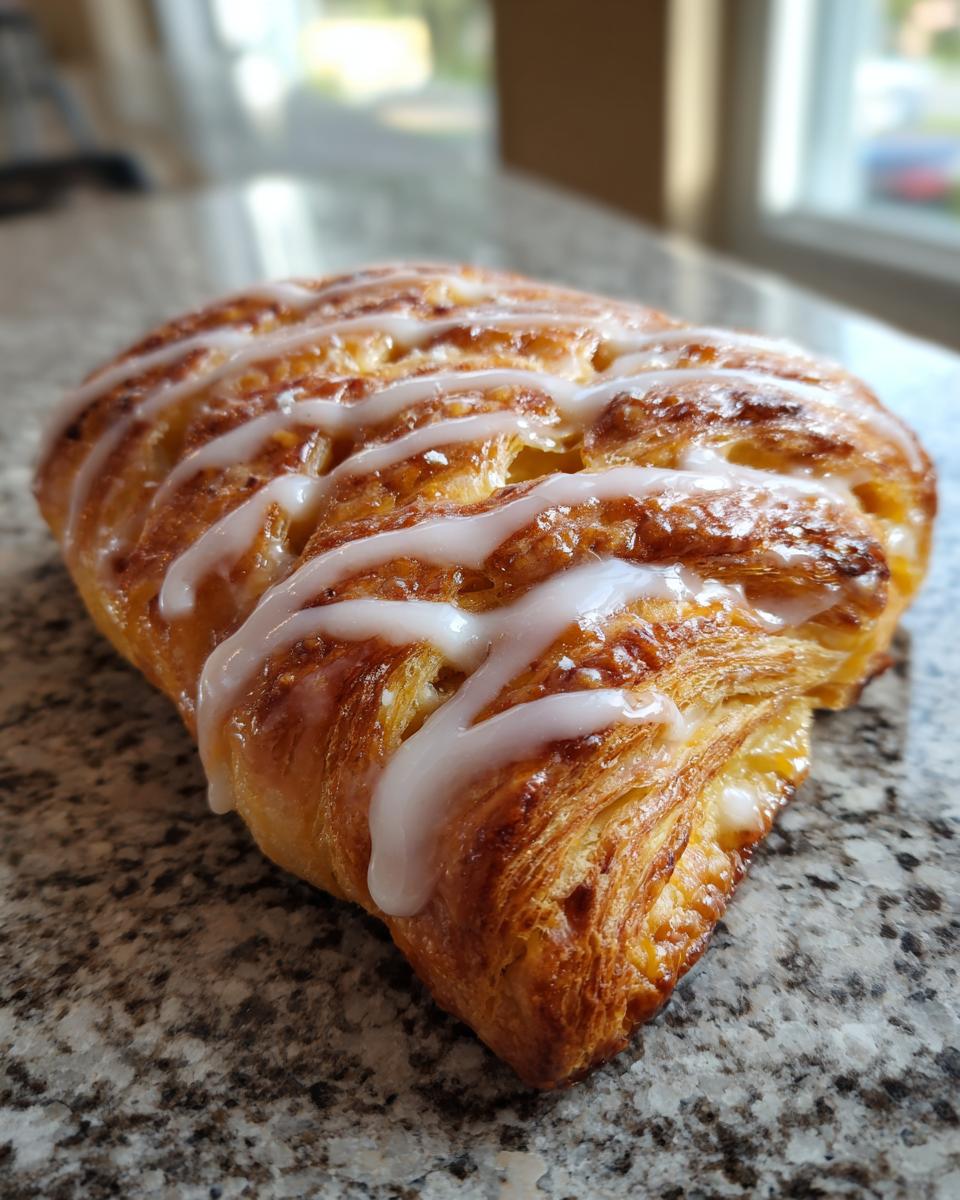
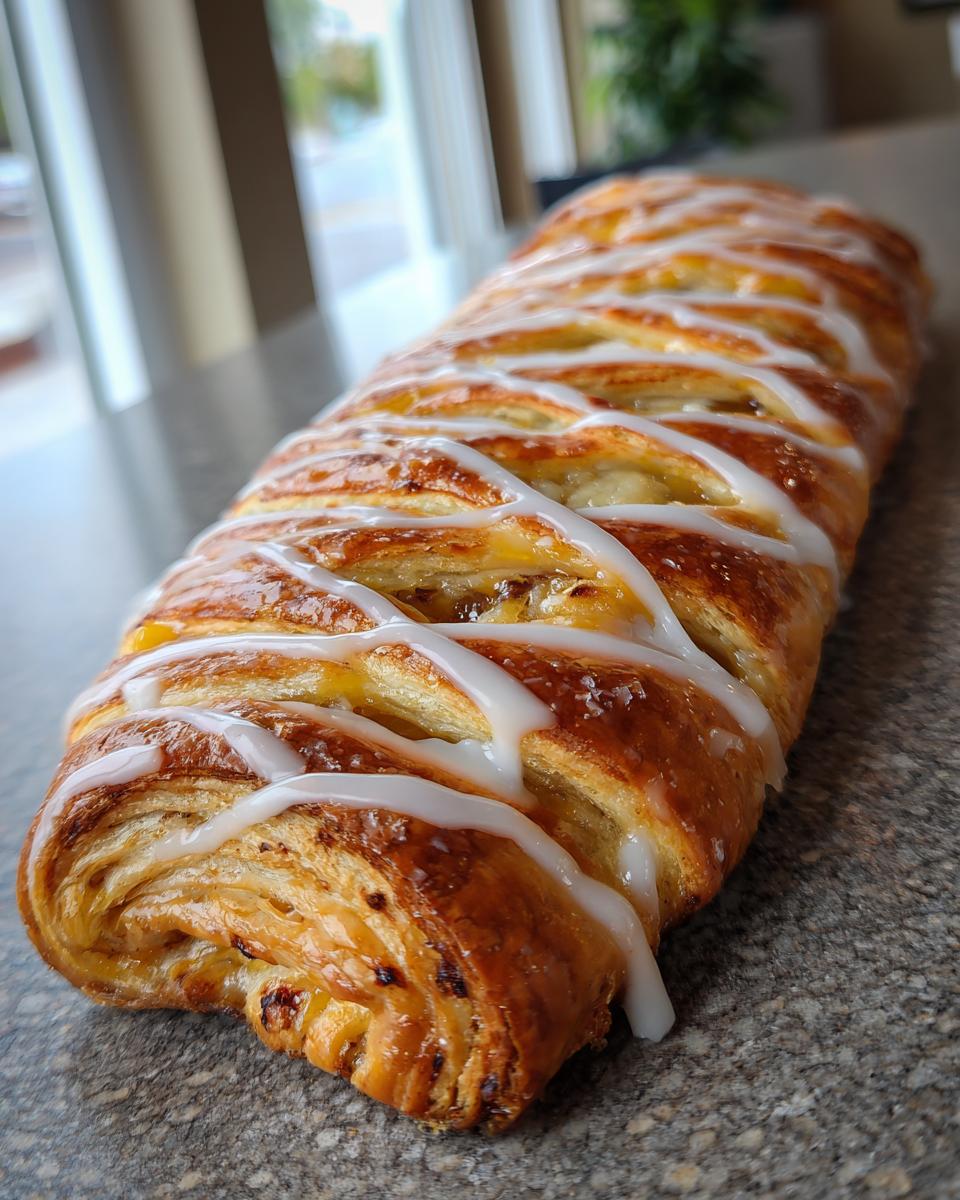
Here’s where they start looking like real danishes! Take the empty half of each pastry rectangle and score it with your knife to make strips – think of it like a little fancy lattice work. Gently fold these strips over the cream cheese filling, crisscrossing them as you go. If that sounds a bit fiddly, you can totally just fold the pastry in half to enclose the filling, it’ll be just as yummy! Place your assembled danishes onto a baking sheet that you’ve lined with parchment paper. Pop them into your preheated oven at 400°F (200°C) and bake for about 15 to 20 minutes. You’re looking for them to be beautifully golden brown and puffed up like little clouds!
Creating the Perfect Vanilla Glaze
While those gorgeous danishes are doing their thing in the oven, let’s whip up that sweet glaze. In a small bowl, whisk together the powdered sugar and about 1 tablespoon of milk. Keep stirring and adding just a tiny bit more milk, a teaspoon at a time, until you get a smooth, pourable consistency. You want it to be thick enough to coat the danishes but still drizzle easily. You can find more ideas on making vanilla glaze if you’re feeling extra adventurous!
Tips for the Best Cheese Danish Every Time
You know, even with the easiest recipes, a few little tricks can make all the difference between a good bake and a *great* bake. I’ve learned a thing or two from my kitchen adventures, and I want to share them so your cheese danishes turn out absolutely perfect every single time. These aren’t complicated, just little things that really elevate them!
- Watch That Puff Pastry! Seriously, handle it gently. If it gets too warm, puff pastry can get greasy and won’t puff up as nicely. If it feels a bit soft while you’re cutting, just pop it back in the fridge for 5-10 minutes. Trust me, patience here pays off in flaky layers!
- Soften, Don’t Melt, the Cream Cheese: This is a big one for the filling! You want that cream cheese nice and soft so it beats up smooth, but if it’s too warm or melty, your filling can become runny. Softened to room temperature is key.
- Don’t Overfill: I know it’s tempting to pile on that delicious cream cheese mixture, but if you put too much, it can ooze out during baking, making a bit of a mess and leaving you with less pastry. A good dollop in the middle with a border is just right!
- Listen to Your Oven: Ovens can be quirky! Keep an eye on your danishes as they bake. That 15-20 minute window is a guideline. If they’re browning too fast, you can always loosely tent them with foil. And that golden brown color is your best clue they’re done.
- Glaze While Warm: Drizzling the glaze over slightly warm danishes helps it spread beautifully and set into a lovely coating. Too hot and it’ll just slide off; too cool and it might be too thick to drizzle nicely. Just perfectly warm is the sweet spot.
Variations for Your Cream Cheese Danish
Now, about getting creative! While these cheese danishes are absolutely divine just as they are with that creamy filling and sweet glaze, that’s the beauty of home baking – you can totally make them your own! If you love a fruity twist, try spooning a little bit of your favorite jam or preserves on top of the cream cheese *before* you fold over the pastry. Raspberry jam is a classic for a reason, but a nice pear preserve or some blueberry jam would be amazing too! Or, you could even add a small handful of fresh berries right on top of the cream cheese. For a savory twist, skip the glaze and sprinkle a little everything bagel seasoning over the top before baking. Yum!
Frequently Asked Questions About Cheese Danish
Got questions about whipping up these delightful cheese danishes? I’ve got answers! We want to make this baking project as smooth and enjoyable as possible, so here are some things folks often ask. If you’re looking for more ways to make brunch a breeze, our tips on easy brunch pastries are a great place to start!
Can I make the cheese danish ahead of time?
You totally can! You can prep the cream cheese filling a day ahead and keep it covered in the fridge. The assembled danishes (before baking) can also be covered and chilled for a few hours. Just bake them as usual, maybe adding a few extra minutes if they’re going in cold. You can also find more make-ahead magic in our make-ahead casseroles!
How should I store leftover cheese danishes?
These are best enjoyed fresh, but if you have leftovers (which is rare in my house!), store them in an airtight container at room temperature for up to 2 days. They might lose a *tiny* bit of their crispness, but they’ll still be super tasty, especially with that yummy glaze.
What can I substitute for puff pastry in a cheese danish?
While puff pastry is truly what makes these danishes so wonderfully flaky and bakery-style, if you’re really in a pinch, you *could* try using refrigerator crescent roll dough. Just unroll it carefully, press the seams together to make a flat sheet, and proceed. It won’t be *as* flaky, but it will still be delicious with that creamy filling!
Estimated Nutritional Information
Now, just a friendly reminder that these numbers are estimates! The exact nutritional info for your gorgeous cheese danishes can wiggle around a bit depending on the specific brands of puff pastry or cream cheese you use, and exactly how much glaze you drizzle. But, as a general idea, one danish typically comes in around:
- Calories: 350
- Fat: 22g
- Protein: 5g
- Carbohydrates: 30g
- Sugar: 20g
Still pretty fantastic for a treat that tastes this good, right?
Share Your Delicious Cheese Danish Creations!
I absolutely LOVE seeing your baking triumphs! Seriously, if you make these cheese danishes, please, please share your photos and tell me all about it in the comments below. Did you try a fun variation? Did the kids help out? I’d love to hear from you! You can also reach out directly through our contact page. Happy baking!
PrintEasy Cream Cheese Danish

A simple recipe for bakery-style cream cheese danishes using puff pastry, featuring flaky layers and a sweet vanilla glaze. Perfect for brunch or a weekend baking project.
- Prep Time: 15 min
- Cook Time: 20 min
- Total Time: 35 min
- Yield: 4 servings 1x
- Category: Breakfast
- Method: Baking
- Cuisine: American
- Diet: Vegetarian
Ingredients
- 1 sheet puff pastry, thawed
- 8 ounces cream cheese, softened
- 1/4 cup granulated sugar
- 1 egg yolk
- 1 teaspoon vanilla extract
- 1/4 cup powdered sugar
- 1–2 tablespoons milk
- Optional: fruit preserves or fresh berries
Instructions
- Preheat your oven to 400°F (200°C). Line a baking sheet with parchment paper.
- Unfold the puff pastry sheet onto a lightly floured surface. Cut it into 4 equal rectangles.
- In a medium bowl, beat together the softened cream cheese, granulated sugar, egg yolk, and vanilla extract until smooth.
- Place about 2 tablespoons of the cream cheese mixture onto one half of each puff pastry rectangle, leaving a small border.
- Score the other half of the puff pastry rectangle with a knife, creating strips. Fold these strips over the cream cheese filling, crisscrossing them to create a lattice effect. Alternatively, you can simply fold the pastry in half to enclose the filling.
- Place the danishes on the prepared baking sheet.
- Bake for 15-20 minutes, or until the pastry is golden brown and puffed.
- While the danishes are baking, whisk together the powdered sugar and milk in a small bowl until you reach a smooth, drizzly consistency for the glaze.
- Remove the danishes from the oven and let them cool slightly on the baking sheet before transferring them to a wire rack.
- Drizzle the vanilla glaze over the warm danishes. Add fruit preserves or berries if desired.
Notes
- For extra flaky layers, ensure your puff pastry is well-chilled before working with it.
- You can make the cream cheese filling ahead of time and store it in the refrigerator.
- These danishes are best enjoyed fresh, but leftovers can be stored in an airtight container at room temperature for up to 2 days.
Nutrition
- Serving Size: 1 danish
- Calories: 350
- Sugar: 20g
- Sodium: 250mg
- Fat: 22g
- Saturated Fat: 12g
- Unsaturated Fat: 10g
- Trans Fat: 0g
- Carbohydrates: 30g
- Fiber: 1g
- Protein: 5g
- Cholesterol: 60mg