
You know that feeling when you pull the perfect cake out of the oven, only to realize your frosting is either too runny to hold any shape, or so stiff it cracks when you try to spread it? Ugh, the struggle is real! I’m Maddie, and after testing batch after batch in my own real-world kitchen, I finally cracked the code on the stuff dreams are made of: the ultimate fluffy **vanilla buttercream** frosting. This isn’t some slap-dash recipe; this is my trusted formula for achieving that rich, creamy, bakery-style finish that’s stable enough for piping the fanciest swirls on your cupcakes. Trust me, you won’t need a specialty mixer for this simple homemade buttercream; just follow my lead and get ready for success!
- Why This is the Ultimate Vanilla Buttercream for Your Cakes
- Ingredients for Your Easy Homemade Buttercream
- The American Buttercream Tutorial: Step-by-Step Instructions
- Troubleshooting Common Issues with Your Vanilla Buttercream
- Tips for Decking Out Cakes with Buttercream
- Storage and Reheating Instructions for Classic Vanilla Icing Recipe
- Frequently Asked Questions About Making Vanilla Buttercream
- Estimated Nutritional Data for This Dessert Topping Recipe
- Share Your Perfect Vanilla Buttercream Creations
Why This is the Ultimate Vanilla Buttercream for Your Cakes
I know you’ve been frustrated trying to find that perfect topping—something that tastes incredible but doesn’t melt into a puddle five minutes after you frost the cake, right? That’s exactly why I spent so much time developing this recipe for the ultimate vanilla buttercream. It hits all the marks you need for real home baking success, especially when you want it to look like it came from a professional bakery. If you’ve ever struggled with a runny topping, stick with me, because this formula works every single time.
Here’s why I swear by this particular method when I’m whipping up a batch for cupcakes or a birthday cake. This recipe is your new go-to for an easy homemade buttercream:
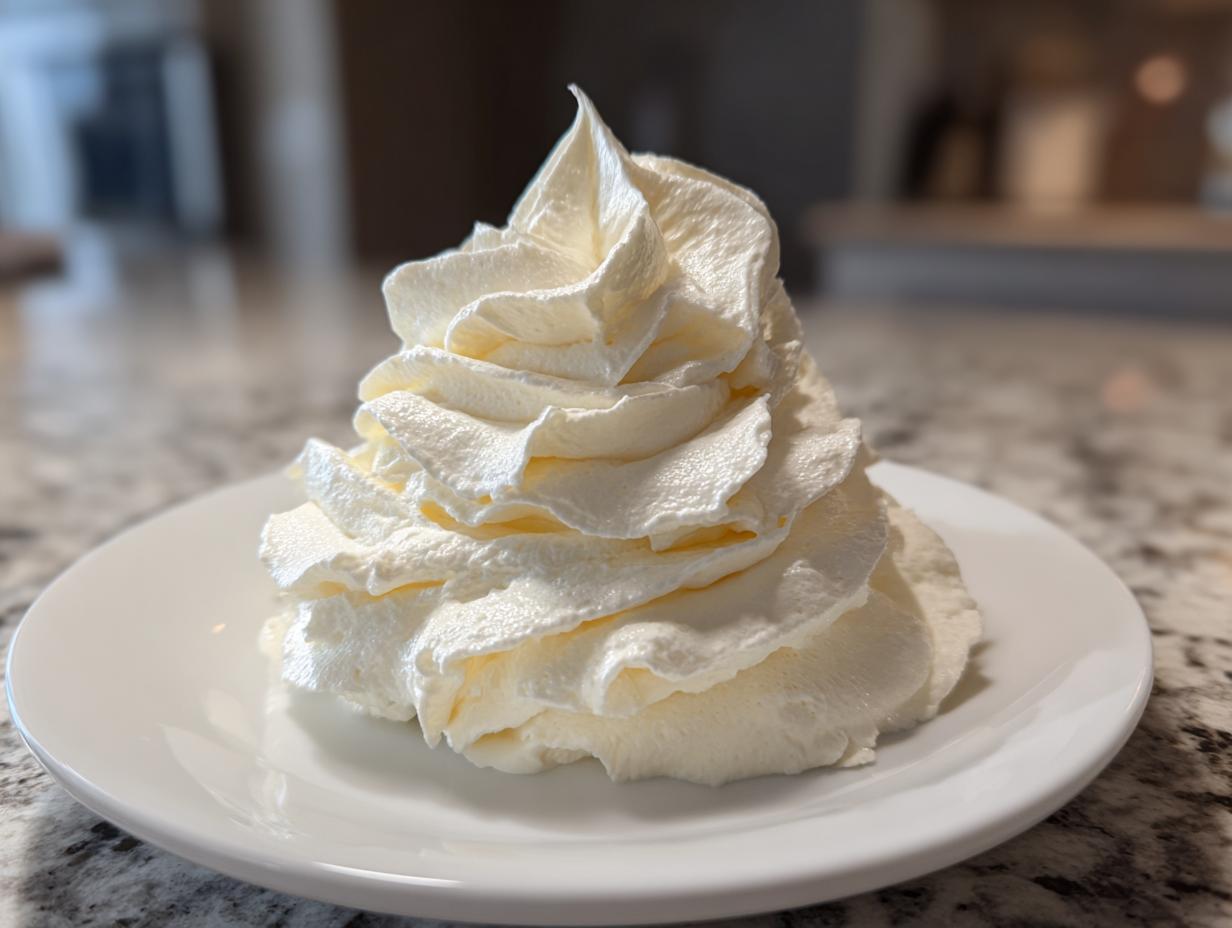
- It creates the most beautifully fluffy vanilla buttercream you’ve ever tasted. Seriously light, but still wonderfully rich!
- It’s ready shockingly fast—we’re talking about under 10 minutes! It’s the answer for a quick vanilla frosting fix.
- It’s perfect for decorating! This formula results in a stable buttercream for piping sharp stars and beautiful borders without losing its shape. Honestly, it’s the best vanilla frosting for cakes when you need hold.
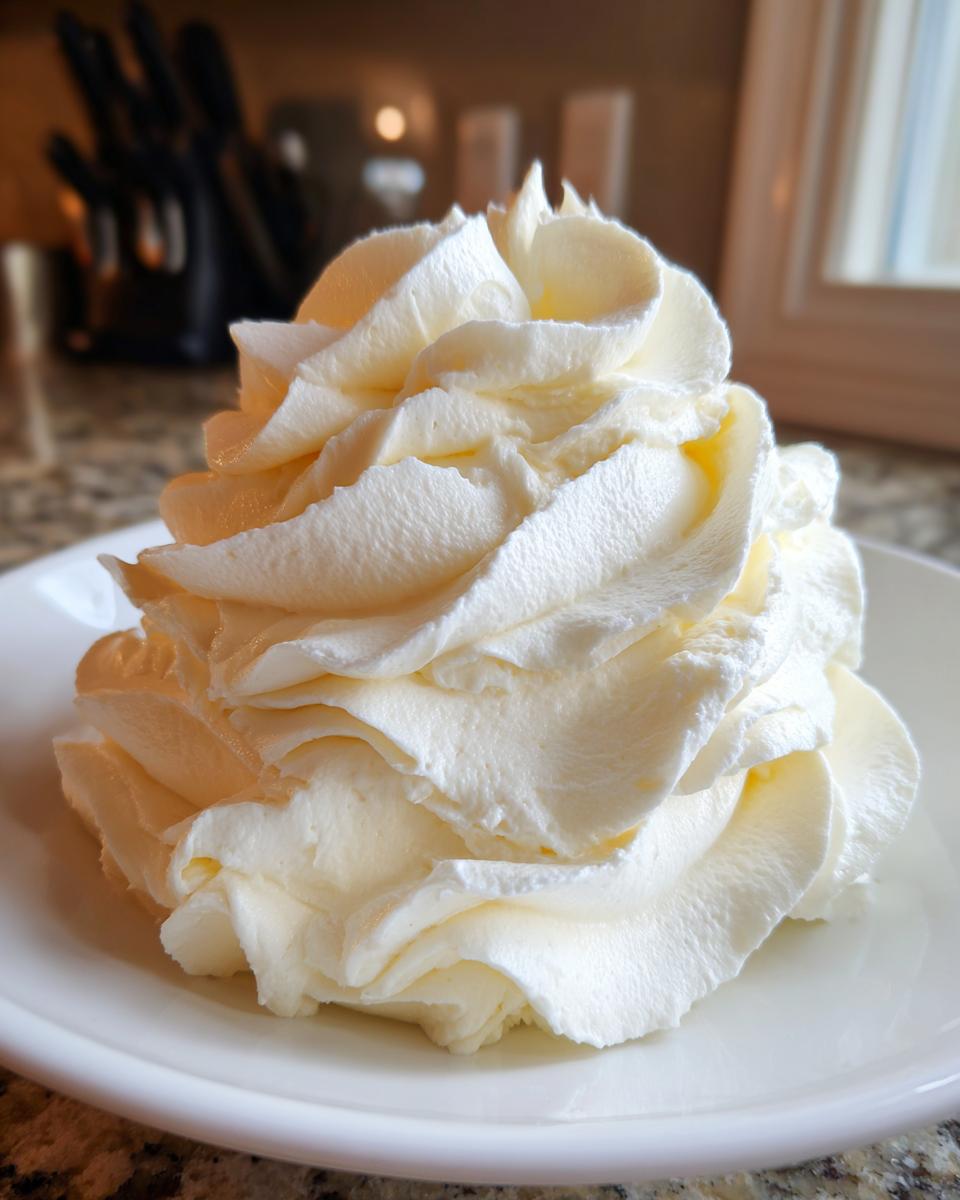
Achieving Bakery-Style Texture: Rich, Fluffy, and Smooth
The secret to the texture isn’t any fancy ingredient; it’s the whipping! We beat the butter and sugar for a good amount of time—that extended whipping is what forces air into the mixture. That little bit of extra time creates those lovely air pockets that lift the whole frosting up, turning it into that incredibly light and smooth texture that feels like a dream when you frost. It’s essential for that creamy frosting recipe goal!
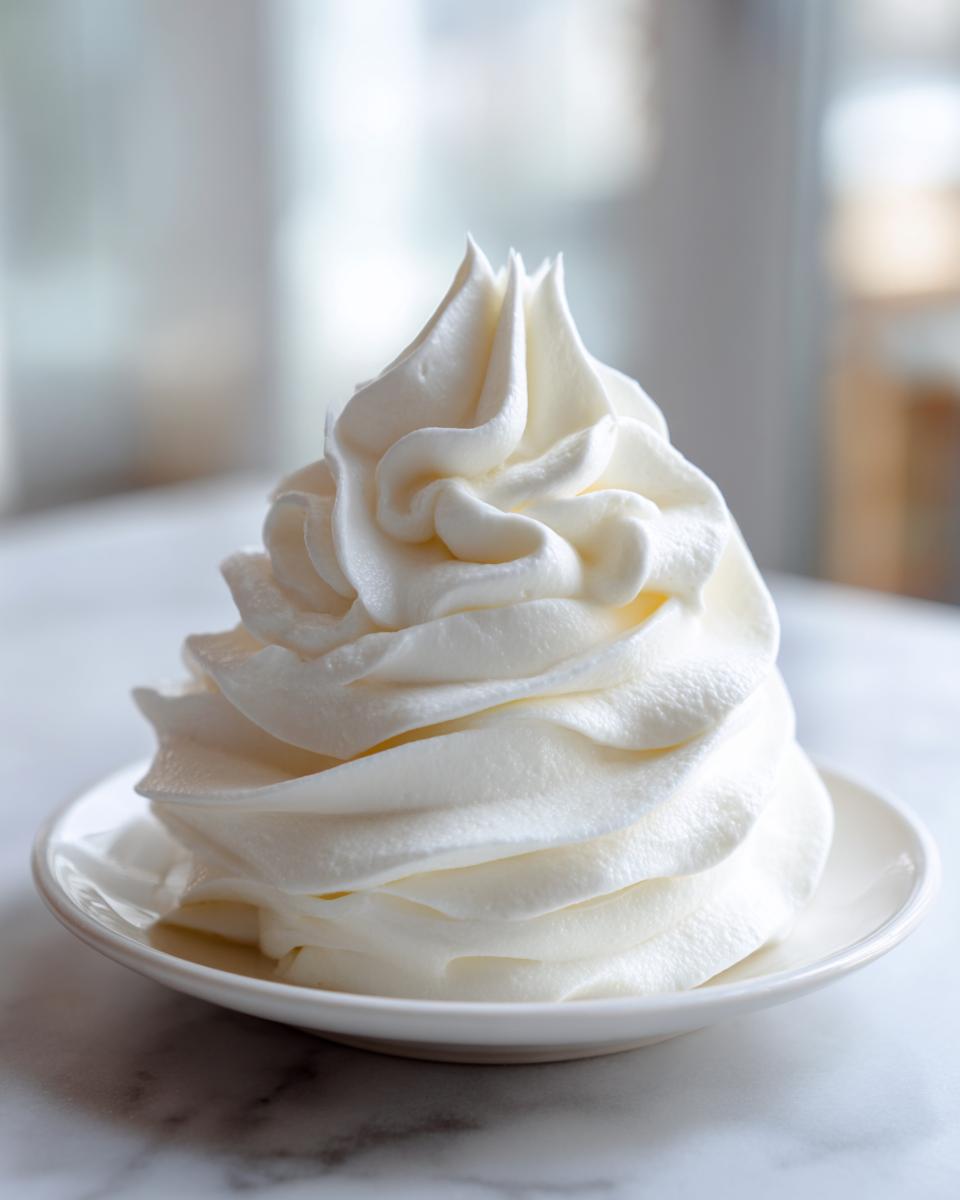
The Secret to Stable Buttercream for Piping Designs
If you need to deck out cakes, you can’t mess around with weak frosting. Because this is a classic American buttercream, it sets up beautifully firm. Once it’s mixed just right, it holds those crisp lines for piping intricate designs. When I need to pipe swirls or leaves, I know this formula is dependable. My notes on cream cheese frosting alternatives show I value stability, and this version delivers it!
Ingredients for Your Easy Homemade Buttercream
The beauty of this vanilla buttercream is that it uses pantry staples. No weird extracts or expensive stabilizers—just good, honest ingredients treated right. When I worked on this alongside my mom, we quickly learned that the *quality* of these simple components totally changes the outcome. This is the list you need to gather before you even turn on the mixer. If you want to see what I use instead sometimes, check out my post on pumpkin bar toppings!
- 1 cup unsalted butter, softened to room temperature
- 4 cups powdered sugar, sifted
- 1 teaspoon pure vanilla extract
- 2 to 4 tablespoons whole milk or heavy cream
- 1/4 teaspoon salt
Ingredient Notes and Substitutions for Perfect Vanilla Buttercream
Okay, now for the truly important part: the details! Even with only five ingredients, precision matters for that smooth finish.
First, the butter. It has to be room temperature. I mean it! If it’s too cold, it won’t cream properly. If it’s melted or greasy, you’ll end up with soup, not frosting. You should be able to press your finger into the stick and leave a gentle dent without sinking straight through—that’s the sweet spot.
Second, the sugar MUST be sifted. Skipping this step is the fastest way to get little, gritty lumps in your perfect batch. We are aiming for a smooth vanilla buttercream here, and sifting takes two seconds but saves the whole batch.
Finally, the vanilla! Please, please, please use *pure* vanilla extract. The imitation stuff leaves this weird, artificial aftertaste that just battles the beautiful sweetness of the sugar. Using the real deal is how you guarantee that signature rich vanilla flavor frosting everyone loves.
The American Buttercream Tutorial: Step-by-Step Instructions
This is where the magic happens! Even though this is an American buttercream tutorial, we want it to look refined, not grainy. I’ve broken this down so carefully because the timing on the whipping is absolutely everything if you want that dreamy texture. Remember that promise of a no fail frosting recipe? It all comes down to patience during the mixing stages. I always put my cookies recipe on hold when it’s buttercream time because these steps can’t be rushed!
Creaming the Butter for a Smooth Vanilla Buttercream Base
First up is Step 1, which is all about the butter. Get that softened butter into your stand mixer—paddle attachment only, please! You need to beat the butter on medium speed until it looks truly smooth and creamy. This usually takes me about two minutes. Don’t just glance at it! You need to scrape down the sides of that bowl thoroughly, because any unmixed butter won’t emulsify correctly later. When it’s ready, it should look homogenous, totally uniform, and spreadable.
Incorporating Sugar and Achieving Fluffy Vanilla Buttercream
Next, we move to the sugar. This is crucial: add the sifted powdered sugar slowly, just one cup at a time, keeping the mixer on low speed. If you dump it all in, you’ll instantly create a sugar cloud, creating a huge disaster zone in your kitchen! Once it’s combined after each addition, toss in your vanilla and salt. Now, here’s where we get that famous lift! Increase your mixer speed to medium-high and beat this mixture for a full 3 minutes. This whipping time is what gives you that wonderful fluffy vanilla buttercream result. Scrape down the sides one last time before adding the milk.
Finally, add only 2 tablespoons of your milk or cream and crank the speed back up for another solid 2 to 3 minutes until you see it smoothing out. If it’s too stiff for spreading, add the rest of the milk one teaspoon at a time until it’s perfect for your needs. If you end up following the steps from this recipe and everything looks right, you are golden!
Troubleshooting Common Issues with Your Vanilla Buttercream
Even with the best recipe, sometimes the kitchen throws us a curveball, right? Don’t panic if your mixture isn’t looking magazine-perfect immediately! Knowing these simple kitchen fixes is part of mastering any classic vanilla icing recipe. Learning these little tricks separates the casual baker from someone who truly understands buttercream consistency secrets. If you’re running into trouble, don’t toss the bowl—we can usually bring it right back to that smooth, spreadable dream!
Fixing Frosting That Is Too Soft for Piping
This is the most common issue, especially if your kitchen is warm! If you’ve added all your liquid and your frosting is currently doing the ‘puddle’ look instead of holding sharp peaks, you need to cool it down and firm it up, fast. My first instinct is to stop the mixer, cover the bowl, and pop the whole thing into the fridge for about 10 to 15 minutes. Don’t let it sit too long, or it will get rock hard!
When you take it out, give it a quick whip on medium speed just to loosen it up again. If it’s still too soft for those intricate piping designs you’re dreaming of, add maybe one extra tablespoon of sifted powdered sugar while mixing on low speed. Be cautious about adding more sugar, though, because too much can make it crumbly later. If you’re desperate for stability right now, chill it again! Check out what the folks at YumSavor advise on consistency adjustments, too; sometimes a second opinion helps!
Correcting a Grainy or Separated Creamy Frosting Recipe
Grainy frosting usually means one of two things: either you didn’t beat the butter and sugar long enough in the beginning, or your powdered sugar wasn’t sifted well. Remember how I stressed sifting? Those tiny sugar clumps won’t dissolve if the butter isn’t properly aerated first.
If it looks grainy, try beating it on medium-high speed for an extra 5 minutes *before* you panic. Sometimes, running the mixer longer actually smooths everything out as the friction helps everything incorporate.
If it looks separated—like the fat is breaking away from the sugar—it usually means you added your liquid (milk or cream) too fast. Don’t worry; we can fix that! Turn the mixer down to low and drizzle in just one *tiny* teaspoon of milk or cream while it’s running. Then, beat it on medium speed again. That little bit of extra liquid often acts like a gentle binder to bring the whole creamy frosting recipe back together.
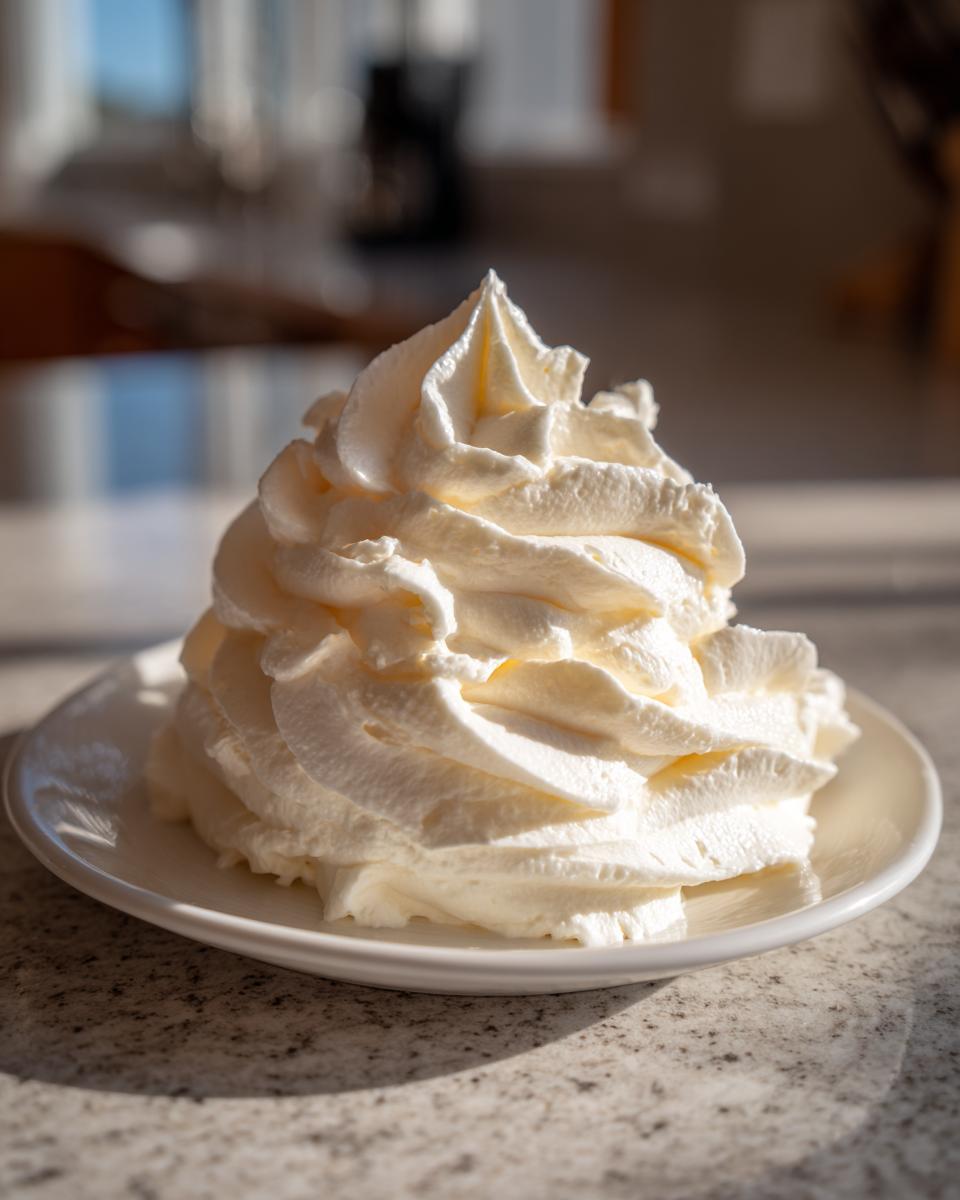
Tips for Decking Out Cakes with Buttercream
Okay, so you’ve got your perfectly fluffy vanilla buttercream, and now it’s time for the fun part: making that cake look like a masterpiece! If you want those crisp, sharp edges that look just like a professional did it, you need to handle the frosting while it’s cool, not warm.
For coloring, please use gel food coloring, not the liquid kind you buy at the grocery store! Liquid coloring adds too much moisture, which can suddenly turn your stable frosting into that slightly runny texture we hate. A tiny toothpick dip of gel coloring goes a long way, and you can mix any shade you can dream up.
And listen, if you’re trying to frost a layer cake and it keeps getting messy, here’s my trick: apply a very thin “crumb coat” layer first. This is just enough to trap all those annoying loose crumbs. Once that thin coat is set (maybe 15 minutes in the fridge!), you can come back with the rest of your beautiful frosting for the final coat. It makes clean finishing so much easier! If you need ideas for creamy fillings, you should see how I handle lemon fillings!

Storage and Reheating Instructions for Classic Vanilla Icing Recipe
It’s almost painful to put away frosting that looks this good, but trust me, knowing how to store your vanilla buttercream correctly means you can enjoy it later! Because this is an American buttercream—meaning it’s mostly butter and sugar—it’s quite stable, which is great news for us bakers who like to prep ahead. If you’re whipping up a giant batch to use over the next couple of days, this is your guide to keeping it flawless.
For short-term storage, keeping it right on the counter is usually fine, provided your kitchen isn’t overly warm. This classic vanilla icing recipe does really well at room temperature for about 24 hours. Just make sure you wrap it tightly! I cover the bowl completely with plastic wrap, pressing the wrap directly onto the surface of the frosting to prevent a hard skin from forming. If you’re using an airtight container, that works perfectly too.
If you need to keep this wonderful topping for longer than a day, the refrigerator or freezer is the way to go. For the fridge, use that same airtight container or wrap method. It should last nicely for about a week there. If you’re planning months ahead, pop the covered container into the freezer—it keeps beautifully for up to three months!
Now, here’s the crucial part, which I learned the hard way when I tried to frost a cake straight from the fridge: you have to bring it back to life! Never try to spread or pipe frosting that’s cold and stiff. When you pull it out of the fridge or freezer, let it sit on the counter until it’s softened again. Once it’s pliable, it will probably look a little weird or slightly separated. Don’t worry! Just pop it back into your mixer bowl and beat it for about 3 to 5 minutes on medium speed. That final whip incorporates the air back in and gets it back to that perfect, smooth, spreadable texture we’re aiming for. It’s amazing how that little re-whipping step rejuvenates the whole thing, giving you that perfect consistency for spreading or piping all over again, just like the instructions on this site suggest!
Frequently Asked Questions About Making Vanilla Buttercream
I get so many wonderful questions whenever I post this recipe! It really is one of those kitchen essentials that everyone needs in their back pocket. Since we designed this to be the best vanilla frosting for cakes, people often wonder about timing and tweaks. Here are the top things folks ask me about making this foolproof batch of vanilla buttercream. For more reliable basics, you can always check out my guide on easy cornbread recipe!
Can I make this quick vanilla frosting 10 minutes recipe ahead of time?
The technical answer is yes, but I strongly suggest using it right away! We list the prep time as 10 minutes because that’s how fast you can whip up that gorgeous, fluffy texture. For absolute peak fluffiness and the best spreadability, you want to use it immediately after that final whipping phase. If you *must* make it ahead, go ahead and mix it, then chill it tightly wrapped. Just remember what I said in the storage section: you absolutely need to bring it back to room temperature and give it a good 3 to 5-minute re-whip in the mixer before you even think about decorating anything. That re-whipping is the key to recovery!
What is the difference between this and a whipped vanilla frosting recipe?
That’s a fantastic question, and people mix these terms up all the time! What we have here is a classic American buttercream. Because we beat the butter and sugar for several minutes at high speed, it certainly *is* light and fluffy—it’s certainly much fluffier than a simple powdered sugar glaze. But when people talk about a true “whipped vanilla frosting recipe,” they often mean it includes something like heavy cream added in, or sometimes it’s a Swiss or Italian meringue base.
Our version is firmer and sweeter, which is why it’s the stable buttercream for piping you want. It’s perfect for holding its shape on a hot day, which meringue-based frostings sometimes struggle with. Stick with this formula if you want that classic, super-sweet, dependable topping that tastes like childhood!
How do I get that intense rich vanilla flavor frosting?
This might sound repetitive, but seriously, it comes down to the vanilla itself! Since this recipe has such a high butter and sugar content, the vanilla note has to be strong to shine through. If you use imitation vanilla, you’ll just taste sweet butter. If you use a weak vanilla, it fades into the background.
My biggest tip, which I mentioned in the ingredient notes, is using high-quality, *pure* vanilla extract. If you want to amp it up even more (and this is just for grown-ups, by the way!), swap one tablespoon of the milk/cream for good quality bourbon or vanilla bean paste. That paste really adds deep speckles and an incredible depth of flavor that makes this recipe sing. It elevates it right into that perfect category of easy homemade buttercream that tastes anything but easy!
Estimated Nutritional Data for This Dessert Topping Recipe
I always want you to know what you’re working with in the kitchen, even if we’re making something strictly for celebration! Since this vanilla buttercream is made of simple components, the numbers are pretty straightforward. Keep in mind that these figures are what I calculated based on the portions in my recipe above, so your mileage might slightly vary depending on the exact brands of butter or milk you use. But overall, this gives you a good benchmark for this rich topping!
Here is the estimated nutritional breakdown for a single serving (which we defined as 1/4 cup of the finished frosting):
- Serving Size: 1/4 cup
- Calories: 350
- Sugar: 45g
- Sodium: 50mg
- Fat: 18g
- Saturated Fat: 11g
- Unsaturated Fat: 7g
- Trans Fat: 0g
- Carbohydrates: 48g
- Fiber: 0g
- Protein: 1g
- Cholesterol: 55mg
It’s definitely a treat, and that’s why this dessert topping recipe is for special occasions! Because this is an estimate, please treat these numbers as a general guideline rather than strict dietary facts. But honestly, when it tastes this good, knowing the exact grams of sugar isn’t what you’re focusing on anyway, right? You’re focusing on getting that perfect, smooth vanilla buttercream on top of your cake!
Share Your Perfect Vanilla Buttercream Creations
Now that you have the secret to the absolute best vanilla frosting for cakes, I just have to see what you create! Honestly, seeing your finished bakes is the best part of my job here at MDLATDMM Recipes. When you nail that consistency and get those sharp edges for decorating, you should be proud!
If you followed along and this recipe gave you the flawless, fluffy vanilla buttercream you were hoping for, please drop a five-star rating right below this post. It really helps other home cooks find reliable recipes!
And if you decorated a killer cake or showed off some stunning cupcake swirls using this stable buttercream for piping, I would absolutely love to see it! Tag me on social media so I can swoon over your work. You can learn more about my own kitchen story while you’re over there. Or, if you tried a technique from somewhere else, feel free to compare notes—like maybe checking out some ideas over at Natasha’s Kitchen. Happy baking, friends. Go make something beautiful with that creamy frosting recipe!
PrintUltimate Fluffy American Vanilla Buttercream Frosting for Piping
Make the best vanilla buttercream frosting that is rich, fluffy, and creamy. This American buttercream recipe is stable enough for piping intricate designs on cakes and cupcakes, delivering flawless, bakery-style results every time.
- Prep Time: 10 min
- Cook Time: 0 min
- Total Time: 10 min
- Yield: About 3 cups 1x
- Category: Dessert Topping
- Method: Mixing
- Cuisine: American
- Diet: Vegetarian
Ingredients
- 1 cup unsalted butter, softened to room temperature
- 4 cups powdered sugar, sifted
- 1 teaspoon pure vanilla extract
- 2 to 4 tablespoons whole milk or heavy cream
- 1/4 teaspoon salt
Instructions
- Place the softened butter in the bowl of a stand mixer fitted with the paddle attachment. Beat the butter on medium speed until it is smooth and creamy, about 2 minutes. Scrape down the sides of the bowl.
- Gradually add the sifted powdered sugar, one cup at a time, mixing on low speed until just combined after each addition.
- Add the vanilla extract and salt. Increase the mixer speed to medium-high and beat for 3 minutes until the mixture is light and fluffy. Scrape down the sides again.
- Add 2 tablespoons of milk or cream. Beat on medium-high speed for another 2 to 3 minutes until the frosting is smooth and reaches your desired consistency. If the frosting seems too stiff for spreading, add the remaining milk one teaspoon at a time until you achieve the perfect texture for your needs.
- If you need a stiffer consistency for detailed piping, reduce the liquid slightly or add a tablespoon more powdered sugar. Beat for one final minute to incorporate air for maximum fluffiness.
Notes
- For the smoothest texture, ensure your butter is truly at room temperature—soft but not melted.
- Sifting the powdered sugar prevents lumps, which helps achieve a flawless, smooth vanilla buttercream.
- If the frosting seems too soft for piping, chill it in the refrigerator for 15 minutes before using.
- To achieve a richer vanilla flavor, use high-quality vanilla extract.
Nutrition
- Serving Size: 1/4 cup
- Calories: 350
- Sugar: 45g
- Sodium: 50mg
- Fat: 18g
- Saturated Fat: 11g
- Unsaturated Fat: 7g
- Trans Fat: 0g
- Carbohydrates: 48g
- Fiber: 0g
- Protein: 1g
- Cholesterol: 55mg