
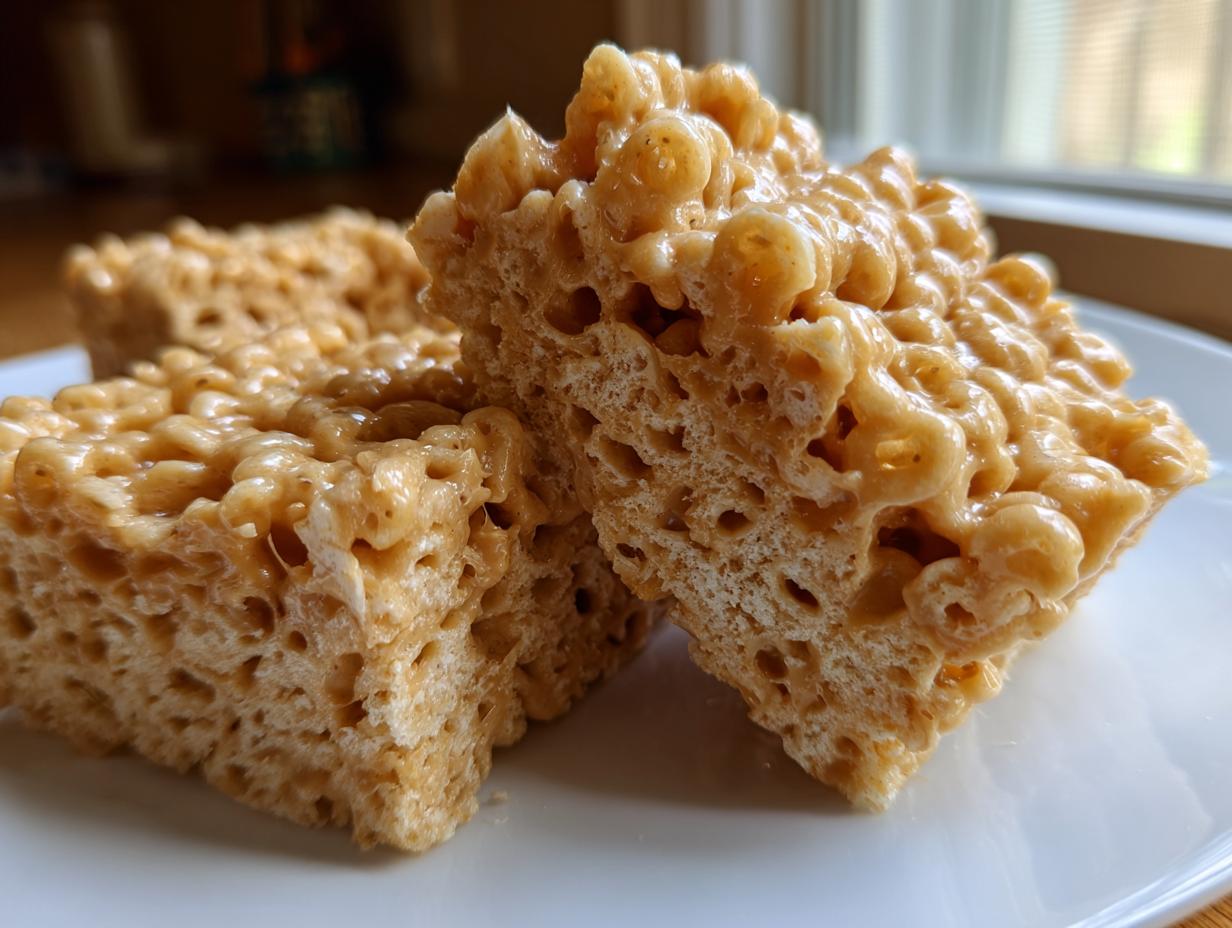
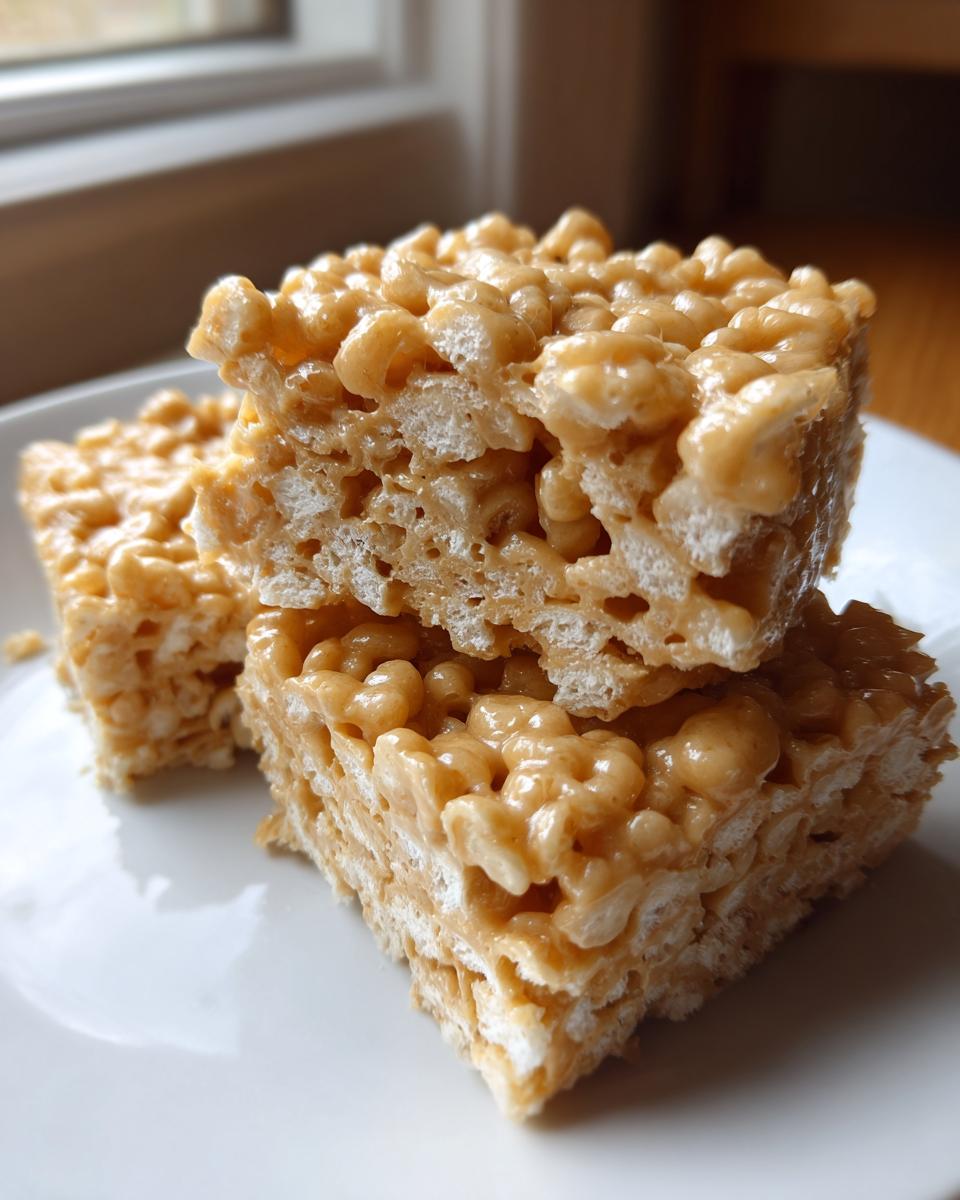
Oh, you know that feeling when you just crave something that tastes exactly like childhood? Something sweet, a little salty, and requires zero oven time? I get it! That’s why these peanut butter rice krispie treats are my absolute go-to when I need a quick nostalgic fix. They are, without question, the very best. Forget those hard, crumbly squares you sometimes find; my version delivers that perfect, irresistible gooey and chewy texture you dream about, using just a handful of ingredients.
Here at MDLATDMM Recipes, we stand by bringing you time-honored American classics that actually work for your busy life. This recipe embodies that philosophy perfectly—it’s straightforward, unbelievably delicious, and designed to give you reliable results every single time. If you are looking for quick things to whip up even when you’re focusing on making quick breakfast ideas, these treats are the perfect no-bake solution!
- Why This Peanut Butter Rice Krispie Treats Recipe Is a Must-Make
- Gathering Ingredients for Homemade Peanut Butter Krispie Bars
- Step-by-Step Instructions for Perfect Peanut Butter Rice Krispie Treats
- Expert Tips for the Best Peanut Butter Rice Krispies
- Variations: Chocolate Peanut Butter Rice Krispie Treats (Scotcharoo Style)
- Storage and Making Ahead Peanut Butter Marshmallow Squares
- Frequently Asked Questions About Peanut Butter Rice Krispie Treats
- Nutritional Estimates for Peanut Butter Rice Krispie Treats
- Share Your Nostalgic Childhood Treats Experience
Why This Peanut Butter Rice Krispie Treats Recipe Is a Must-Make
Seriously, if you need a Quick Peanut Butter Dessert that satisfies your sweet tooth without asking for much effort, this is it. These treats are everything you want: chewy, nutty, and done before preheating your oven! Pop over to my guide on quick weeknight dinners later, but for now, let’s talk about these bars.
- Easy No Bake Peanut Butter Squares: They come together right on the stovetop, making cleanup a breeze. You’re probably looking at less than 15 minutes of actual hands-on work!
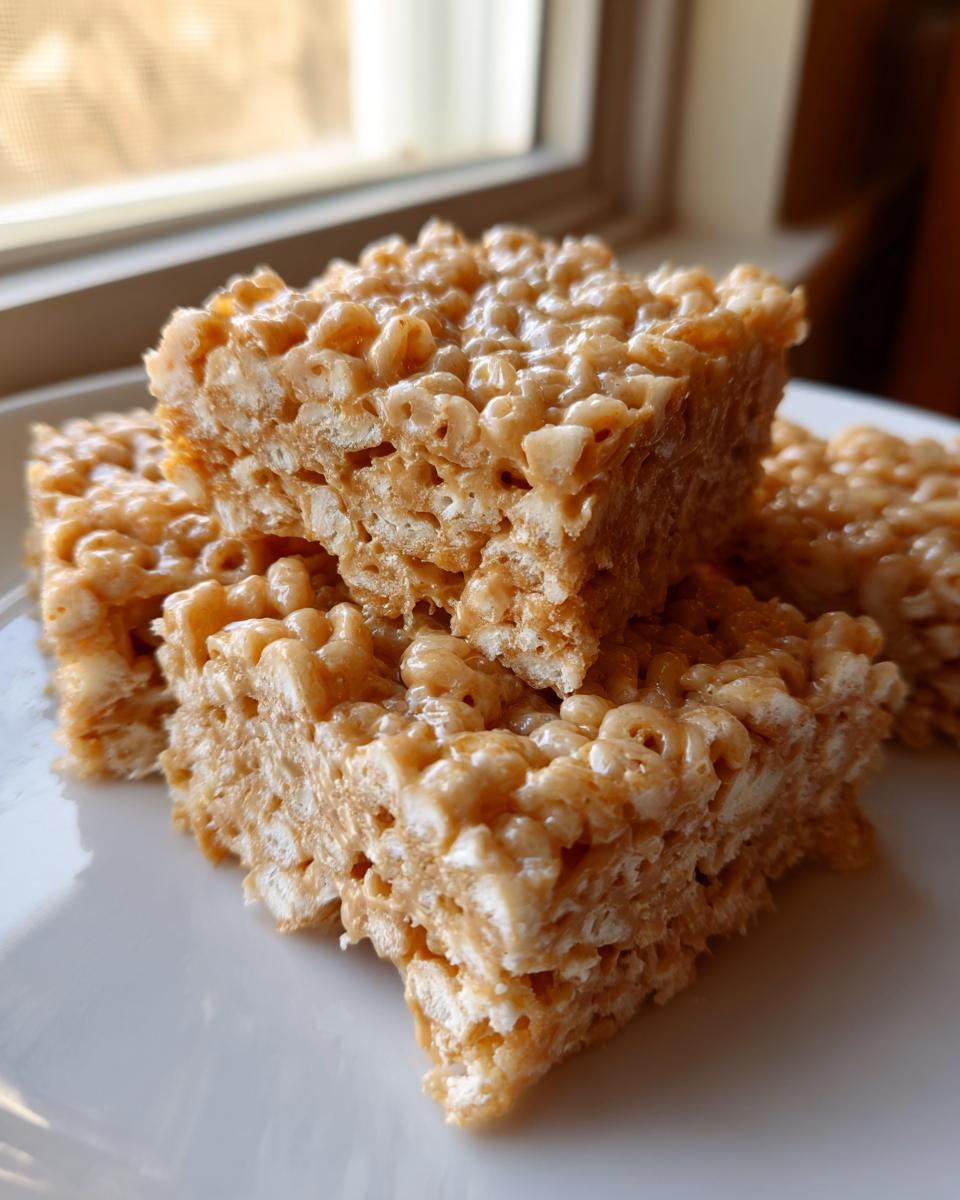
Achieving the Perfect Gooey Rice Krispie Treats with Peanut Butter Texture
The secret here is treating those marshmallows right. If you use fresh marshmallows—and please, trust me on this one, use fresh ones!—and you don’t scorch them on the pot, they stay beautifully elastic. This elasticity is what guarantees you get those wonderfully Gooey Rice Krispie Treats with Peanut Butter that never get hard or crumbly on you later.
Simple 4 Ingredient Rice Krispie Treats Base
When the cravings hit hard, you don’t want to hunt down specialty items. This recipe is built strong! The core of these bars relies on just four main pantry staples, which means you likely have everything you need right now to get started on your new favorite batch of Chewy Peanut Butter Cereal Bars.
Gathering Ingredients for Homemade Peanut Butter Krispie Bars
Okay, let’s talk about what you need to pull off these amazing Homemade Peanut Butter Krispie Bars. Making sure you have the right stuff on hand is half the battle, and just like my grandmother taught me about baking, clear measurements make everything reliable. I promise, the list is short, which is why this is such a fantastic delicious dessert recipe option!
You’ll need these exact components for the perfect result:
- 6 cups Rice Krispies cereal (Don’t skimp here; we measure for that perfect crunch-to-goo ratio!)
- 1 (10 ounce) package marshmallows (Make sure these are nice and fresh!)
- 1/2 cup creamy peanut butter (Use creamy, not the runny natural kind, for the best binding!)
- 4 tablespoons unsalted butter (I always use unsalted so I can control the final salt level.)
- 1 teaspoon vanilla extract
That’s it! See? So simple. Having these ingredients ready to go means you can transition straight from reading this to stirring things on the stovetop in minutes. It’s such a satisfying feeling when you realize you can make something this delicious with just five things!
Step-by-Step Instructions for Perfect Peanut Butter Rice Krispie Treats
Alright, team, this is where the magic happens! Making these peanut butter rice krispie treats is super quick, but timing is everything if you want that chewy texture we are aiming for. Don’t rush it, even though it’s fast! Follow these steps exactly, and you’ll have a tray of deliciousness in under an hour total.
Preparing Your Pan and Cereal Base
First things first, you’ve got to get your pan ready so you don’t end up wrestling sticky goo later. I like to use a standard 9×13 inch baking pan. Grab some cooking spray or a tiny bit of butter and smear it all over, or for absolute zero sticking risk, line it with parchment paper so the edges hang over a little bit. That overhang is your handle later! While that’s sitting, measure out your 6 cups of Rice Krispies cereal into one of your biggest mixing bowls. You need a lot of space for folding later, so make sure that bowl is ready for action.
Melting Butter and Marshmallows on the Stovetop Peanut Butter Cereal Dessert
Now, move over to the stove for this Stovetop Peanut Butter Cereal Dessert phase. Use a big saucepan—you’ll thank me when everything melts evenly. Put your butter in over low heat. Low heat is your best friend here; if you crank it up, you risk burning the sugar in the marshmallows, and brown marshmallows equal tough, weird-tasting treats. Once the butter is melted, toss in all the marshmallows. Stir them constantly until they are completely smooth, glossy, and look like thick, melted cloud fluff. Seriously, keep stirring!
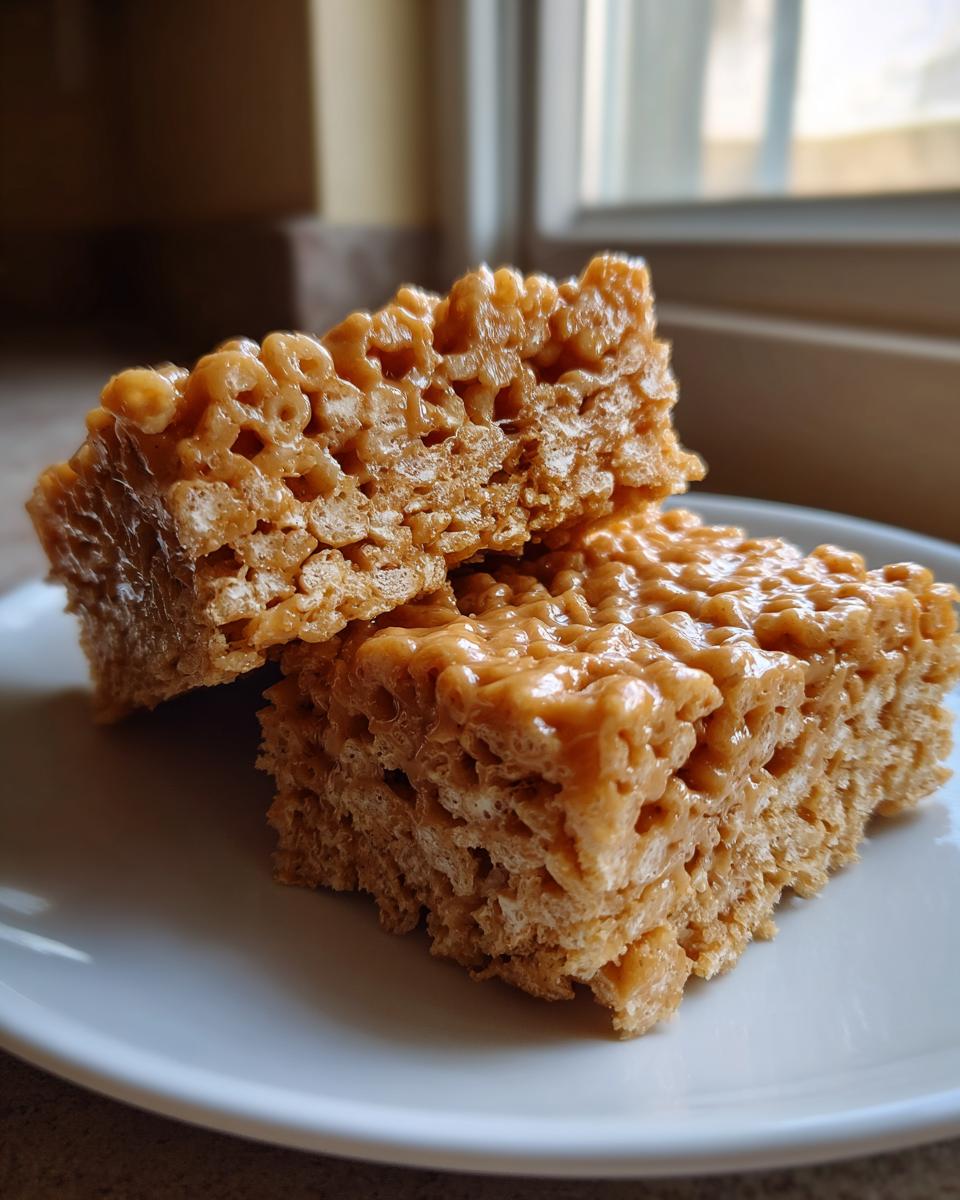
Combining Peanut Butter and Pressing Chewy Peanut Butter Cereal Bars
The instant those marshmallows are totally smooth, pull the pan OFF the heat. This is crucial! If you leave it on the burner, the residual heat will keep cooking them. Stir in the peanut butter and the vanilla extract until everything blends into one creamy, nutty mass. Now, dump that gooey mixture right over your cereal. Use a spatula—maybe one sprayed with non-stick spray—to gently fold everything together until that cereal is coated. When you press it into your prepared pan, here’s the golden rule for Chewy Peanut Butter Cereal Bars: press lightly! Don’t mash it down hard. Gentle pressure keeps them airy and chewy. Let them cool completely, usually about 30 minutes, and enjoy your perfect squares!
If you’re looking for ways to make sure you get great results in time for your next event, check out my notes on quick breakfast ideas for tips on efficient prep!
Expert Tips for the Best Peanut Butter Rice Krispies
Listen, I know these treats seem foolproof—they are just cereal and melted stuff, right? But if you want the absolute best, the dreamiest Peanut Butter Rice Krispie Treats Recipe that never lets you down, a few small tweaks make a huge difference. This is how we turn a standard snack into something special, channeling that simple care you find in all my favorite family recipes, like my guide to Jiffy Corn Casserole.
I learned the hard way that you can’t just throw things in a pot and walk away. I remember one day trying to speed things up, I turned the heat up right when the marshmallows went in. Big mistake! They started smelling caramelized almost immediately, and when I pressed them into the pan, they were stiff and almost crunchy when they cooled down. No chew! That day taught me that for these Peanut Butter Marshmallow Squares, low, slow heat is the secret to maintaining that perfect, soft texture.
Also, a quick tip for handling—if things get sticky? Don’t fight it! Lightly spray your hands or the spatula you are using with non-stick cooking spray before you press the mixture into the pan. It makes the world of difference and keeps your fingers clean while you get those bars perfectly level.
Ingredient Quality for Superior Peanut Butter Rice Krispie Treats Recipe
Since there are so few components here, the quality of each really shines through. You absolutely need to pay attention to the peanut butter and those marshmallows.
- The Marshmallows: Always go for fresh, puffy marshmallows. If your bag has been sitting in the pantry since last Halloween, toss it! Stale marshmallows don’t melt right; they get stringy instead of smooth, which messes up that signature gooey quality.
- Peanut Butter Matters: For this specific recipe, I insist on using classic, creamy peanut butter—like Jif or Skippy. Why? Because the natural kinds that separate (where the oil sits on top) have inconsistent fat and sugar levels. That inconsistency stops the mixture from binding properly, often leading to those sad, crumbly squares people complain about! Stick to the smooth, processed kind for the best binding results in your Peanut Butter Rice Krispie Treats.
Treat these ingredients with respect, and they will give you the chewiest, nuttiest snack imaginable!
Variations: Chocolate Peanut Butter Rice Krispie Treats (Scotcharoo Style)
Okay, I know these Peanut Butter Rice Krispie Treats are perfect standing alone, but if you’re anything like me, you look at that plain, golden top and think, “This needs chocolate.” And you’d be exactly right!
A huge chunk of folks searching for this recipe are actually hoping for that classic layered bar, sometimes lovingly called the Scotcharoo, which gives you that incredible chocolate-peanut butter hug on top. It builds right off this base recipe, and frankly, it’s mandatory for holidays or when you just need to go big. If you want to see another fun, no-bake option that uses cream cheese—another great dip for parties—check out my notes on pumpkin dip with cool whip!
Making the topping is a breeze. Once your Peanut Butter Marshmallow Squares have fully set up in the pan (give them a good 30 minutes!), you just need to melt down some chocolate.
Here’s the lightning-fast method to get that top layer:
- Grab about one cup of semi-sweet chocolate chips. I also toss in one teeny tablespoon of butter—this is the little trick that makes the chocolate spread smoother, which is key if we’re going for that perfect top layer like the one on this version.
- Melt these together gently, either in the microwave in 20-second bursts or over a double boiler. Stirring is key!
- Pour that melted chocolate right over the room-temperature bars. Use an offset spatula, or just the back of a spoon, to spread it evenly edge-to-edge.
If you want that authentic, classic Scotcharoo Recipe Homemade flavor profile that often includes butterscotch, swap out a quarter cup of those chocolate chips for butterscotch chips! They melt prettier together and add a wonderful depth that just screams “nostalgia.” Let the chocolate set up—putting the pan in the fridge for about 15 minutes speeds this up—and then slice into those glorious layered bars. Seriously, you won’t believe how easy it is to turn your simple treats into a showstopper!
Storage and Making Ahead Peanut Butter Marshmallow Squares
One of the best things about these Peanut Butter Marshmallow Squares is that they are fantastic for making ahead of time! This means less stress when you’re planning a party or just need a snack ready for the week. Since they require zero baking, you can literally have them ready and cooled within an hour. That kind of speed is why I love pairing this recipe hunt with looking up other quick recipes, like my favorite pumpkin banana bread—they are both great for making ahead!
Now, let’s talk storage, because keeping them soft and chewy is paramount. If you store them wrong, they can dry out or get sticky, and we absolutely do not want that.
- Airtight is Everything: The biggest rule for keeping these fresh is using an airtight container. Whether you stack them with wax paper in between layers or just toss them in a container, seal that lid tight! This keeps the air out, which stops them from getting stale or hard.
- Room Temperature Rule: Try your best to keep these lovely squares out of the refrigerator. Seriously, avoid the cold! Cold temperatures actually cause the sugars and marshmallows to recrystallize faster, which is the main pathway for your beautiful, gooey bars to turn hard and crumbly. They stay much chewier and softer stored right on the counter, provided they are sealed up tight.
- How Long Do They Last?: Kept at room temperature in that airtight container, these treats are usually fantastic for three to four days. If you absolutely must keep them longer, then you can use the fridge, but bring them back to room temperature for 20 minutes before serving to re-soften them up a bit.
Because they set up so nicely and don’t require any baking fuss, these Peanut Butter Rice Krispie Treats are perfect for packing into lunch boxes (just make sure they’re cut neatly first!) or setting out on a dessert platter last minute. They hold their shape beautifully without refrigeration, which is a huge win in my book!
Frequently Asked Questions About Peanut Butter Rice Krispie Treats
I try to cover everything in the main recipe, but I always get the same few questions flooding in about these glorious Peanut Butter Rice Krispie Treats. It just proves how many people are looking for that perfect, chewy, no-fuss recipe! If you need a little extra clarity or are thinking about making a slight swap, check out these common queries below. If you’re looking for more dependable comfort food, my guide to chewy chocolate chip cookies also breaks down some tricky baking science!
Can I use natural peanut butter in this Peanut Butter Rice Krispie Treats Recipe?
Oh, that’s a great question, and one I get asked constantly about this Peanut Butter Rice Krispie Treats Recipe! My official answer is: you can, but I really don’t recommend it if you are aiming for that beautifully firm, non-crumbly bar. Natural peanut butters—the kind that separate and need stirring—are often much thinner because the fat emulsifies differently. When you mix that thin peanut butter into the hot marshmallow mixture, it tends to absorb too fast and doesn’t give you that nice sticky ‘glue’ you need for binding everything together when it cools. You risk ending up with messy, oily bars instead of neat ones, so please stick to conventional, creamy peanut butter for the best results!
How do I prevent my Easy No Bake Peanut Butter Squares from crumbling?
This is my number one fear when making these Easy No Bake Peanut Butter Squares! Crumbling happens for two main reasons, and we tackle both of them in the main steps. First, make sure your marshmallows are fully melted and smooth, and crucially, that the pot is OFF the heat *before* you stir in the peanut butter. Cooking the marshmallows too long or adding the peanut butter while they are still scorching hot actually changes the sugar structure, making it brittle instead of gooey. Second, don’t over-mix the cereal! Once the cereal is coated, stop stirring immediately. If you work the cereal too much, you break down the starch structure, and that’s what leads to dryness and those dreaded crumbs. A gentle fold is all you need!
What is the total time needed to make these Chewy Peanut Butter Cereal Bars?
I love how fast the hands-on time is for these Chewy Peanut Butter Cereal Bars! You are looking at about 10 minutes of prep time and maybe 5 minutes of cook time on the stovetop—so that’s roughly 15 minutes of actual work, which is why they are such a reliable recipe! The rest of the time is just waiting for them to cool down and set up so you can slice them neatly. You can check out the full breakdown by visiting this source for confirmation on how quick they are. Altogether, including the setting time, you’re looking at under an hour until you are biting into that salty-sweet goodness!
Nutritional Estimates for Peanut Butter Rice Krispie Treats
I know so many of us, myself included, are mindful of what we’re putting into our bodies, even when we are indulging in a classic treat like these Peanut Butter Rice Krispie Treats. I am not a nutritionist, heavens no, I’m just a home cook who loves to bake! But I always want you to have a general idea of what’s in the treats you’re making. You can always check out my guide on homemade protein bars if you are looking for something a little more fitness-focused!
Based on the standard 9×13 pan yield (12 squares), here are the estimated nutritional highlights for one square of these Peanut Butter Marshmallow Squares. Remember, these numbers shift based on the brand of cereal or peanut butter you grab off the shelf!
- Serving Size: 1 square
- Calories: 180
- Sugar: 15g
- Sodium: 110mg
- Fat: 8g (with 3g Saturated Fat)
- Carbohydrates: 25g
- Protein: 4g
Please take these figures as a helpful estimate rather than gospel! If you use a low-sugar peanut butter or reduced-fat marshmallows, you’ll shift those numbers a bit. But honestly, when we’re talking about a nostalgic, no-bake dessert like this that brings smiles to everyone’s faces, I try not to overthink the numbers too much. They are a wonderful treat for a busy afternoon!
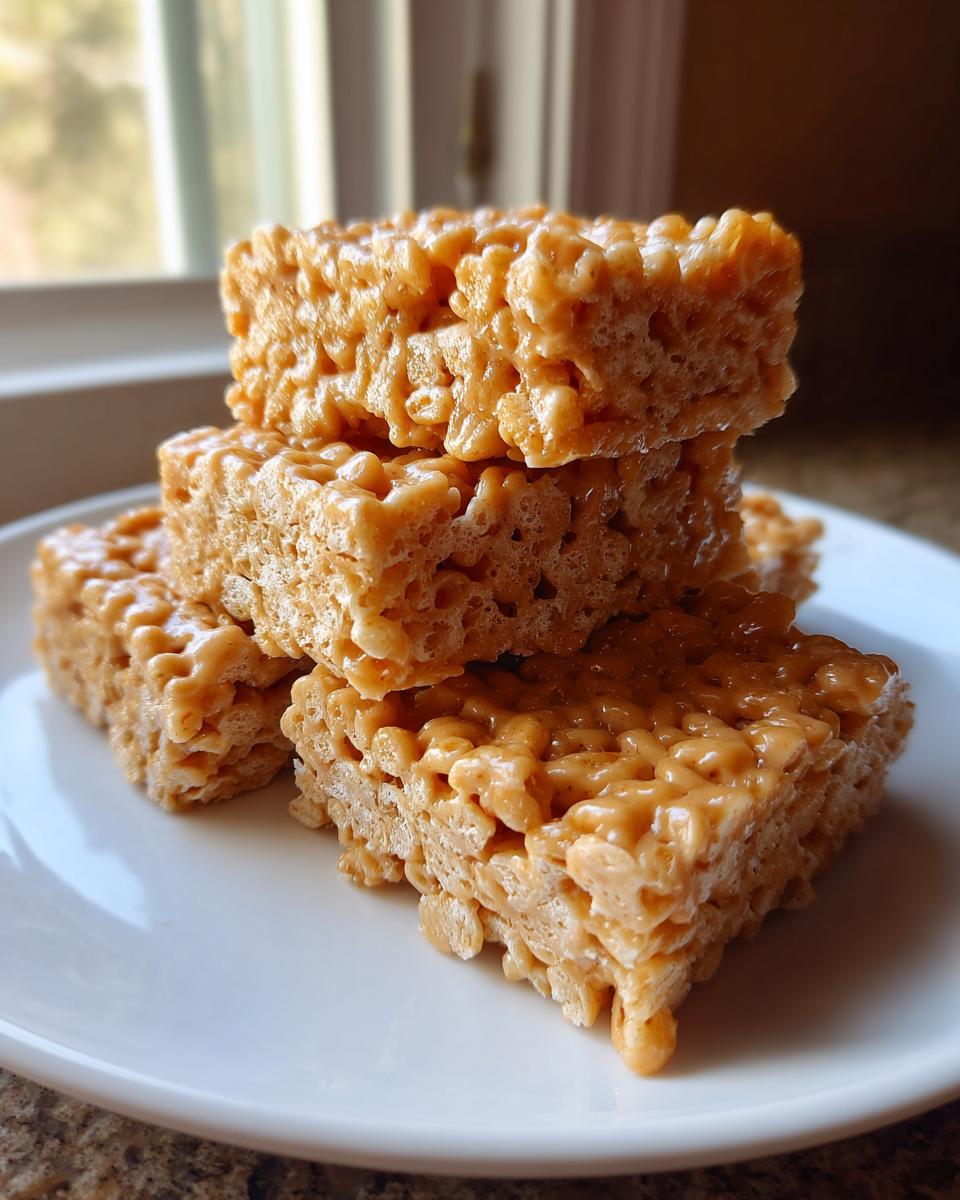
Share Your Nostalgic Childhood Treats Experience
And that’s it! You are officially armed with the recipe for the absolute best, chewiest, most crave-worthy homemade peanut butter rice krispie treats you’ll ever make. I’m so excited for you to try these and relive some of those happy, carefree snack times from our childhoods!
Now that you’ve had a chance to see my secrets for keeping them gooey and not crumbly, I really want to hear what you think! Did you add the chocolate swirl? Did you have any brilliant serving ideas? Please don’t hesitate—drop a comment down below and let me know how these turned out for your family.
If you made this batch and they disappear in about three minutes flat (which happens in my house every time!), please give the recipe a star rating right here on the page. It helps other home cooks who are looking for a guaranteed keeper find their way here!
And if you snap a photo of your perfectly pressed, salty-sweet squares, tag me on social media! I absolutely love seeing my recipes brought into your real-world kitchens. You can reach me easily through my contact page to share or ask any lingering questions. Happy snacking!
PrintThe Best Gooey Peanut Butter Rice Krispie Treats
Make these easy, no-bake peanut butter Rice Krispie treats for a chewy, nostalgic dessert. This simple recipe uses few ingredients and sets up quickly.
- Prep Time: 10 min
- Cook Time: 5 min
- Total Time: 45 min
- Yield: 12 servings 1x
- Category: Dessert
- Method: Stovetop
- Cuisine: American
- Diet: Vegetarian
Ingredients
- 6 cups Rice Krispies cereal
- 1 (10 ounce) package marshmallows
- 1/2 cup creamy peanut butter
- 4 tablespoons unsalted butter
- 1 teaspoon vanilla extract
Instructions
- Lightly grease a 9×13 inch baking pan or line it with parchment paper. Set aside.
- Measure the Rice Krispies cereal into a large bowl.
- In a large saucepan over low heat, melt the butter.
- Add the marshmallows to the melted butter and stir constantly until they are completely melted and smooth. Do not let the mixture brown.
- Remove the saucepan from the heat. Stir in the peanut butter and vanilla extract until fully combined.
- Pour the marshmallow-peanut butter mixture over the cereal in the large bowl. Use a spatula coated with cooking spray to gently fold the mixture until the cereal is evenly coated.
- Press the mixture evenly into the prepared baking pan. Do not pack it down too firmly if you want a chewier result.
- Let the treats cool completely, about 30 minutes, before cutting into squares.
Notes
- For extra gooey Rice Krispie treats, slightly under-melt the marshmallows or use fresh marshmallows.
- To prevent sticking, lightly spray your hands or a spatula with non-stick cooking spray when pressing the mixture into the pan.
- If you want a chocolate topping, melt 1 cup of semi-sweet chocolate chips with 1 tablespoon of butter and spread over the cooled bars.
Nutrition
- Serving Size: 1 square
- Calories: 180
- Sugar: 15
- Sodium: 110
- Fat: 8
- Saturated Fat: 3
- Unsaturated Fat: 5
- Trans Fat: 0
- Carbohydrates: 25
- Fiber: 1
- Protein: 4
- Cholesterol: 10