
Okay, let’s talk takeout. We all have those nights where ordering in feels like the only option, right? But then you get that chicken that’s just kind of… soggy? Ugh. As a home cook who understands that real life is busy, I spent ages trying to crack the code so we could have that amazing flavor without the wait or the questionable texture.
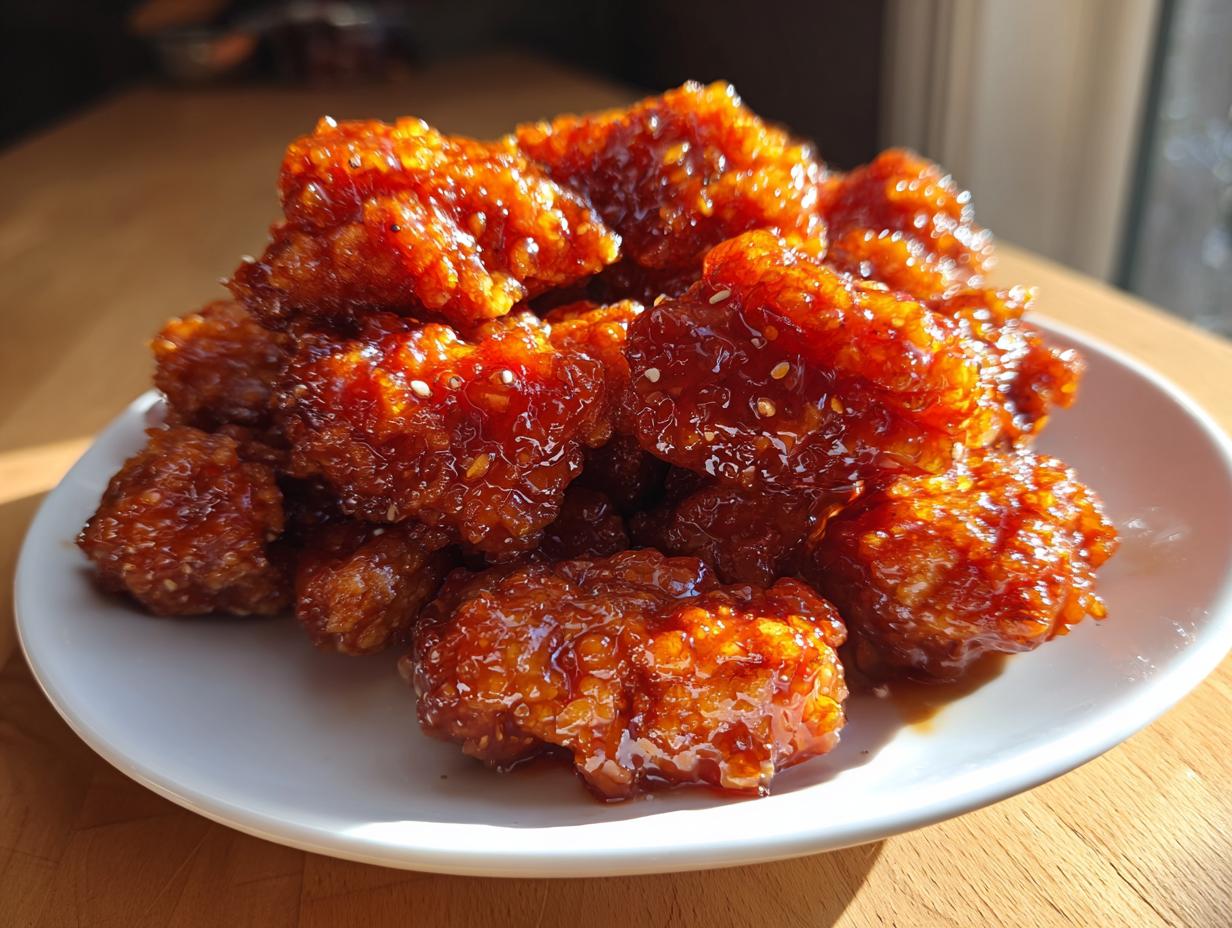
That’s why I am so excited to share my simple, foolproof orange chicken recipe with you today. This is The Ultimate 30-Minute Crispy Homemade Orange Chicken Recipe, and trust me, it’s genuinely better than what you’ll get delivered. My whole philosophy here at the site is taking those complicated family favorites and making them work in a modern kitchen. This dish is the perfect example—huge flavor, crispy coating, and it’s on the table before the delivery driver gets back to the restaurant!
We’re keeping this quick for your busy weeknights, but we aren’t cutting corners on the taste, promise!
- Why This Orange Chicken Recipe is Better Than Takeout
- Ingredients for Your 30 Minute Orange Chicken Recipe
- Step-by-Step Instructions for This Orange Chicken Recipe
- Alternative Cooking Methods for Crispy Orange Chicken Recipe
- Tips for the Best Homemade Orange Chicken
- Serving Suggestions for Your Quick Chicken Dinner
- Storage and Reheating Instructions for Orange Chicken Recipe
- Frequently Asked Questions About This Orange Chicken Recipe
- Nutritional Estimates for This Orange Chicken Recipe
- Share Your Homemade Orange Chicken Success
Why This Orange Chicken Recipe is Better Than Takeout
So, why should you bother pulling out three bowls when you could just click a button? Because this homemade orange chicken recipe gives you control over every delicious bite! We nail the texture and the flavor profile that takeout always seems to miss.
- It’s lightning fast—seriously ready in 30 minutes!
- The chicken stays unbelievably crispy, even after saucing.
- The sauce is perfectly balanced, hitting that sweet spot every time.
- It’s a total family favorite that beats those rubbery restaurant portions.
Achieving the Perfect Crispy Orange Chicken Recipe Texture
The secret to that amazing crunch in this Crispy Orange Chicken Recipe is how we coat the chicken. We skip the heavy, greasy batter. Instead, we use a light dredging mix of flour and cornstarch before a quick dip in an egg wash. When you pan-fry it quickly, the coating sets up immediately, trapping all the good, juicy chicken inside. It’s all about that light shell holding up against the sauce!
Crafting the Ultimate Sweet Tangy Orange Sauce
You know that deep, glossy coating you want? That’s what the Sweet Tangy Orange Sauce delivers. We use real fresh orange juice and zest, which makes a huge difference compared to the powders others might use. We simmer it just right so the sugar melts perfectly, and the cornstarch slurry turns it into that beautiful, sticky glaze. It’s bright, tart, and just a touch sweet—never cloying!
Ingredients for Your 30 Minute Orange Chicken Recipe
Okay, gathering everything for your 30 Minute Orange Chicken Recipe is actually really fast, which is a huge win for weeknight cooking! You’ll notice we rely on fresh ingredients here, especially that bright, beautiful orange flavor. Don’t skip that step; using fresh juice makes the glaze sing!
If you’re looking for other quick meals for busy nights, always check out my guide to easy family dinners, but for now, let’s get these ingredients laid out so we can move fast!
For the Chicken Coating and Cooking
We need simple things here—don’t overthink the dredge; it just needs to create a light, crunchy crust for the sauce to grab onto.
- 1 pound boneless, skinless chicken breasts or thighs, cut into 1-inch pieces
- 1/2 cup all-purpose flour
- 1/4 cup cornstarch
- 1/2 teaspoon salt
- 1/4 teaspoon black pepper
- 1 large egg, lightly beaten
- 1/4 cup water
- 2 tablespoons vegetable oil, for pan-frying (just enough for shallow fry!)
For the Sticky Orange Glaze
This is where the main flavor comes from. I love smelling the ginger and garlic start to bloom when we start heating this up!
- 1 cup fresh orange juice (Seriously, squeeze them!)
- 1/2 cup granulated sugar
- 1/4 cup rice vinegar
- 2 tablespoons soy sauce
- 1 tablespoon grated fresh ginger
- 1 teaspoon minced garlic
- 1 teaspoon sesame oil
- Orange Zest of 1 large orange (Don’t forget this! It’s essential for that bright flavor.)
- For the thickener: 1 tablespoon cornstarch mixed with 2 tablespoons cold water (This is your slurry.)
- Optional Garnish: Sliced green onions and sesame seeds
Step-by-Step Instructions for This Orange Chicken Recipe
Now that you have all your beautiful ingredients ready, let’s get cooking! Since this is a quick orange chicken recipe, speed is key, so have your prep bowls lined up because things move fast once we hit that stovetop. You can check out my guide for a chicken stir-fry if you need quick ideas for what to serve it with!
Coating and Frying the Chicken Bites
We need that perfect crust first. Grab three bowls. In the first one, you need to combine the flour, the cornstarch, salt, and pepper really well. This is our dry coating!
Next, whisk up your egg and that 1/4 cup of water in the second bowl—that’s our egg wash. Dip the chicken pieces first into the dry mix until they are lightly dusted all over. Shake off the excess!
Then, dunk them into the egg wash. You don’t want them soaking, just a quick dip. Let any big drips fall off before moving to the hot oil. Now, heat up your 2 tablespoons of oil in a big skillet or wok over medium-high heat. We’re not deep frying, just shallow frying! Work in batches so you don’t crowd the pan (that’s how you lose the crisp!). Fry for about 4 to 6 minutes per batch until they look golden brown and they’re cooked right through. Grab them out immediately with tongs and set them on a plate lined with paper towels. They need a quick drain.
Preparing the Sweet Tangy Orange Sauce
While the chicken is resting, we shift focus to the sauce. Get a small saucepan going over medium heat. Toss in the fresh orange juice, granulated sugar, rice vinegar, soy sauce, ginger, garlic, and that teaspoon of sesame oil. Keep stirring until that sugar dissolves completely—we don’t want any gritty sauce!
Once it’s simmering nicely, it’s time to thicken it up. Take your small bowl with the cornstarch and cold water—that’s your slurry. Slowly pour that in while whisking constantly. Seriously, keep whisking! It’s going to transform in about a minute, becoming thick, glossy, and beautiful. When it coats the back of a spoon, pull it off the heat. Now, stir in your fresh orange zest. Don’t cook the zest too long; we want that fresh pop!
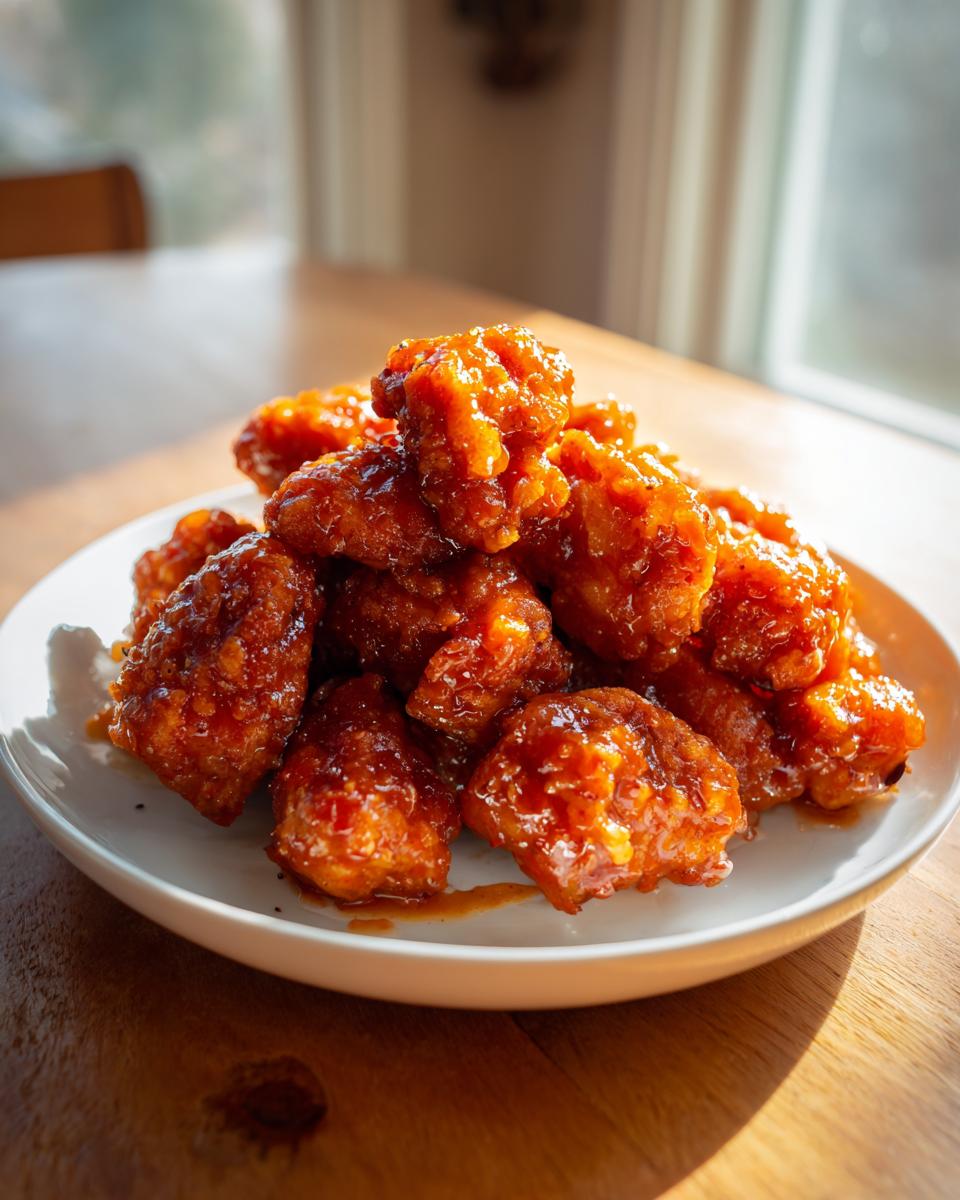
Combining for the Final Sticky Orange Glaze
This is the grand finale! Put that skillet with your crispy chicken back on low heat—just warm enough to work with.
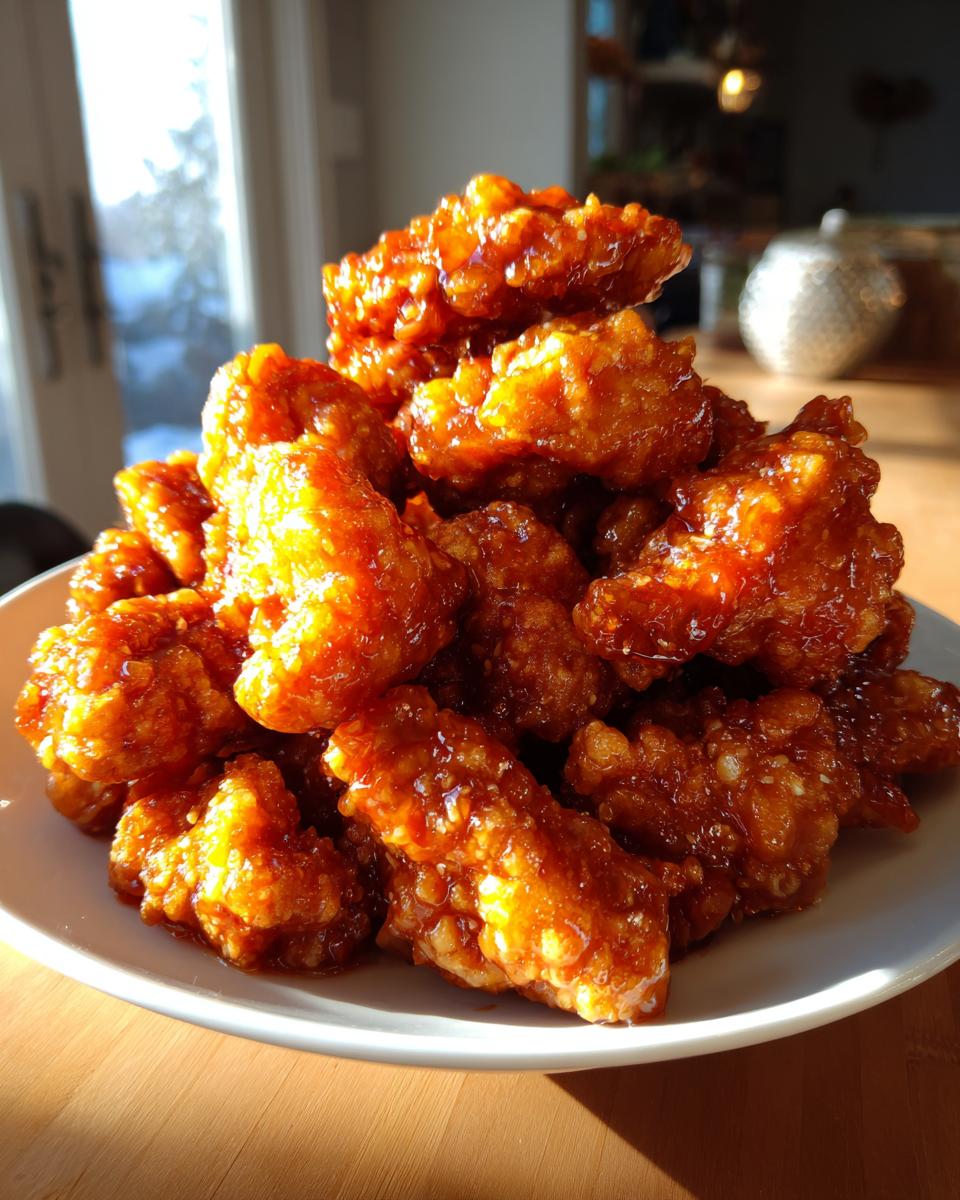
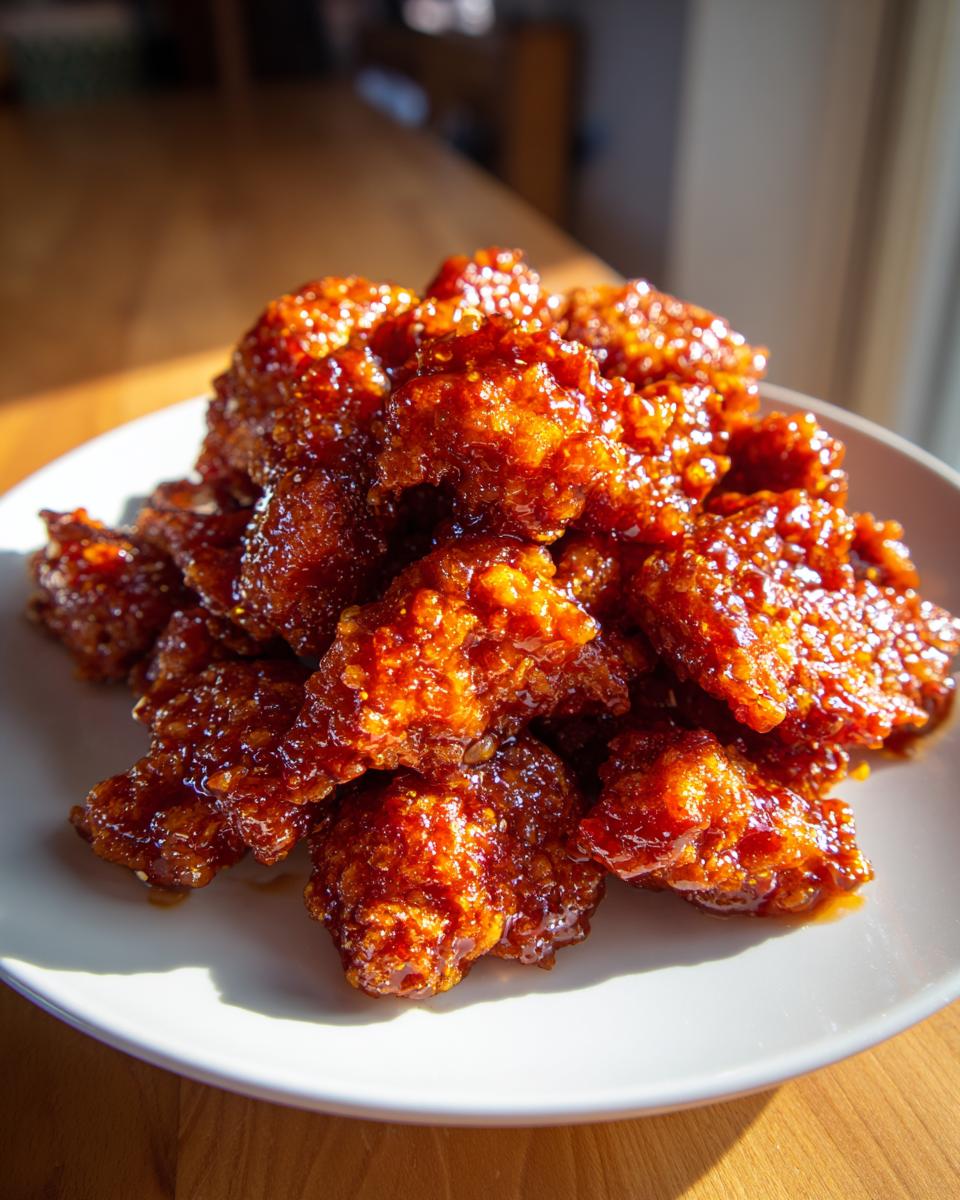
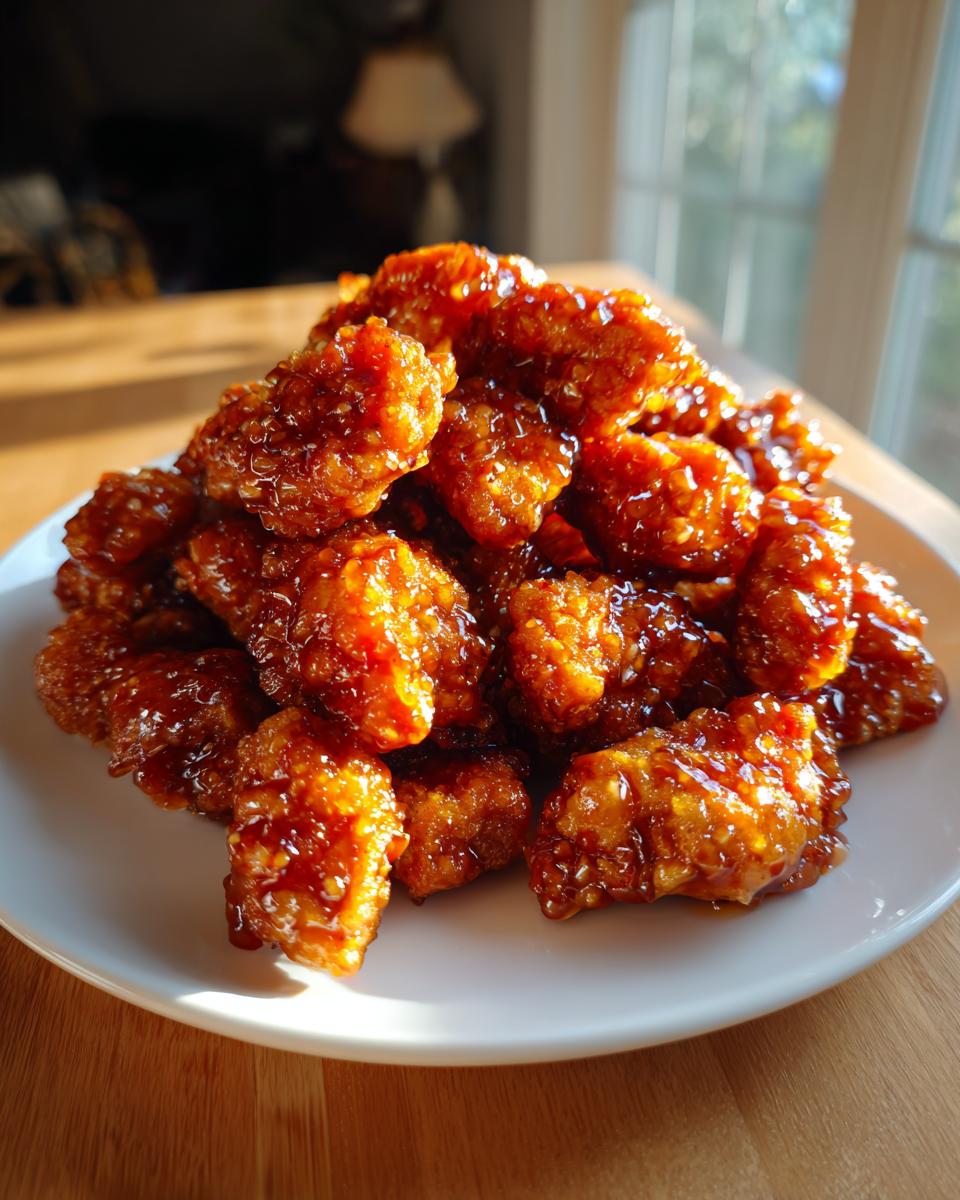
Pour that gorgeous Sticky Orange Glaze right over the chicken. Toss everything together quickly and gently until every single golden-brown piece is completely coated in that vibrant orange goodness. Remember, this dish waits for no one—you have to serve this right away over hot rice to get the best texture!
Alternative Cooking Methods for Crispy Orange Chicken Recipe
I know, pan-frying is fun, but sometimes you just don’t want to deal with the oil splatter, or maybe you’re trying to keep things a little lighter. Totally fair! The great thing about this Crispy Orange Chicken Recipe is that the light coating we use works brilliantly in the oven or the air fryer too. It’s all about ensuring those chicken bites get browned before they hit that sticky glaze.
If you love cooking with your air fryer as much as I do for things like crispy wings, you are going to love how easy this turns out. No heavy cleanup, just perfectly cooked chicken!
Easy Baked Orange Chicken Recipe Instructions
If you’re going the oven route, you’re essentially roasting those chicken pieces until they are cooked and golden. It gives you that “baked” quality that’s a bit lighter than frying.
- Make sure your coated chicken pieces are spread out on a baking sheet lined with parchment paper. Do not let them touch! They need space around them to crisp up properly.
- Pop the whole tray into an oven preheated to 400°F (200°C).
- Set your timer for 15 minutes. Halfway through—say, around the 7-minute mark—you need to flip every piece gently. This makes sure both sides get nicely browned before you toss them in the sauce.
Quick Air Fryer Orange Chicken Guide
This is my go-to if I’m making just a small batch! The air fryer circulates heat so efficiently, drying out the coating just enough to get it ridiculously crunchy.
- Toss your coated chicken pieces lightly in a tiny bit of oil—just enough to coat lightly, or they might get dusty! They don’t need to swim in it.
- Place them in the air fryer basket in a single layer. You will absolutely have to do this in batches, or they will steam instead of crisp, and we aren’t having that!
- Cook them at 380°F (195°C) for about 10 to 12 minutes total. Shake the basket vigorously halfway through the cooking time to keep things moving and ensure even crispness.
Once they are done in the oven or the air fryer, just bring them back to the skillet and toss them immediately in your prepared sweet tangy orange sauce. Perfection!
Tips for the Best Homemade Orange Chicken
Even though this Homemade Orange Chicken recipe is fast, a few tiny tricks elevate it from ‘good’ to honestly jaw-dropping. I always tell people that the difference between an okay version and the one that tastes like your favorite spot is mostly about paying attention to a couple of details. We want that ‘Better Than Panda Express Chicken’ vibe—juicy centers and that beautiful, sticky finish!
You found my tip about needing fresh juice above, but here are a couple more ways I guarantee success every time I make this for my friends:
- Don’t skimp on the zest! The juice gives you liquid, but the zest is where all the concentrated, fragrant orange oils live. Stirring it in right at the end, off the heat, wakes up the entire sauce. It’s a game-changer for achieving that bright flavor.
- When you’re dredging the chicken, give the dry flour/cornstarch mixture a good minute to just hang out with the chicken before you dip it in the egg wash. It helps create a slightly more stable surface. It sounds silly, but that little bit of time means the coating really sticks before it ever hits the oil.
- Reserve a small amount of the sauce if you are worried about coating everything! If you under-sauce, you can always add a little drizzle at the end. Over-saucing, though? That’s a recipe for soggy chicken, and we already agreed that’s a massive no-no for a great Homemade Orange Chicken!
If you love making these kinds of satisfying, flavor-packed dinners, you absolutely have to try my speedy beef and broccoli next week. The principles of quick searing and beautiful sauce work exactly the same way!
Serving Suggestions for Your Quick Chicken Dinner
You’ve made the most amazing, crispy, sticky chicken! Now, how do we turn this into a complete, satisfying meal? Since this is such a huge crowd-pleaser—a genuine Quick Chicken Dinner that even picky eaters devour—you need the right backdrop for that glorious orange sauce.
The number one thing you must have on hand is a bowl for rice. The sauce is the star, and it needs something soft underneath to soak up all that incredible flavor!
- Steamed White Rice: This is the classic choice. It lets the chicken and the tangy sauce be the focus. Make sure you cook extra, because people will go back for seconds of rice just to get more glaze!
- Brown Rice or Quinoa: If you want things to feel a little healthier, brown rice works great. It’s a little chewier, but it holds up well under the weight of the sauce.
- Steamed Green Veggies: I usually keep two things handy: broccoli florets or slightly crispy-tender green beans. Steam them quickly until they are bright green but still have a nice snap. They add color and a clean flavor that cuts through the richness of the chicken.
- My Lemon Rice Trick: If you want to spice up the rice game without making a whole other sauce, try my Mediterranean Lemon Rice recipe! It adds a lovely brightness that pairs wonderfully with the orange.
My absolute favorite way to serve this is in a big shallow bowl: a bed of fluffy white rice, two scoops of the orange chicken piled on top, and a big sprinkle of fresh green onions and sesame seeds. Done! Dinner is served!
Storage and Reheating Instructions for Orange Chicken Recipe
Listen, this orange chicken recipe is *definitely* best eaten fresh the second you toss it in that beautiful glaze. That crispy coating just loves staying crispy, and the moment sauce hits it, time starts ticking in the texture department! But hey, sometimes you have leftovers, and that’s totally fine—the flavor is still incredible the next day!
You want to store this properly right away. Put any remaining chicken and the excess sauce in an airtight container. Don’t try to store it mixed up, especially if you want *any* crunch on the chicken the next day. If you served it over rice, store the rice separately too. Keep everything tucked away in the fridge for up to three days. Honestly, the flavor deepens a little, which I kind of love!
The trickiest part is bringing the crunch back. You cannot microwave this, trust me on that one. The microwave will just steam the chicken and turn your lovely coating back into mush. We need heat applied quickly and directly!
Bringing Back the Crispiness After Refrigeration
If you’re reviving leftovers, you have three main ways to go, and all of them involve avoiding the microwave.
- The Oven Trick: This is my preferred method for bringing back a nice texture! Spread the sauced chicken pieces on a baking sheet lined with foil or parchment paper. It needs to be in a single layer, just like when we cooked it fresh. Pop it into a 350°F (175°C) oven for about 8 to 10 minutes. It heats through nicely, and you get a slight crispness returning to the edges.
- The Stovetop Quick Toss: If you kept the chicken and sauce separate, this is easy. Put a teaspoon of fresh oil in a non-stick skillet over medium heat. Once it shimmers, add the cold chicken pieces, spreading them into a single layer. Let them cook for about 3 minutes without touching them so a crust can form on the bottom before you flip and heat through.
- The Air Fryer Savior: If you still have your air fryer out from making tonight’s batch, use it! Toss the cold, sauced chicken pieces in the basket (in a single layer if you can manage it, maybe in batches). Run it at 375°F (190°C) for about 4 minutes. Watch these closely; they heat up fast, but they get surprisingly crispy again!
If you reheated the chicken separately but forgot the sauce, just warm up a spoonful or two of the reserved sauce (or make a tiny fresh batch of the glaze base) and toss everything together right before serving. That way, you still get that wonderful sticky coating without completely losing any texture we worked so hard to achieve!
Frequently Asked Questions About This Orange Chicken Recipe
I get so many terrific questions whenever I post this orange chicken recipe! It’s awesome seeing how many people are trying to ditch the delivery apps for a night. Here are a few things I hear all the time that might help you customize your perfect batch of Homemade Orange Chicken.
Can I make the sweet tangy orange sauce ahead of time?
Oh yes, you absolutely can, and I highly recommend it if you’re aiming for that 30-minute cook time! The Sweet Tangy Orange Sauce base—everything except the cornstarch slurry and the fresh zest—can be mixed together and kept in the fridge for up to three days. When you’re ready to eat, just bring it to a gentle simmer, whisk in your slurry to thicken it up until it’s glossy, and then take it off the heat to swirl in that fresh zest. It saves you a whole 10 minutes right when you need that crispy chicken!
How can I make this orange chicken recipe spicier?
That’s a great question if you like a little kick! The standard recipe is a classic Chinese American flavor profile—sweet and tangy—but it’s mild for the whole family. If you want to amp up the heat in this orange chicken recipe, you have a couple of easy outs. My favorite trick is adding about half a teaspoon of crushed red pepper flakes right when you add the ginger and garlic to the sauce pan. If you want more of a kick that blends in, stir in a tablespoon of Sriracha or chili garlic sauce along with the soy sauce as the sauce is simmering. Just taste as you go! Experiment until you find the perfect heat level for you.
Is this recipe budget friendly?
It really is! That’s one of the things I love most about this recipe being a go-to quick chicken dinner. You’re starting with chicken breast or thighs, which are usually affordable proteins, and the sauce is made almost entirely of pantry staples: sugar, vinegar, soy sauce, and fresh orange juice (which isn’t too expensive when you buy a bag of oranges!). You certainly won’t be spending near as much as you would on a comparable takeout meal, making this a fantastic budget friendly chicken meal for feeding the whole family.
Nutritional Estimates for This Orange Chicken Recipe
I always want to be upfront about what we’re putting into our bodies, even when we’re making something as delightfully indulgent as this crispy chicken! While my expertise is definitely in making things taste amazing, I did get some general estimates for you based on the ingredients listed—this helps when you’re planning out your week or tracking meals.
Keep in mind that because we’re using fresh orange juice and homemade sauce, your numbers might shift slightly depending on the exact oranges you squeeze or the brand of soy sauce you use. These are just guidelines, but they should give you a great snapshot of what you’re enjoying in this delicious orange chicken recipe!
- Serving Size: 1 serving
- Calories: Approximately 450
- Sugar: Around 35g (That’s where the glaze magic happens!)
- Protein: A hefty 38g
- Carbohydrates: Roughly 45g
- Total Fat: About 12g
It’s a fantastic balance of protein to keep you satisfied, and honestly, for a restaurant-style dish, 450 calories for a main course serving is pretty respectable. Enjoy every sticky, tangy bite!
Share Your Homemade Orange Chicken Success
Now that you’ve made this incredible, crispy, better-than-takeout meal, I absolutely want to hear about it! Seriously, one of the best parts of sharing these recipes with you all is seeing your results pop up online.
Did you fry it, or did you go for the air fryer method? Did you serve it over my lemon rice, or did you stick to the simple steamed white rice? Don’t keep all that deliciousness to yourself!
- Please head down to the comments section and leave a rating! Five stars means you’re ready to make this sweet tangy orange sauce again next week, right?
- Snap a few photos of your final masterpiece—look at that sticky orange glaze glistening!—and tag me on social media. I love seeing how this orange chicken recipe looks in your kitchen.
- Tell me if your family approved! Getting that “this is way better than the drive-thru” reaction is the absolute best feeling.
Building this collection of reliable, feel-good recipes is a community effort, and your feedback truly helps me know which direction to take things next. Happy cooking, and I can’t wait to see your beautiful bowls of Homemade Orange Chicken!
PrintThe Ultimate 30-Minute Crispy Homemade Orange Chicken Recipe

Make restaurant-quality orange chicken at home faster than takeout. This recipe delivers crispy chicken pieces coated in a sweet, tangy, and glossy orange sauce, perfect for a quick weeknight dinner.
- Prep Time: 15 min
- Cook Time: 15 min
- Total Time: 30 min
- Yield: 4 servings 1x
- Category: Dinner
- Method: Pan-Frying
- Cuisine: Chinese American
- Diet: Non-Vegetarian
Ingredients
- 1 pound boneless, skinless chicken breasts or thighs, cut into 1-inch pieces
- 1/2 cup all-purpose flour
- 1/4 cup cornstarch
- 1/2 teaspoon salt
- 1/4 teaspoon black pepper
- 1 large egg, lightly beaten
- 1/4 cup water
- 2 tablespoons vegetable oil, for pan-frying
- 1 cup fresh orange juice
- 1/2 cup granulated sugar
- 1/4 cup rice vinegar
- 2 tablespoons soy sauce
- 1 tablespoon grated fresh ginger
- 1 teaspoon minced garlic
- 1 teaspoon sesame oil
- 1 tablespoon cornstarch mixed with 2 tablespoons cold water (slurry)
- Zest of 1 large orange
- Optional: Sliced green onions and sesame seeds for garnish
Instructions
- In a medium bowl, combine the flour, 1/4 cup cornstarch, salt, and pepper. Toss the chicken pieces in this dry mixture until lightly coated.
- In a separate small bowl, whisk the egg and 1/4 cup water together. Dip the coated chicken pieces into the egg wash, letting excess drip off.
- Heat 2 tablespoons of vegetable oil in a large skillet or wok over medium-high heat. Pan-fry the chicken in batches until golden brown and cooked through, about 4 to 6 minutes per batch. Remove the chicken and set aside on a paper towel-lined plate.
- While the chicken cooks, prepare the sauce. In a small saucepan, combine the orange juice, sugar, rice vinegar, soy sauce, ginger, garlic, and sesame oil. Bring the mixture to a simmer over medium heat, stirring until the sugar dissolves.
- Whisk the cornstarch slurry and slowly pour it into the simmering sauce, stirring constantly until the sauce thickens and becomes glossy. This should take about 1 minute.
- Remove the sauce from the heat and stir in the orange zest.
- Return the crispy chicken to the skillet. Pour the orange sauce over the chicken and toss quickly until every piece is evenly coated in the sticky glaze.
- Serve immediately over steamed white rice with a sprinkle of green onions and sesame seeds.
Notes
- For extra crispy chicken without deep frying, you can bake the coated chicken at 400°F (200°C) for 15 minutes, flipping halfway, before tossing in the sauce.
- If you prefer an air fryer method, cook the coated chicken at 380°F (195°C) for 10-12 minutes, shaking the basket halfway through.
- Use fresh orange juice for the best flavor in your sweet tangy orange sauce.
Nutrition
- Serving Size: 1 serving
- Calories: 450
- Sugar: 35g
- Sodium: 550mg
- Fat: 12g
- Saturated Fat: 2g
- Unsaturated Fat: 10g
- Trans Fat: 0g
- Carbohydrates: 45g
- Fiber: 1g
- Protein: 38g
- Cholesterol: 110mg