
Oh, the smell of the school cafeteria! It wasn’t always gourmet, right? But there were those glorious, rare days when they wheeled out the perfect square of something wonderfully sweet and totally indulgent. If you, like me, spent your childhood chasing that nostalgic perfection, you know exactly what I’m talking about. We’re making the absolute best lunch lady peanut butter bars today, and trust me, this recipe is exactly what you remember. The best part? We skipped the oven entirely! This is a simple, no-bake version, carefully tested right here in my kitchen to make sure it’s reliable and tastes just like those treasured throwback desserts. Maddie Thompson is all about giving you heritage recipes that actually work today, and these fit the bill perfectly.
- Why This No-Bake Lunch Lady Peanut Butter Bars Recipe Works
- Gathering Ingredients for Your Lunch Lady Peanut Butter Bars
- Step-by-Step Instructions for Perfect Lunch Lady Peanut Butter Bars
- Tips for Making the Best Lunch Lady Peanut Butter Bars
- Ingredient Notes and Substitutions for Lunch Lady Bars Recipe
- Storing and Serving Your Nostalgic Dessert Bars
- Common Questions About Lunch Lady Peanut Butter Bars
- Estimated Nutritional Snapshot for Lunch Lady Peanut Butter Bars
- Share Your School Cafeteria Treats Experience
Why This No-Bake Lunch Lady Peanut Butter Bars Recipe Works
I know you want the nostalgic hit without the hassle. That’s why this specific recipe for lunch lady peanut butter bars is the one you need in your rotation. It’s all about delivering that classic, comforting flavor profile with zero fuss.
- It’s completely no-bake, meaning you can pull these together when you need a quick treat for a potluck or an afternoon snack.
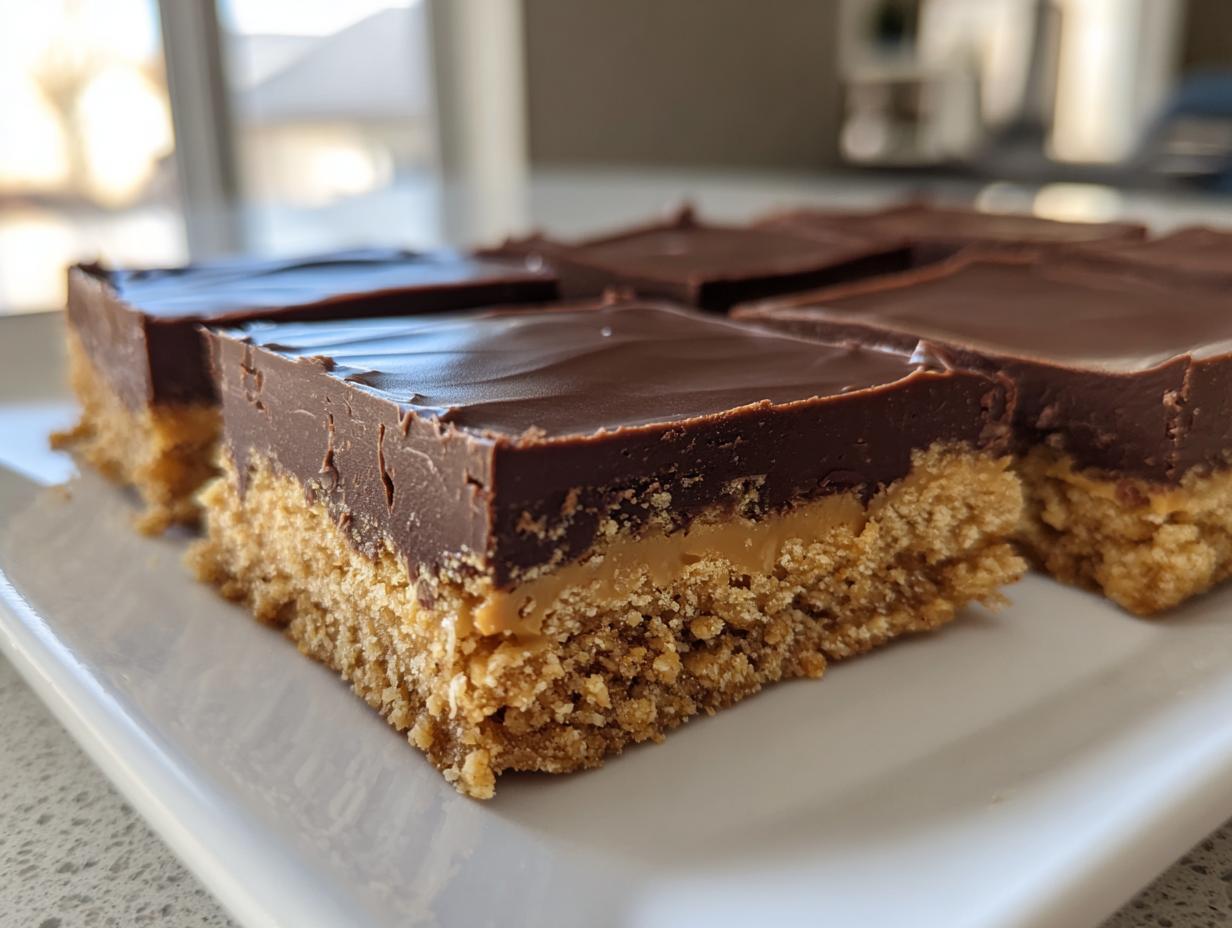
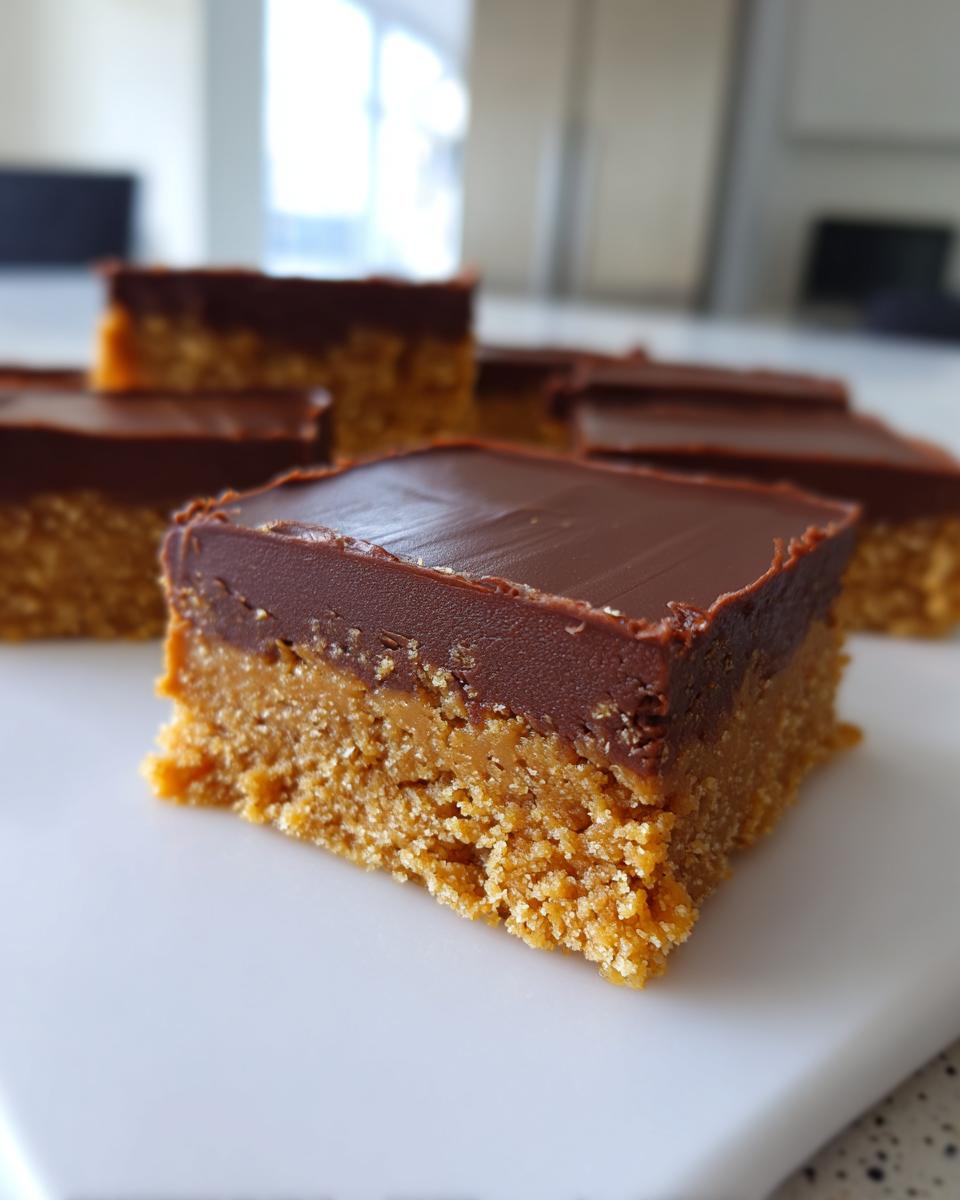
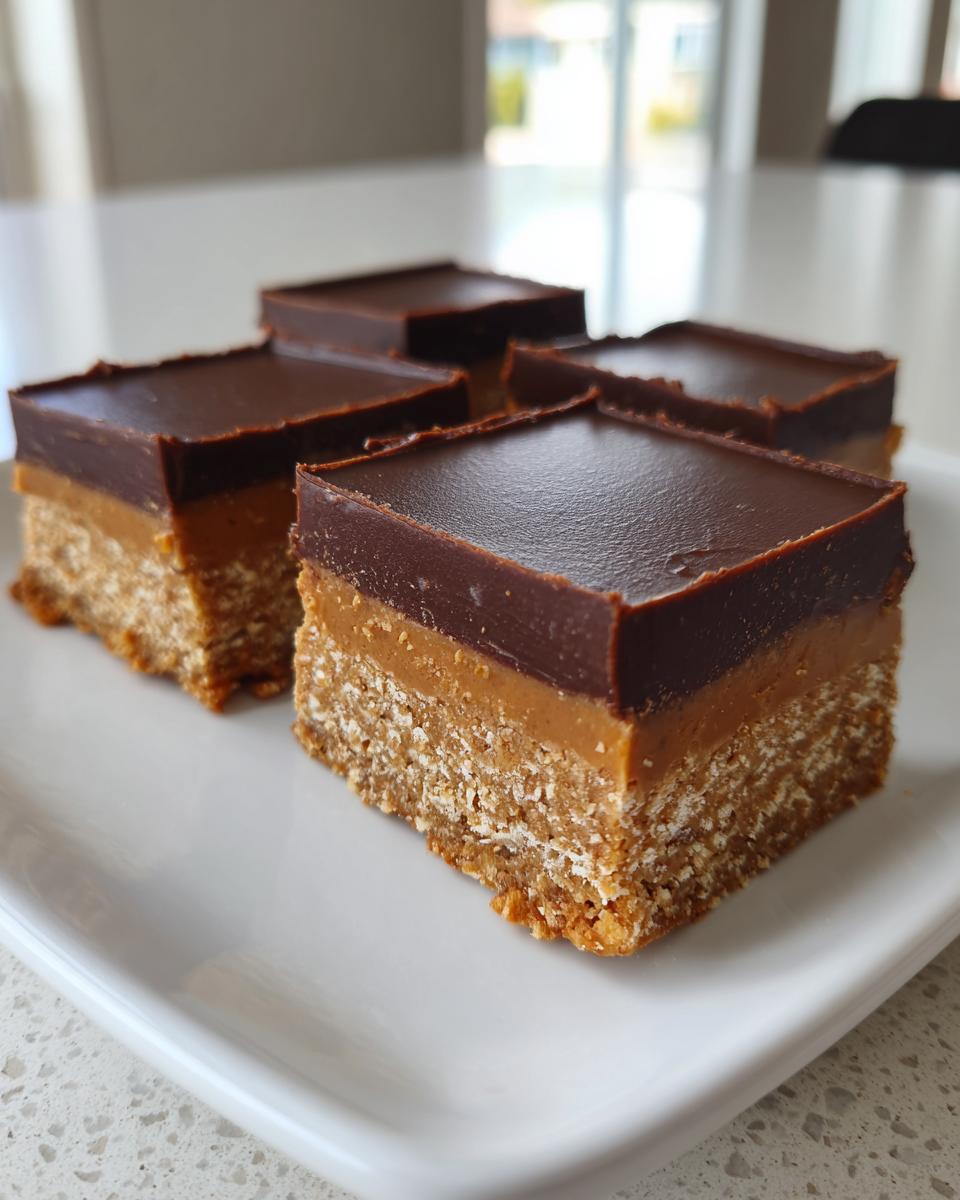
- The layering of graham cracker crust and chocolate topping triggers instant throwback memories—pure School Cafeteria Treats magic.
- We use simple, pantry-staple ingredients; no fancy equipment needed, just your mixing bowl!
- Prep time is lightning fast—we’re looking at maybe fifteen minutes before they go into the fridge to set up. You can find more easy peanut butter cookie inspiration here, but these bars are faster!
Gathering Ingredients for Your Lunch Lady Peanut Butter Bars
Okay, let’s get serious about what goes into these amazing lunch lady peanut butter bars. Because this is a no-bake recipe, the quality of your base ingredients really shines through, so use what you already have on hand! We keep this list short so you aren’t intimidated. Remember, precision matters here, especially for the base.
You will need:
- One 8×8 inch pan, ready to go! Line it with parchment paper now, leaving an overhang—this is your secret weapon for easy lifting later.
- For the base: 1 1/2 cups of graham cracker crumbs. That’s the essential crunch we need.
- We need 1 cup of creamy peanut butter for the base layer, plus another half cup reserved just for that rich chocolate topping.
- One cup of powdered sugar to sweeten that peanut butter layer perfectly.
- Half a stick of unsalted butter, fully melted. No sneaky substitutions here, please!
- For the topping, grab 1 cup of semi-sweet chocolate chips.
- And finally, 2 tablespoons of milk to help thin out that chocolate topping so it spreads like velvet.
See? Super straightforward! If you’re looking for other great no-bake ideas featuring nut butters, I have a fantastic oat protein bar recipe you can add to your list to try next week over here.
Step-by-Step Instructions for Perfect Lunch Lady Peanut Butter Bars
This is where the magic happens, and I promise you, this is so simple it feels like cheating because we don’t even have to turn on the oven! Because these wonderful lunch lady peanut butter bars are no-bake, your main tool is a good sturdy mixing bowl and your hands. Pay attention to the pressing—that’s what keeps the base layer from crumbling when you cut it later.
Preparing the Pan and Base Mixture for Lunch Lady Peanut Butter Bars
First thing first: grab that 8×8 inch pan and line it completely with parchment paper. Make sure you leave some overhang on two opposite sides—it needs to hang over the edge like little handles so we can lift the whole thing out later, which is so much easier than trying to pry it out!
Next, in your bowl, mix up those graham cracker crumbs, 1 cup of creamy peanut butter, the powdered sugar, and the melted butter. Keep mixing until everything looks evenly combined and crumbly. Now, press that base layer down firmly into your prepared pan. I mean firmly, pack it in there!
Creating the Smooth Chocolate Topping Layer
Time for the glorious chocolate top! Put your chocolate chips, the reserved 1/2 cup of peanut butter, and your milk into a microwave-safe bowl. Now, listen closely: you must microwave this mixture in short, snappy 30-second bursts. After every 30 seconds, pull it out and stir it really well. Stirring is vital to prevent scorching those chocolate chips and getting that super smooth, glossy finish we want on our lunch lady peanut butter bars.
Assembly and Chilling: Finalizing Your No Bake Peanut Butter Bars
Once your chocolate layer is perfectly smooth, gently pour it right over that packed peanut butter base. Use a spatula to coax it into every corner so you have an even layer across the top.
Now for the hard part: waiting! Pop the pan into the refrigerator. You must let these set for a minimum of 2 hours. Seriously, keep your hands off! Once that chocolate is nice and firm, you can use those parchment paper handles to lift the entire block of peanut butter bars out onto a cutting board. Cut them into whatever size squares your heart desires before serving!
If you’re looking for other fun, no-fuss favorites—just like these no-bake delights—you should check out my recipe for haystack cookies; they require zero baking too!
Tips for Making the Best Lunch Lady Peanut Butter Bars
You know, even in a no-bake recipe, there are little secrets that separate the “good” bars from the ones people rave about for years. These lunch lady peanut butter bars are simple, but a couple of extra steps really seal the deal on texture and stability.
Get That Base Firm Enough!
My biggest single tip for stability is right in the recipe notes, but I’m saying it again: chill that peanut butter base before topping it! After you’ve pressed that crumbly mix into your pan, stick it in the freezer or fridge for about 30 minutes. This makes it nice and sturdy, so when you pour the warm chocolate over it, the base doesn’t get mushy or melt beneath the topping. A firm foundation makes cutting so much cleaner!
The Chocolate Layer Matters
When you’re melting that glorious chocolate topping, don’t rush it! I mentioned using 30-second intervals, but really take the time to stir it smooth. If you try to pour it while it still has little lumps of unmelted chip, you end up with a weird texture on top. You want that glossy, smooth layer that sets up beautifully. If you love peanut butter desserts, you absolutely have to see my other favorite, the perfect peanut butter cookies recipe too!
Ingredient Notes and Substitutions for Lunch Lady Bars Recipe
Even though these lunch lady bars recipe favorites are so easy, we still have a few things to talk about regarding ingredients. It’s about getting the absolute best structure and flavor for our classic American desserts. If you’re missing something, don’t panic, but know that using certain ingredients will keep these bars true to form.
First up: peanut butter texture! The recipe calls for creamy peanut butter in both the base and the topping, and I really stick to that. Creamy mixes seamlessly into the powdered sugar and butter, creating that signature smooth, tight layer. If you swap in crunchy, you’ll definitely get peanut chunks, which isn’t wrong, but it changes the texture away from that classic smooth cafeteria feel. Stick with creamy for the best results!
What about those graham cracker crumbs? Store-bought works perfectly fine; just measure them out. But if you want to make your own, it’s easy! Just crush up about 10 or 12 full graham crackers in a zip-top bag using a rolling pin until they are fine crumbs. That little bit of extra effort really helps make these quick peanut butter squares taste homemade.
Finally, make sure your butter is unsalted! Since we’re adding powdered sugar and relying on the peanut butter for saltiness, using salted butter can throw the flavor balance way off. It’s one of those small things that makes a big difference in how these potluck dessert bars turn out!
Storing and Serving Your Nostalgic Dessert Bars
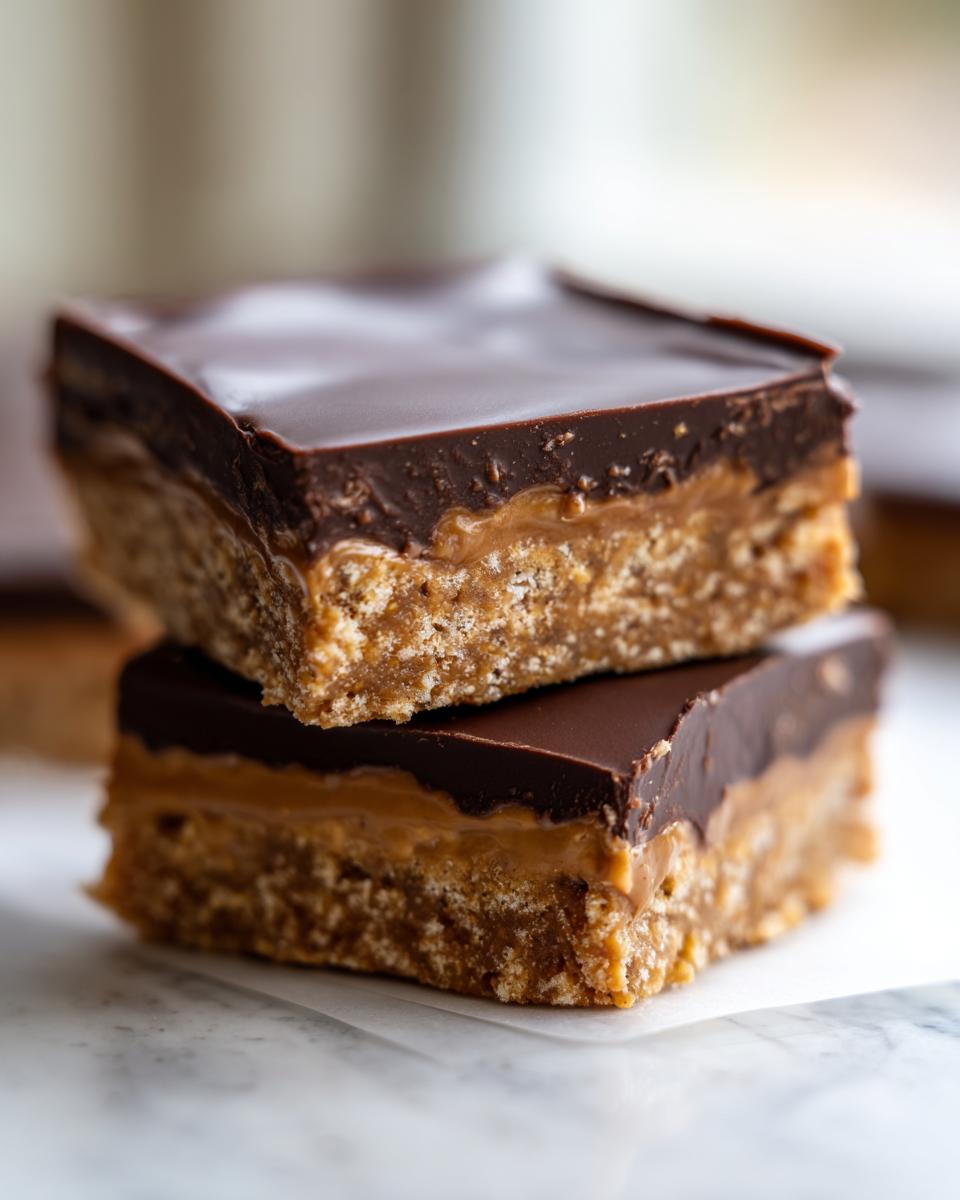
One of the wonderful things about these layered lunch lady peanut butter bars is how fantastic they keep! Since they are no-bake, we need to keep them chilled to hold that shape. You must store them in an airtight container in the refrigerator. I’ve found they taste just as good, if not better, on day three—which I mention in my tips for other baked goods like these chewy cookies!
They should stay perfectly fresh for about a week in the fridge, though honestly, they never last that long at my house. When it comes to serving these rich chocolate peanut butter dessert bars, keep them cold! They are heavenly alongside a tall glass of cold milk, which always feels right for a throwback treat. A hot cup of black coffee is also a perfect pairing to cut through that creamy peanut butter richness.
Common Questions About Lunch Lady Peanut Butter Bars
Are these Lunch Lady Bars supposed to be baked?
Not this version! I absolutely love the nostalgia, but keeping these Lunch Lady Bars out of the oven is part of the charm and speed of this recipe. Baking them would turn them into a chewy cookie bar, which is great too, but for that specific dense, set texture people remember from the cafeteria, keeping them no-bake is the way to go. No preheating required here!
Can I use natural peanut butter in this Easy Peanut Butter Dessert?
Oh, I’m glad you asked this! While I love natural peanut butter for savory things, please don’t use it here if you want structured Peanut Butter Bars. That oil separation in natural varieties just won’t bind well with the powdered sugar and graham crackers. You really need that standard, commercial creamy peanut butter—the kind that stays firm—to create the solid structure these easy peanut butter desserts require.
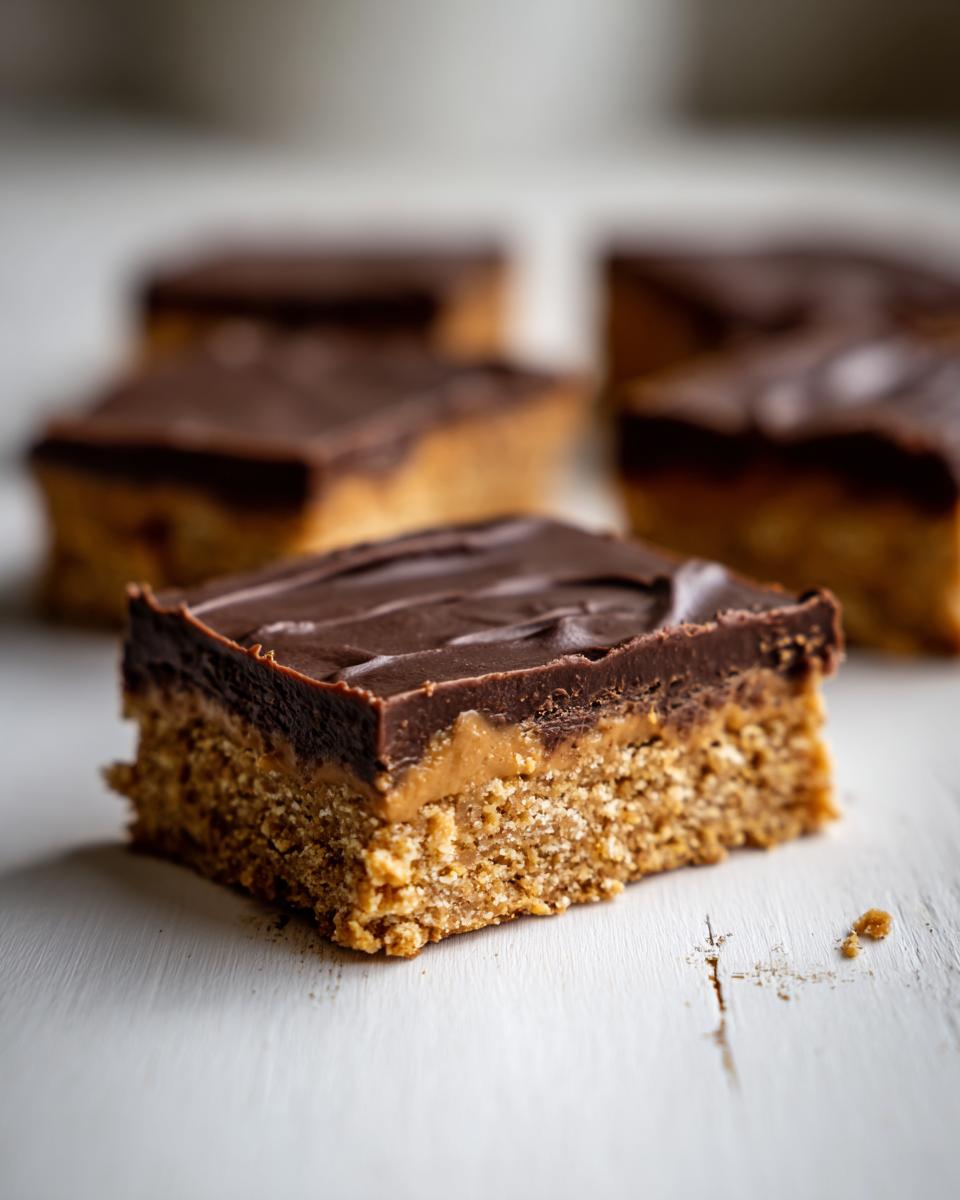
How do I get clean cuts when slicing the Simple Layered Bars?
This is purely technique! Once the bars have chilled for those crucial two hours, you want to use a very sharp knife. The trick I use is dipping the knife tip into hot water just for a second and wiping it dry right before you put it into the chocolate layer. Wiping the blade clean between each slice ensures you get those lovely, clean edges on your Simple Layered Bars without dragging that gorgeous chocolate topping sideways.
For tons of other fail-proof sweet ideas, you can always browse my collection of delicious dessert recipes!
Estimated Nutritional Snapshot for Lunch Lady Peanut Butter Bars
Now, because these are such rich, wonderful treats, we have to talk a little bit about the numbers. Remember, these are just estimates based on the standard ingredients we used, like semi-sweet chips and creamy peanut butter. Everything is an approximation since we aren’t using lab equipment here!
For one square of our lunch lady peanut butter bars, you are looking at roughly:
- Calories: 250
- Total Fat: 16g
- Carbohydrates: 24g
- Protein: 6g
- Sugar: 20g
They are definitely a treat! They are rich, they are sweet, and they definitely satisfy that craving we all have for those old-school classic American desserts. Enjoy every bite!
Share Your School Cafeteria Treats Experience
Whew! We did it! We brought those amazing lunch lady peanut butter bars right back into our own kitchens without needing a single oven mitt. Now, I truly want to know what you think! Did they bring you right back to lunchtime in elementary school? Please leave a rating and tell me your favorite memory tied to a square of these School Cafeteria Treats in the comments below.
I’d love it if you shared a picture on social media tagging me—seeing your homemade squares is the best part of my job here at MDLATDMM Recipes, which you can read more about on my journey. If you want to check out how another amazing home cook handled these classics, take a peek at this version for comparison!
PrintNostalgic No-Bake Lunch Lady Peanut Butter Bars: The Classic Cafeteria Treat
Make the classic school cafeteria treat at home with this simple, no-bake recipe for Lunch Lady Peanut Butter Bars. These layered bars feature a graham cracker peanut butter base and a rich chocolate topping.
- Prep Time: 15 min
- Cook Time: 0 min
- Total Time: 2 hr 15 min
- Yield: 16 squares 1x
- Category: Dessert
- Method: No-Bake
- Cuisine: American
- Diet: Vegetarian
Ingredients
- 1 1/2 cups graham cracker crumbs
- 1 cup creamy peanut butter
- 1 cup powdered sugar
- 1/2 cup (1 stick) unsalted butter, melted
- 1 cup semi-sweet chocolate chips
- 1/2 cup creamy peanut butter (for topping)
- 2 tablespoons milk
Instructions
- Line an 8×8 inch baking pan with parchment paper, leaving an overhang for easy removal.
- In a medium bowl, combine the graham cracker crumbs, 1 cup of peanut butter, powdered sugar, and melted butter. Mix until the mixture is evenly combined and crumbly.
- Press this base mixture firmly and evenly into the bottom of the prepared pan.
- In a separate microwave-safe bowl, combine the chocolate chips, 1/2 cup peanut butter, and milk. Microwave in 30-second intervals, stirring well after each, until the mixture is smooth and fully melted.
- Pour the chocolate mixture over the peanut butter base. Spread it evenly to cover the entire layer.
- Refrigerate the bars for at least 2 hours, or until the chocolate topping is firm.
- Use the parchment paper overhang to lift the bars from the pan. Cut into squares before serving.
Notes
- For a firmer base, chill the peanut butter layer for 30 minutes before adding the chocolate topping.
- You can use crunchy peanut butter if you prefer texture in the base layer.
- These **easy peanut butter dessert** bars store well in an airtight container in the refrigerator for up to one week.
Nutrition
- Serving Size: 1 square
- Calories: 250
- Sugar: 20
- Sodium: 150
- Fat: 16
- Saturated Fat: 6
- Unsaturated Fat: 10
- Trans Fat: 0
- Carbohydrates: 24
- Fiber: 1
- Protein: 6
- Cholesterol: 15