
Oh, that sad moment when you pour gravy over fluffy mashed potatoes and it just… runs away! You know the one. It’s thin, it’s pale, and it tastes like salty water. Truly heartbreaking when you’re craving real comfort food, right?
Well, toss those flavorless packets in the bin! I’m Maddie, and I promise you that getting that deep, rich flavor for your **homemade brown gravy** is easier than you think, even if you didn’t just roast a giant bird or pot roast. My goal here at MDLATDMM is to take those time-honored techniques my grandma used—the ones that always resulted in amazing flavor—and make them completely foolproof for your busy weeknight schedule.
This recipe is how you achieve that restaurant-quality, **rich homemade brown gravy** straight from your stovetop, using only simple pantry items. Trust me, once you master this, you’ll never look back. It’s reliability baked into a sauce!
- Why This Homemade Brown Gravy Recipe Works Every Time
- Gathering Ingredients for From Scratch Gravy
- Step-by-Step Instructions for Homemade Brown Gravy
- Serving Your Classic Beef Brown Gravy Over Comfort Food Sides
- Tips for the Best Beef Gravy Recipe Results
- Storage and Reheating for Your Homemade Brown Gravy
- Frequently Asked Questions About Making Gravy Without Drippings
- Estimated Nutritional Snapshot for Homemade Brown Gravy
- Share Your Experience Making This Homemade Brown Gravy
Why This Homemade Brown Gravy Recipe Works Every Time
Honestly, the biggest win here is that this is truly an easy brown gravy recipe that never relies on drippings. That means no messy clean-up from roasting pans, and you can whip this up anytime you have basic staples in the pantry. We’re aiming for that deeply satisfying, velvety smooth homemade gravy feel, every single time.
- It’s completely reliable—no guesswork about how much fat you have left over.
- It sets you up for success, even if you’re new to making sauces.
- The flavor is consistently rich and savory!
You can check out how quickly some folks whip this up over here: no drippings required gravy!
The Secret to Savory Stovetop Gravy: Mastering the Roux
Listen, the secret sauce to any good gravy, especially when we aren’t using meat drippings, is the roux. That’s just a fancy word for butter and flour cooked together! When we cook that flour just long enough, it toasts up, which builds that deep, delicious, savory flavor you’re after. It also acts as the perfect thickener, locking in richness so you get that wonderful body in your sauce.
Quick Prep and Cook Times for Your Quick Homemade Gravy
This is where this recipe shines for those hectic weeknights. Seriously, you can have perfectly thick gravy ready in about 15 minutes total. Prep takes maybe five minutes because it’s just measuring out a little flour and butter. Then, about 10 minutes of cooking, and boom—dinner is officially upgraded. It’s perfect for those moments when you realize you need a flavor boost fast!
Gathering Ingredients for From Scratch Gravy
Okay, let’s talk about what you need to assemble this incredible from scratch gravy. Since we aren’t relying on drippings, these pantry staples have to pull their weight, and they absolutely do!
Here’s what you need to pull together about two cups of gravy. Even though this recipe uses beef broth to give it that deep, powerful flavor that screams best beef gravy recipe, it’s naturally vegetarian if you substitute it with vegetable broth. Keep the sodium low by going for low-sodium beef broth; we always want control over the salt!
- 4 tablespoons unsalted butter (real butter makes a difference, trust me!)
- 4 tablespoons all-purpose flour
- 2 cups beef broth (low sodium preferred)
- 1 teaspoon onion powder
- 1/2 teaspoon garlic powder
- 1/2 teaspoon salt
- 1/4 teaspoon black pepper
- 1 teaspoon Worcestershire sauce (this little secret adds depth!)
Ingredient Notes and Flavor Boosters for Homemade Brown Gravy
I want to make sure you get the absolute richest flavor, so pay attention to these little extras. If you happen to want a gravy that is super dark and earthy—almost like what you get at a fancy steakhouse—you need to cook your roux just a bit longer. We’re talking just two or three extra minutes past that light tan color until it looks like peanut butter. Color equals deep flavor here!
Also, don’t skip the Worcestershire sauce if you have it. It’s not just for marinades! A tiny splash adds a background tang and deepens the overall color so it looks beautifully rich without needing any artificial coloring.
Step-by-Step Instructions for Homemade Brown Gravy
Alright, let’s get cooking! This process is so satisfying because you watch the magic happen right on the stovetop. We are mastering that simple roux gravy right here, which is the bedrock for everything that follows. Grab your medium saucepan and let’s get that heat going!
- First things first, melt those 4 tablespoons of butter over medium heat. You want it melted and shimmering nicely, but definitely not burning—we’re building flavor, not smoke alarms!
- Now for the crucial step! Whisk in your 4 tablespoons of flour immediately. You need to keep whisking constantly for a good two or three minutes. We are cooking out that raw flour taste and aiming for a lovely, light brown color on the mixture. Be patient; this is what guarantees a flavorful sauce later.
- When the roux looks toasted, start pouring in the beef broth—and I mean slowly! Pour just a tiny bit in at first while you whisk like crazy to break up any lumps. Once that’s smooth, you can pour in the rest of the broth, still whisking constantly so you end up with a beautifully smooth base.
- Toss in all your flavor boosters: the onion powder, garlic powder, salt, pepper, and that dash of Worcestershire sauce if you’re using it for extra color. Give it a good stir to combine everything.
- Bring the mixture up to a gentle simmer. Once it starts bubbling lightly, turn that heat down low and let it cook for about 5 to 8 minutes. You must stir often during this time so the bottom doesn’t scorch. You’ll see it transforming into a proper gravy, ready to soak your dinner!
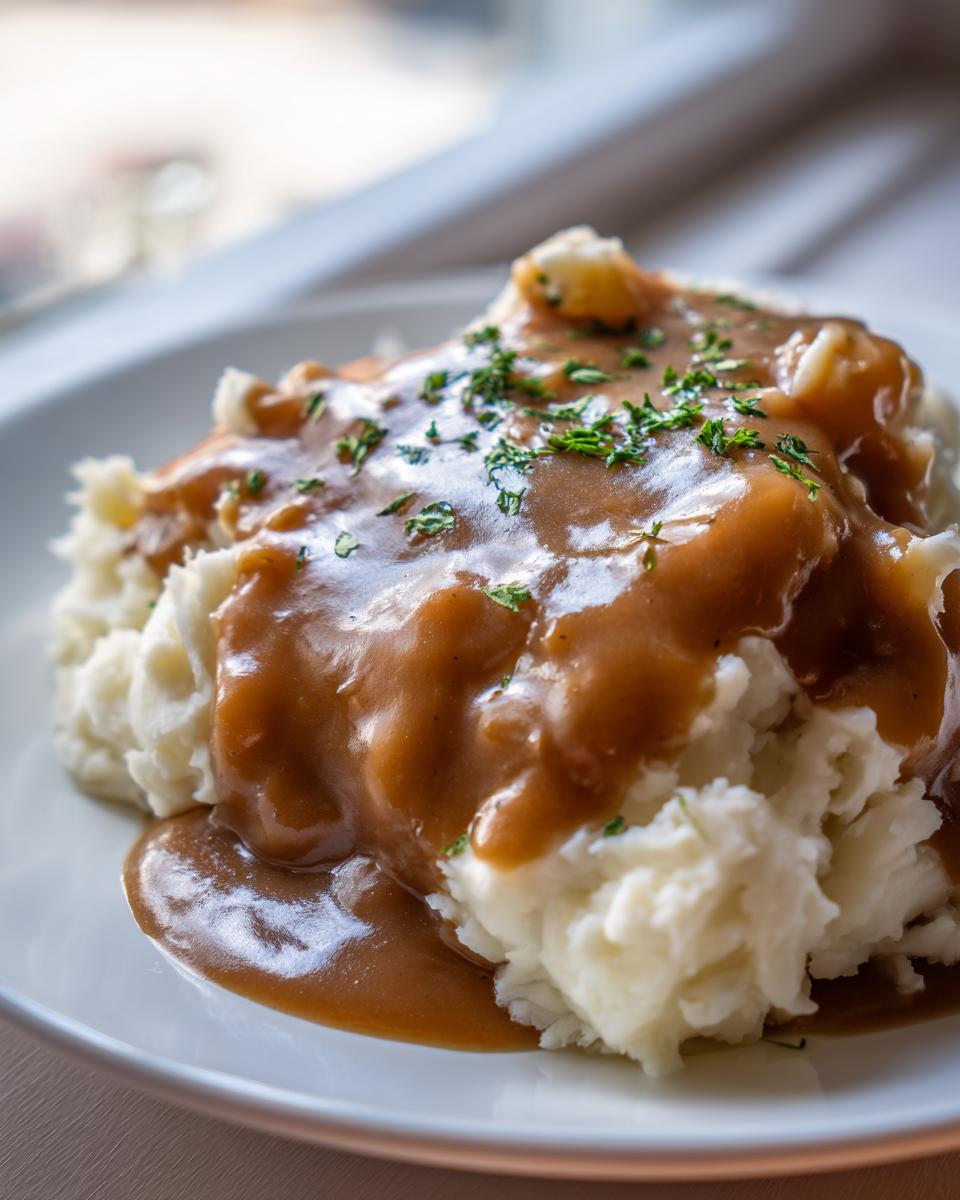
This gravy is fantastic poured over rich mashed potatoes—you simply must try it with my garlic parmesan mash—or ladle it right over a slice of meatloaf. You can find other great ideas over at The Cozy Cook for inspiration!
Achieving a Velvety Smooth Homemade Gravy Texture
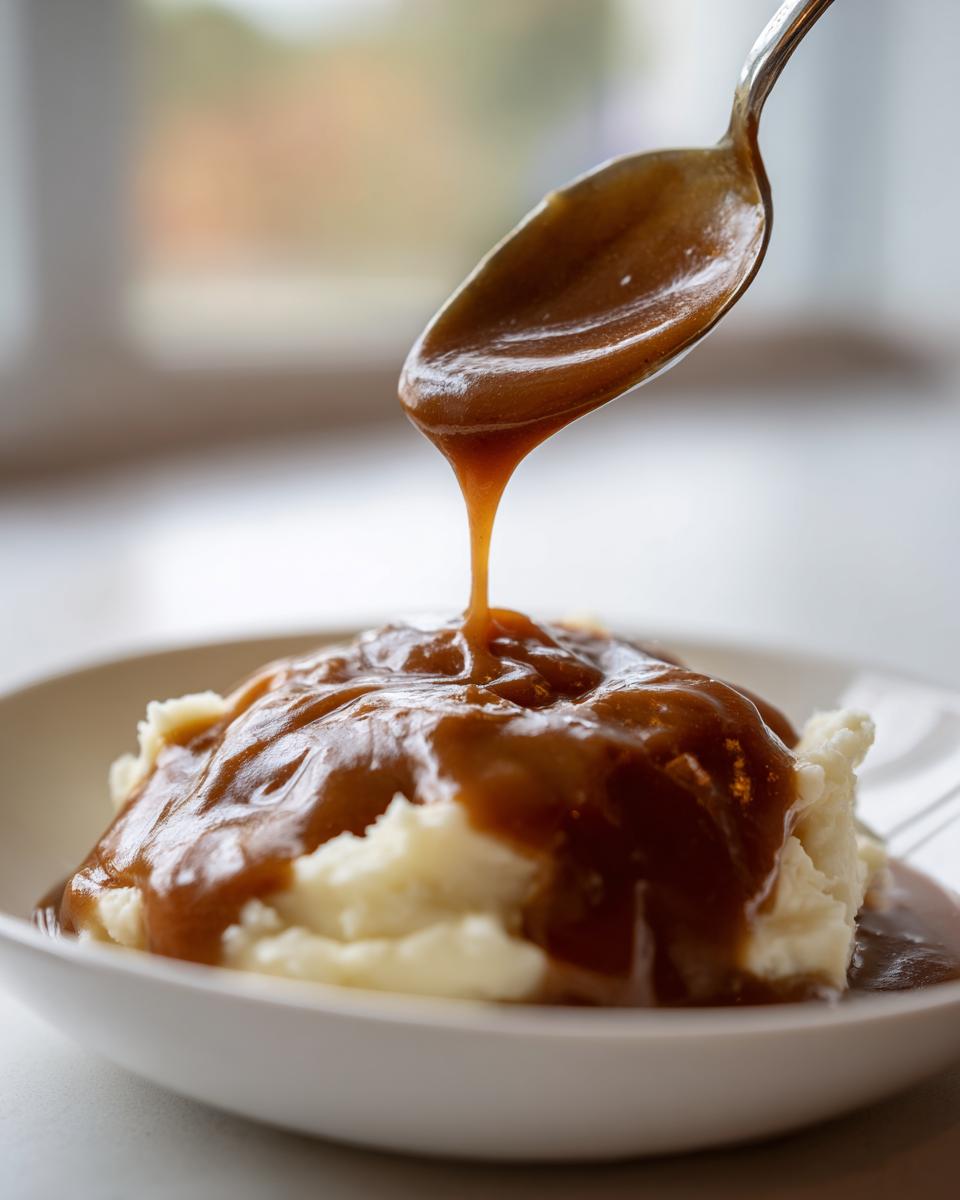
The key to avoiding those annoying little lumps is the steady whisking when you add the broth. If you dump it all in at once, you are asking for trouble! You need continuous motion. Once it simmers, just keep stirring every minute or so. It should thicken up enough to coat the back of a spoon nicely. Right before serving, give it a quick taste test! This is Step 6, and it’s important: adjust the salt and pepper until it sings to you. That final seasoning tweak makes all the difference!
Serving Your Classic Beef Brown Gravy Over Comfort Food Sides
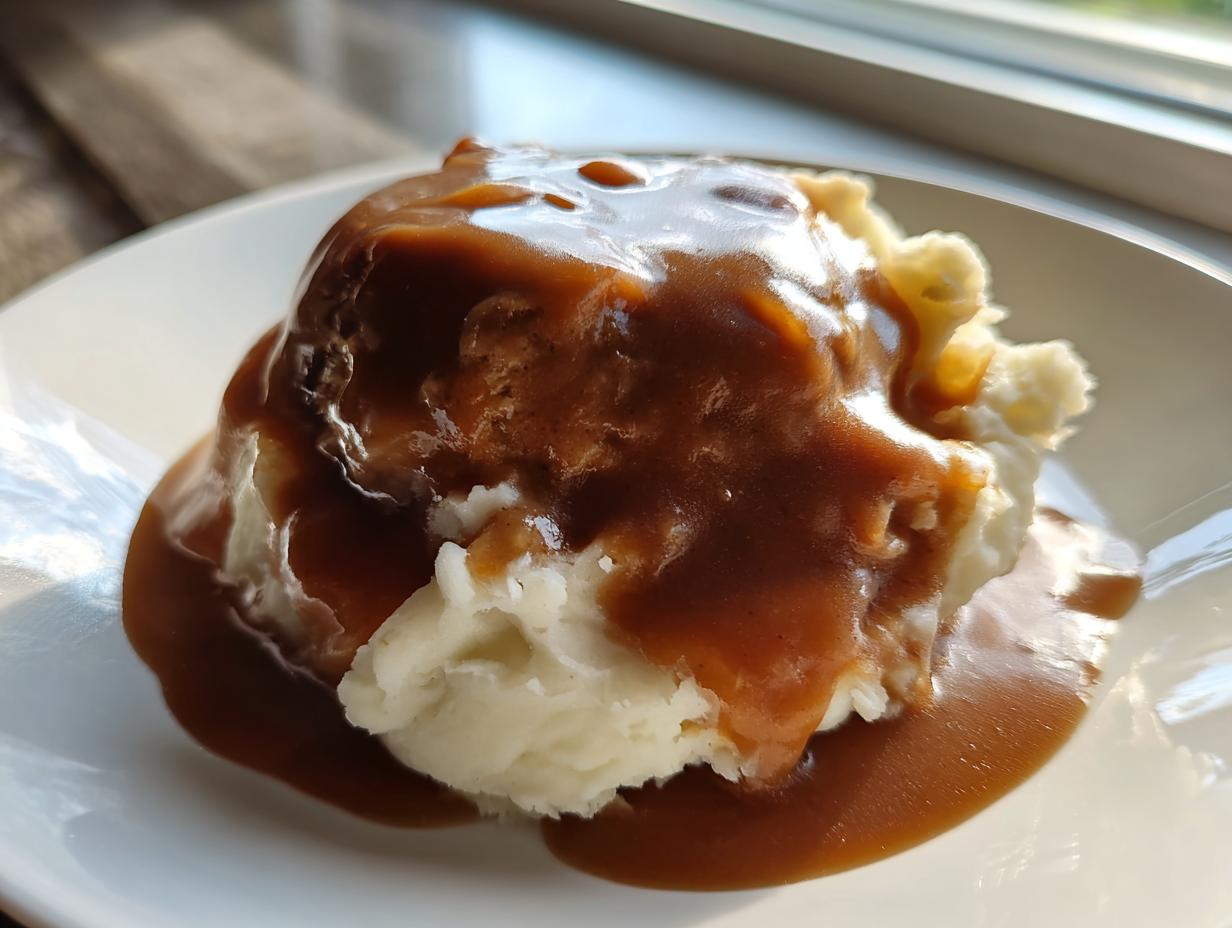
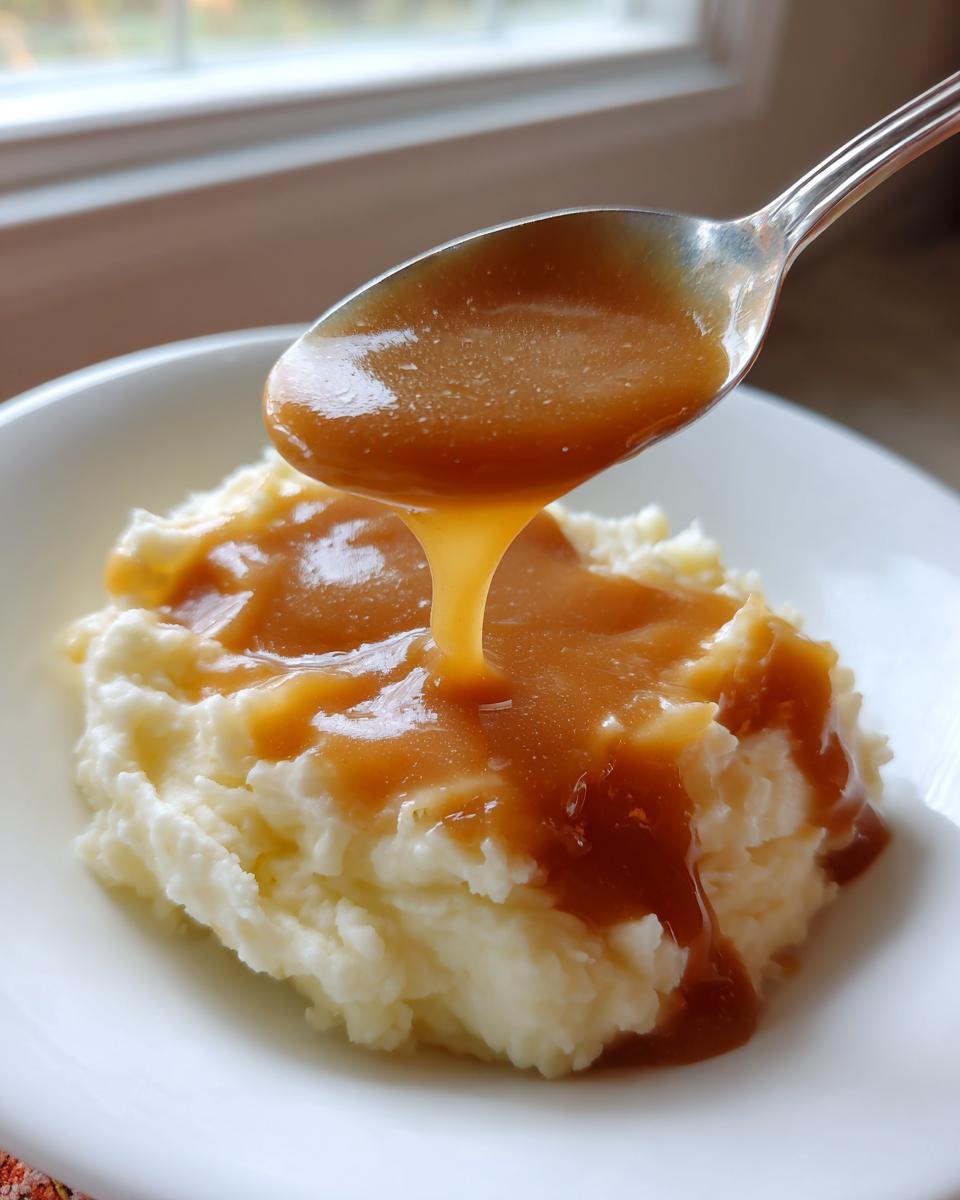
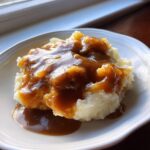
Now the fun part—the eating! Honestly, I make this gravy even when I don’t have roast meat just because it tastes so good. This is the ultimate **gravy for mashed potatoes** savior. Pouring this rich sauce over a big pile of creamy, garlicky mash is honestly my favorite way to enjoy it; it feels like instant happiness.

But don’t stop there! This sauce is just as fantastic smothering slices of meatloaf—I always use it instead of the glaze over my classic meatloaf. It’s also wonderful over biscuits or even just simple steamed vegetables when you need an extra hit of savory flavor on a cold night. This is pure, unadulterated comfort food in a ladle!
Tips for the Best Beef Gravy Recipe Results
Even though this is a straightforward recipe, sometimes things shift on us once you step away from the stove! That’s okay—real home cooking means knowing how to adjust things on the fly. I want to make sure you walk away feeling like you’ve mastered the ultimate best beef gravy recipe, regardless of what your broth decides to do.
Don’t stress if things look a little off when you first take it off the direct heat. This gravy continues to thicken as it cools down, which is natural for any sauce made with a roux. For deeper color and real complexity, sometimes I let that roux cook until it’s almost the color of dark caramel; it adds such a great background note to the flavor profile. You can explore some really advanced flavor boosting techniques here: restaurant-quality flavor guide.
Troubleshooting Your Homemade Brown Gravy Consistency
So, let’s say you’ve let it simmer, but it’s still just a little too loose for pouring over perfectly fluffy potatoes. Don’t panic! Just make a tiny slurry of 1 teaspoon of flour mixed with 2 teaspoons of cold water. Whisk that slurry into the simmering gravy slowly until it thickens up just right. If you accidentally went overboard and it’s gone totally pasty, just whip in a splash or two of extra warm broth until it gets back to that perfect, spoon-coating consistency.
Storage and Reheating for Your Homemade Brown Gravy
You probably won’t have leftovers because this stuff is addictive, but just in case you do, storing your extra homemade brown gravy is super easy. Just let it cool down a bit on the counter, then pop it into an airtight container and pop it in the fridge. It keeps beautifully for about three days. Trust me; it’s so much better than opening a packet!
When you pull it out later, it will look like a single blob of gelatin—don’t freak out! That’s totally normal because of the flour. The best way to reheat it is right back on the stovetop over low heat. Whisk in just a splash of warm water or broth as it heats up, and it will smooth right back out into that perfect, rich sauce you loved the first time around.
Frequently Asked Questions About Making Gravy Without Drippings
I get so many wonderful questions about this gravy! Since we’re skipping the meat drippings, sometimes folks aren’t sure how to maximize the flavor or keep that texture perfect. Here are the three top things people always ask me about this gravy without drippings method.
Can I make this easy brown gravy recipe vegetarian?
Absolutely! That’s one of the beautiful things about relying on the roux method—the foundation is meat-free. You can totally swap out the beef broth for a good quality vegetable broth. Just keep in mind, the flavor profile will shift a bit. Beef broth brings that deep, savory umami flavor, so vegetable broth will result in a slightly milder, though still delicious, sauce. It’s fantastic over things like baked potatoes or vegetarian shepherd’s pie!
How long does the roux need to cook for the rich brown sauce recipe?
This is key for that deep flavor! For the standard recipe instructions, you cook the butter and flour until it hits a light tan color, which is about 2 or 3 minutes. If you have two extra minutes and you really want that amazing, restaurant-level depth like a serious rich brown sauce recipe, let it go until it’s the color of peanut butter—that’s when you know the flour has fully toasted and developed maximum flavor. Don’t burn it, though!
What is the best way to prevent lumps when making homemade brown gravy?
Lumps are the absolute enemy of smooth gravy, aren’t they? The trick is patience: when you start adding your beef broth, you must do it slowly while whisking constantly. Don’t just dump the liquid in all at once! Pour about an inch of broth in, whisk until it’s perfectly smooth, and then add another splash, then whisk again. Keeping that motion going prevents the flour from clumping up on you.
Estimated Nutritional Snapshot for Homemade Brown Gravy
Now, I promised you rich flavor, and while this gravy is incredibly satisfying, I want to give you an idea of what’s in it. Since we aren’t using packets full of mysterious stuff, the numbers are pretty clear!
Based on the recipe ingredients listed above, here’s an estimated look at what you’re getting per serving (this recipe breaks down to about 8 servings):
- Calories: 95
- Fat: 7g
- Carbohydrates: 6g
- Protein: 2g
- Sodium: 350mg
Please keep in mind that these numbers are just estimates, you know how it goes! If you use a different type of broth or add extra Worcestershire sauce, those figures will shift around a little bit. But overall, this is a straightforward sauce that lets you enjoy comfort without too many surprises.
Share Your Experience Making This Homemade Brown Gravy
That’s it, my friends—you’ve officially mastered making the richest, most reliable homemade brown gravy right on your stovetop! I poured my heart into making sure this recipe from my family’s traditions works perfectly for you, even without relying on random pan drippings.
Now, I truly want to know what you think! Did this become the go-to sauce in your house? Did you manage to get that perfect, dark roux color, or did you try adding a splash of something unexpected? Don’t be shy!
Head down to the comments below and leave a quick review or a star rating. It helps me know I’m guiding you right on your journey back to honest home cooking. If you happen to tweak this for something specific, like using it on roast chicken instead of beef, let us all know what magic you worked! I love seeing how everyone adapts these comforting classics.
If you want to read more about my cooking philosophy and why these simple, reliable recipes mean so much to me, you can always learn more about me over at the About Page. Happy cooking—and happy saucing!
PrintRich Homemade Brown Gravy Without Drippings
Make a rich, savory brown gravy from scratch using the simple roux method. This recipe requires no meat drippings and yields a velvety smooth sauce perfect for mashed potatoes or meatloaf.
- Prep Time: 5 min
- Cook Time: 10 min
- Total Time: 15 min
- Yield: About 2 cups 1x
- Category: Sauce
- Method: Stovetop
- Cuisine: American
- Diet: Vegetarian
Ingredients
- 4 tablespoons unsalted butter
- 4 tablespoons all-purpose flour
- 2 cups beef broth (low sodium preferred)
- 1 teaspoon onion powder
- 1/2 teaspoon garlic powder
- 1/2 teaspoon salt
- 1/4 teaspoon black pepper
- 1 teaspoon Worcestershire sauce (optional, for deeper color/flavor)
Instructions
- Melt the butter in a medium saucepan over medium heat.
- Whisk the flour into the melted butter. Continue whisking constantly for 2 to 3 minutes until the mixture (the roux) turns a light brown color. This step develops the deep flavor.
- Slowly pour in the beef broth while whisking continuously to prevent lumps.
- Add the onion powder, garlic powder, salt, pepper, and Worcestershire sauce, if using.
- Bring the mixture to a simmer, stirring often. Reduce the heat to low and let it cook for 5 to 8 minutes, or until the gravy thickens enough to coat the back of a spoon.
- Taste the gravy and adjust salt and pepper as needed before serving hot over your favorite comfort food.
Notes
- For a darker brown gravy, cook the roux for an extra 2 to 3 minutes until it reaches a deep peanut butter color.
- If the gravy becomes too thick upon standing, whisk in a small amount of extra broth or water until you reach your desired consistency.
- You can substitute vegetable broth for beef broth if you need a vegetarian option, though the flavor will be milder.
Nutrition
- Serving Size: 1/4 cup
- Calories: 95
- Sugar: 0.5
- Sodium: 350
- Fat: 7
- Saturated Fat: 4
- Unsaturated Fat: 3
- Trans Fat: 0.2
- Carbohydrates: 6
- Fiber: 0.2
- Protein: 2
- Cholesterol: 15