

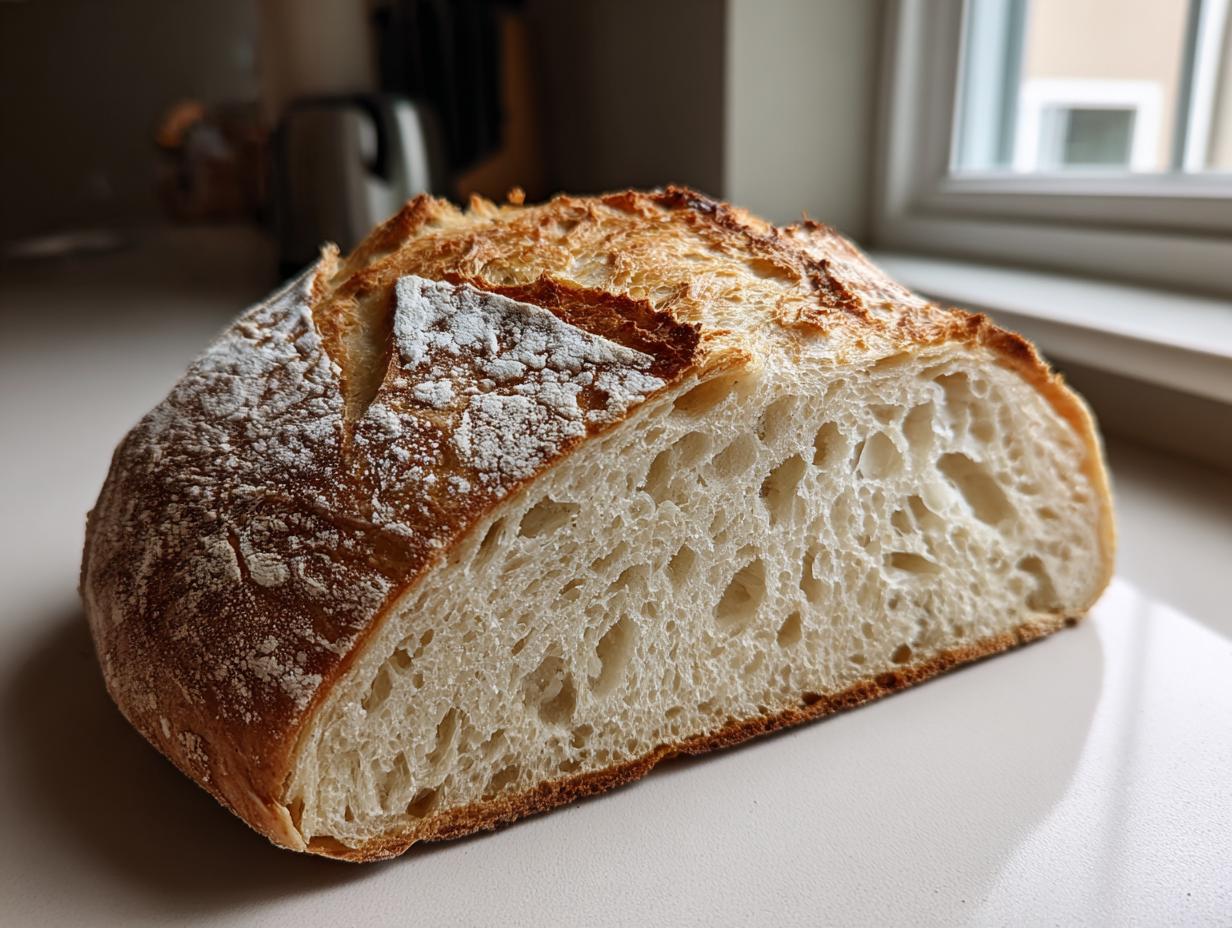
You know that gorgeous, almost impossibly crusty loaf of bread you see in those fancy bakery windows? The one with those big, airy holes inside that just scream ‘perfection’? Well, I’m here to tell you that you absolutely do not need hours of kneading or professional skills to make incredible artisan bread right here in your own kitchen. That’s why I developed this Easy No-Knead Artisan Bread recipe. It’s the simplest, most foolproof method I know, relying on time instead of elbow grease, just like we do here at MDLATDMM Recipes, to give you bakery results every single time.
- Why This Easy No-Knead Artisan Bread Recipe Works for Beginners
- Ingredients for Your Simple Artisan Bread Recipe
- Step by Step Bread: Mixing the No Knead Dough
- The Long Fermentation for Flavor in Your Artisan Loaf
- Shaping and Preparing for Dutch Oven Bread Baking
- Baking Instructions for Your Crusty Artisan Bread Recipe
- Tips for Success with Your Beginner Bread Baking
- Serving Suggestions for Your Rustic Loaf
- Frequently Asked Questions About Artisan Bread
- Estimated Nutritional Data for This Artisan Bread Recipe
- Share Your Homemade Bakery Bread Experience
Why This Easy No-Knead Artisan Bread Recipe Works for Beginners
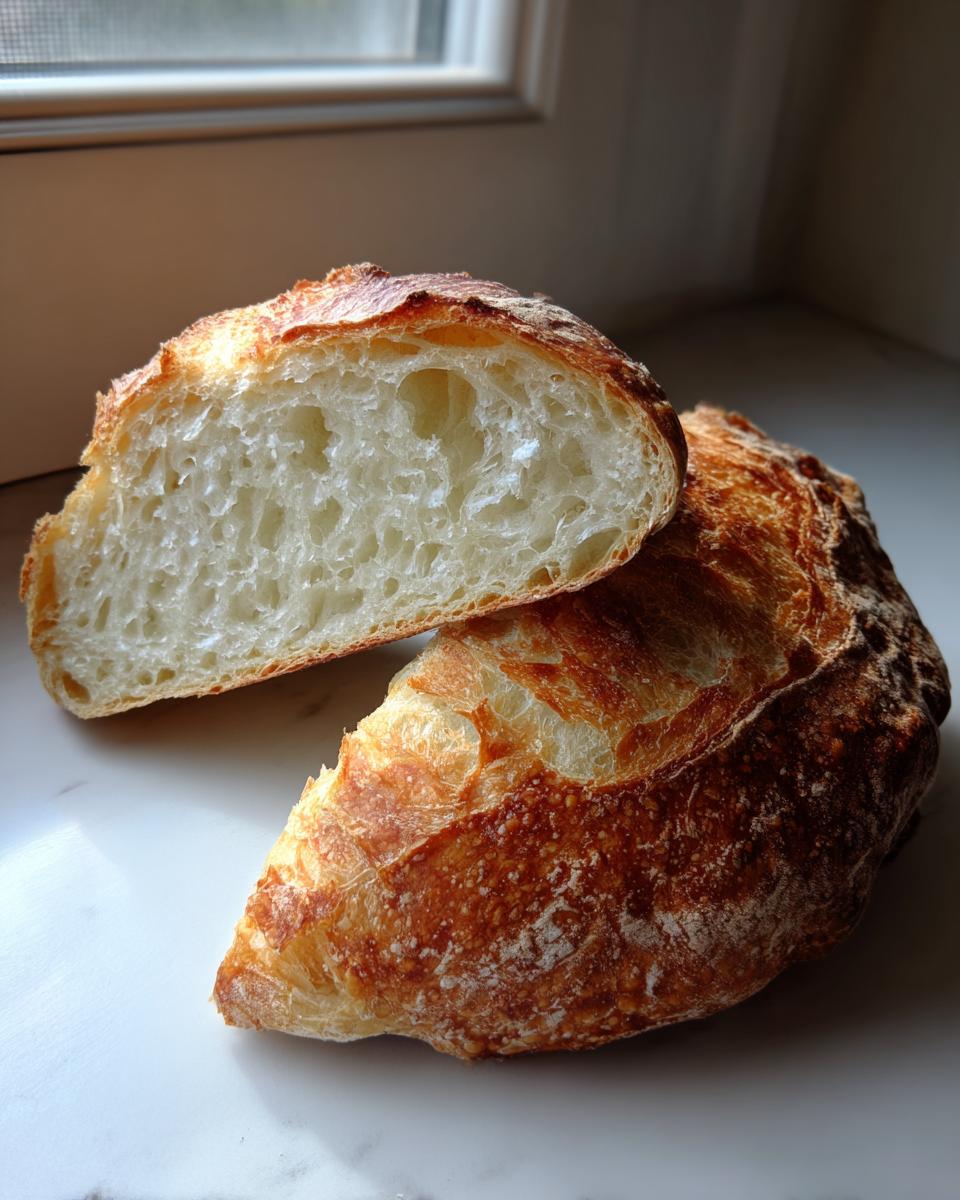
If the word “baking” makes you nervous, please stay right here! I promise this artisan bread recipe eliminates all the scary parts. We aren’t trying to wrestle a sticky mass of dough into submission; we’re just mixing four things and walking away. That minimal handling is exactly what creates that beautiful, airy interior we all crave—the soft crumb bread! It’s truly a foolproof bread experience.
- No wrestling or kneading required.
- Uses basic all-purpose flour you probably already have.
- The oven does the heavy lifting to create that professional look.
Minimal Active Time: The Magic of No Knead Dough
This is my favorite secret: the dough rises while you sleep, work, or just watch TV! You mix it for about five minutes, and then you leave it completely alone for up to 18 hours. That long, slow fermentation is what develops the complex, rustic flavor of true artisan bread without forcing you to spend hours punching and folding. No kneading means no overworking the gluten—it’s all passive success!
Achieving the Perfect Crusty Bread Recipe with a Dutch Oven
The Dutch oven isn’t just a pot; it’s your personal steam machine! To get that incredible, crispy exterior bread that snaps when you slice it, you need volcanic heat and steam. The cast iron pot traps all the moisture escaping the dough when you first put it in the oven. That blast of steam sets the crust beautifully, making this the ultimate crusty bread recipe. It’s the simplest trick for great artisan bread texture!
Ingredients for Your Simple Artisan Bread Recipe
This is the beautiful part, because if you can measure four things, you can make incredible artisan bread! Seriously, this is a true 4 Ingredient Bread recipe, and the ingredients are all things you likely have on hand right now. We keep it super simple to help you build confidence in your beginner bread baking journey.
- 3 cups All-Purpose Flour
- 1 1/2 teaspoons Salt
- 1/4 teaspoon Instant Yeast
- 1 1/2 cups Cool Water
Ingredient Notes and Substitutions for Artisan Bread
Now, just because it’s simple doesn’t mean you can throw just anything in there. Pay close attention to the yeast—it absolutely must be **instant yeast** or rapid-rise yeast. If you use active dry yeast, you have to wake it up first, and believe me, we aren’t doing that here!
Also, the water needs to be cool, not warm. Remember, this dough is going to sit on the counter for nearly a whole day, and we don’t want to rush the yeast or kill it. You can certainly swap some of that all-purpose flour for whole wheat if you want a heartier loaf, but just know it will change the final structure of this specific artisan bread. Stick with the recipe the first time; trust me on this one!
Step by Step Bread: Mixing the No Knead Dough
Okay, we’re getting our hands dusty, but only for about five minutes! This is where we stop reading and start mixing, and I need you to listen closely here, because overmixing is the number one way people accidentally deflate this beautiful loaf before it even gets to rest. We want a relaxed, easy-going dough, not one that’s been worked over!
First, grab your biggest mixing bowl—you’ll need room for this dough to grow huge! Whisk together all your flour, your salt, and that tiny amount of instant yeast. Make sure they are really mixed up well together first. As a fun side note, if you need an idea for breakfast while you wait 18 hours for this dough to rise, you can check out my easy breakfast ideas!
Next, pour in your cool water all at once. Now, the instruction says to mix with a wooden spoon until *just combined*. I need you to take that seriously! You are mixing until you no longer see dry flour patches. That’s it! Don’t keep stirring to make it smooth. If you do, you’ll turn this easy artisan bread into something tough. The dough *should* look shaggy, messy, and super sticky. If it looks smooth, you’ve gone too far!
The shaggy, sticky texture is totally correct for this whole no-knead process. It lets those few ingredients work their magic slowly over the next day. Just scrape the sides down gently, cover that bowl tight with plastic wrap—we don’t want a skin forming!—and find a nice spot on the counter for it to hang out.
The Long Fermentation for Flavor in Your Artisan Loaf
Now comes the hardest part of making this artisan bread: waiting! This is Step 3, and it’s where the real baking magic happens, even though you aren’t lifting a finger. You need to let that messy, sticky dough sit at room temperature for anywhere from 12 to 18 hours.
I know, I know, 18 hours sounds like forever when you just want bread! But this unbelievably long, slow fermentation is the absolute core of what makes this recipe taste like real, high-end artisan bread. The entire 12 to 18 hours allows the wild, natural souring process to develop deep, complex flavors that you simply cannot achieve with a quick yeast recipe.
If you’re just starting out, the 12-hour mark will give you a wonderful loaf. But if you want that really professional, rustic taste—the kind that tastes like it aged for days—you simply must let it go the full 18 hours. I always aim for 18 if I bake the day before, and honestly, the flavor difference is stunning; it’s worth the tiny bit of extra patience. When that dough finally looks hugely bubbly and almost overflowing the bowl, you’ll know it’s ready for the next step.
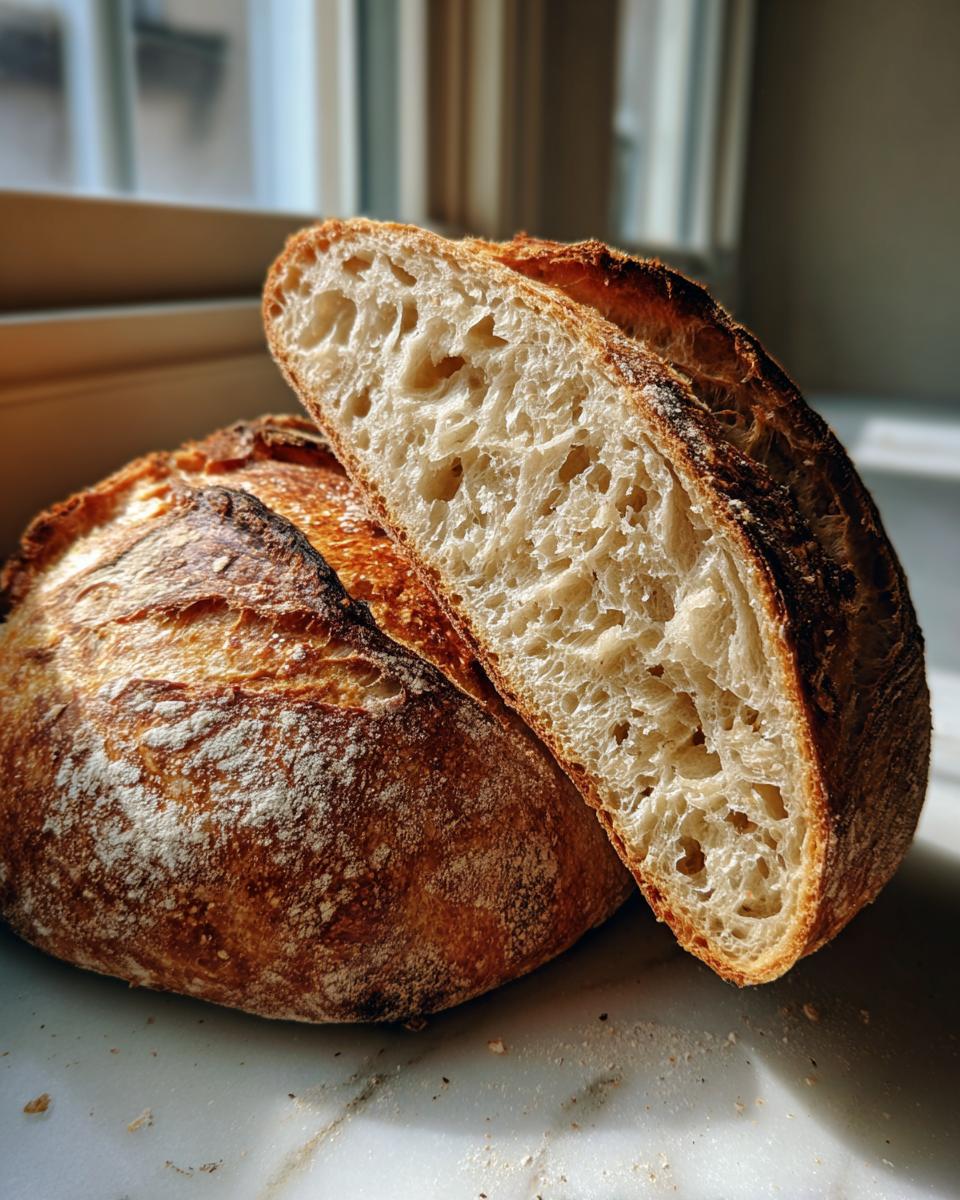
Don’t worry if the exact time isn’t perfect. As long as it’s risen significantly and is full of bubbles, it’s ready to go. We are relying on time here, not precision timing!
Shaping and Preparing for Dutch Oven Bread Baking
Okay, your dough has been relaxing and working hard for half a day or more, and now it’s time to wake it up gently. This part is about preserving all those hard-earned air bubbles so we can get that airy interior we keep talking about! We are moving into Step 4, and I need you to use soft hands here.
Lightly flour your countertop—don’t go crazy, just enough so the dough doesn’t stick instantly. Gently scrape the whole bubbly mass out of the bowl. Now, instead of wrestling it, we are just going to perform a little magic trick: fold the dough over on itself just a few times. Think of it like giving it a tiny, brief hug—two or three folds are plenty to create a rough ball shape. The goal isn’t perfection; it’s just to tighten the outside skin slightly.
Once you have your rough ball, place it directly onto a piece of parchment paper. Yes, the parchment paper is your best friend for this whole homemade bread with crispy crust process! Cover that dough ball loosely—a clean kitchen towel works great—and let it hang out for just 30 minutes. This resting period (Step 5) lets the dough relax again before it goes into the heat. If you need inspiration for a quick meal to pair with this bread later, take a peek at my ideas for quick weeknight dinners!
While the dough is relaxing for those 30 minutes, we need to get our Dutch oven ready. This is Step 6 and it is non-negotiable for that phenomenal crust! Place your empty Dutch oven, lid and all, right into your cold oven. Now, crank the heat up to 450 degrees Fahrenheit (232 Celsius) and let it sit there and get screaming hot while the dough finishes its rest. We are talking seriously hot cast iron here! This preheat needs to be solid so when you drop the artisan loaf in, you get the biggest oven spring possible.
Baking Instructions for Your Crusty Artisan Bread Recipe
We are at the moment of truth! The oven and the Dutch oven should be scorching hot—I mean, seriously hot. This is Step 7, and we need to work quickly but safely because we are dealing with high heat. Remember all that preparation? It pays off right now!
Using oven mitts I can trust, I carefully pull that blazing-hot Dutch oven out of the oven. You need to be brave here! Gently lift your dough ball using the parchment paper handles—that paper is your safety shield for this transfer. Lower the whole packet right into the center of that hot pot. Don’t panic if it sizzles! We are going for the maximum reaction here to create that beautiful, golden crusty bread recipe result.
Pop the lid securely back on the Dutch oven. That lid traps every bit of moisture the dough releases, creating a super steamy little baking environment. This steam keeps the outside soft enough to expand rapidly, giving you that wonderful oven spring and those gorgeous bubbles inside your homemade loaf. We bake it covered like this for 30 solid minutes at 450 degrees Fahrenheit (that’s 232 Celsius, just for reference). If you need some ideas for what to pair with this finished bread, I love serving mine with something like my oven baked pork chops!
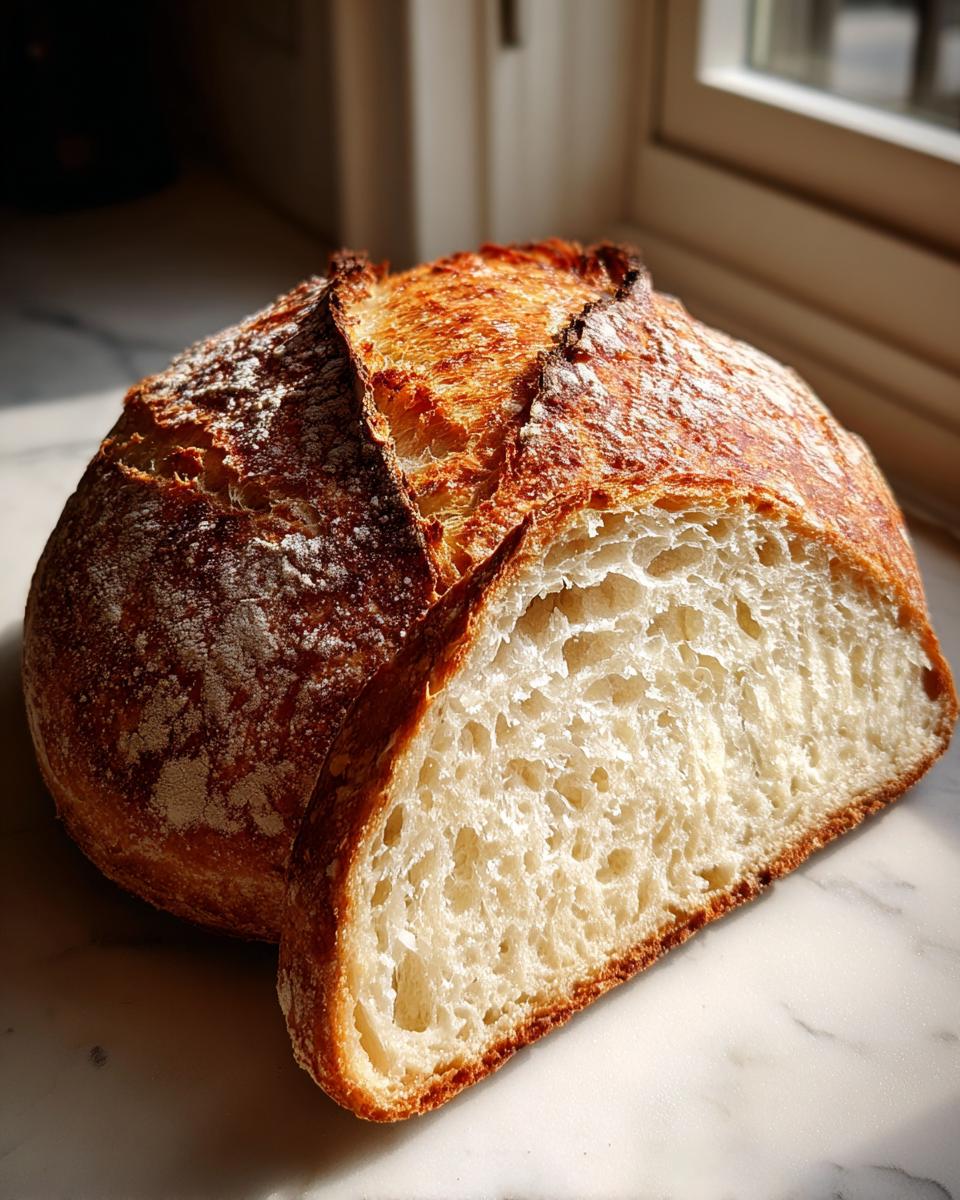
Once those 30 minutes are up, it’s time to uncover her and let her brown up. This is Step 9. Carefully remove the hot lid (watch out for all that steam!) and let the bread bake uncovered for another 15 to 20 minutes. This is when the crust truly sets, getting that deep, gorgeous golden-brown color that says, “I am professional artisan bread!” Keep an eye on it; every oven is a little different. I usually check at 15 minutes to see if it matches the loaves I’ve seen over at this recipe for color reference.
Cooling the Artisan Loaf for the Best Soft Crumb Bread
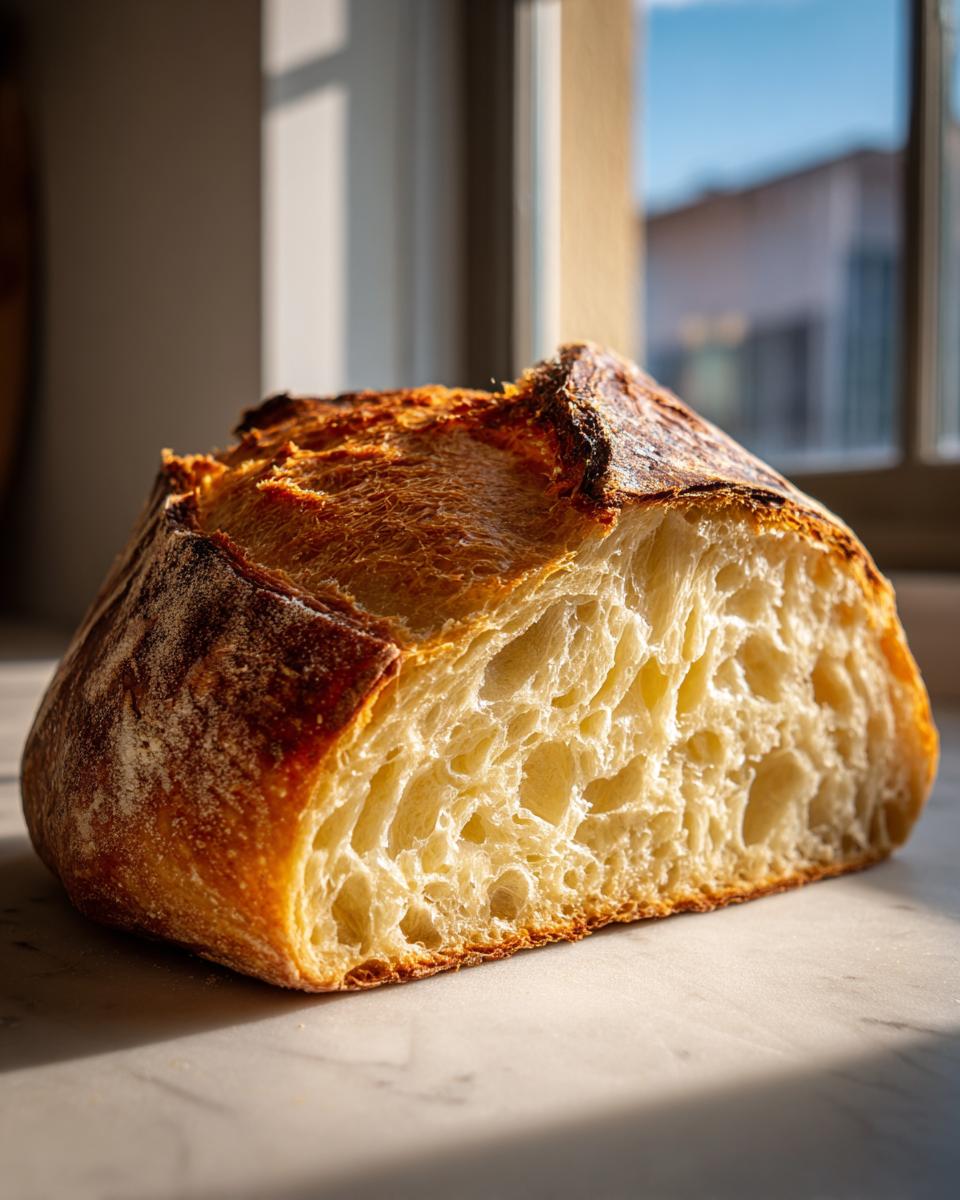
Almost done! When it looks perfect—deep brown and sounds hollow when you tap the bottom—carefully pull the bread out using the parchment paper and set it directly onto a wire cooling rack. And now, I need you to practice the single hardest skill in all of baking: Leave it alone! This is Step 10, and it’s crucial for that soft crumb bread texture.
You have to let your artisan bread cool completely, and I mean completely, before you even think about slicing into it. If you cut it open while it’s steaming hot inside, all that trapped moisture escapes too fast and turns your beautifully structured crumb gummy, dense, and a little sad. Seriously! Resist the urge for at least an hour—two is even better. Letting it cool on the rack stops the bottom from getting soggy. Patience here ensures you get that perfect bakery inside that we worked so hard for!
Tips for Success with Your Beginner Bread Baking
Even though this is a ‘no-knead’ recipe, there are little things you can tweak to make sure your loaf always looks amazing and tastes deeply flavorful. Remember, my whole philosophy here is making sure you trust your own kitchen skills, and that means sharing the little secrets I’ve picked up along the way developing this artisan bread recipe.
If you really want to elevate that rustic taste, try to meet that full 18-hour fermentation mark. It truly makes the difference between good bread and *great* artisan bread. That slow rise is non-negotiable for complex flavor!
Now, what if you don’t own a Dutch oven? Don’t you dare panic! That’s okay, we have an easy workaround so you can still get a decent crust. If you don’t have the pot, just use a heavy baking sheet or a preheated pizza stone. The trick is creating steam. You need to place an empty, shallow metal pan on the bottom rack of the oven while it preheats. When you put your dough in on the sheet, carefully pour about a cup of boiling hot water into that bottom pan. Shut the oven door fast! That steam is what helps your loaf expand before the crust hardens. It’s one of my best tips for successful oven baked bread without the heavy cast iron.
If you ever have questions or want to share how your loaf turned out—maybe you even used it alongside one of my recipes like my contact page lets you reach out! Happy baking!
Serving Suggestions for Your Rustic Loaf
Congratulations! You just conquered making incredible, bakery-quality artisan bread. That gorgeous, crusty exterior and soft crumb are begging to be enjoyed, so what do you do with this amazing rustic loaf?
Honestly, the very best way to start is the simplest way. Slice off a thick piece while it’s still slightly warm (breaking my own rule, I know, but sometimes you just can’t wait!) and slather it with real, good-quality salted butter. That snap of the crust giving way to the soft inside is pure heaven. Forget complicated toppings; this bread stands on its own!
But when you’re ready to turn this into a full meal, this loaf is the perfect partner for drowning. It’s amazing for dipping up every last drop of soup. If you’re looking for something hearty and comforting to go with your fresh bread, you absolutely must try my recipe for crockpot tomato tortellini soup—it’s creamy, tangy, and pairs spectacularly with the mild, earthy flavor of this artisan loaf.
If soup isn’t your thing, try dipping thick slices into good olive oil seasoned with flaky salt, fresh cracked black pepper, and maybe a little bit of dried oregano. It’s the perfect appetizer while dinner gets ready. You made this! Take a moment to enjoy how fantastic that homemade aroma smells filling your kitchen!
Frequently Asked Questions About Artisan Bread
Baking is personal, and I know you might have some questions bubbling up, just like that dough is doing on the counter! I’ve collected the questions I get most often about making this very Artisan Bread Recipe:
Can I skip the Dutch oven for this artisan bread?
You absolutely can, but you have to mimic the steam environment it creates! As I mentioned before, either use a pizza stone or a heavy baking sheet and place a shallow pan underneath it. When you put your dough in the oven, carefully pour a cup of boiling water into that bottom pan and close the door fast. That steam is what gives you that wonderful, crunchy crust. Don’t skip the steam, or your crust won’t be quite as crusty!
Can I make this quicker? Is there a Quick Artisan Bread method?
I understand the craving for instant results! While this recipe is designed for a long, slow rise (12-18 hours) to build flavor, you *can* speed it up if you use warmer water and place your bowl in a slightly warm (but turned off!) oven. You might get a decent rise in 3 to 4 hours, but honestly, the flavor payoff isn’t the same. To get that complex flavor that makes it true artisan bread, the long rise is key!
Does using All Purpose Flour really work this well?
It works fantastically, which is why I love it for beginners! This is a primary reason this is such a successful **All Purpose Flour Bread** recipe. If you use bread flour, you might get slightly higher gluten development, but since we aren’t kneading, the AP flour gives you that perfect rustic texture without any fuss. Stick to the regular stuff!
How do I know if I accidentally over-mixed the no knead dough?
If you mixed it for longer than 60 seconds and it felt smooth when you stopped, you probably over-mixed it. Don’t worry! An over-mixed dough will still bake into a loaf, but your crumb will be tighter and denser—less of those big, beautiful holes. Just mark it down as a learning experience for your next batch of **no knead bread**!
Estimated Nutritional Data for This Artisan Bread Recipe
I always think it’s helpful to have a general idea of what’s in this magnificent, homemade loaf, even though making artisan bread for me is more about comfort than counting macros! Remember, because this is such a simple recipe—just flour, water, yeast, and salt—the nutrition is straightforward. These numbers are just estimates based on the recipe measurements provided.
If you happen to use a different brand of flour or add any extras like herbs or seeds, your numbers are going to shift slightly, so treat this as a starting point for your **Easy Homemade Bread**!
- Serving Size: 1 slice
- Calories: 180
- Fat: 0.5g
- Saturated Fat: 0.1g
- Carbohydrates: 38g
- Fiber: 1.5g
- Protein: 6g
- Sugar: 0.5g
- Cholesterol: 0mg
See? Nothing scary here! Bread made with only four basic pantry staples is usually pretty good for you in moderation. That tiny bit of fat comes naturally from the flour itself! Enjoying this rustic loaf with a hearty soup or just wrapped around some cold butter is always worth the delicious effort.
Share Your Homemade Bakery Bread Experience
Now for the best part! You’ve waited patiently, you’ve baked it hot, and I bet your kitchen smells absolutely incredible right now. That’s the smell of success! I truly hope this easy no-knead artisan bread recipe gave you that satisfying crunch and soft interior that makes homemade bakery bread so worth the minimal effort.
I am so eager to see what you created! Did you get those beautiful, dramatic cracks on the outside? Did you manage to leave it unsliced for a whole two hours? Don’t keep that gorgeous rustic loaf to yourself!
Please come back and leave me a rating below. Hearing from you, seeing your beautiful crusty loaves, and knowing that I helped someone conquer baking their very first artisan loaf truly makes my day. Snap a picture of your homemade bread—maybe dipped in one of my soup recipes—and tag me on social media! Showing off your skills means the world to me. Happy baking, friends, and thank you for trying out this recipe from my kitchen to yours!
PrintEasy No-Knead Artisan Bread (Dutch Oven Method)
Bake bakery-quality artisan bread at home with this simple, no-knead recipe. It uses all-purpose flour and the Dutch oven method to achieve a crusty exterior and a soft, airy interior.
- Prep Time: 10 min
- Cook Time: 50 min
- Total Time: 13 hours 0 min
- Yield: 1 loaf 1x
- Category: Baking
- Method: No-Knead Baking
- Cuisine: American
- Diet: Vegetarian
Ingredients
- 3 cups All-Purpose Flour
- 1 1/2 teaspoons Salt
- 1/4 teaspoon Instant Yeast
- 1 1/2 cups Cool Water
Instructions
- In a large bowl, whisk together the flour, salt, and yeast.
- Pour in the cool water and mix with a wooden spoon until just combined. The dough will be shaggy and sticky. Do not knead.
- Cover the bowl tightly with plastic wrap. Let the dough rise at room temperature for 12 to 18 hours. The dough should become bubbly and increase in volume.
- Lightly flour a work surface. Gently scrape the dough out of the bowl. Fold the dough over itself a few times to form a rough ball.
- Place the dough ball on a piece of parchment paper, cover loosely with plastic wrap or a clean kitchen towel, and let it rest for 30 minutes.
- About 30 minutes before the end of the rest period, place your empty Dutch oven (with the lid on) into your oven. Preheat the oven to 450 degrees Fahrenheit (232 degrees Celsius).
- Carefully remove the hot Dutch oven from the oven. Lift the dough using the parchment paper handles and gently lower it into the hot pot.
- Cover the Dutch oven with the lid and place it in the preheated oven. Bake for 30 minutes with the lid on.
- Remove the lid and continue baking for another 15 to 20 minutes, or until the crust is deep golden brown.
- Carefully remove the bread from the Dutch oven and let it cool completely on a wire rack before slicing.
Notes
- For the best flavor, allow the dough to ferment for the full 18 hours. This slow fermentation develops the rustic taste.
- If you do not have a Dutch oven, you can bake this on a baking stone or sheet pan, but place a pan of hot water on the bottom rack to create steam for a better crust.
- This recipe is a great starting point for beginner bread baking.
Nutrition
- Serving Size: 1 slice
- Calories: 180
- Sugar: 0.5
- Sodium: 350
- Fat: 0.5
- Saturated Fat: 0.1
- Unsaturated Fat: 0.4
- Trans Fat: 0
- Carbohydrates: 38
- Fiber: 1.5
- Protein: 6
- Cholesterol: 0