
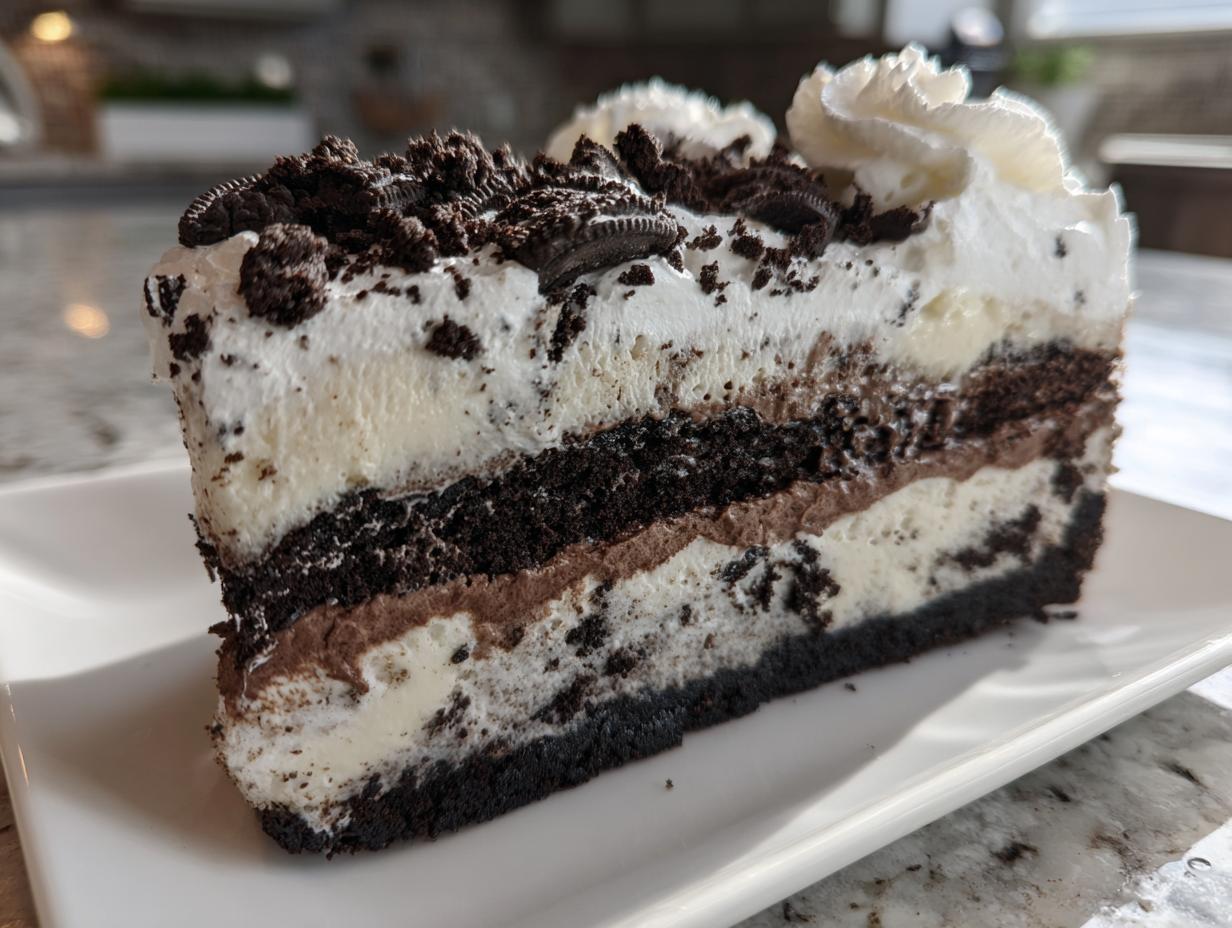
Hey everyone! Madison here. You know those big milestones—a huge birthday, or maybe just surviving a blazing hot summer week when you desperately need a treat? Those moments call for something legendary, something that gets everyone instantly excited. Forget fussing with the oven; that’s not my style when it comes to frozen treats! This Easy No-Bake Oreo Ice Cream Cake is what you absolutely need in your back pocket. It’s ridiculously simple, built on layers of pure nostalgia, and it’s the ultimate crowd-pleaser. I’ve learned over the years that the best celebrations often come wrapped up in the easiest, most satisfying desserts, and this ice cream cake recipe proves it every single time. Let’s ditch the complicated baking and get straight to freezing something spectacular!
- Why This Easy No-Bake Oreo Ice Cream Cake is Your New Go-To Celebration Dessert
- Gathering Ingredients for Your Ultimate Ice Cream Cake Recipe
- Step-by-Step Guide to Assembling Your Homemade Ice Cream Cake
- Tips for the Best Homemade Ice Cream Cake Every Time
- Creative Variations on the Classic Ice Cream Cake
- Storing and Serving Your Layered Ice Cream Cake
- Frequently Asked Questions About Making an Ice Cream Cake
- Estimated Nutritional Data for This Simple Ice Cream Dessert
- Share Your Perfect Ice Cream Cake Creation
Why This Easy No-Bake Oreo Ice Cream Cake is Your New Go-To Celebration Dessert
When the air is sticky outside or you just need a guaranteed hit for a party, this recipe is the answer. I developed this because I needed a showstopper that didn’t require turning on the oven. Trust me, this no bake ice cream cake is utterly reliable.
- It’s the definition of an easy ice cream cake—just layering and freezing!
- It’s perfect for all major celebration dessert ideas since you can prep it way ahead of time.
- You’re using store-bought favorites, so the cleanup is ridiculously minimal.
- It tastes like childhood, which always wins! Grab the full list of amazing treats here.
Gathering Ingredients for Your Ultimate Ice Cream Cake Recipe
Okay, let’s talk about what you need for this masterpiece. Since this is a homemade ice cream cake that requires zero baking, assembling the ingredients is half the fun! Keep everything ready—you’ll be moving fast once we hit the layering phase. We’re keeping this simple, relying on store-bought favorites to do the heavy lifting, which is why it qualifies as one of the best frozen dessert recipes out there.
Here is the rundown. Don’t substitute the good stuff until you’ve tried it my way first, okay?
- One whole package of Oreos (yes, the whole thing—about 13.2 ounces).
- A half cup of good, unsalted butter, melted down perfectly.
- One and a half quarts of chocolate ice cream, and the same amount of vanilla ice cream. The trick here is softening them *slightly*—not soup, but pliable enough to spread!
- One cup of hot fudge topping, warmed up just enough so it drizzles nicely.
- One cup of thawed whipped topping, like the trusted Cool Whip.
- And finally, a half cup of extra crushed Oreos dedicated just to the topping.
See? Five easy components that make one incredible ice cream cake recipe. It’s all about preparation!
Step-by-Step Guide to Assembling Your Homemade Ice Cream Cake
This is truly where the magic happens, and honestly, it’s why I keep calling this my ice cream cake recipe MVP. Because we aren’t baking anything, our timing centers entirely around the freezer. If you’re planning this for a party tomorrow, you can knock out the first four steps today! Don’t worry about needing any fancy equipment; just layer, chill, and repeat. If you need a quick savory break before dessert again, you can check out my easy weeknight dinner ideas, but trust me, you’ll want to stick around for the cake!
Preparing the Oreo Crust and Initial Freeze
First things first, we need a solid base for our layered ice cream cake. Line that 9-inch springform pan with parchment paper—this is non-negotiable unless you want a stuck mess later! Pulse those whole Oreos until they are fine crumbs. Pour the melted butter over them and pulse again until it feels like damp sand. Now, press that mixture down *firmly* into the bottom of the pan. You really need to compact it tight. Pop that crust into the freezer for just 15 minutes to set up before adding our first ice cream layer.
Layering the Ice Cream for the Perfect Ice Cream Cake
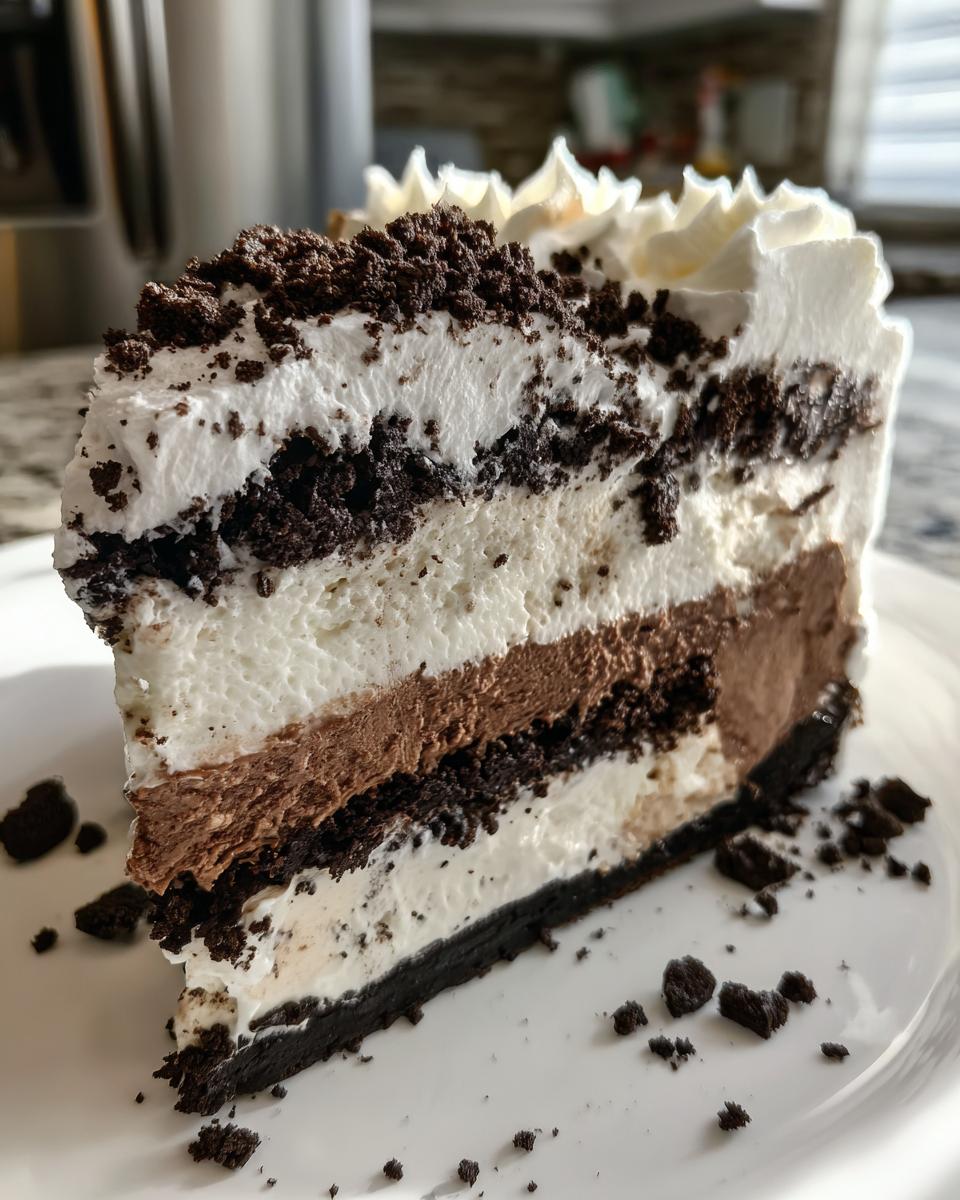
Once your crust is slightly firm, pull out your chocolate ice cream. Remember: slightly softened! This helps you scoop and spread it into an even layer over the crust. Smooth it out perfectly with an offset spatula—it needs to look as good as it tastes! Back into the freezer it goes for another 30 minutes until that chocolate layer is totally firm to the touch. Now, repeat the process with the vanilla ice cream. Make sure this second layer is also smooth and even. We want clean lines in this creamy frozen cake!
The Final Freeze and Finishing Touches for Your Ice Cream Cake
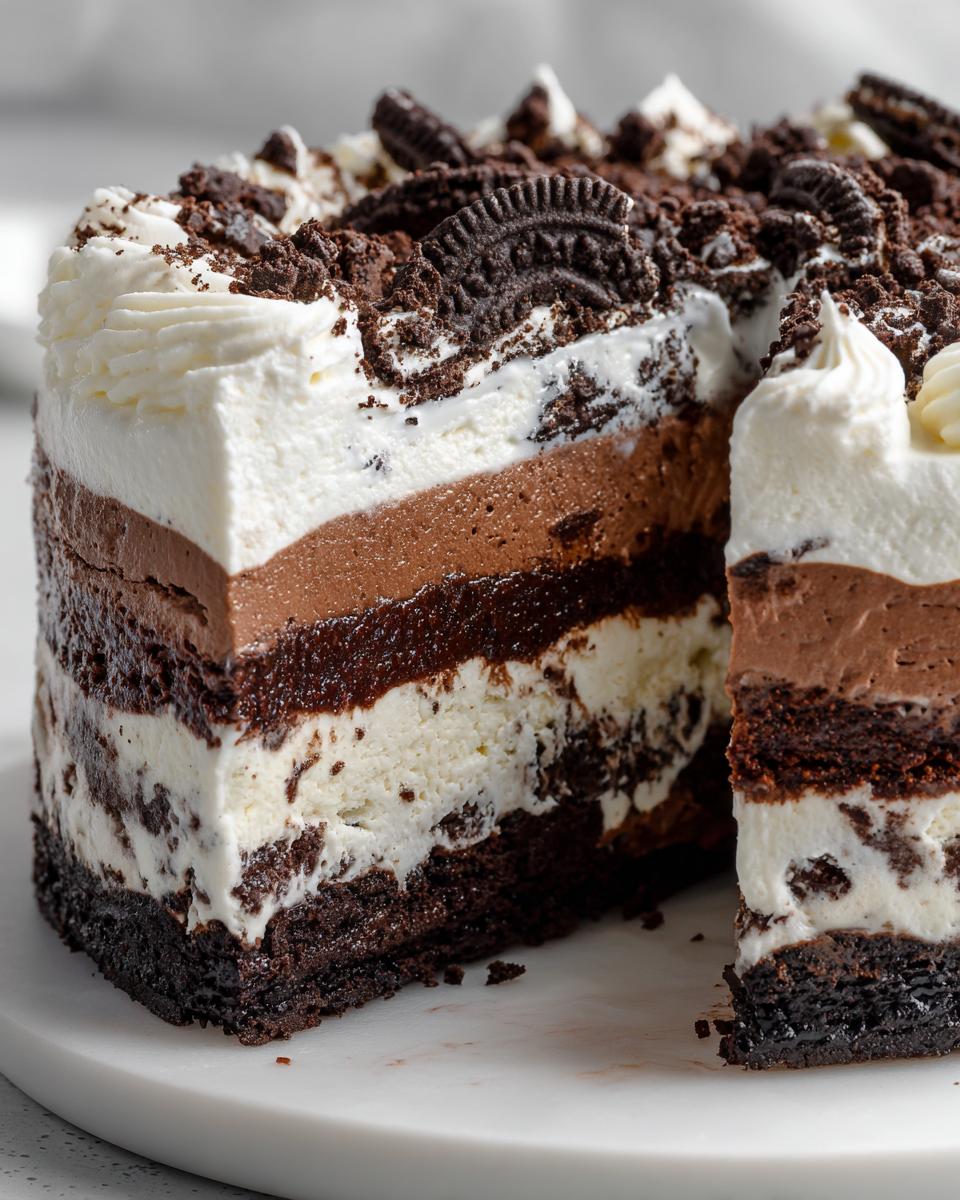
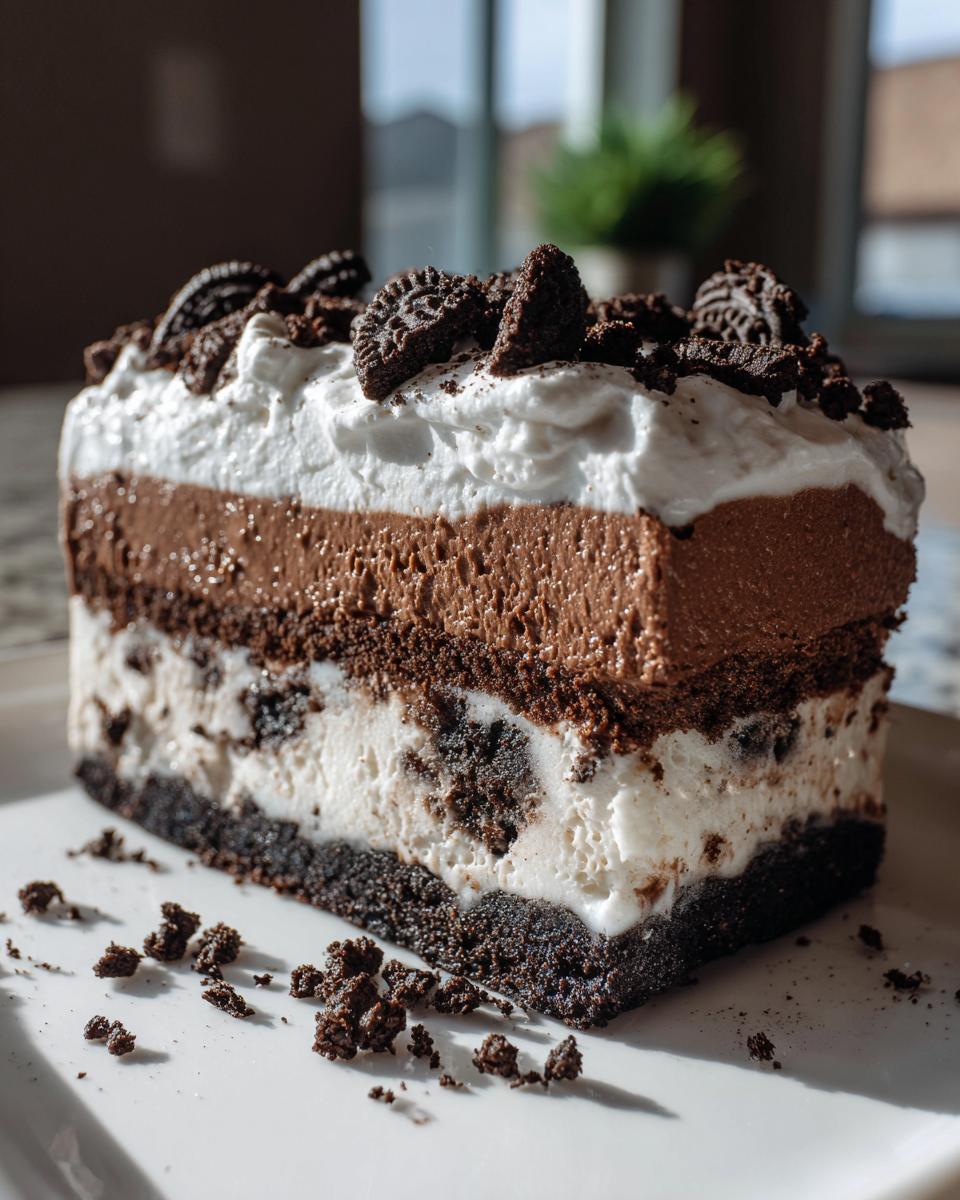
With the vanilla layer in place, drizzle that warmed hot fudge right over the top. Use a knife to give it a couple of gentle swirls if you want that cool pattern, but don’t overdo it! Now, this is the big wait: freeze the entire thing for a minimum of 4 hours, but I always tell people to wrap it up and freeze it overnight for the best results. When you’re ready to serve, take it out for about 5 to 10 minutes to temper—this is my trick! Letting it warm just slightly makes slicing clean and easy without it melting everywhere. Remove the springform sides, spread on that fluffy whipped topping, and sprinkle those reserved crushed Oreos right over the top! Perfection!
Tips for the Best Homemade Ice Cream Cake Every Time
Even though this is a no bake ice cream cake, there are a few things you absolutely must know to ensure you get that professional, creamy frozen cake look without any fuss. First off, that softening step for the ice cream? It’s crucial! If it’s too hard, you’ll end up gouging holes in your crust layer instead of making a smooth surface. If it’s too liquid, it’ll all run together during the intermediate freeze.
Also, don’t stress about the springform pan. As I mentioned in the notes, if you use a regular 9-inch cake pan, just line it really well with plastic wrap first, making sure there’s plenty of overhang on the sides. That overhang becomes your handles so you can lift the whole frozen dessert out in one piece later! This ability to make ahead frozen treats like this means you can focus on the rest of your party planning, not last-minute fixes.
And feel free to switch up the flavors! This recipe is a fantastic base. If you want a brownie ice cream cake vibe, just swap the plain Oreo crust for a layer of cold, pre-baked brownies. Visit my page on make ahead frozen treats for more ideas while you wait for the cake to set!
Creative Variations on the Classic Ice Cream Cake
While my heart belongs to the classic Oreo base—it just has that perfect crunch—the beauty of a homemade ice cream cake is that it’s totally customizable! This recipe is really just a platform for whatever you’re craving. Since we’re keeping this a no-bake situation, any swaps we make need to withstand freezing like a champ.
If you’re feeling extra ambitious, or maybe you have some leftover fudgy goodness in the fridge, think about creating a brownie ice cream cake. Instead of crushing those Oreos for the base, you can press down a thin layer of store-bought or leftover homemade brownies. Make sure they are completely cooled and maybe even slightly chilled so they don’t melt the ice cream layer when you press them in. I have a whole guide on making that specific kind of decadence over at my brownie ice cream cake post!
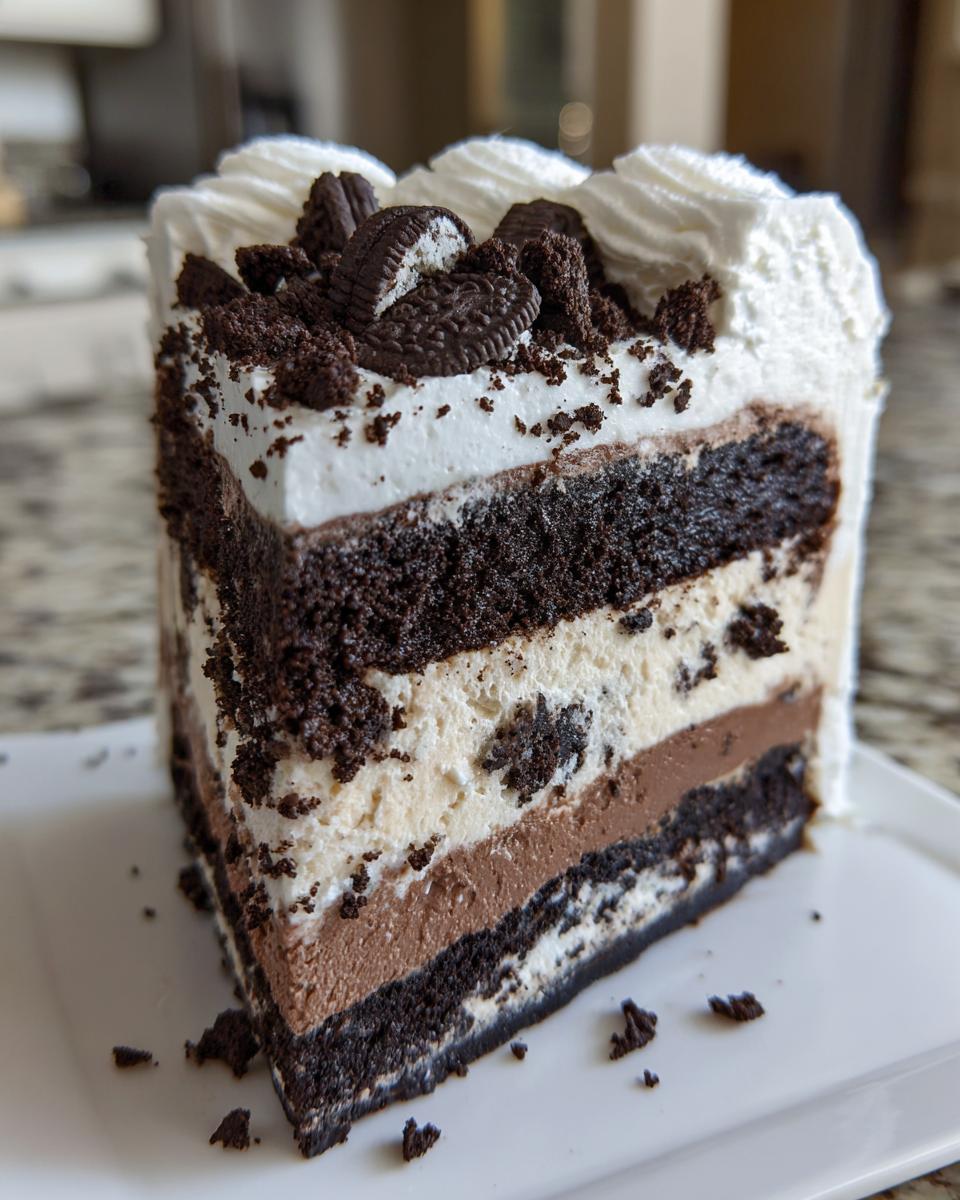
Flavor layering is where you can really go wild. Chocolate and vanilla are classics, sure, but who says no? Try mint chocolate chip next to coffee ice cream. Or maybe peanut butter swirl next to strawberry. The rule I always follow is to make sure the two ice cream layers contrast nicely in texture or flavor but complement each other. For example, if you hate fudge, skip the hot fudge swirl and drizzle softened peanut butter in place of it before the final freeze!
Another fun, easy hack is using ice cream sandwiches instead of just scooping. If you want a quick layered ice cream cake, you can line the bottom with those pre-made chocolate sandwich cookies instead of the crust mix. They fit perfectly in a round pan and give you layers that are already defined—it cuts down on spreading time tremendously!
Storing and Serving Your Layered Ice Cream Cake
This is truly one of the best make ahead frozen treats you can whip up. Since this layered ice cream cake requires zero baking, you can (and should!) make it days ahead of your party. Once it’s completely firm after that final freeze, you need to wrap it up super tight. I usually use a layer of plastic wrap and then a layer of aluminum foil around the whole pan to avoid any freezer burn or funky odors getting in there.
When it’s time to serve, remember that crucial tempering step I mentioned earlier? Take it out of the deep freeze about 5 to 10 minutes before you try to cut into it. If you try to slice it rock solid, you’ll just smash those beautiful layers! Letting it sit on the counter for just a few minutes softens the edges enough to get clean, beautiful slices every time. It’s ready when the whipped topping gives just a little bit when you barely touch it.
Frequently Asked Questions About Making an Ice Cream Cake
I get so many messages after people try this easy ice cream cake recipe, so I wanted to just nail down some of the most common things folks ask. If you still have questions after reading through the steps, you’re probably wondering about timing or substitutions. Dealing with frozen desserts can feel intimidating, but honestly, this recipe is so forgiving, it minimizes all that panic!
Can I use soft serve right out of the machine instead of slightly softened store-bought ice cream?
Oh, that’s a tempting thought, right? Soft serve is already soft! However, I strongly recommend using ice cream that you’ve left out on the counter for about 10 to 15 minutes until it’s spreadable. Soft serve made at home or bought fresh often has way more air churned into it, which means it can collapse or get icier once it freezes solid in your cake. For the smoothest, creamiest frozen cake possible, stick to slightly softened hard-pack ice cream. It just creates a denser, better final texture for these frozen dessert recipes.
How long can this layered ice cream cake last in the freezer?
This is the best part! Since there’s no crust getting soggy from other ingredients or a sponge cake base that dries out, this dessert lasts ages frozen solid! If you wrap it really well, like I mentioned before (plastic wrap then foil!), it’s fantastic for up to two weeks. I always try to make one or two extra layers of the crust and fillings, pop them in the freezer, and then have an emergency ice cream cake ready to go when unexpected guests show up. It’s the ultimate make-ahead solution!
What if I don’t have a springform pan? Can I use a regular pan for this easy ice cream cake?
Absolutely, don’t let equipment stop you! If you don’t own a springform pan, grab a regular 9-inch round cake pan. The key here is lining it completely with plastic wrap, leaving a big overhang—maybe 3 or 4 inches draping over all the sides. Once the cake is rock solid, use those plastic handles to lift the entire frozen dessert right out of the pan before you frost it. It keeps one of the best frozen dessert recipes accessible to everyone! For more simple steps, check out my guide on quick ice cream desserts.
Can I use something other than Oreos for the crust?
Yes, you totally can! Oreos give that classic cookies and cream flavor, but you have freedom here. Graham crackers mixed with butter work beautifully and give a slightly lighter, sandy crust. If you want to lean into the chocolate theme even more, crushed chocolate wafer cookies are amazing. Just remember: whatever you choose, you still need to mix it well with the melted butter and press it down firmly so it doesn’t crumble when you slice it!
Estimated Nutritional Data for This Simple Ice Cream Dessert
I know sometimes we just need to know what we’re getting into, even when we’re leaning into pure indulgence! Since this is a summertime party dessert that uses store-bought components, the numbers can bounce around a bit, but I pulled the estimates based on the classic ingredients list we used.
Remember, this is for one satisfying slice of our amazing ice cream cake. Since we all scoop slightly different sizes (and mine are usually generous!), please take these as a baseline—they are estimates based on standard ingredient assumptions and can vary based on your specific brands!
- Serving Size: 1 slice
- Calories: 450
- Sugar: 45g
- Sodium: 250mg
- Fat: 28g
- Saturated Fat: 15g
- Unsaturated Fat: 5g
- Trans Fat: 0.5g
- Carbohydrates: 48g
- Fiber: 2g
- Protein: 6g
- Cholesterol: 50mg
See? It’s a satisfying indulgence, perfect for a special occasion! Just budget for the sugar, enjoy every creamy bite, and know that the joy this easy ice cream cake brings is totally worth it.
Share Your Perfect Ice Cream Cake Creation
Now that you’ve conquered the freezer and built your very own stunning, no-bake wonder, I have one last favor to ask! This is the part of making these recipes that I absolutely love—seeing how you take the base idea and make it your own. Did you go classic chocolate and vanilla, or did you sneak in some salted caramel?
Please, please tell me about your experience! Leave a rating right here on the recipe card—five stars if this ice cream cake saved your birthday party! Drop a comment below and let me know what flavor combination you chose for your layers. Did you try making that amazing copycat cake? I’m always looking for new ideas to try next time I pull out my springform pan.
And if you snapped a gorgeous photo of your finished homemade ice cream cake—especially if it’s melting gracefully on a hot summer day—I want to see it! Tag me on social media. It helps other cooks see just how accessible and impressive these frozen dessert recipes can be. Happy chilling, and thanks for cooking with me!
If you want to bookmark this specific guide for later reference, you can save the direct link to this easy ice cream cake recipe so you always have it handy!
PrintEasy No-Bake Oreo Ice Cream Cake

You can make this simple, layered ice cream cake using store-bought ice cream and Oreos. It is a no-bake frozen dessert perfect for birthdays or summer parties.
- Prep Time: 25 min
- Cook Time: 0 min
- Total Time: 4 hr 25 min
- Yield: 10 servings 1x
- Category: Dessert
- Method: No-Bake
- Cuisine: American
- Diet: Vegetarian
Ingredients
- 1 (13.2-ounce) package Oreo cookies
- 1/2 cup unsalted butter, melted
- 1.5 quarts chocolate ice cream, softened slightly
- 1.5 quarts vanilla ice cream, softened slightly
- 1 cup hot fudge topping, warmed
- 1 cup whipped topping (like Cool Whip), thawed
- 1/2 cup crushed Oreo cookies for topping
Instructions
- Line the bottom of a 9-inch springform pan with parchment paper.
- Place the entire package of Oreo cookies in a food processor and pulse until you have fine crumbs.
- Pour the melted butter over the crumbs and pulse until the mixture resembles wet sand.
- Press the crumb mixture firmly and evenly into the bottom of the prepared springform pan. Place the pan in the freezer for 15 minutes to set the crust.
- Remove the pan from the freezer. Spread the slightly softened chocolate ice cream evenly over the crust layer. Smooth the top with an offset spatula.
- Return the pan to the freezer for 30 minutes, or until the chocolate layer is firm.
- Spread the slightly softened vanilla ice cream evenly over the set chocolate layer. Smooth the top.
- Drizzle the warmed hot fudge topping over the vanilla layer. Use a knife to gently swirl the fudge into the ice cream slightly.
- Freeze the cake for at least 4 hours, or until completely firm. For best results, freeze overnight.
- Before serving, remove the cake from the freezer and let it sit at room temperature for 5 to 10 minutes.
- Carefully remove the sides of the springform pan. Spread the thawed whipped topping over the top and sides of the cake.
- Sprinkle the reserved crushed Oreo cookies over the whipped topping.
- Slice and serve this easy ice cream cake immediately.
Notes
- You can substitute any two ice cream flavors you prefer for a custom layered ice cream cake.
- If you do not have a springform pan, you can line a standard 9-inch round cake pan with plastic wrap, leaving an overhang on the sides to help lift the cake out later.
- For a copycat ice cream cake look, use a piping bag fitted with a star tip to pipe the whipped topping around the top edge.
Nutrition
- Serving Size: 1 slice
- Calories: 450
- Sugar: 45g
- Sodium: 250mg
- Fat: 28g
- Saturated Fat: 15g
- Unsaturated Fat: 5g
- Trans Fat: 0.5g
- Carbohydrates: 48g
- Fiber: 2g
- Protein: 6g
- Cholesterol: 50mg