

You know those nights, right? You’re absolutely craving something rich, deeply satisfying, and super savory, but the thought of dealing with a deep fryer for homemade Chimichangas makes you want to just order pizza instead. Believe me, I’ve been there! That craving for comfort food shouldn’t mean hours in the kitchen or drowning everything in oil.
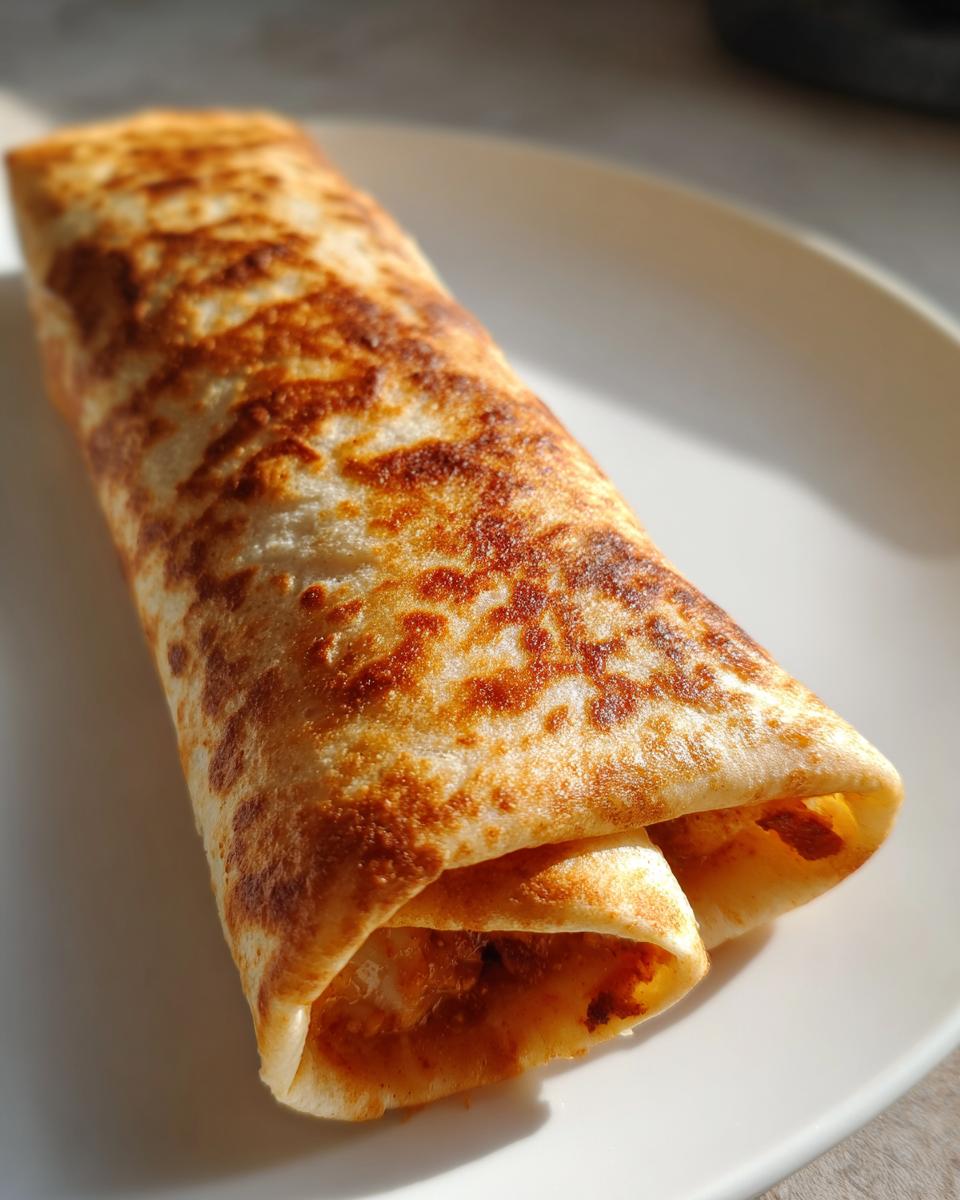
That’s why I’m so thrilled to share this perfect solution: our Air Fryer Chicken and Cheese Chimichanga. We get that irresistible, golden, blistered crunch—the kind that makes you close your eyes on the first bite—but we achieve it without all the mess. Here at MDLATDMM, my main goal, honed from years of trying to balance a busy life with a love for heritage meals, is making sure these classic comfort food flavors are accessible for you, even on a crazy Tuesday. This recipe is absolutely a game-changer for quick weeknight dinners.
- Why This Air Fryer Chicken Chimichanga Recipe Works for You
- Gathering Ingredients for Your Homemade Chimichangas
- Step-by-Step Instructions for Crispy Air Fryer Chimichangas
- Tips for the Ultimate Crispy Chimichanga Ideas
- Make Ahead Chimichangas and Storage Instructions
- Serving Suggestions for Your Weeknight Mexican Dinner
- Understanding Fried vs Baked Chimichangas
- Frequently Asked Questions About Chimichangas
- Nutritional Estimate for Your Chimichangas
Why This Air Fryer Chicken Chimichanga Recipe Works for You
I know you want that satisfying crunch when you bite into a chimichanga, but you hate the cleanup from deep frying! This recipe, which I genuinely consider an Easy Chimichanga Recipe, hits all the marks for a fantastic weeknight meal. It’s simple, it’s packed with flavor, and it’s far better for you than the old methods.
- It makes a genuinely fast family dinner experience.
- You get that perfect, crispy exterior promised in good Crispy Chimichanga Ideas.
- We cut way back on the oil without sacrificing flavor!
Achieving Golden Brown Chimichangas Without Oil
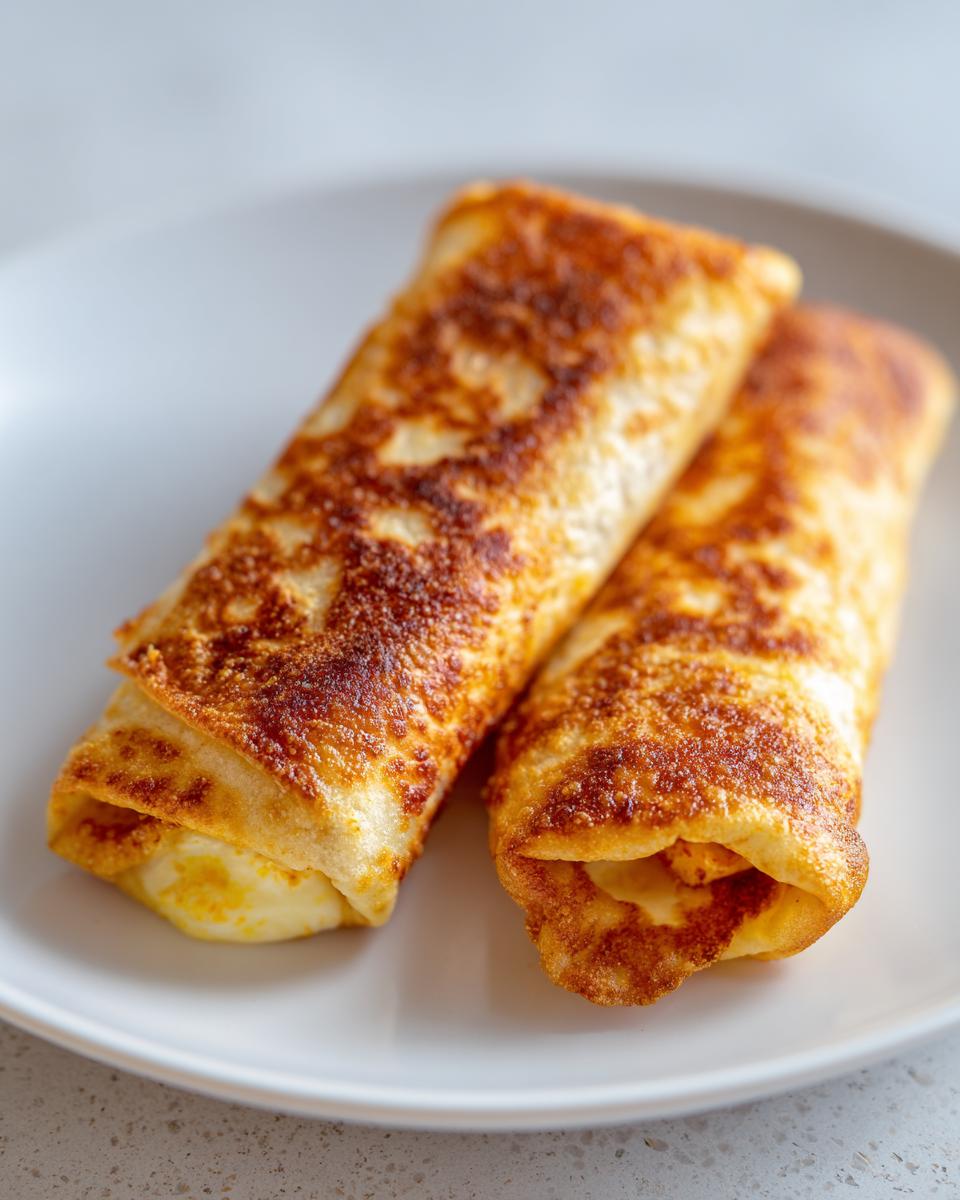
The secret weapon here is the air fryer, truly! By using a good layer of cooking spray, the hot circulating air mimics the deep fryer environment. It dehydrates the surface of that tortilla wrapper just enough to make it beautifully golden brown and blistered. You get the crunch without the grease soaking in.
Quick Tex Mex Meals Ready in Under 30 Minutes
This is a true winner for busy nights because the prep is fast and the cooking is even faster! We’re looking at about 15 minutes of prep and just 10 minutes in the basket. That means you have a complete, flavor-packed Fast Family Dinner Recipe on the table in around 25 minutes total. Wow!
Gathering Ingredients for Your Homemade Chimichangas
Okay, let’s talk about what goes into these amazing homemade chimichangas. Don’t be intimidated by the list; it’s mostly assembly! I always try to have cooked, shredded chicken ready to go—leftover rotisserie chicken is your friend here. Mixing things while they are room temperature makes for an easier stuffing process, especially that cream cheese.
For ten of these beauties, you’ll need:
- 10 medium flour tortillas (get the good, flexible kind!)
- 2 cups cooked, shredded chicken (seasoned lightly if you like)
- 1 cup shredded Monterey Jack cheese
- 1/2 cup shredded cheddar cheese
- 1/4 cup cream cheese, softened
- 1/4 cup sour cream
- 1 teaspoon chili powder
- 1/2 teaspoon ground cumin
- 1/4 teaspoon garlic powder
- Cooking spray (I use avocado oil spray for the air fryer)
Ingredient Notes and Substitution Ideas
This recipe is already built to be wonderfully melty, so you’re set for cheesy chimichangas! But if you’re planning ahead, feel free to prep the filling mixture completely ahead of time. If you find yourself with an abundance of seasoned ground meat instead of chicken, absolutely make a switch! This filling works perfectly as a classic Beef Chimichanga Filling—just make sure that beef is fully cooked and cooled slightly so it doesn’t stress your tortillas.
Step-by-Step Instructions for Crispy Air Fryer Chimichangas
Now we get to the fun part—putting it all together! Remember, the key to beautiful Chimichangas that don’t split open is having pliable tortillas and a filling that’s not too wet. Don’t rush the wrapping process; take your time making them tight and neat. Once they look perfect, the air fryer does the heavy lifting to get them crispy! If you love air frying results, you might want to check out how I get my wings crispy, too; the technique is similar!
Preparing the Chicken Chimichanga Filling
First up, let’s whip up that creamy filling base. In your bowl, mix that shredded chicken, all the shredded cheeses, the softened cream cheese, and the sour cream. Now, sprinkle in your spices—the chili powder, cumin, and garlic powder—and mix everything together until it looks uniform. I always sneak a tiny little taste right here to make sure the spice level is perfect for our family. If it needs a little more kick, this is your last chance to add a tiny pinch of salt!
Folding and Prepping Chimichangas for the Air Fryer
Take those tortillas and warm them up for just about 15 seconds in the microwave. This warms them up just enough so they roll without cracking. Spoon about a quarter cup of the mixture onto the center, then fold in the two opposing sides first, just like you’re wrapping a present. Then, roll it up tightly toward the final edge. This is crucial for a nice, tidy shape! Once they are rolled, you must be generous with that cooking spray. You want them completely coated to get those fantastic Golden Brown Chimichangas later on.
Air Frying Your Chimichangas to Perfection
We’re aiming for texture here, so we need a hot basket! Preheat your air fryer to 375°F (190°C). Work in batches so none of your perfect rolls are piled on top of one another—they need space to crisp. Pop them in and cook them for about 8 to 10 minutes total. The most important thing? Flip them halfway through! That ensures both sides of your Air Fryer Chimichanga get evenly toasted and super crunchy. Don’t forget to pull those toothpicks out before you taste them!
Tips for the Ultimate Crispy Chimichanga Ideas
We’ve got the air fryer method down, which is already a huge step towards perfect crunch, but I want to give you a couple of my real-life kitchen secrets. These little tricks absolutely elevate your Chimichangas from “good” to “wow, I thought these were fried!” This is how we ensure maximum crispiness every single time we make these for our family fiesta night.
My number one tip, which acts like an insurance policy for the crunchiest shell possible, involves a tiny bit of melted butter. If you have a few extra minutes and really want that true golden finish, after you spray them generously with the cooking spray, give them just a light, thin brush of melted butter right on top. Butter adds richness that the spray can’t quite replicate, and it really helps the exterior brown beautifully in that hot air.
Also, please don’t skip the parchment paper if your air fryer basket is large! While this is technically part of the baking process for some, using a parchment liner meant for the air fryer (make sure it has holes!) helps prevent any little bits of cheese that might escape from sticking to the bottom, keeping your clean-up minimal and your Homemade Chimichangas clean on the bottom side.
Finally, regarding temperature—don’t rush it up! I know it’s tempting when you want a Quick Tex Mex Meal, but keeping the temperature steady at 375°F is essential. If the air is too hot, the outside burns before the cheese inside gets fully gooey and melted. Patience yields the best, most satisfying crunch!
Make Ahead Chimichangas and Storage Instructions
This is one of my favorite ways to use these chimichangas because they truly shine as a Make Ahead Chimichanga option. Seriously, you can assemble these earlier when you have a free moment—maybe during a commercial break while watching TV—and then just have them ready to go when dinner time hits.
You prep them right up until the final spray step. Once you’ve rolled them tightly and secured the seam with a toothpick, lay them out on a baking sheet lined with parchment paper. Make sure they aren’t touching! You can chill these assembled, raw wraps in the refrigerator for a full 24 hours. They stay perfectly fine, ready for a quick bake right when you get home.
If you’re planning further ahead, you can definitely freeze them! Wrap each roll snugly in plastic wrap first, then place them all into a heavy-duty freezer bag. They’ll keep frozen for a month or two. When you’re ready to cook them straight from the freezer, don’t thaw them! Just do a generous spray of cooking spray right over the frozen tortilla and add about three to five extra minutes to that Air Fryer Chimichanga cook time. Perfection achieved with zero stress!
Serving Suggestions for Your Weeknight Mexican Dinner
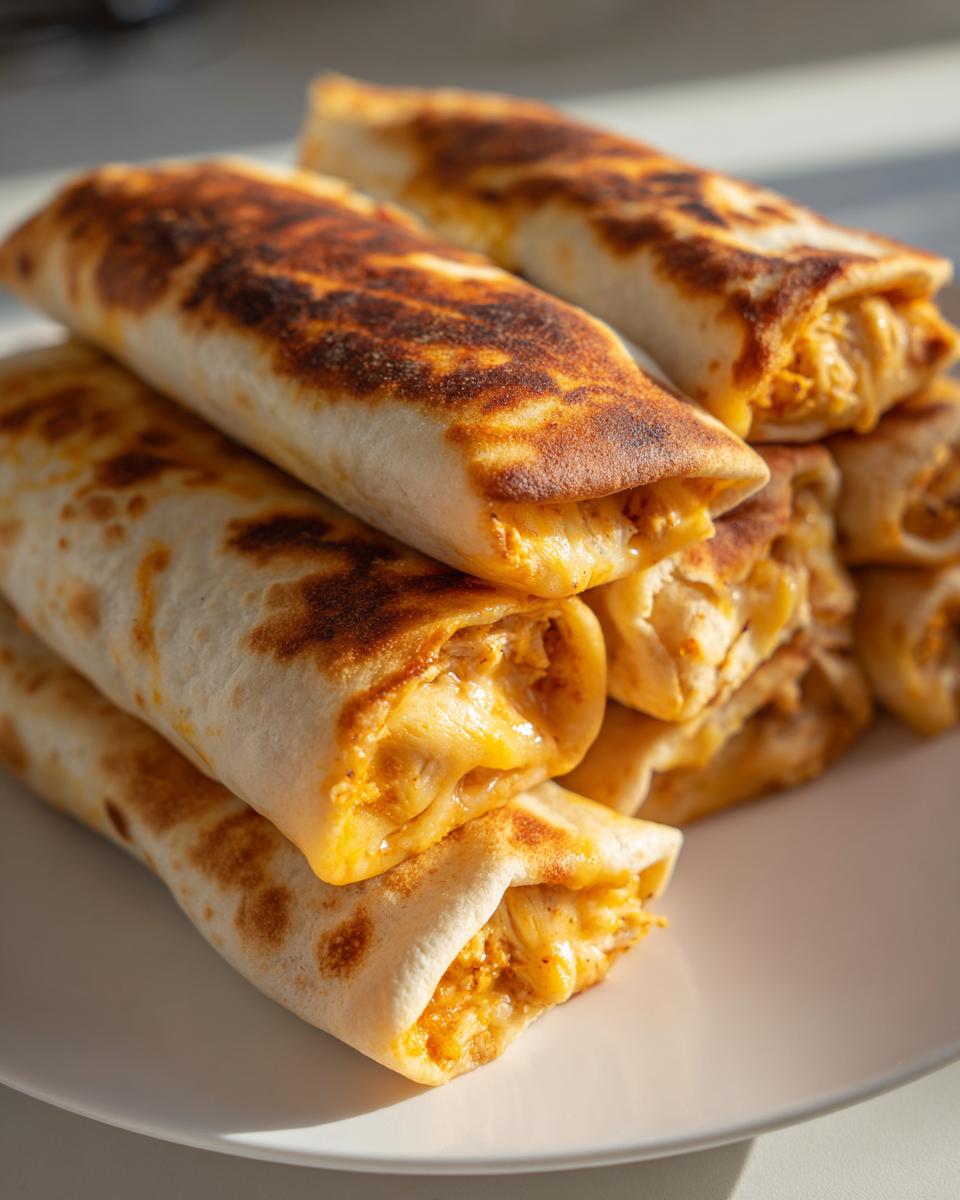
Alright, your beautiful, golden, crispy chimichangas are out of the air fryer and sitting on the platter. Now what? Listen, you can’t serve Tex-Mex flavor bombs like this naked! They deserve some fantastic partners on the plate. This is where you turn a great meal into a full-blown Fiesta Night Food spread.
You absolutely need the classics, of course. A big dollop of cool, tangy sour cream cuts through that melted cheese perfectly. Then you need something bright and fresh. If you have fresh tomatoes and onions handy, a quick pico de gallo is amazing. But honestly, if you want to cheat (and I won’t tell!), you can make my killer guacamole just as fast. You’ll find the recipe for the creamiest dip ever right here: perfect homemade guacamole.
Here’s a pairing that I absolutely adore, and it fits my style of bringing slightly unexpected comfort to the table. Try serving your chimichangas with a side of pickled red onions and maybe some cotija cheese sprinkled lightly over the top instead of just cheddar. The tangy sweetness from the onions cuts right through the richness of the chicken and cheese filling. It’s just a small thing, but it makes the whole plate feel more special. Honestly, these are the types of easy comfort food Mexican style dishes that make cooking fun again!
Understanding Fried vs Baked Chimichangas
This is a super important topic because the cooking method changes everything about your final product, especially if you’re looking for Healthier Chimichangas. When people think of classic, restaurant-style Chimichangas, they usually picture the deep-fried version. And yes, deep frying gives you that immediate, satisfying, all-over crunch—that deep, bubbly texture you just can’t argue with. But wow, the oil mess and the added fat are just too much to deal with for a standard Tuesday night dinner, don’t you think?
Then you have the traditional ‘baked’ method, where you might just toss them in the oven. Baking works, and it’s definitely lighter than frying, but honestly? Sometimes baked ones end up tasting a little… dry or just slightly doughy on the edges. They lack that intense crispness we really want from a great chimichanga experience.
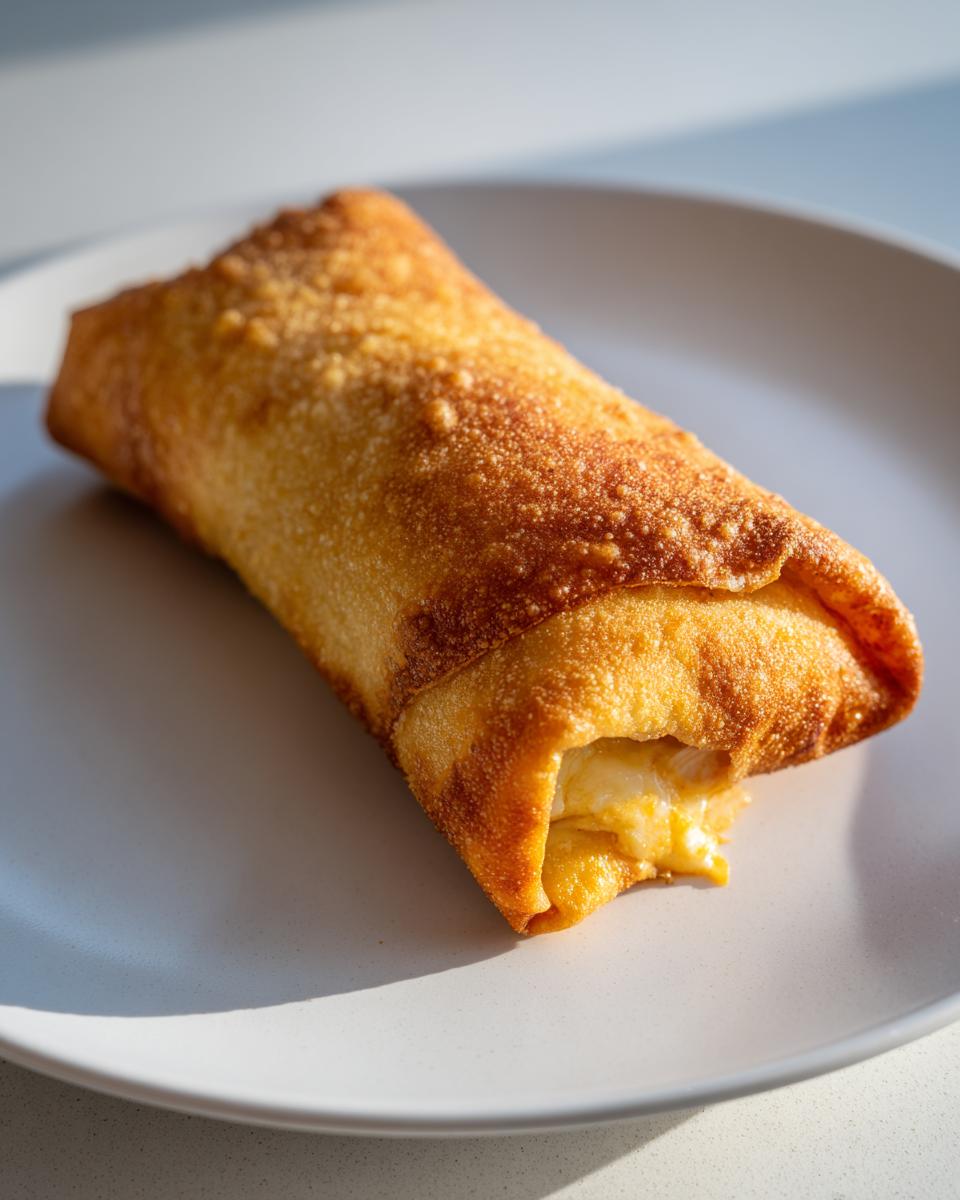
That’s why I landed right in the middle with the air fryer. It’s the best of both worlds! The air fryer mimics the high-heat exposure of frying but uses maybe 5% of the oil. You get an exterior that is unbelievably crunchy and golden—almost indistinguishable from deep-fried—but because we aren’t submerging them, they feel much lighter and cleaner. It’s the perfect compromise between satisfaction and simplicity.
If you’re really watching fat intake, this method is your winner over deep frying, though I’ve seen some folks get really creative with reducing calories elsewhere, like on sites where they have recipes for skinny versions. For me, getting that beautiful textural crunch in the air fryer with minimal hassle is the gold standard for my Weeknight Mexican Dinner.
Frequently Asked Questions About Chimichangas
I get tons of questions about these crispy bundles once folks make them the first time, and that’s great! Asking questions is how we learn, right? I want to make sure you feel super confident making these for your own family nights. Below I’ve answered a few burning queries, especially for anyone hoping to master an Easy Chimichanga Recipe.
Can I use refried beans in my Chicken Chimichanga Recipe?
Oh yes, you absolutely can! If you want to make your Chicken Chimichanga Recipe even heartier—and who doesn’t love gooey beans in there?—just drain and dry those beans out a tiny bit first. You don’t want excess liquid mixing in, or your tortilla might get soggy before it crisps up. Fold in about half a cup of thick refried beans right with the chicken and cheese mixture. It adds another layer of creaminess when it melts. It’s fantastic!
If you’re ever looking for other quick meals, even non-Mexican ones, I have a few simple ideas over in my guide to easy breakfast ideas that might save your morning later in the week!
What is the difference between a Chimichanga and a deep-fried burrito?
That’s a classic debate, and while they look very similar, there’s a key difference rooted in tradition! A burrito is generally served soft and warm. A chimichanga, however, is always sealed up like a burrito and then cooked via deep frying or, in our case, air frying until it is explicitly crispy and golden brown all over.
The chimichanga is strongly associated with the Tex-Mex style of cooking, often smothered in toppings, sour cream, and salsa. So, the difference is really just the final cooking method: soft vs. crunchy! Since we are air frying, we’re making a hybrid, but the intention is to achieve that signature crispiness.
Nutritional Estimate for Your Chimichangas
Now, I have to keep it real with you, because transparency is a huge part of what I do here at MDLATDMM. These delicious, crispy chicken chimichangas are comfort food, and while the air fryer is much lighter than deep frying, they definitely aren’t a salad! I worked hard to get the filling right, but these numbers are just an estimate based on the ingredients listed, so please treat them as a guideline.
Things can change quickly depending on the size of your tortillas, how much cheese you decide to pack in (and trust me, it’s hard to skimp on that cheese!), or if you swap out the chicken for seasoned ground beef. But for one of these beauties, here is what we are looking at:
- Serving Size: 1 chimichanga
- Calories: 310
- Fat: 14g (7g Saturated Fat)
- Carbohydrates: 32g
- Protein: 15g
- Sodium: 450mg
- Sugar: 2g
Remember, these values reflect the air-fried version using the specified amounts. If you choose to brush them with that extra melted butter I mentioned earlier, or if you load them up with sour cream and guacamole when serving, those numbers are definitely going to climb! But hey, everything in moderation, especially when it tastes this good. Enjoy them knowing you skipped the deep fryer for this satisfying Weeknight Mexican Dinner!
PrintCrispy Air Fryer Chicken and Cheese Chimichangas

Make perfectly crispy chimichangas without deep frying. This recipe uses the air fryer for a lighter, satisfying Chicken and Cheese Chimichanga that is ready for your weeknight dinner.
- Prep Time: 15 min
- Cook Time: 10 min
- Total Time: 25 min
- Yield: 10 servings 1x
- Category: Dinner
- Method: Air Frying
- Cuisine: Tex-Mex
- Diet: Vegetarian
Ingredients
- 10 medium flour tortillas
- 2 cups cooked, shredded chicken
- 1 cup shredded Monterey Jack cheese
- 1/2 cup shredded cheddar cheese
- 1/4 cup cream cheese, softened
- 1/4 cup sour cream
- 1 teaspoon chili powder
- 1/2 teaspoon ground cumin
- 1/4 teaspoon garlic powder
- Cooking spray (for air fryer)
Instructions
- In a medium bowl, combine the shredded chicken, Monterey Jack cheese, cheddar cheese, cream cheese, sour cream, chili powder, cumin, and garlic powder. Mix until all ingredients are well combined.
- Warm the tortillas briefly in the microwave (about 15 seconds) to make them pliable.
- Place about 1/4 cup of the chicken mixture onto the center of each tortilla.
- Fold the sides of the tortilla inward over the filling, then tightly roll the tortilla up like a burrito. Secure the seam with a toothpick if necessary.
- Lightly spray the outside of each rolled chimichanga generously with cooking spray. This helps achieve a golden, crispy exterior.
- Preheat your air fryer to 375°F (190°C).
- Place the chimichangas in the air fryer basket in a single layer, ensuring they do not touch. You will need to work in batches.
- Air fry for 8 to 10 minutes, flipping them halfway through the cooking time, until they are golden brown and crispy.
- Remove the toothpicks before serving. Serve your homemade chimichangas immediately with your favorite toppings.
Notes
- For an even crispier texture, you can lightly brush the chimichangas with melted butter before spraying with cooking spray.
- If you prefer a beef filling, substitute the cooked chicken with 2 cups of seasoned ground beef.
- You can prepare these ahead of time; assemble them, secure with toothpicks, and store them uncooked in the refrigerator for up to 24 hours or freeze them. Cook from frozen by adding a few extra minutes to the air fry time.
Nutrition
- Serving Size: 1 chimichanga
- Calories: 310
- Sugar: 2
- Sodium: 450
- Fat: 14
- Saturated Fat: 7
- Unsaturated Fat: 7
- Trans Fat: 0
- Carbohydrates: 32
- Fiber: 2
- Protein: 15
- Cholesterol: 40