
Oh, let’s just talk about chicken wings for a minute. Doesn’t it feel like this impossible quest? You want that perfect, shatteringly crisp skin like you get from a deep fryer, but you really don’t want to deal with a huge pot of hot oil in your kitchen—especially not for a quick dinner or just while watching the game. So many recipes promise crispiness, but they end up rubbery or pale. Well, trust me when I say I totally cracked the code on this one! At MDLATDMM, my goal is taking those traditional, sometimes tricky, favorite recipes and making them work beautifully for your real life. This formula ensures you get the absolute best baked chicken wings, juicy on the inside and ridiculously crunchy on the outside, every single time. Say goodbye to soggy skin forever!
- Why These Are the Best Baked Chicken Wings You Will Ever Make
- Gathering Ingredients for Your Easy Chicken Wings Recipe
- How to Make Crispy Wings in Oven: Step-by-Step Instructions for Baked Chicken Wings
- Flavor Variations for Your Homemade Chicken Wings
- Tips for Perfect Game Day Chicken Wings
- Storage and Reheating Instructions for Leftover Chicken Wings
- Frequently Asked Questions About Non Fried Chicken Wings
- Nutritional Estimates for Baked Chicken Wings
- Share Your Crispy Chicken Wings Success
Why These Are the Best Baked Chicken Wings You Will Ever Make
I’ve tested every trick under the sun—from coating them in cornstarch to baking them on racks—and nothing beats the sheer magic that happens when you introduce baking powder to the mix. Seriously, baking powder is the secret weapon that makes these chicken wings genuinely rival their fried cousins. You get that golden, crackling exterior that just sings when you crunch into it, but without turning your kitchen into a grease trap. If you’re looking for the crispy baked chicken wings recipe that just works, this is it.
When you’re making these for game day or a party, you want results you can rely on. That’s why this non-fried method is my go-to for crowd pleasing appetizers chicken. Forget complicated setups; this is simple comfort food made healthy-ish!
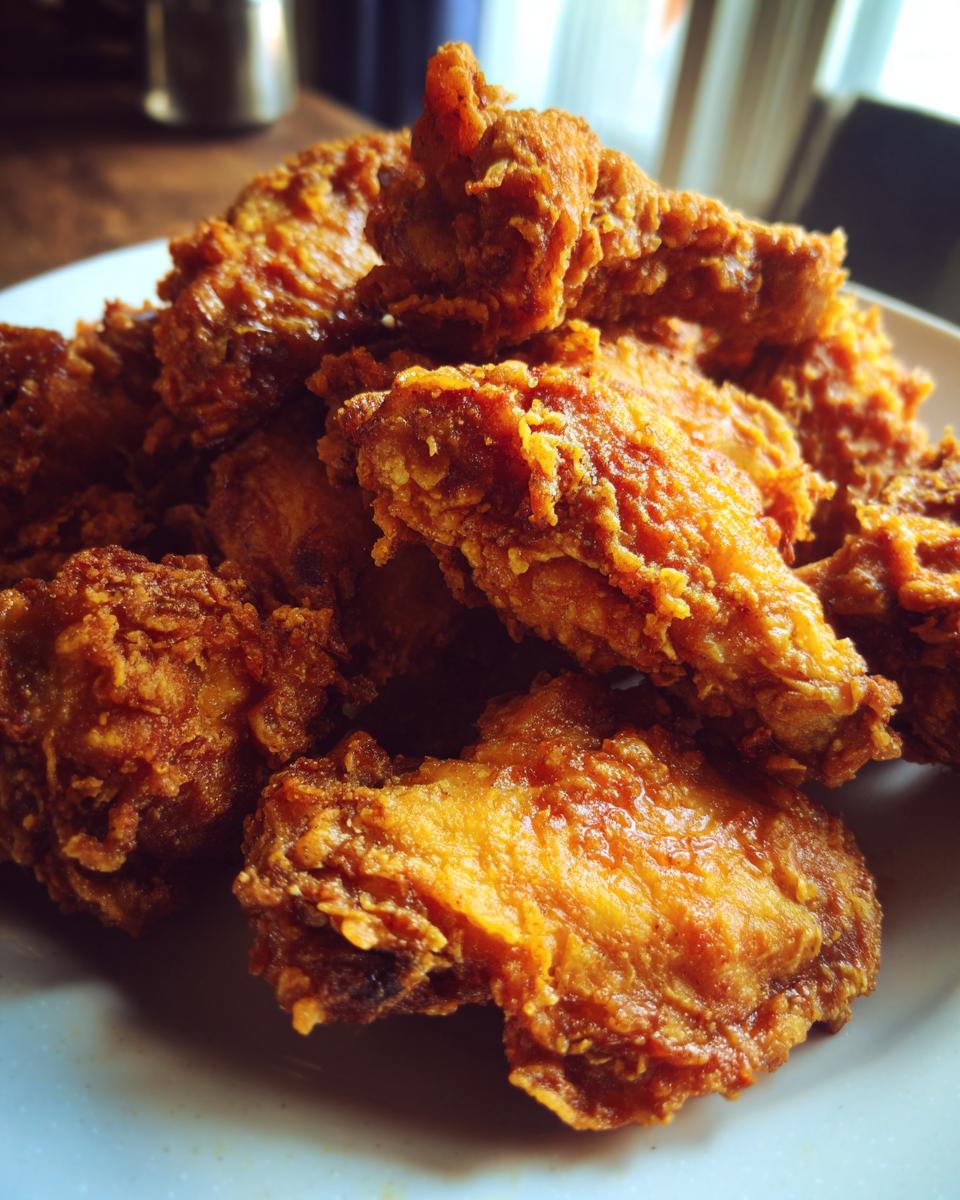
- Unbelievably crispy, golden brown skin.
- The juiciest meat because we lock the moisture in!
- No big pot of dangerous hot oil required.
- Perfect for any party or quick dinner chicken situation.
Achieving Juicy Chicken Wings Technique
It’s all about balance, isn’t it? The baking powder does heavy lifting on the outside, essentially drying out the skin just enough during that initial high-heat blast. This means the moisture inside the meat stays trapped where it belongs. You get that beautiful, dry-seasoned crust while the inside remains tender and moist. It’s the ultimate satisfying texture everyone looks for in great wing recipes!
Gathering Ingredients for Your Easy Chicken Wings Recipe
Alright, setting yourself up for success starts right here with the ingredients list. I like keeping things straightforward for my easy chicken wings recipe because once you have the technique down, you don’t need a pantry full of specialty items. Everything you need here is easy to grab, except that one little magic shaker on the counter!
Here is exactly what you need on hand for about four servings of phenomenal, non-fried wings:
- 2 lbs chicken wings (make sure you separate those flats and drumettes!)
- 1 tablespoon baking powder (aluminum-free is best here, trust me!)
- 1 teaspoon salt
- 1/2 teaspoon black pepper
- 1/2 teaspoon garlic powder
- 1/4 teaspoon cayenne pepper (only if you like a little kick!)
- Your favorite sauce for tossing afterwards (Buffalo, Honey BBQ—whatever calls your name!)
Ingredient Notes and Substitutions for Perfect Chicken Wings
Can we talk about the baking powder for a second? This isn’t about making the wings rise; it’s about chemistry! It raises the pH level on the skin, which helps the skin brown and crisp up beautifully in the oven. Don’t skip it, and if you can find aluminum-free, do it, as it gives a cleaner taste. Also, remember you absolutely must use a wire rack for these; it lets air circulate underneath, which is non-negotiable if you want true crispy skin chicken. You can totally skip the optional cayenne if you aren’t feeling spicy, or go heavier on the garlic powder for a stronger flavor.
How to Make Crispy Wings in Oven: Step-by-Step Instructions for Baked Chicken Wings
This is where the real magic happens for our delicious oven recipe for crispy baked chicken wings! Getting those perfect chicken wings when you are skipping the deep fryer all comes down to prep and temperature cycling. Don’t rush this part; take your time to ensure every surface is ready to crisp up beautifully. We’re aiming for that golden, crunchy exterior that you used to only get at a restaurant—and we are using our oven! This whole process takes about 50 minutes total cook time, but oh my goodness, is it worth the wait.
The Crucial Drying and Coating Step for Crispy Skin Chicken
First thing’s first: moisture is the enemy of crispiness! You need to pat those wings—every single flat and drumette—absolutely bone dry with paper towels. Seriously, use half a roll if you have to. Once they look dry, get your seasoning mix ready: that baking powder, salt, pepper, and garlic powder. Dump the wings back into the big bowl, sprinkle that magic powder over them, and toss until every single piece is lightly, evenly coated. If you see any clumps or misses, they won’t crisp up right, so go back and make sure that coating is uniform!
Baking Sequence for Oven Roasted Wings
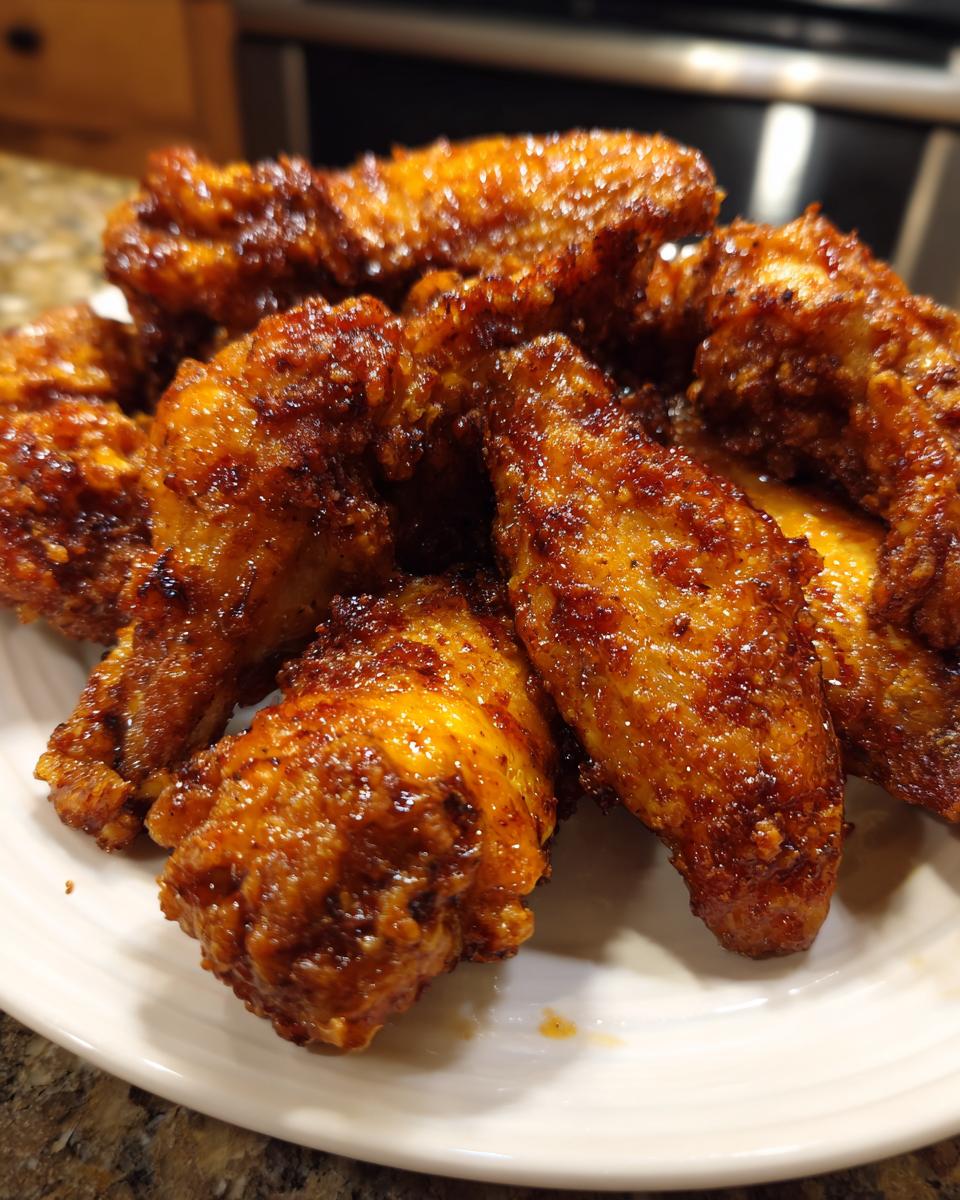
We are starting hot to shock the exterior and get that crispness going early. Preheat your oven to a high 425°F (220°C). Make sure your wings are laid out on a wire rack set over a foil-lined pan—air needs to touch every surface. Bake them like this, undisturbed, for a solid 25 minutes. Then, you pull them out, flip every single wing over carefully, and this is the key part: drop the temperature down to 400°F (200°C). Bake them for another 20 to 25 minutes until they look perfectly golden brown. That temperature drop ensures they cook all the way through without burning the outside!
Flavor Variations for Your Homemade Chicken Wings
Okay, so you’ve mastered the technique—the baking powder miracle works, and your chicken wings are crispy, juicy perfection straight out of the oven. Now, what do we do with them? This is where we turn up the fun! Since the crisping is done before any wet ingredients hit the skin, we have total freedom to load them up with whatever flavor profile you’re craving. Whether it’s a savory classic or something sticky and sweet, the texture foundation stays solid.
If you want to explore some incredible flavor pairings, I’ve got a few favorites that always disappear first at my house. You can go savory or sweet, but the timing of when you add that sauce matters—we are putting sauce on *after* they are fully baked to keep that crunch factor intact!
Making Garlic Parmesan Wings Recipe
If you love big, robust flavors, the Garlic Parmesan route is an absolute winner. For this, I usually let the wings cool for just a minute or two after they come out of that 400°F oven—just enough to stop the sizzle. In a big bowl, toss the hot wings with melted butter, heaps of fresh grated Parmesan, and garlic powder. If you want the guaranteed best version of this flavor, check out my friend’s amazing Garlic Parmesan wings recipe—it really nails the seasoning distribution.
Tossing with Buffalo Sauce Wings
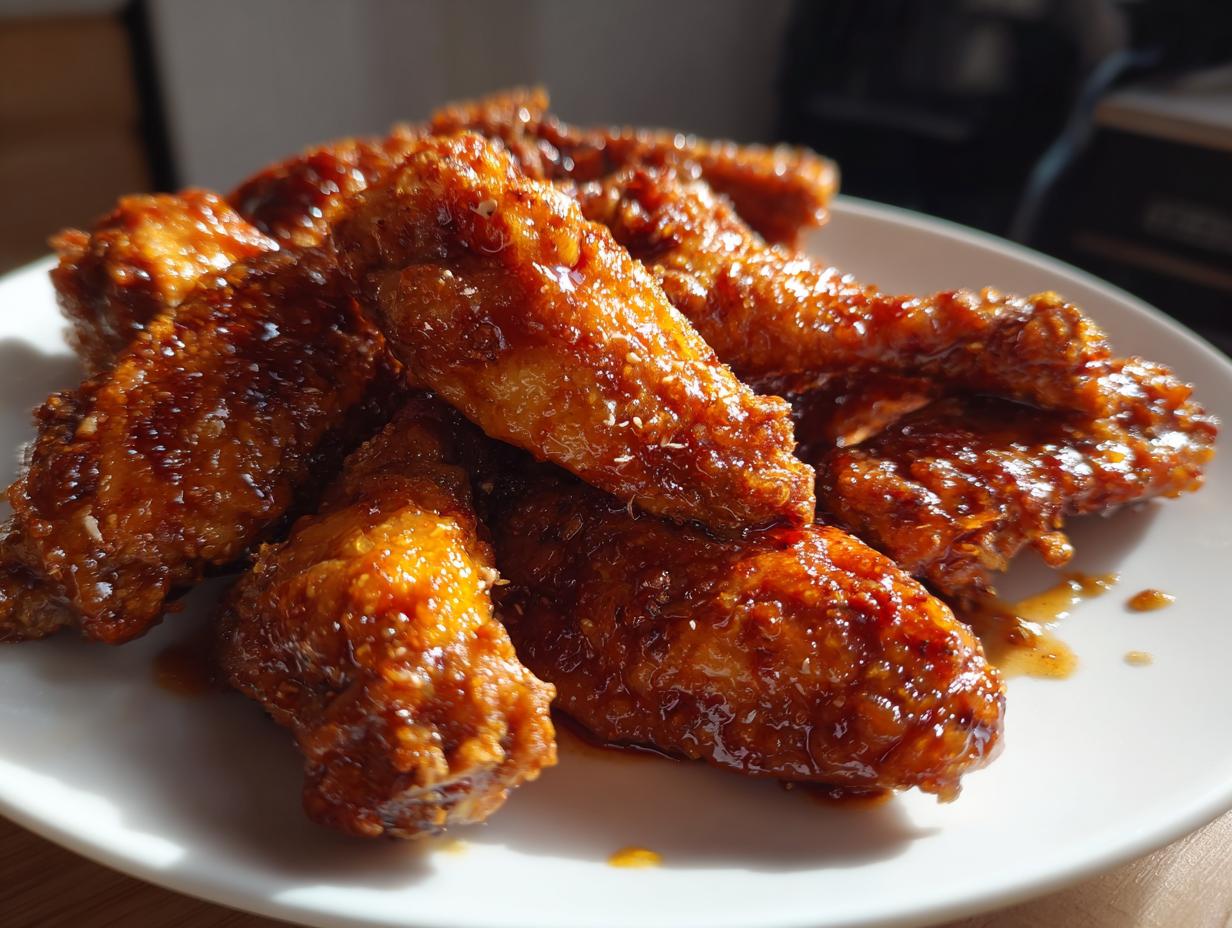
Ah, the classic Buffalo! This one is simple, but you have to be careful. Buffalo sauce is very wet, and if you let those beautiful baked wings sit around soaking in it, you’ll lose that hard-earned crunch! The trick here is speed. As soon as they come off the rack, get them into a bowl and toss them quickly and aggressively with your favorite vinegary sauce. Serve them immediately! If you let them sit five minutes too long, they start to weep. If you want to try a sweeter take, you can find my go-to Honey BBQ wings recipe too, which uses the same post-bake tossing method!
Tips for Perfect Game Day Chicken Wings
Okay, game days and parties are no joke! When you’re putting out appetizers, you want food that people can grab easily while they’re yelling at the TV or mingling. That’s why these chicken wings—baked to perfection as they are—are the ultimate crowd-pleasing appetizers chicken because they don’t leave a huge mess. My best tip for keeping things calm when everyone dives in? Prep your sauces and your dips ahead of time!
If you are going Buffalo, have your blue cheese or ranch dressings ready in small, cute ramekins. If you tossed them in a dry rub, have a little side bowl of melted butter seasoned with lemon zest just in case someone wants extra moisture. Trust me, having everything ready to go when the wings come out of the oven means you spend less time fussing and more time enjoying the fun. These are the party appetizers that make you look like a superstar with minimal effort!
Serving Suggestions for Party Appetizers Chicken
Never serve wings naked! It’s just not done for a proper spread. You need the cool, tangy contrast to cut through the spice or richness. I always have celery sticks and carrot sticks piled high next to the wings. They aren’t just for dipping, they’re fantastic palate cleansers between those crunchy bites. If you’re using a vibrant sauce like homemade Buffalo, make sure you look up some great blue cheese recipes, because dipping is half the fun. You can find an easy starting point for a party spread right here! Who needs soggy, fried wings when you can have perfect, crispy, saucy game night food ideas like this?
Storage and Reheating Instructions for Leftover Chicken Wings
Now, I know what you’re thinking: what if I actually have leftovers? That’s rare around here when I make these amazing chicken wings, but it happens! The good news is because we baked these instead of frying them, they actually store a bit better, provided you handle the saucing the right way. If you know you’ll have extras, the absolute best thing you can do is keep the wings plain right after they come off the rack.
If you toss them in sauce before storing, that moisture is going to get absorbed into that precious crispy skin overnight, and we absolutely can’t have that! For storage, you want them in an airtight container. Don’t just throw them in a Ziploc bag and smash them down—you want to keep that air pocket around the wing intact. Store them in the fridge for up to three days.
Reheating is the crucial part, folks. Please, for the love of crispy skin, ditch the microwave. Microwaving turns everything rubbery fast. We need to bring that exterior back to life! Your best bet is popping those plain wings back onto a wire rack set over a baking sheet—just like we did for the first bake. Heat your oven up to about 375°F (190°C) and let them bake for about 8 to 10 minutes. If you have an air fryer, even better, as it’s perfect for this quick refresh; check the guide by my friends over at Run Lift Eat Repeat for a quick time estimate there!
Once they’re piping hot, *then* you toss them in your sauce! Whether you’re making this your weeknight chicken meals centerpiece or saving them for lunch the next day, reviving that crunch makes all the difference.
Frequently Asked Questions About Non Fried Chicken Wings
I get so many questions about this method because everyone is rightly worried about getting that restaurant-quality crunch without the hassle! I’ve pulled together a few of the most common questions I see about these chicken wings popping up in my comments and DMs. Don’t hesitate to ask if your question isn’t here—I love talking shop!
Can I use the air fryer for these chicken wings?
Absolutely, yes! If you have one, the air fryer is fantastic for this. Since the principle is high heat and maximum air circulation, the air fryer speeds things up quite a bit. You generally want to stick around 400°F, but you’ll want to check them closer to the 20 or 25-minute mark. If you want my full breakdown, I wrote up a specific guide for air fryer chicken wings that keeps them stunningly crispy!
What kind of baking powder should I use?
This is important for the crispy skin chicken factor! You must use regular baking powder, not baking soda, and I really prefer the aluminum-free version if you can find it. Baking soda can leave a slightly metallic or bitter note, which you don’t want when you are just trying to achieve that perfect, clean crisp. The baking powder helps dry the surface during the high-heat start, which creates that incredible texture we’re after!
I get asked a lot about using frozen wings next. Here is my straight answer: please don’t try it! You need those wings completely dry before they ever see the baking powder mixture, and frozen wings release so much water as they thaw that you’ll end up steaming them, not crisping them. Always start with fresh or completely thawed and patted-dry wings for the best results!
Nutritional Estimates for Baked Chicken Wings
Okay, let’s talk numbers for a second, because even though these are incredibly satisfying chicken wings, they aren’t coming swimming in oil, which is a huge win! I always encourage everyone to think about what goes into their bodies, especially when fueling up for a long game night or a big party. Remember, I’m a home cook, not a nutritionist setting federal guidelines, so these numbers are based strictly on the ingredients listed in the recipe *before* you add your favorite sauce.
Sauces make a huge difference, right? If you toss these in a sugary Honey BBQ, the sugar and sodium counts will obviously jump up. If you go with a simple salt and pepper dry rub, you’ll be leaning toward the lower end. This is just a guide to show you how great this non-fried option is!
Here are the estimates per serving (about 4 wings, un-sauced):
- Calories: about 280
- Fat: 18g (which sounds like a lot, but remember, it’s the good stuff we kept off the deep fryer!)
- Protein: a whopping 26g
- Carbohydrates: just 2g
Because we are using real ingredients and no batter, you are getting fantastic protein! But please, take this data with a grain of salt—or, I guess, a grain of baking powder! Every brand of chicken you buy, every type of salt, it all changes the final count slightly. Use this as a handy reference point, not gospel!
Share Your Crispy Chicken Wings Success
Now that you’ve mastered the technique, I really want to see what you’ve created! Telling you how to make the best baked chicken wings is one thing, but seeing your results—and more importantly, tasting them—is what makes me love sharing these recipes so much. Did you stick to the simple salt and pepper blend? Or did you jump right into a heavy Honey BBQ coating? I live for those little details!
If you loved how unbelievably crispy these turned out, please take a second to leave a star rating right below the recipe card. It really helps other home cooks find reliable recipes that skip the mess of frying. Also, if you snap a picture of your perfectly golden, saucy wings, tag me on social media! I’m always looking for new ideas for flavor profiles that work with this base technique.
Tell me, did this recipe make it into your regular rotation for easy, satisfying weeknight meals? I know for me, these simple chicken wings are what I pull out when I need a tasty snack that everyone agrees on without spending an hour over the stove. Knowing that this formula helps make your busy life a little easier and a lot tastier is the best compliment I can receive. If you’re looking for more recipes that fit right into those frantic evenings, check out my favorites for quick dinner chicken and other speedy meals!
Happy cooking, and thank you for trusting me with your game day spread!
PrintExtra Crispy Baked Chicken Wings: The Secret to Non-Fried Perfection

Learn the simple technique to make extra crispy baked chicken wings in your oven that rival fried versions. This recipe delivers juicy meat and golden, crackling skin every time, making it the best game day snack or easy party appetizer.
- Prep Time: 15 min
- Cook Time: 50 min
- Total Time: 65 min
- Yield: 4 servings 1x
- Category: Appetizer
- Method: Baking
- Cuisine: American
- Diet: Low Fat
Ingredients
- 2 lbs chicken wings (flats and drumettes separated)
- 1 tablespoon baking powder (aluminum-free)
- 1 teaspoon salt
- 1/2 teaspoon black pepper
- 1/2 teaspoon garlic powder
- 1/4 teaspoon cayenne pepper (optional)
- Your favorite sauce for tossing (e.g., Buffalo, Honey BBQ)
Instructions
- Preheat your oven to 425°F (220°C). Line a large, rimmed baking sheet with foil for easier cleanup, and place a wire rack on top of the foil.
- Pat the chicken wings completely dry using paper towels. This step is crucial for crispy skin.
- In a large bowl, combine the baking powder, salt, pepper, garlic powder, and cayenne pepper.
- Add the dried chicken wings to the bowl and toss thoroughly until every piece is lightly and evenly coated with the dry mixture.
- Arrange the coated wings in a single layer on the wire rack, ensuring there is space between each wing for air circulation. Do not overcrowd the pan.
- Bake for 25 minutes.
- Flip each wing over. Reduce the oven temperature to 400°F (200°C) and bake for another 20 to 25 minutes, or until the skin is deeply golden brown and very crispy.
- Remove the wings from the oven. Immediately place them in a clean bowl.
- Toss the hot, crispy wings with your desired sauce until coated. Serve right away for the best texture.
Notes
- Using baking powder is the secret ingredient that helps dry out the skin, creating that desired crispy texture without frying.
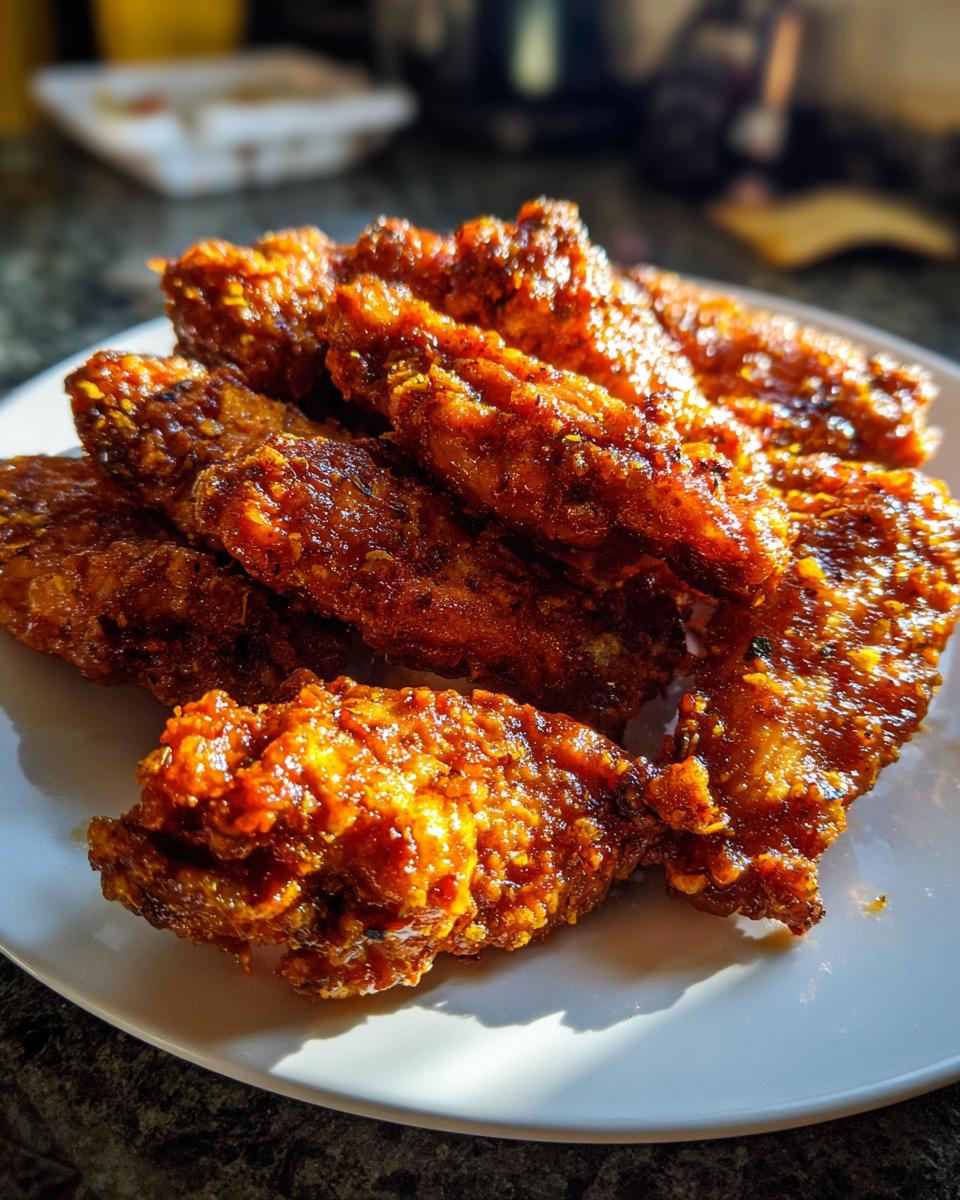
- For extra flavor, you can toss the wings in a simple dry rub instead of using a wet sauce after baking.
- If you want to serve them sauced, toss them immediately after they come out of the oven while they are still hot.
Nutrition
- Serving Size: 4 wings
- Calories: 280
- Sugar: 1
- Sodium: 450
- Fat: 18
- Saturated Fat: 5
- Unsaturated Fat: 13
- Trans Fat: 0
- Carbohydrates: 2
- Fiber: 0
- Protein: 26
- Cholesterol: 85