

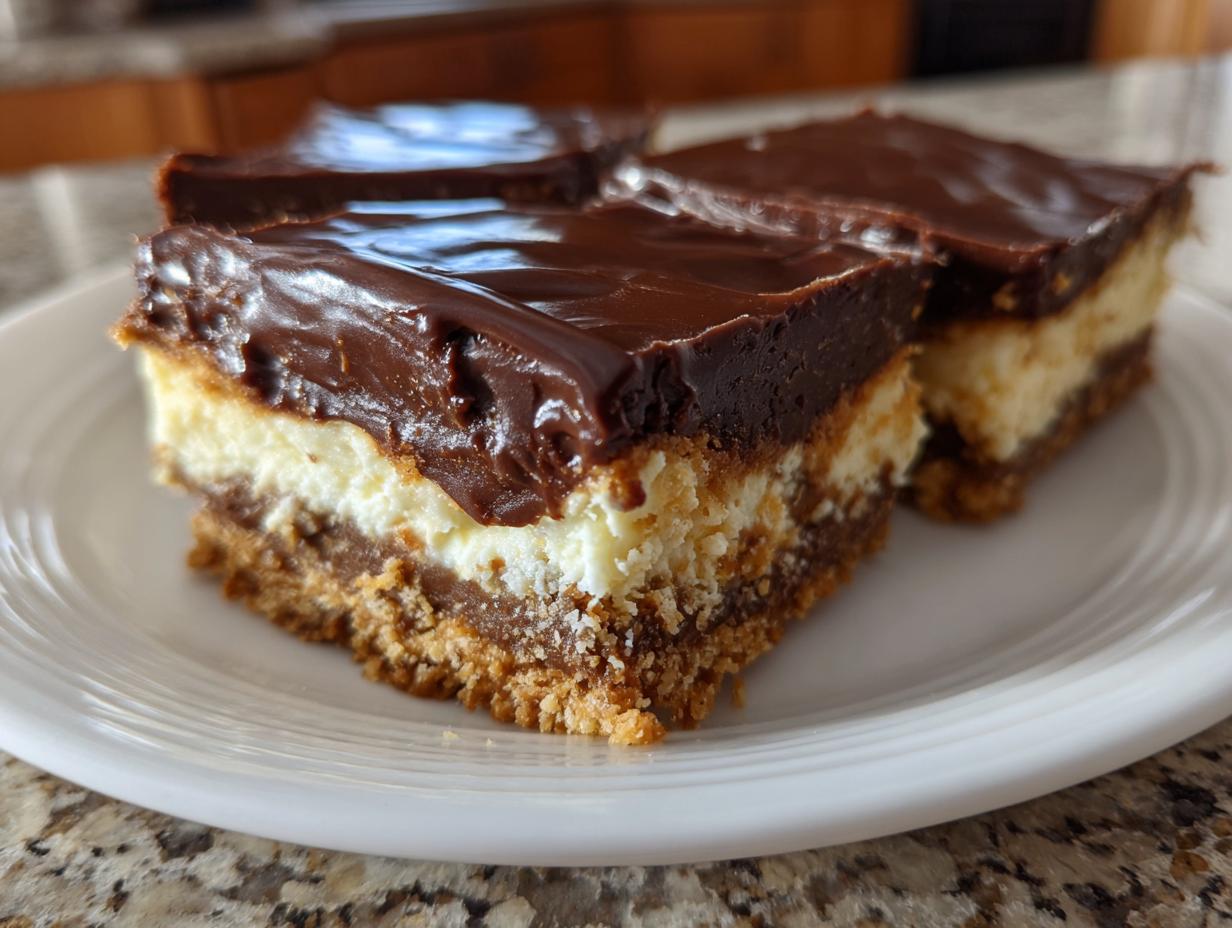
Okay, so you’re craving something seriously decadent, something that feels like pure indulgence but won’t have you breaking a sweat in the kitchen? Trust me, I get it! That’s where these amazing Chocolate Dream Bars come in. They’re this incredible no-bake treat with layers of pure bliss, and honestly, they make the most perfect make-ahead dessert for any get-together. You’ll find it so satisfying to whip these up, channeling that home-cooking joy Maddie talks about, without all the fuss. Get ready for a dessert that’s as reliable as it is ridiculously good!
- Why You'll Love These Chocolate Dream Bars
- Gather Your Ingredients for Chocolate Dream Bars
- Crafting Your Chocolate Dream Bars: Step-by-Step
- Tips for Perfect Chocolate Dream Bars
- Make-Ahead and Storage for Your Chocolate Dream Bars
- Frequently Asked Questions about Chocolate Dream Bars
- Estimated Nutritional Information
- Share Your Chocolate Dream Bar Creations!
Why You’ll Love These Chocolate Dream Bars
Honestly, why wouldn’t you love these? They’re the whole package when it comes to easy, delicious desserts! Here’s why they’re a guaranteed win:
- Super Easy No-Bake Magic: Seriously, no oven required for most of it! This is a total game-changer when you don’t want to heat up the kitchen.
- Crowd-Pleasing Perfection: Layers of chocolatey goodness? Yes, please! This no bake dessert is almost always the first to disappear at parties.
- Make-Ahead Friend: Need a dessert that’s ready when you are? These are designed to be made ahead, freeing you up on party day. Your ultimate make ahead dessert solution!
- Totally Versatile: Want to switch up the crust? Craving a different topping? These bars are forgiving and adaptable to your taste. Perfect for any potluck!
Gather Your Ingredients for Chocolate Dream Bars
Alright, let’s get down to business! To conjure up these incredible Chocolate Dream Bars, you’ll want to round up a few simple things. Don’t worry, they’re all pretty standard pantry staples. This is where the magic really starts to happen, long before we even think about mixing. Having everything prepped and ready means the whole process just flows so smoothly, just like Maddie always talks about with her home cooking philosophy.
Here’s what you’ll need to have on hand:
- For the Crust:
- 1 ½ cups graham cracker crumbs (that’s about 10 full sheets you’ll want to crush up!)
- 6 tablespoons of good old unsalted butter, melted
- Psst… Want to go rogue? You can totally use about 24 finely crushed Oreo cookies instead of graham crackers for a super decadent crust! Just keep the butter the same.
- For the Creamy Layer:
- 1 (8 ounce) package of cream cheese, make sure it’s nice and soft!
- 1 cup of powdered sugar (sometimes called confectioners’ sugar)
- 1 teaspoon of pure vanilla extract – the good stuff makes a difference!
- For the Chocolate Topping:
- 1 (12 ounce) package of semi-sweet chocolate chips (milk chocolate works too if you’re not into dark!)
- 1 (14 ounce) can of sweetened condensed milk – this is what makes it so rich!
- 1 teaspoon of vanilla extract (yep, more vanilla goodness!)
- 1 cup of chopped nuts, if you’re feeling fancy (pecans or walnuts are my faves!) – this is totally optional!
Crafting Your Chocolate Dream Bars: Step-by-Step
Alright, let’s get our hands dirty and whip up these incredible Chocolate Dream Bars! It’s really not complicated, I promise. Think of it like building a little dessert masterpiece, layer by delicious layer. Just follow these steps, and you’ll have a crowd-pleaser on your hands in no time. Remember, it’s all about simple, honest steps, just like Maddie always emphasizes with her recipes. We’re making magic happen here!
Preparing the Graham Cracker Crust
First things first, let’s get that base ready! Grab a 9×13 inch baking pan – this is our canvas. In a bowl, mix up your graham cracker crumbs with that melted butter. Give it a good stir until it all looks like wet sand. Now, press this mixture down really evenly into the bottom of your pan. I like to use the flat bottom of a glass for this – it gets it nice and compact! Pop this into a preheated oven at 350°F (175°C) for just about 8 to 10 minutes. You just want it to be lightly golden. Once it’s out, you HAVE to let it cool completely before we add anything else. Patience, my friends!
Creating the Creamy Cream Cheese Layer
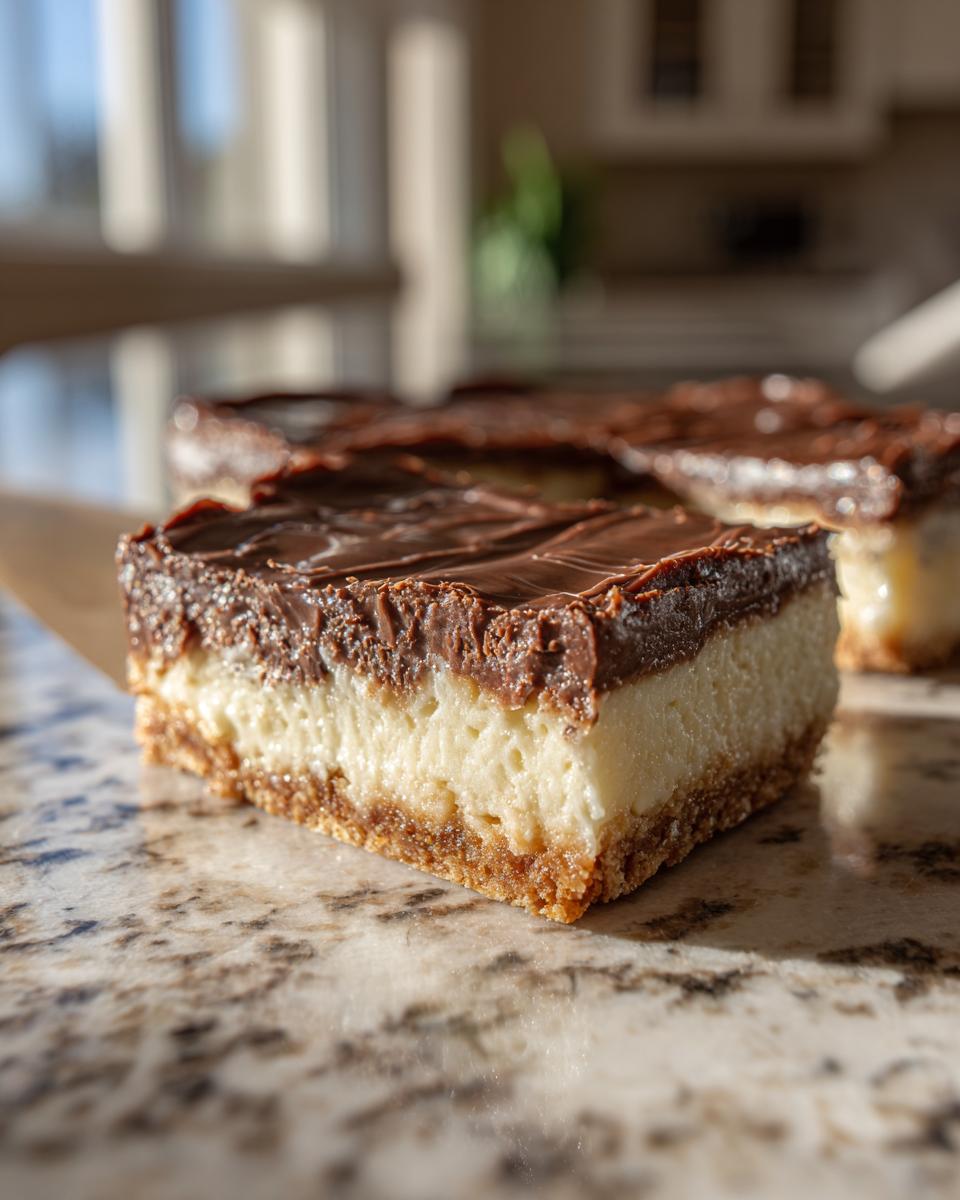
Now for the dreamy part! Make sure your cream cheese is nice and soft – seriously, no one wants lumps in their dessert! Beat it in a bowl until it’s super smooth. Then, gradually add in the powdered sugar and that teaspoon of vanilla extract. Beat it all together until it’s perfectly combined and creamy. Once your crust is totally cool, you’ll gently spread this glorious cream cheese mixture all over it. Just use a spatula or the back of a spoon to get it nice and even. This layer is the heart of our Chocolate Dream Bars!
Melting the Chocolate Topping
Okay, time for the rich, chocolatey finale, which makes these truly some of the best layered chocolate bars out there. In a microwave-safe bowl, combine the semi-sweet chocolate chips, the can of sweetened condensed milk, and the last teaspoon of vanilla. Pop it into the microwave for 30 seconds, stir, then another 30 seconds, stir again. Keep going like this until it’s all melted and super smooth. Be patient with it – you don’t want to scorch the chocolate! If you’re adding nuts, give them a quick stir into the melted chocolate now.
Assembling and Chilling Your Chocolate Dream Bars
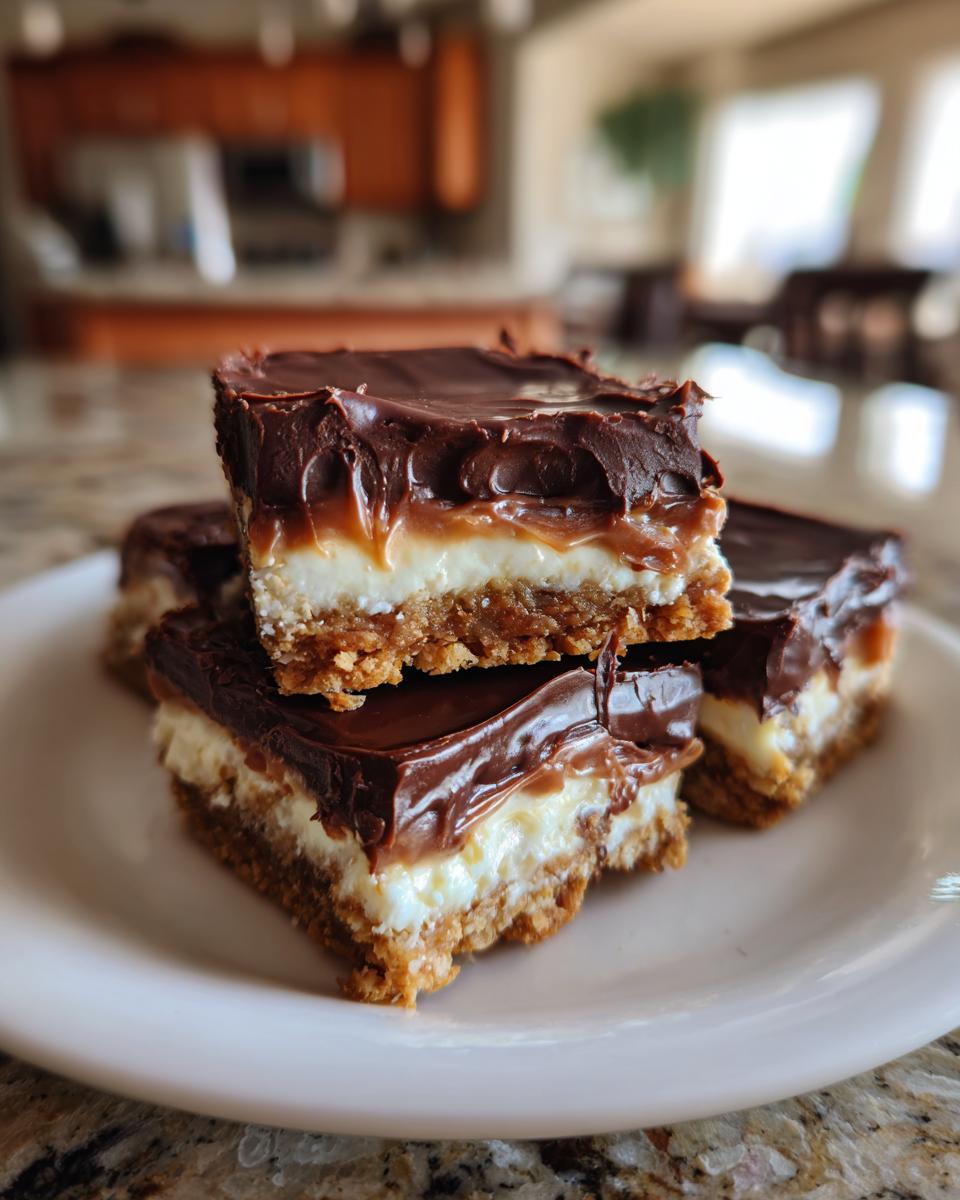
This is the grand finale! Carefully pour that luscious chocolate mixture right over the cream cheese layer. Use your spatula to spread it out evenly, making sure it covers every corner. If you didn’t add nuts to the chocolate, now’s your chance to sprinkle them all over the top! The most important part? Now these Chocolate Dream Bars need to chill. Cover the pan and pop it into the refrigerator for at least 2 hours. This is crucial for them to set up so you can get nice, clean slices. You’ll know they’re ready when the chocolate is firm to the touch and the whole bar feels solid.
Tips for Perfect Chocolate Dream Bars
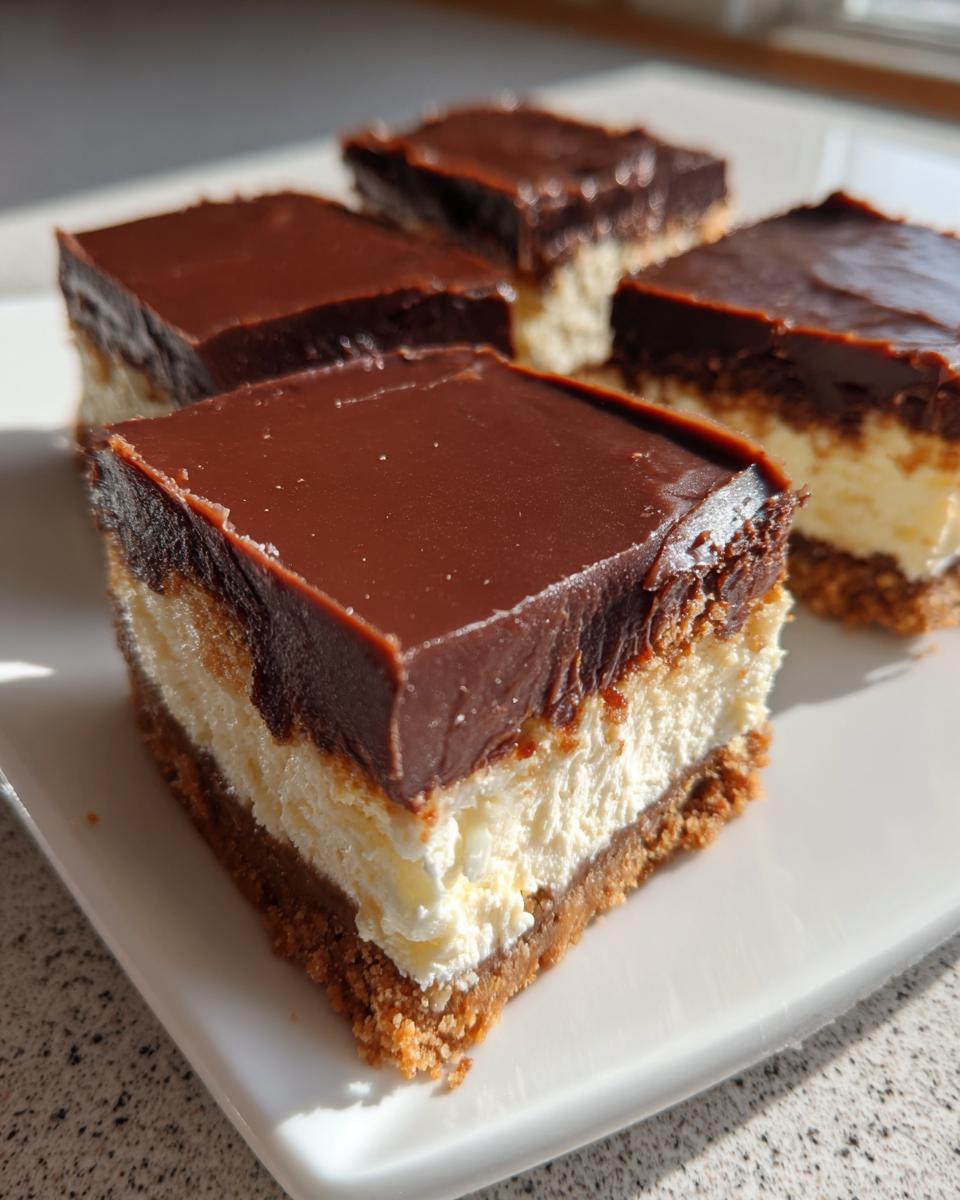
Alright, let’s talk about how to make these Chocolate Dream Bars absolutely fool-proof! Even though they’re pretty darn simple, a few little tricks can take them from good to *spectacular*, making them the best refrigerator bars you’ve ever had. It’s all about those little details that home cooks learn over time, that sense of knowing exactly what works, which is what we aim to capture here.
For starters, that crust is everything in these Chocolate Dream Bars. While graham crackers are classic, don’t shy away from the graham or Oreo crust! Using about 24 finely crushed Oreos (minus the filling, or keep it in if you’re feeling wild!) with the melted butter gives you this amazing, fudgy base. It really ups the ante on the chocolatey flavor. Make sure you press that crust down really well, no loose bits allowed!
When you’re making that creamy cream cheese layer, really give the cream cheese plenty of time to soften. Cold cream cheese is the enemy of smooth fillings! I usually just let it sit out on the counter for about an hour, or you can even carefully microwave it for just a few seconds (watch it closely!).
And that chilling time? Don’t rush it! For perfectly clean slices, you want those bars to be seriously firm. At least 2 hours is good, but if you have the patience, letting them chill for 3-4 hours or even overnight is fantastic. It helps everything meld together beautifully, giving you those lovely distinct layers. These refrigerator bars just get better with a little patience!
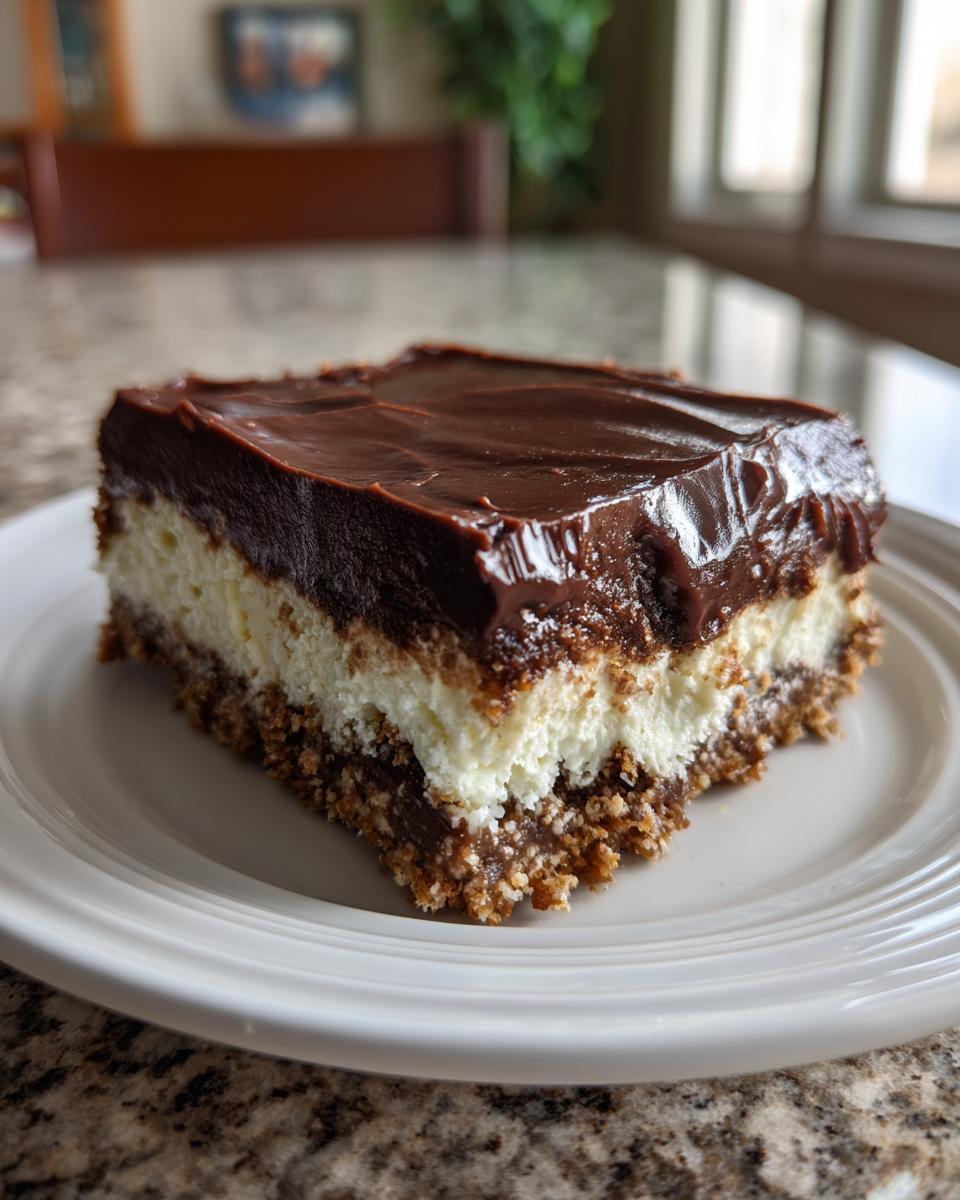
Make-Ahead and Storage for Your Chocolate Dream Bars
One of the best things about these Chocolate Dream Bars? They are total superstars when it comes to making ahead! Honestly, they taste even better after they’ve had a little time to hang out in the fridge and let all those flavors meld together. This is such a lifesaver for parties or even just when you want a treat ready for when that craving hits. Being able to pull a perfect make ahead dessert out of the fridge is just the best!
You can totally make these bars a day or two in advance. Just whip them up according to the recipe, and once they’re chilled and firm enough to slice, cover the pan tightly with plastic wrap or aluminum foil. I like to gently press the plastic wrap right onto the surface of the chocolate topping to prevent any weird condensation. They’ll keep beautifully in the refrigerator for up to 3 days. Just remember to let them sit out for about 10-15 minutes before slicing if they’ve been in there for a while, so they’re not rock hard. Easy peasy!
Frequently Asked Questions about Chocolate Dream Bars
Got questions about these dreamy bars? I’ve got answers! These Chocolate Dream Bars are pretty forgiving, but a little insider info never hurt anyone. Let’s tackle some common things people wonder about!
Can I use a different type of cookie for the crust?
You totally can! While graham crackers are classic for these Chocolate Dream Bars, a crushed Oreo crust is amazing. You can also try vanilla wafers or even shortbread cookies. Just make sure you have about 1 ½ cups of crumbs and mix them with that melted butter!
Why aren’t my chocolate dream bars setting?
Oh no! Usually, this comes down to chilling time or ingredient temperature. Make sure your bars are in the fridge for at least 2 hours, or even longer if your kitchen is warm. Also, ensure your cream cheese wasn’t too warm when you added it; it should be soft, but not melted!
Can I freeze Chocolate Dream Bars?
Yes, you absolutely can! Once they’re fully set and cut, you can freeze them. Just wrap them well in plastic wrap and then in foil. They should keep their yummy goodness for about a month. Thaw them in the fridge overnight!
Estimated Nutritional Information
Alright, let’s talk numbers! While these Chocolate Dream Bars are pure indulgence, sometimes it’s nice to have a rough idea of what’s going on. Keep in mind, these figures are estimates and can totally swing based on the exact brands you use and whether you add nuts. But roughly, each slice of this dreamy, pudding dessert-like treat comes in around:
- Calories: 250
- Fat: 15g
- Saturated Fat: 8g
- Trans Fat: 0g
- Cholesterol: 30mg
- Sodium: 100mg
- Carbohydrates: 28g
- Fiber: 1g
- Sugar: 25g
- Protein: 3g
So, enjoy a slice (or two!) knowing you’re treating yourself to something truly special!
Share Your Chocolate Dream Bar Creations!
Okay, culinary wizards, have you made these amazing Chocolate Dream Bars? I’d LOVE to hear all about it! Did you try the Oreo crust? Add extra nuts? Let me know in the comments below! And if you took some drool-worthy photos, tag us on social media – we can’t wait to see your creations! You can also reach out to us directly through our contact page!
PrintChocolate Dream Bars
A no-bake, layered chocolate dessert with a cookie crust, creamy filling, and rich chocolate topping. Perfect for make-ahead occasions.
- Prep Time: 20 min
- Cook Time: 10 min
- Total Time: 2 hr 30 min
- Yield: 24 bars 1x
- Category: Dessert
- Method: No-Bake
- Cuisine: American
- Diet: Vegetarian
Ingredients
- 1 ½ cups graham cracker crumbs (about 10 full sheets)
- 6 tablespoons unsalted butter, melted
- 1 (8 ounce) package cream cheese, softened
- 1 cup powdered sugar
- 1 teaspoon vanilla extract
- 1 (12 ounce) package semi-sweet chocolate chips
- 1 (14 ounce) can sweetened condensed milk
- 1 teaspoon vanilla extract
- 1 cup chopped nuts (optional)
Instructions
- Preheat your oven to 350°F (175°C).
- In a medium bowl, combine graham cracker crumbs and melted butter. Press mixture evenly into the bottom of a 9×13 inch baking pan.
- Bake the crust for 8-10 minutes, then let it cool completely.
- In a separate bowl, beat the softened cream cheese until smooth. Gradually beat in the powdered sugar and 1 teaspoon vanilla extract until well combined.
- Spread the cream cheese mixture evenly over the cooled crust.
- In a microwave-safe bowl, combine the semi-sweet chocolate chips, sweetened condensed milk, and 1 teaspoon vanilla extract. Microwave in 30-second intervals, stirring between each, until the chocolate is melted and smooth.
- Pour the chocolate mixture over the cream cheese layer, spreading it evenly. Sprinkle with chopped nuts, if desired.
- Refrigerate for at least 2 hours, or until firm, before cutting into bars.
Notes
- For an Oreo crust, use 24 Oreo cookies, finely crushed, and 6 tablespoons melted butter.
- These bars can be made up to 2 days in advance and stored in the refrigerator.
- Ensure the cream cheese is fully softened to avoid lumps in the filling.
Nutrition
- Serving Size: 1 bar
- Calories: 250
- Sugar: 25g
- Sodium: 100mg
- Fat: 15g
- Saturated Fat: 8g
- Unsaturated Fat: 7g
- Trans Fat: 0g
- Carbohydrates: 28g
- Fiber: 1g
- Protein: 3g
- Cholesterol: 30mg