
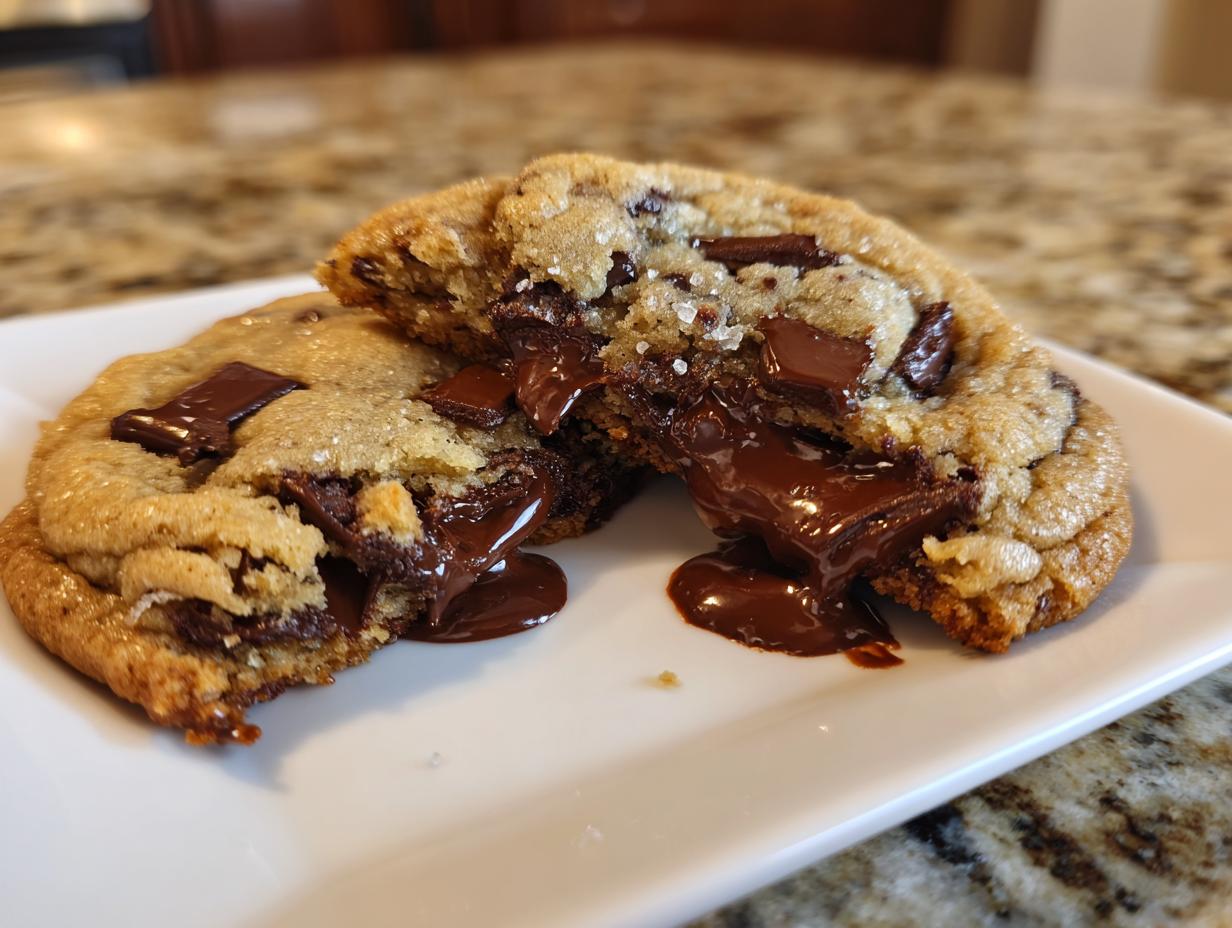
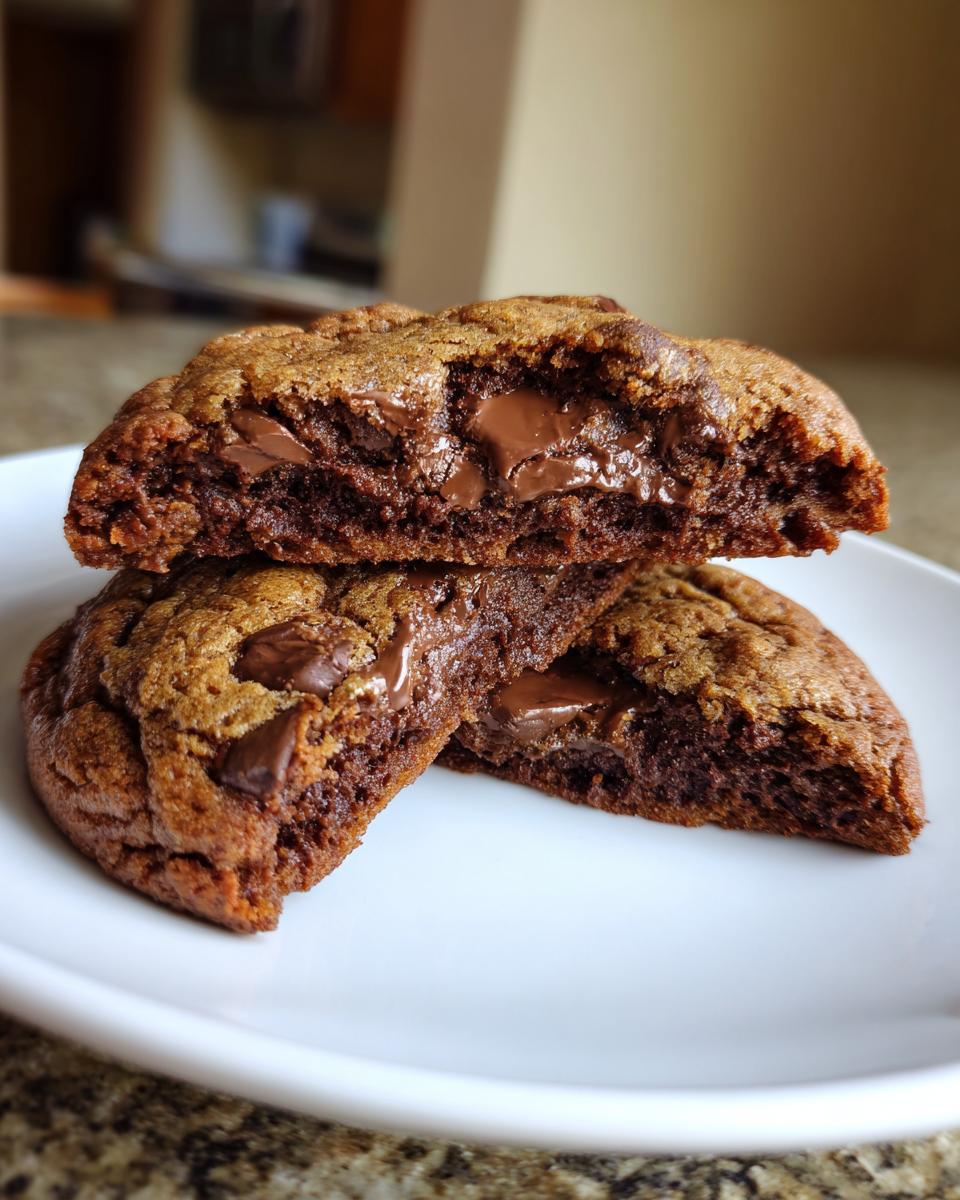
I swear, finding the perfect chocolate chip cookie feels like finding buried treasure, doesn’t it? For so long, I just wanted that dreamy, thick, bakery-style cookie—the kind with crisp edges that crack just right, giving way to the softest, goo-iest center. Well, friends, I finally cracked the code! This isn’t just another recipe; this is *the* recipe. We’re using browned butter here, which adds this unbelievable nutty depth that elevates it beyond your classic batch. When I was stressed out in the city, recreating easy, honest classics like this was how I found my way back to the kitchen. Trust me, this batch will be your new standard for homemade sweet treats! If you want to see my simpler take on a classic batch first, check out my classic chocolate chip cookies recipe, but this one is seriously next level.
- Why This Is the Ultimate chocolate chip cookie Recipe
- Ingredients for Thick, Chewy chocolate chip cookie Perfection
- Step-by-Step Instructions for the Best chocolate chip cookie Recipe
- Tips for Foolproof chocolate chip cookie Success
- Making Variations of the chocolate chip cookie
- Storage and Reheating Instructions for Your chocolate chip cookie Batch
- Frequently Asked Questions About the chocolate chip cookie
- Nutritional Estimates for One chocolate chip cookie
- Share Your Ultimate chocolate chip cookie Experience
Why This Is the Ultimate chocolate chip cookie Recipe
I know, I know, everyone claims they have the *best* recipe, but ours succeeds because we focus on texture and flavor layering. We aren’t just making cookies; we are engineering the perfect bite! This recipe finally delivers those four things everyone asks for in a chocolate chip cookie:.
- Thick, bakery-style height.
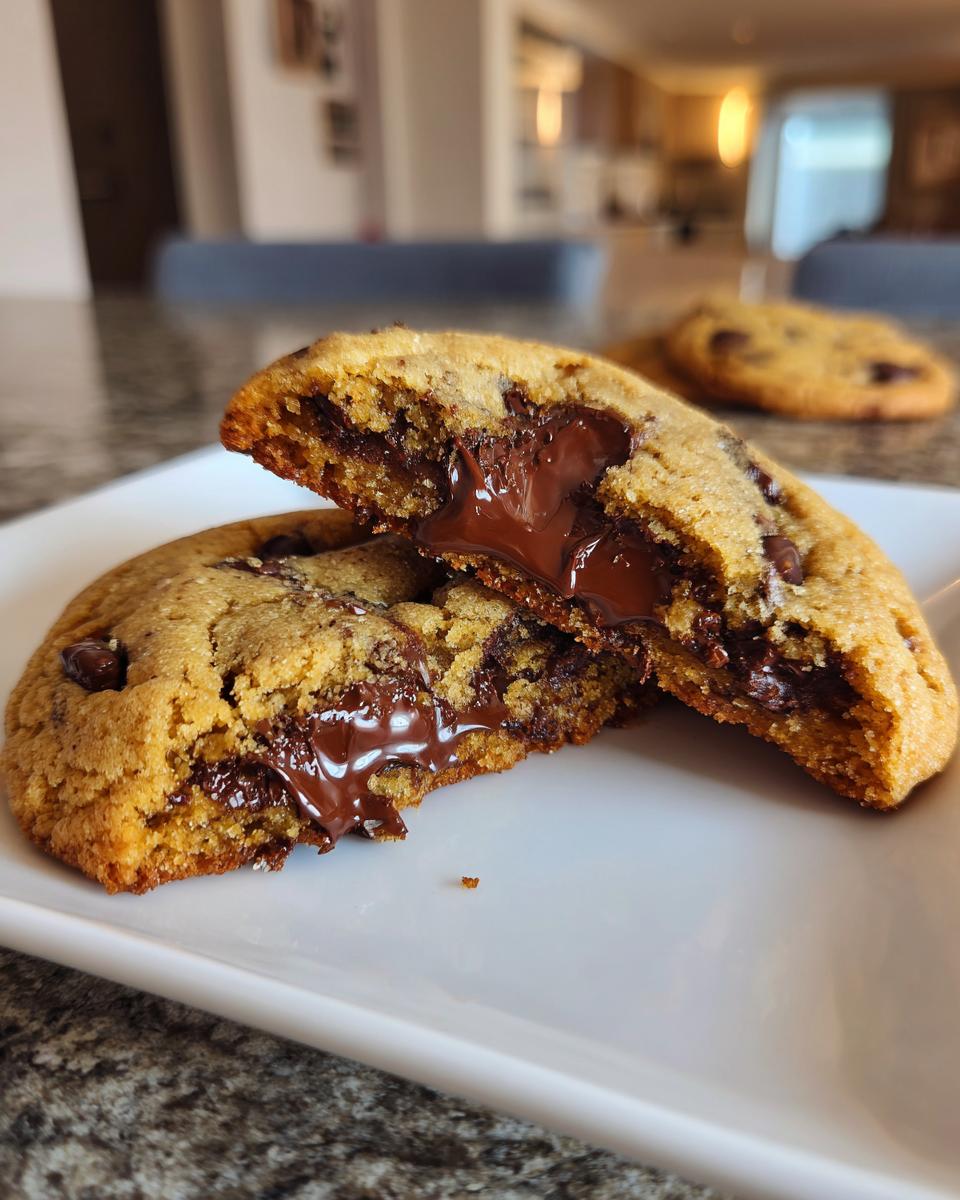
- Crispy edges that give way instantly.
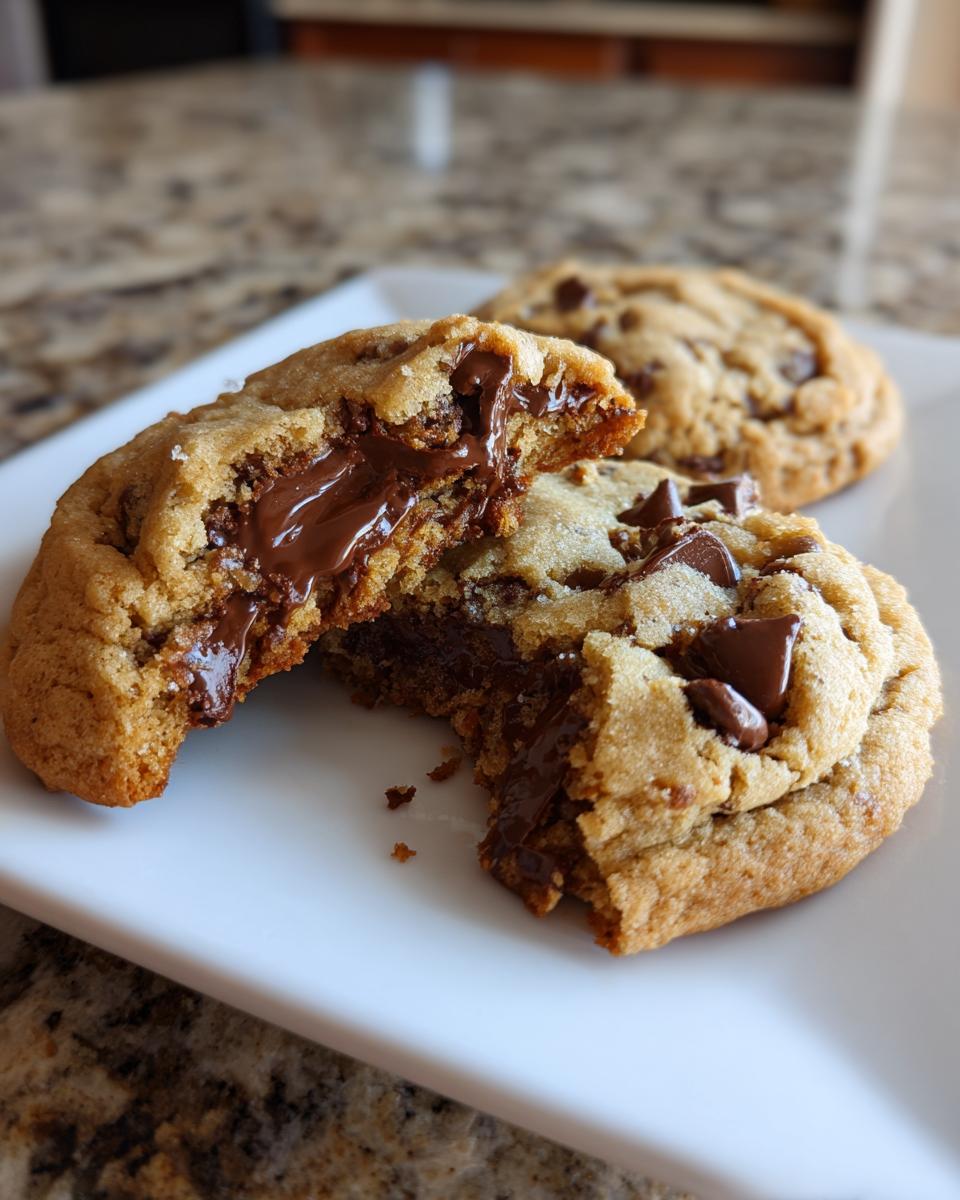
- A ridiculously gooey center.
- Deep, rich flavor from browned butter.
The secret really is that nutty, toasted flavor of the brown butter—it just makes the chocolate sing! If you want more tips on getting that chewy texture perfect, I break down all my best advice over on my chewy chocolate chip cookies post.
Achieving That Perfect Bakery Style chocolate chip cookie Thickness
Thickness is all about controlling the spread! We use a higher ratio of flour to butter than most recipes, which gives the cookie immediate structure. But truly, the magic happens when you chill the dough. Seriously, don’t skip it! Chilling lets that fat solidify so the cookie spreads slower in the oven. You’ll end up with a thick, almost monumental cookie instead of a flat disc. It’s simple science disguised as dessert, and it works every single time!
Ingredients for Thick, Chewy chocolate chip cookie Perfection
Okay, grab your mixing bowls! The ingredients list for these thick, chewy chocolate chip cookies looks straightforward because we believe in using simple, quality staples. But trust me, the way we treat the butter is crucial here. You’ll need the full list of ingredients to get that signature bakery-style result we talked about—the right balance of sugars, the right type of flour, and the secret weapon, which is that browned butter!
Here’s what you need to gather up before we start mixing. Make sure your egg is room temperature; it helps everything combine better.
- 1 cup (168 g) unsalted butter, browned and cooled slightly
- 1 cup (200 g) packed brown sugar
- 1/4 cup (50 g) granulated sugar
- 1 large egg
- 1 large egg yolk
- 1 tablespoon pure vanilla extract
- 1 3/4 cup (210 g) all-purpose flour
- 3/4 teaspoon baking soda
- 1 teaspoon sea salt
- 2 cups semi-sweet chocolate chips or chopped chocolate
- Flaked sea salt for sprinkling (optional)
Ingredient Notes and Substitutions for Your chocolate chip cookie
Let’s talk specifics, because these details are what separate a good cookie from a *great* one. First, that butter: you absolutely must brown it, but let it cool down until it’s just slightly warm before you mix it with the sugar. If it’s too hot, it will cook your eggs!
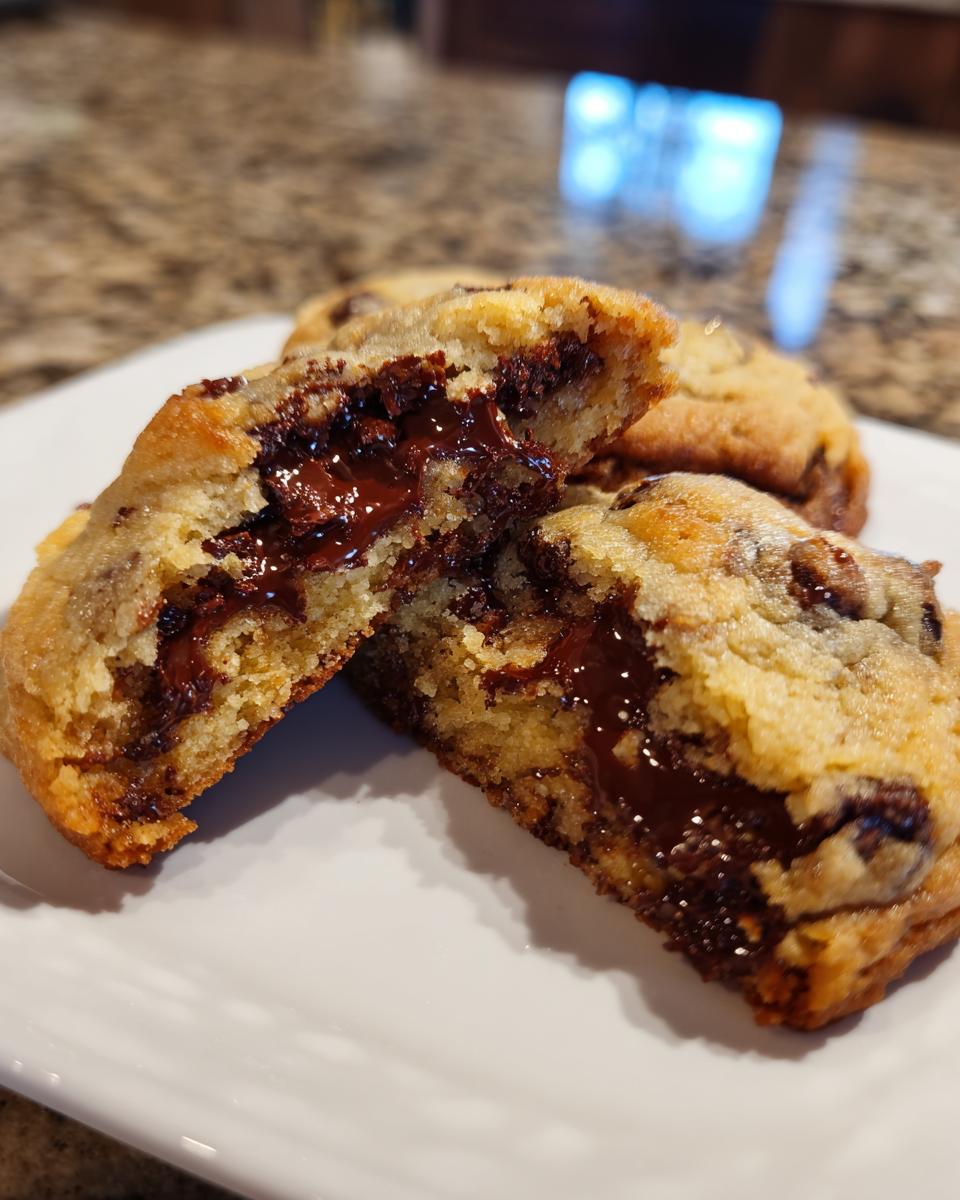
For the chocolate, I actually prefer chopping up a good quality bar rather than using chips, because you get those gorgeous puddles of melted chocolate everywhere. If you use chips, go for semi-sweet! To ensure maximum chewiness, we need that extra egg yolk; it adds fat and richness without thinning out the structure. And please, grab the flaked sea salt. A tiny sprinkle on top before baking just cuts through the sweetness beautifully and makes them look instantly professional.
Step-by-Step Instructions for the Best chocolate chip cookie Recipe
Ready to make magic? These steps are simple, I promise, but they build on each other to create that amazing texture we’re after. Remember, we want to move quickly with the wet ingredients once the butter is cooled, and absolutely do not rush the chilling part—that is non-negotiable for thick cookies!
- First things first, we have to brown that butter! Melt it down slowly until you see those lovely brown specks forming at the bottom of the pan.
- Pour the browned butter into a separate glass bowl and let it cool for about 10 to 15 minutes. It needs to be slightly warm, not hot to the touch, before you do anything else.
- Once cooled slightly, whisk in both sugars until they are thoroughly incorporated with the butter. Then beat in your egg, extra egg yolk, and vanilla until it gets nice and creamy.
- In a separate bowl, quickly whisk your flour, baking soda, and salt together.
- Add the dry mixture to the wet ingredients, mixing just until you see no more streaks of flour remaining. Stop mixing right there!
- Fold in those beautiful chocolate chips gently until they are evenly distributed throughout the dough.
- Scoop those dough balls out—I use roughly 3 tablespoons per cookie for that bakery look. Now, cover those sheets and pop them into the fridge to chill for at least 30 minutes. This step is vital!
- When you’re ready to bake, preheat your oven to 375°F (190°C).
- Place the chilled dough balls onto your parchment-lined sheet, leaving plenty of space between them. If you feel fancy, sprinkle a little flaked sea salt over the top now!
- Bake for about 10 to 13 minutes. Watch them closely; the edges should be golden, but the middle should still look a little soft, maybe even slightly puffy.
- This next part is key for guaranteed gooey centers: let the cookies rest right there on the hot baking sheet for a full five minutes before you try moving them. Then, transfer them gently to a cooling rack. For more general baking advice, I have a great rundown on classic cookie baking techniques.
Mastering the Brown Butter Technique for Your chocolate chip cookie
Browning the butter is messy, but it is pure gold for flavor. You put the butter on the stove over medium heat. It will melt, then foam up. Don’t panic when it foams! Keep watching, and soon you’ll see tiny brown specks forming at the bottom of the pan. When you smell that amazing, deep, nutty aroma—like toffee mixed with butter—it’s done. Pour it immediately into a glass bowl so it stops cooking. If you leave it in the hot pan, those beautiful brown bits will burn and taste bitter, so the transfer is important!
Baking and Cooling: Setting the Gooey Center on Your chocolate chip cookie
The visual cue for doneness here is delicate: we want the edges to look set and golden brown, but the center absolutely must look still slightly underdone when you pull them out. If they look fully done in the oven, they’ll be hard when they cool down. You need that soft, almost raw look in the middle. Then comes the most important resting step: leave them on that hot metal sheet for five full minutes! That residual heat finishes cooking the interior slowly, setting just enough for structural integrity while leaving you with those luscious, melted pockets of chocolate. If you want video guidance on this specific tricky part, check out the tips linked in this ultimate chocolate chip cookie guide.
Tips for Foolproof chocolate chip cookie Success
Making these bakery-style chocolate chip cookies foolproof really just comes down to resisting a few bad habits we all develop in the kitchen! The biggest one? Overmixing. Once that flour goes in, mix on low speed just until the last white streaks disappear, then stop immediately. Mixing too much develops gluten and BAM—you get tough cookies instead of soft and chewy desserts.
Another tip for guaranteed size and evenness: invest in a cookie scoop. Seriously, using a tablespoon or an ice cream scoop ensures every cookie bakes at the same rate, so you don’t end up with some burnt while others are still raw. Finally, remember my note on ingredients: always let your browned butter cool down enough before adding eggs and make sure your egg is room temperature. These little steps are the difference between a good batch and the very best batch. For more detailed advice on keeping things perfect, I put together a whole post on baking tips for cookies!
Making Variations of the chocolate chip cookie
While this recipe is fantastic as is, sometimes I like to mix things up! It’s so fun to see how slight additions can change the whole profile of your favorite chocolate chip cookie. Don’t feel tied down to semi-sweet chips, even though that’s my go-to for that classic flavor.
If you want a deeper, more intense experience—maybe for a grown-up dessert—try swapping out half the semi-sweet chips for chopped bittersweet chocolate. Or, for a really spicy kick, mix in about half a teaspoon of espresso powder right with the dry ingredients. It deepens the chocolate flavor without making it taste like coffee!
If nuts are your thing, walnuts or pecans are great, but make sure they are toasted first! Toasting them brings out their essential oils so you get that buttery crunch. If you’re into seasonal changes, check out my ideas for spice variations in my pumpkin snickerdoodle cookies post for inspiration that you can adapt!
Storage and Reheating Instructions for Your chocolate chip cookie Batch
These chocolate chip cookies are best eaten the day they are made, of course, because that gooey center never lasts! But don’t worry if you have leftovers. Keep them stored in a truly airtight container at room temperature. Don’t put them in the fridge—cold is the enemy of chewy, and they’ll harden up fast.
If they do get a little firm the next day, don’t throw them out! The oldest trick in the book is to pop one in the microwave for just 8 to 10 seconds. That little burst of heat melts the chocolate chips right back into liquid puddles and softens the center perfectly. You can also warm them in a 300°F oven for a few minutes if you want that crisp edge restored. They freeze beautifully too; just wrap them well before tossing them in the freezer whenever you have extra!
Frequently Asked Questions About the chocolate chip cookie
You probably have a million questions swirling around, just like I did when I developed this formula! It’s tough to nail the perfect chocolate chip cookie on the first try, which is why I wanted to clear up the most common hurdles readers face. Get ready for answers that will make your next batch of soft and chewy desserts absolutely perfect!
Can I skip browning the butter in this chocolate chip cookie recipe?
You totally can, if you’re in a huge rush! But please, don’t if you have the time. Skipping the browning means you end up with a standard, good, buttery cookie flavor. Browning the butter, though—that takes the flavor to a whole new level. It adds this rich, toasted, almost caramel note that pairs beautifully with the chocolate and brown sugar. You lose that signature depth and nuttiness if you skip it, so I always recommend taking those extra ten minutes!
What is the secret to making the Best Chocolate Chip Cookie Recipe chewy?
If you’re striving for the Best Chocolate Chip Cookie Recipe, chewiness comes from fat content and controlling spread. We use that extra egg yolk because yolks are almost pure richness, which keeps the interior soft and dense rather than airy. But honestly, the real trick is chilling the dough. When the dough is cold, the cookies spread slower in the heat. This means the outside gets baked firm while the center stays undercooked and wonderfully gooey because the heat hasn’t had time to penetrate fully.
How long do I need to chill the chocolate chip cookie dough?
I know chilling dough sounds like such a drag when you want homemade sweet treats *right now*, but this is where you earn that thick texture. You absolutely must chill it for a minimum of 30 minutes, just to let the flour hydrate a bit and stabilize the structure. However, if you can manage it, chilling it for 12 to 24 hours in the fridge is ideal. Seriously, that overnight rest develops the flavor tremendously, making the final cookie taste richer and much chewier. If you’re looking for speed, you could try my quick version, but for the ultimate result, plan ahead!
I’ve gathered even more useful information on general baking here if you need other tips for your delicious dessert recipes!
Nutritional Estimates for One chocolate chip cookie
Okay, let’s talk real talk for a second. Since these are the ultimate chocolate chip cookies and they are packed with browned butter and chocolate, they aren’t exactly “diet food,” but you deserve every single bite! We track this stuff just so we know what we are dealing with, but remember these figures are just estimates based on the raw ingredients listed in our recipe.
For a single, glorious cookie made with the ingredients above, here is what the numbers generally look like. Don’t let the numbers scare you; the joy this cookie brings far outweighs a little bit of sugar!
- Serving Size: 1 cookie
- Calories: 250
- Fat: 14g
- Carbohydrates: 30g
- Sugar: 18g
- Protein: 3g
- Cholesterol: 40mg
Please take these numbers with a giant grain of salt—or, better yet, a sprinkle of flaked sea salt! My recipe uses specific brands of chocolate and butter, and how much chocolate you manage to stuff inside will change everything. These are just guidelines to help you keep track if you need to. The most important thing is enjoying these buttery chocolate chip cookies when they are fresh and gooey warm!
Share Your Ultimate chocolate chip cookie Experience
Now that you have the secret to the most amazing, thick, and chewy chocolate chip cookie right in your hands, I really, truly want to hear about it!
Baking should always be a conversation, not just a set of silent instructions. Did you try the brown butter? Did you manage to let the dough chill overnight? Tell me how gooey the centers were! Please head down to the comments below and leave a rating—I check every single one—and let me know if this has officially become your go-to recipe for holiday cookie baking ideas or just Tuesday night cravings.
And please, if you snap a picture of those perfect bakery-style cookies, tag me on social media! My favorite part of all this recipe development is seeing your creations filling your own kitchen tables. It reminds me that we’re all just passing along these wonderful traditions, one delicious, buttery batch at a time. If you want to learn more about the ‘why’ behind MDLATDMM and how I developed all these classic recipes, you can read all about it on my About Page!
PrintThe Ultimate Bakery-Style Chocolate Chip Cookies: Thick, Chewy, and Gooey
You deserve the best homemade chocolate chip cookies. This recipe delivers thick, bakery-style cookies with crispy edges and soft, gooey centers, made using simple ingredients for foolproof results.
- Prep Time: 15 min
- Cook Time: 13 min
- Total Time: 58 min
- Yield: About 18 cookies 1x
- Category: Dessert
- Method: Baking
- Cuisine: American
- Diet: Vegetarian
Ingredients
- 1 cup (168 g) unsalted butter, browned and cooled slightly
- 1 cup (200 g) packed brown sugar
- 1/4 cup (50 g) granulated sugar
- 1 large egg
- 1 large egg yolk
- 1 tablespoon pure vanilla extract
- 1 3/4 cup (210 g) all-purpose flour
- 3/4 teaspoon baking soda
- 1 teaspoon sea salt
- 2 cups semi-sweet chocolate chips or chopped chocolate
- Flaked sea salt for sprinkling (optional)
Instructions
- Brown the butter: Melt the butter in a saucepan over medium heat. Continue cooking, stirring occasionally, until the milk solids turn deep brown and the butter smells nutty. Pour the browned butter into a heatproof bowl and let it cool until it is slightly warm, not hot.
- In a large bowl, whisk together the cooled brown butter, brown sugar, and granulated sugar until combined.
- Beat in the egg, egg yolk, and vanilla extract until the mixture is smooth and creamy.
- In a separate bowl, whisk together the flour, baking soda, and sea salt.
- Gradually add the dry ingredients to the wet ingredients, mixing on low speed until just combined. Do not overmix.
- Fold in the chocolate chips or chopped chocolate.
- Scoop the dough into balls, about 3 tablespoons each. For thicker cookies, place the dough balls close together on parchment-lined baking sheets (they will spread).
- Chill the dough for at least 30 minutes, or up to 24 hours, for the best texture and thickness.
- Preheat your oven to 375 degrees Fahrenheit (190 degrees Celsius).
- Place the chilled dough balls about 3 inches apart on baking sheets lined with parchment paper. Sprinkle the tops with flaked sea salt, if using.
- Bake for 10 to 13 minutes, or until the edges are golden brown but the centers still look slightly underbaked.
- Let the cookies cool on the baking sheet for 5 minutes before transferring them to a wire rack to cool completely. The centers will set as they cool.
Notes
- Browning the butter adds a deep, caramelized flavor that makes these cookies taste like they came from a high-end bakery.
- For extra thick cookies, press the dough balls into tall cylinders before chilling, or place a few extra chocolate chunks on top of the dough balls before baking.
- If you prefer a quicker recipe, you can skip the chilling step, but the texture will be flatter and less chewy.
Nutrition
- Serving Size: 1 cookie
- Calories: 250
- Sugar: 18g
- Sodium: 150mg
- Fat: 14g
- Saturated Fat: 8g
- Unsaturated Fat: 6g
- Trans Fat: 0g
- Carbohydrates: 30g
- Fiber: 1g
- Protein: 3g
- Cholesterol: 40mg