

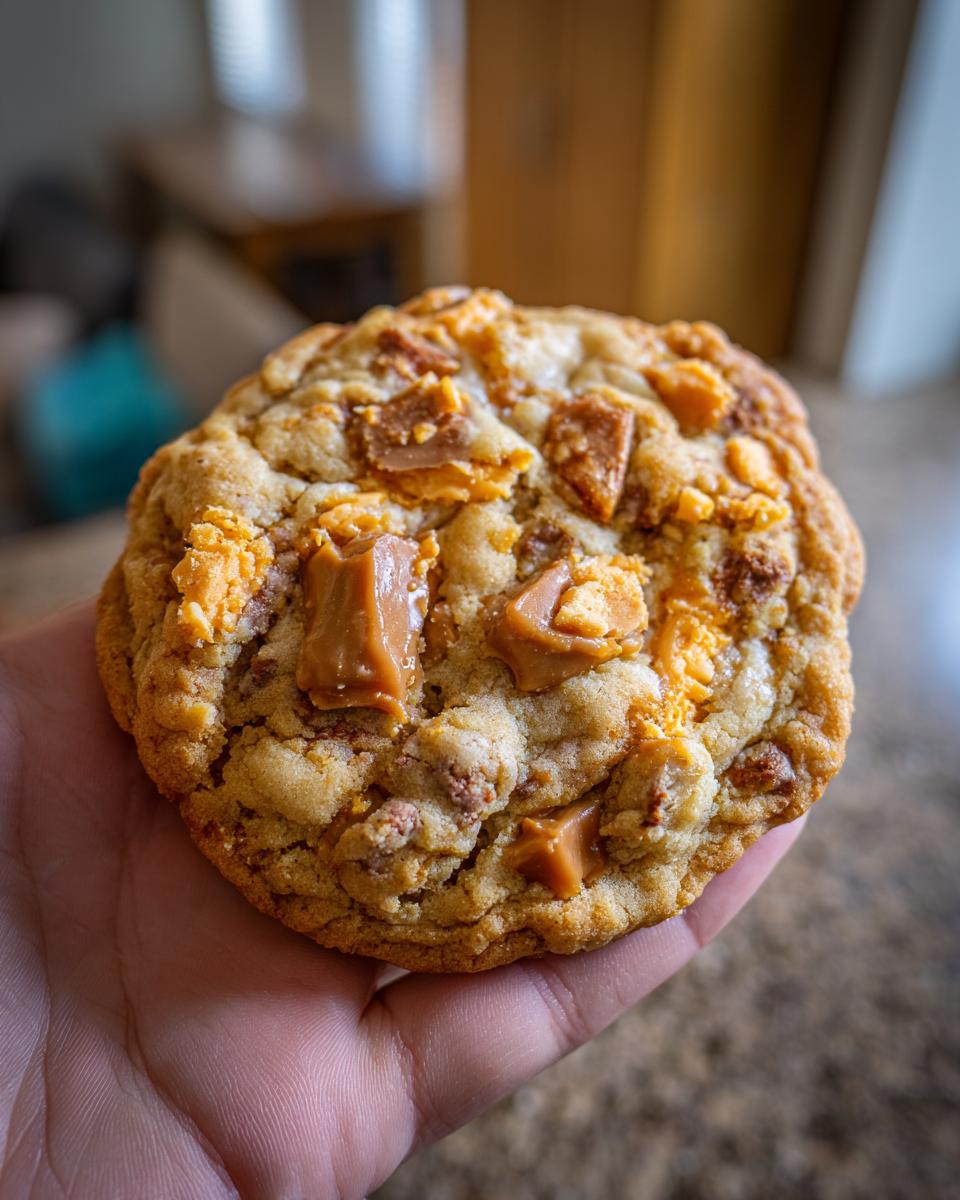
Oh my goodness, get ready for a cookie that’s going to blow your taste buds away! These butterfinger caramel crunch cookies are pure magic. I’m talking about that perfect chewy texture you dream about, loaded with crunchy bits of Butterfinger and pockets of gooey, melty caramel. Honestly, when I first perfected this recipe, it felt like unlocking a secret level in baking. It’s all about those little moments of pure joy in the kitchen, just like Maddie talks about, and this cookie totally delivers that feeling. Trust me, every bite lets you know how carefully we’ve tested to get that amazing crunch and chew just right. They’re an absolute showstopper!
- Why You'll Love These Butterfinger Caramel Crunch Cookies
- Ingredients for Perfect Butterfinger Caramel Crunch Cookies
- Mastering Your Butterfinger Caramel Crunch Cookies: Step-by-Step
- Tips for Perfectly Chewy Butterfinger Caramel Crunch Cookies
- Ingredient Notes and Substitutions for Caramel Bits Cookies
- Nutrition Information
- Frequently Asked Questions about Butterfinger Caramel Crunch Cookies
- Storing and Reheating Your Candy Bar Cookies
Why You’ll Love These Butterfinger Caramel Crunch Cookies
You’re going to absolutely adore these cookies because they hit all the right notes! They’ve got that seriously chewy texture everyone raves about, and the satisfying crunch of real Butterfinger pieces is just out of this world. Plus, those little pockets of gooey caramel? Pure bliss! They’re surprisingly easy to whip up, which is a huge bonus, and they’re always the first thing to disappear at any party or holiday gathering. Honestly, they’re a home run!
Ingredients for Perfect Butterfinger Caramel Crunch Cookies
Alright, let’s talk about what you’ll need to make these little pieces of heaven! It’s pretty straightforward, but the quality of your ingredients really makes a difference here.
- 1 cup (that’s two sticks) of unsalted butter, make sure it’s nice and softened so we can cream it up properly.
- 3/4 cup of granulated sugar.
- And 3/4 cup of packed light brown sugar. Packing it in gives us that lovely chewiness!
- 2 large eggs – just regular large ones are perfect.
- 1 teaspoon of good old vanilla extract; it just rounds everything out.
- 2 1/2 cups of all-purpose flour. We’ll measure this carefully!
- 1 teaspoon of baking soda to help them spread just right.
- And 1/2 teaspoon of salt – don’t skip this, it balances all that sweetness!
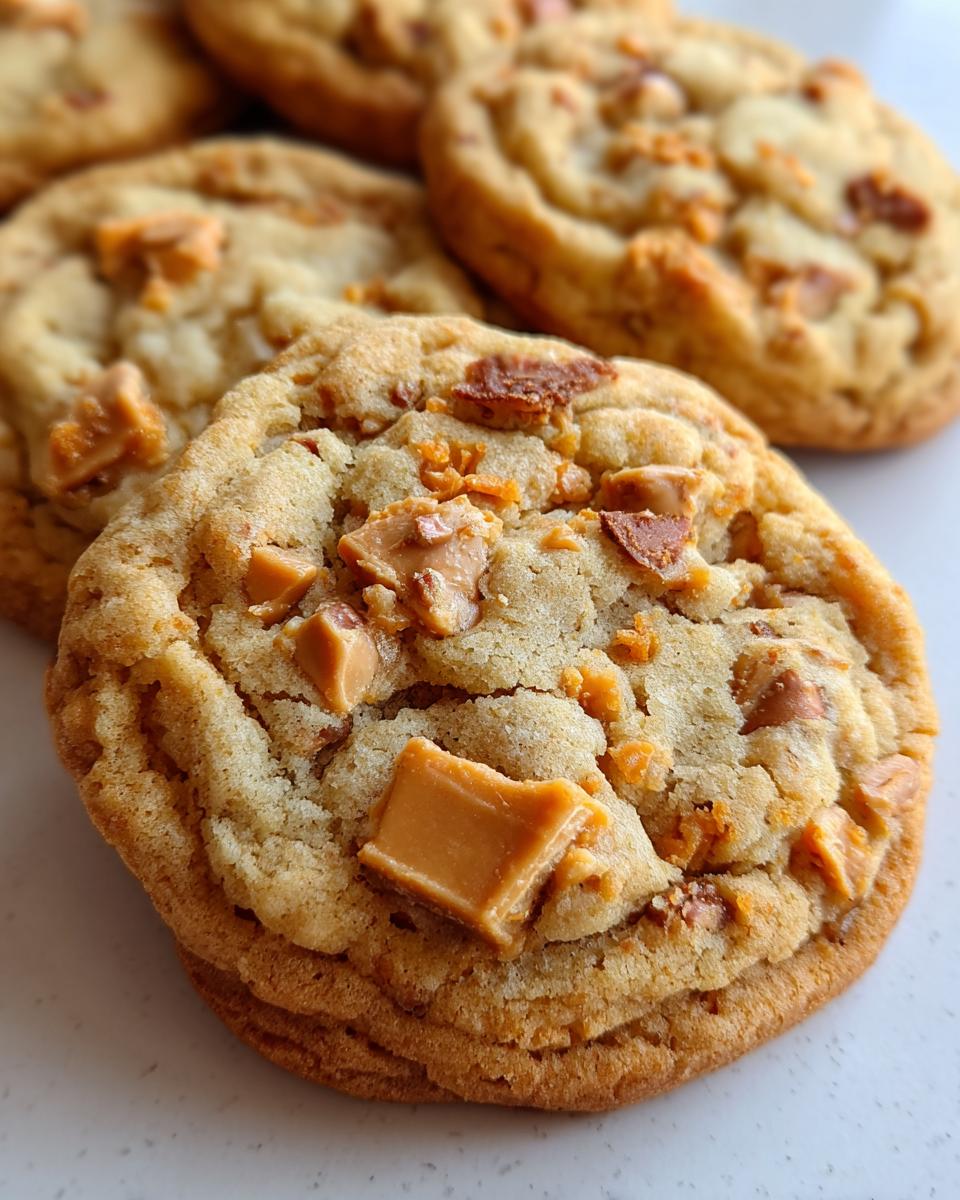
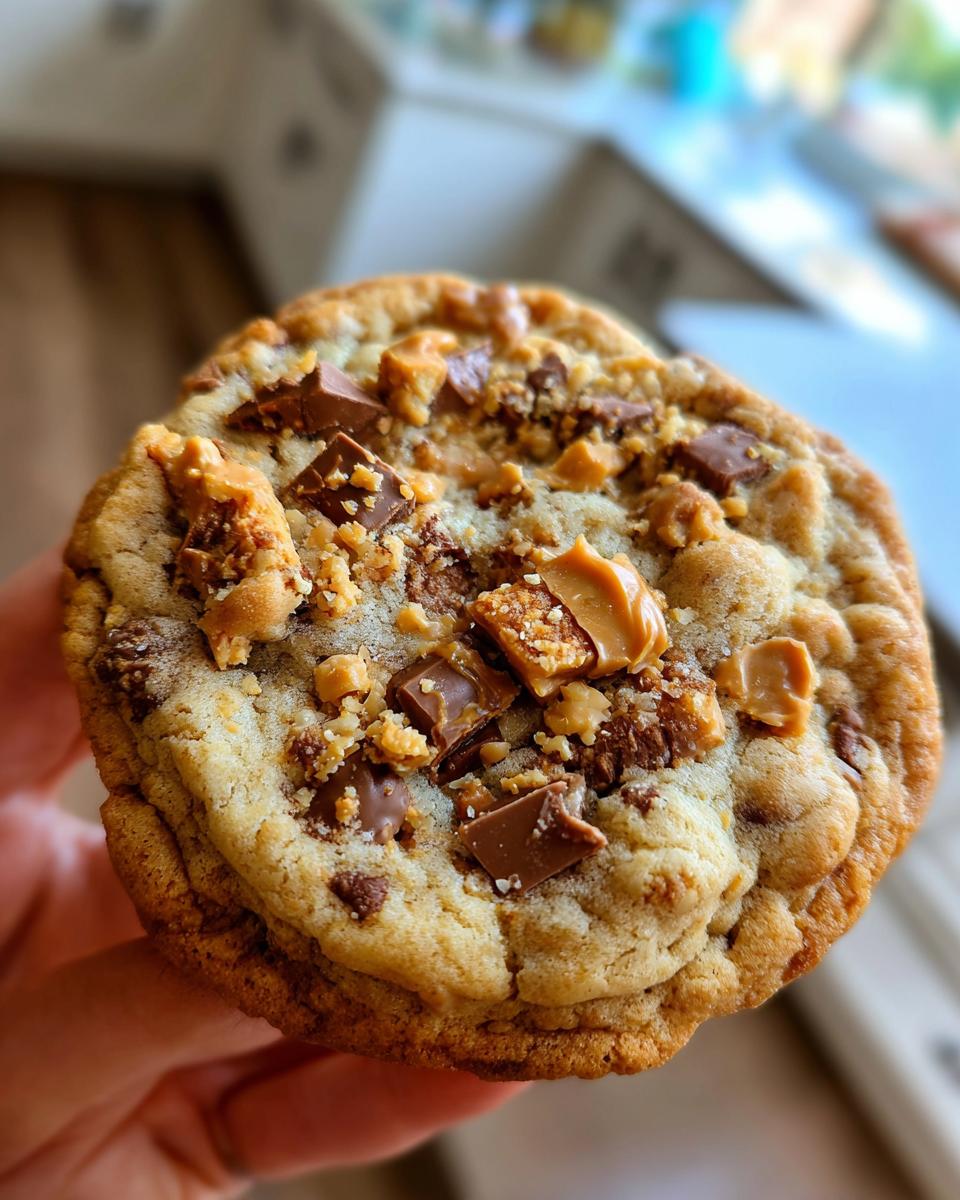
- Now for the stars: about 1 cup of crushed Butterfinger candy bars. I usually use around 4 to 5 fun-size bars. Just give them a good chop!
- And 1/2 cup of caramel bits. These are like little flavor bombs waiting to melt.
- Oh, and if you’re going for that full-on bakery look, grab some extra crushed Butterfinger and caramel bits for topping before they go in the oven.
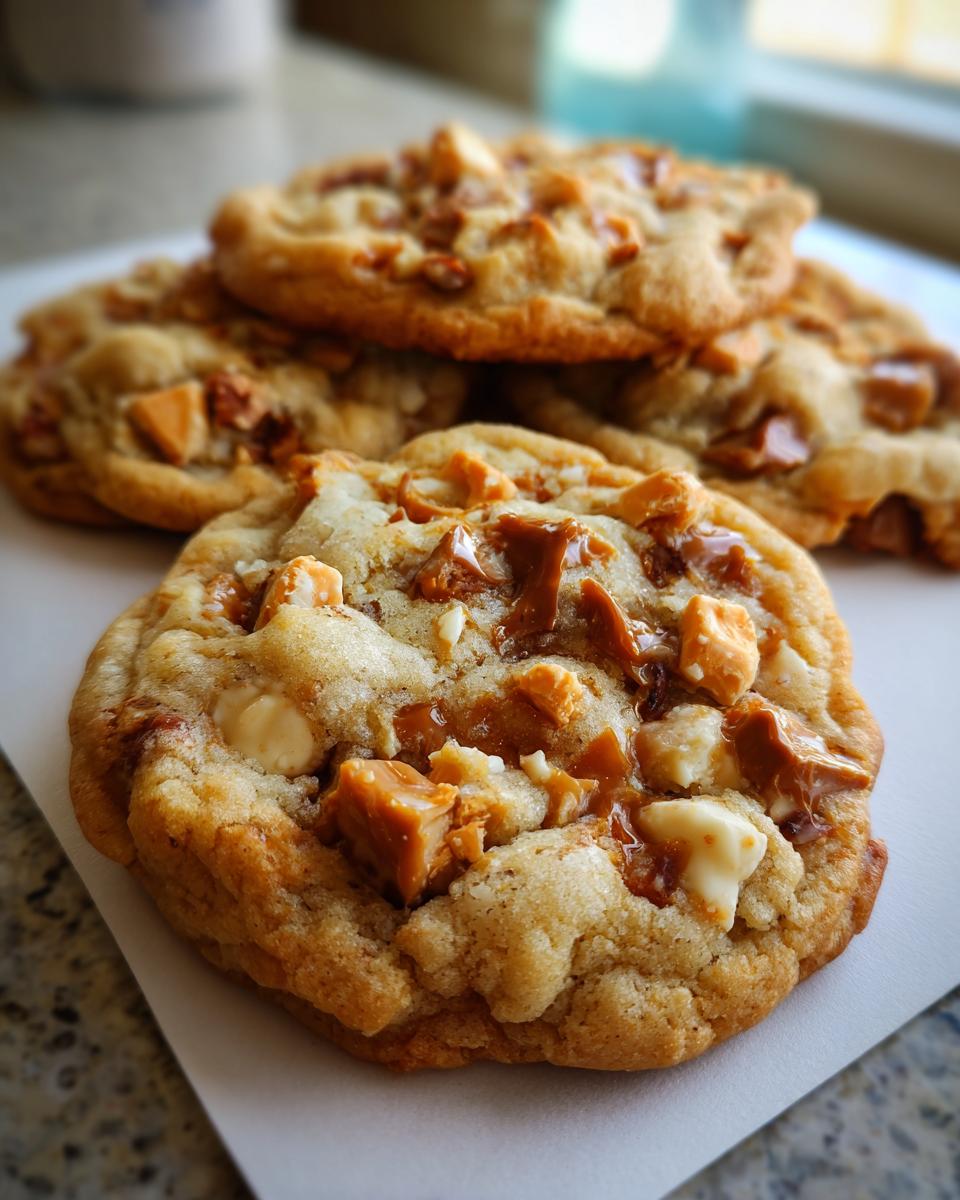
- And for the grand finale, a little bit of caramel sauce for drizzling after they’re all cooled. Yum!
Mastering Your Butterfinger Caramel Crunch Cookies: Step-by-Step
Alright, let’s get these amazing cookies into the oven! It’s a pretty simple process, but doing it in the right order makes all the difference for that perfect chewy texture and amazing candy crunch. You’ve got this! If you love chewy cookies, you’ll want to check out our super chewy chocolate chip cookies or our classic soft and chewy chocolate chip cookies for more tips!
Creaming and Combining Wet Ingredients
First things first, grab your stand mixer or a good hand mixer. You want to cream together that softened butter with both the granulated and light brown sugars. Beat ’em until the mixture looks really light in color and feels super fluffy. Then, you’ll add your eggs, one at a time, making sure they incorporate fully, followed by that splash of vanilla extract. Easy peasy!
Mixing the Dry Ingredients
In a separate bowl, just give your flour, baking soda, and salt a quick whisk. This just makes sure everything is evenly distributed so you don’t get pockets of baking soda or salt in your cookies. Super simple!
Combining Wet and Dry for Butterfinger Caramel Crunch Cookies
Now, it’s time to bring those wet and dry ingredients together! Gradually add the flour mixture to your butter and sugar mixture. Mix on low speed, or gently by hand, just until everything is *barely* combined. Seriously, stop as soon as you don’t see any more dry flour streaks. Overmixing is the enemy of chewy cookies, so back off here!
Folding in the Candy Goodness
This is the fun part! Gently fold in your crushed Butterfinger pieces and those lovely caramel bits. Try not to overdo it – we want distinct pieces, not just powder. It’s just enough to get the candy distributed throughout the dough.
The Crucial Dough Chilling Step
Okay, this step is a total game-changer for these butterfinger caramel crunch cookies. Pop that dough in the fridge for at least 30 minutes. Trust me on this! Chilling prevents the cookies from spreading too much in the oven, which means you get those wonderfully thick, chewy cookies. It also helps those caramel bits keep a bit more of their shape instead of totally melting away, giving you those delightful gooey pockets.
Baking Your Candy Bar Cookies
While your dough is chilling, go ahead and preheat your oven to 350°F (175°C). Line your baking sheets with parchment paper – it’s a lifesaver for easy cleanup and to prevent sticking. Once your dough is chilled, scoop rounded tablespoons of dough onto the prepared sheets, leaving about 2 inches between them because they will spread a bit, even after chilling. For that gorgeous bakery look, press a few extra crushed Butterfinger pieces and caramel bits onto the tops of each cookie before they go in. Now, bake them for about 9 to 12 minutes. You’re looking for the edges to be a nice golden brown, but the centers should still look a little soft and underdone. This is key for that gooey caramel and chewy texture!
Cooling and Finishing Touches
Once they’re out of the oven, let those beauties cool on the baking sheet for about 5 minutes. This helps them firm up just enough so they don’t fall apart when you move them. Then, carefully transfer them to a wire rack to cool completely. If you’re feeling fancy, once they’ve cooled down a touch, you can drizzle them with some warmed caramel sauce. It looks amazing and tastes even better!
Tips for Perfectly Chewy Butterfinger Caramel Crunch Cookies
Okay, let’s get these butterfinger caramel crunch cookies *perfect*. Really, it’s all about a few little tricks that make all the difference. Remember how Maddie talks about home cooking being about care? It’s true! For these cookies, that means paying attention to a few specifics. Always make sure your butter is properly softened – not melted, but definitely not cold. You know, soft enough that your finger leaves a little dent when you poke it. And when you measure your flour, don’t just scoop it out of the bag with your measuring cup; that packs way too much in! Spoon the flour into the cup and then level it off with a straight edge, like a knife. This little step helps keep your cookies from getting too cakey or tough. And that gentle folding of the dry ingredients? Seriously, don’t overmix after adding the flour. As soon as it’s combined, stop! That’s how you get that wonderfully chewy texture instead of something tough. It might sound like a lot, but it’s just that little bit of love that turns a good cookie into an absolutely unforgettable one! If you’re looking for more tips on getting that perfect chewy texture, or even some delightful no-bake treats or some energy-boosting protein bars, check out some of our other recipes!
Ingredient Notes and Substitutions for Caramel Bits Cookies
Let’s dive into a couple of things that make these caramel bits cookies so special. First off, crushing your Butterfinger bars! I usually just pop them into a sturdy zip-top bag and bash them with a rolling pin or the flat side of a meat mallet. You want some nice chunky bits, not dust. If you can’t find caramel bits, no worries! You can chop up some soft caramel candies – just make sure they’re the chewy kind, not the hard ones. You can also use chopped toffee bits for a different kind of crunch, but the caramel bits are what give you those lovely gooey pockets of flavor that everyone goes nuts for!
Nutrition Information
These numbers are just an estimate, of course! The exact calories and nutrients can change a bit depending on the brands of Butterfinger and caramel bits you use, and how big you make your cookies. But generally, each one of these delicious bites is around 200 calories, with about 11g of fat and 25g of carbs. They’re a fun treat!
Frequently Asked Questions about Butterfinger Caramel Crunch Cookies
Got questions about these candy bar delights? I’ve got answers! It’s like tackling a fun little baking puzzle, and I love helping you get these just right.
Can I skip chilling the dough for these Butterfinger Caramel Crunch Cookies?
Oh, you *can*, but I really, really don’t recommend it! Chilling the dough is honestly the secret weapon for getting perfectly chewy cookies that don’t spread into sad, thin puddles. It helps everything firm up so you get that lovely thick texture and the caramel bits stay a bit gooey instead of completely melting away. It’s worth that little bit of extra patience, trust me!
How do I get that perfect gooey caramel in my candy bits cookies?
The trick to gooey caramel is two-fold! First, using good quality caramel bits helps. Second, and this is super important, don’t overbake these cookies. You want the edges to be golden, but the centers should still look a little soft when you pull them out of the oven. They’ll continue to set up as they cool on the baking sheet, but that slightly underbaked center is where the gooey magic happens!
Are these Butterfinger Caramel Crunch Cookies good for Halloween parties?
Are you kidding me? They are PERFECT for Halloween parties! Think about it – they use up some of that leftover Halloween candy, they’re loaded with popular flavors, and they just look so festive and fun. They make a fantastic addition to any Halloween candy cookie platter. Plus, kids (and adults!) go absolutely wild for anything Butterfinger and caramel.
Can I use other candy bars in these cookies?
Absolutely! While Butterfinger gives that iconic crunch and flavor, feel free to get creative. You could try Heath bars, Skor bars, or even chopped Snickers (though that might make them extra gooey!). The key is to crush them up well and keep the total amount of candy pieces roughly the same so you don’t throw off the cookie dough balance. It makes these really adaptable easy dessert cookies!
Storing and Reheating Your Candy Bar Cookies
So, you’ve got some leftover magic? Lucky you! To keep these delicious candy bar cookies tasting amazing, store them in an airtight container at room temperature. They’ll stay fresh and wonderfully chewy for up to 3 days. If you want that fresh-baked warmth back, you can pop one in the microwave for about 10-15 seconds. Just enough to soften the caramel a touch and bring back that amazing aroma!
PrintButterfinger Caramel Crunch Cookies

Chewy cookies packed with crushed Butterfinger bars and caramel bits, offering a delightful candy crunch and gooey caramel.
- Prep Time: 20 min
- Cook Time: 12 min
- Total Time: 32 min
- Yield: 24 cookies 1x
- Category: Dessert
- Method: Baking
- Cuisine: American
- Diet: Vegetarian
Ingredients
- 1 cup (2 sticks) unsalted butter, softened
- 3/4 cup granulated sugar
- 3/4 cup packed light brown sugar
- 2 large eggs
- 1 teaspoon vanilla extract
- 2 1/2 cups all-purpose flour
- 1 teaspoon baking soda
- 1/2 teaspoon salt
- 1 cup crushed Butterfinger candy bars (about 4–5 fun-size bars)
- 1/2 cup caramel bits
- Optional: Extra crushed Butterfinger and caramel bits for topping
- Optional: Caramel sauce for drizzling
Instructions
- In a large bowl, cream together the softened butter, granulated sugar, and brown sugar until light and fluffy.
- Beat in the eggs one at a time, then stir in the vanilla extract.
- In a separate bowl, whisk together the flour, baking soda, and salt.
- Gradually add the dry ingredients to the wet ingredients, mixing until just combined. Do not overmix.
- Gently fold in the crushed Butterfinger pieces and caramel bits.
- For best results and to control spread, chill the dough for at least 30 minutes. This also helps the caramel bits retain some of their shape.
- Preheat your oven to 350°F (175°C). Line baking sheets with parchment paper.
- Drop rounded tablespoons of dough onto the prepared baking sheets, leaving about 2 inches between cookies.
- If desired, press a few extra crushed Butterfinger pieces and caramel bits onto the tops of the cookies for a bakery-style look.
- Bake for 9-12 minutes, or until the edges are golden brown and the centers are still slightly soft. Be careful not to overbake if you want gooey caramel.
- Let the cookies cool on the baking sheets for a few minutes before transferring them to a wire rack to cool completely.
- Once cooled, you can drizzle with caramel sauce if desired.
Notes
- Chilling the dough is key to preventing excessive spreading and ensuring a chewy cookie.
- For a gooier caramel experience, slightly underbake the cookies.
- If you don’t have caramel bits, you can chop up soft caramel candies.
- Store cookies in an airtight container at room temperature for up to 3 days.
Nutrition
- Serving Size: 1 cookie
- Calories: 200
- Sugar: 18g
- Sodium: 100mg
- Fat: 11g
- Saturated Fat: 6g
- Unsaturated Fat: 5g
- Trans Fat: 0g
- Carbohydrates: 25g
- Fiber: 1g
- Protein: 2g
- Cholesterol: 30mg