
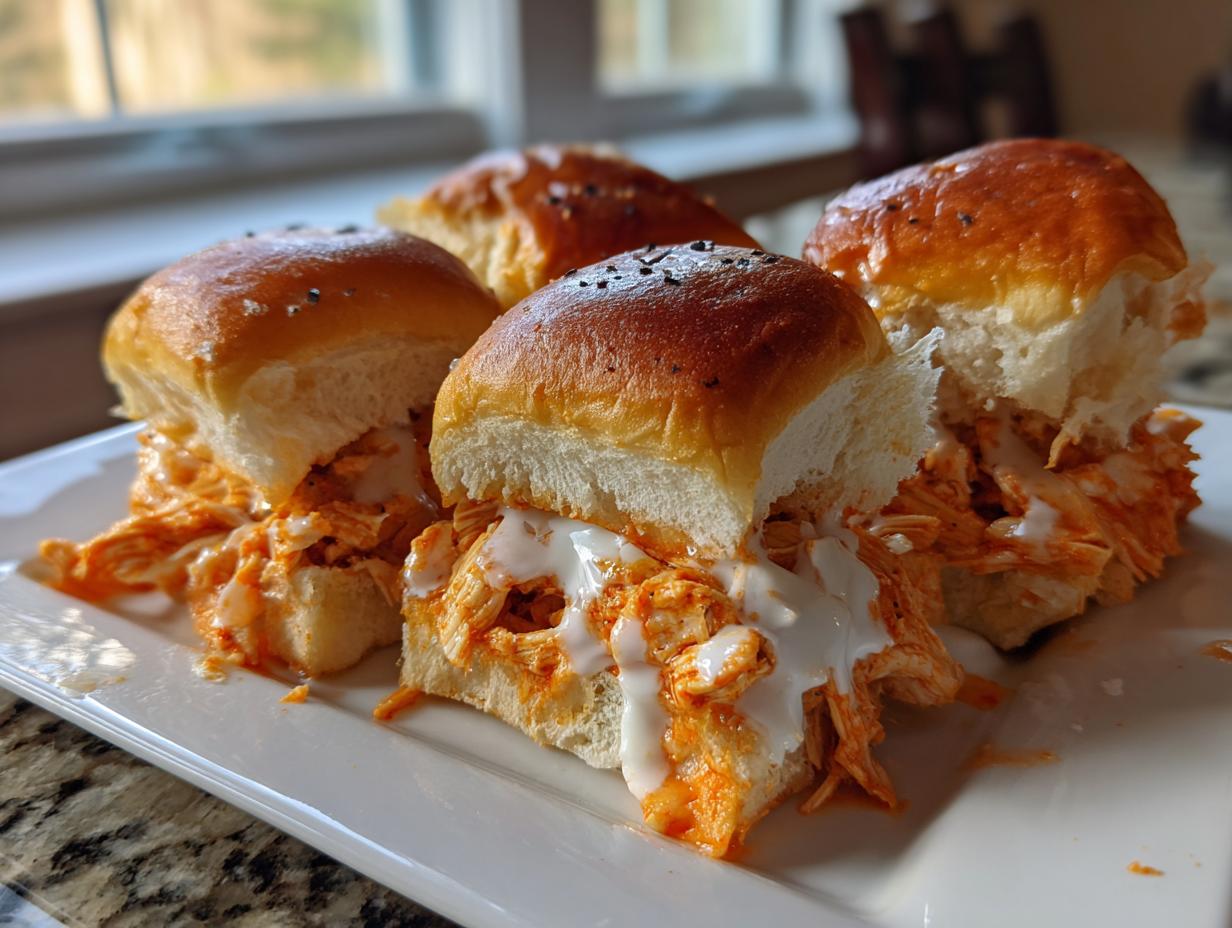
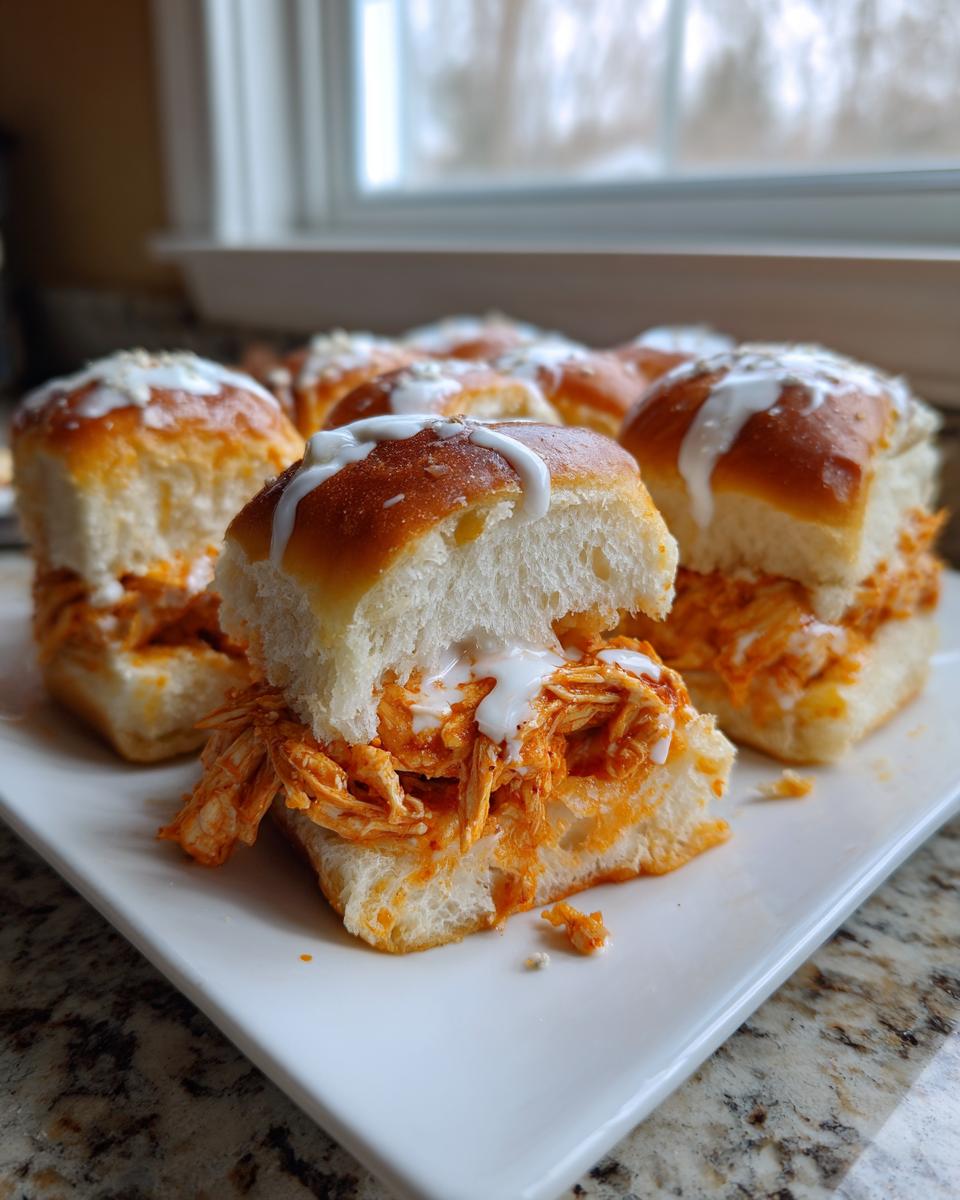
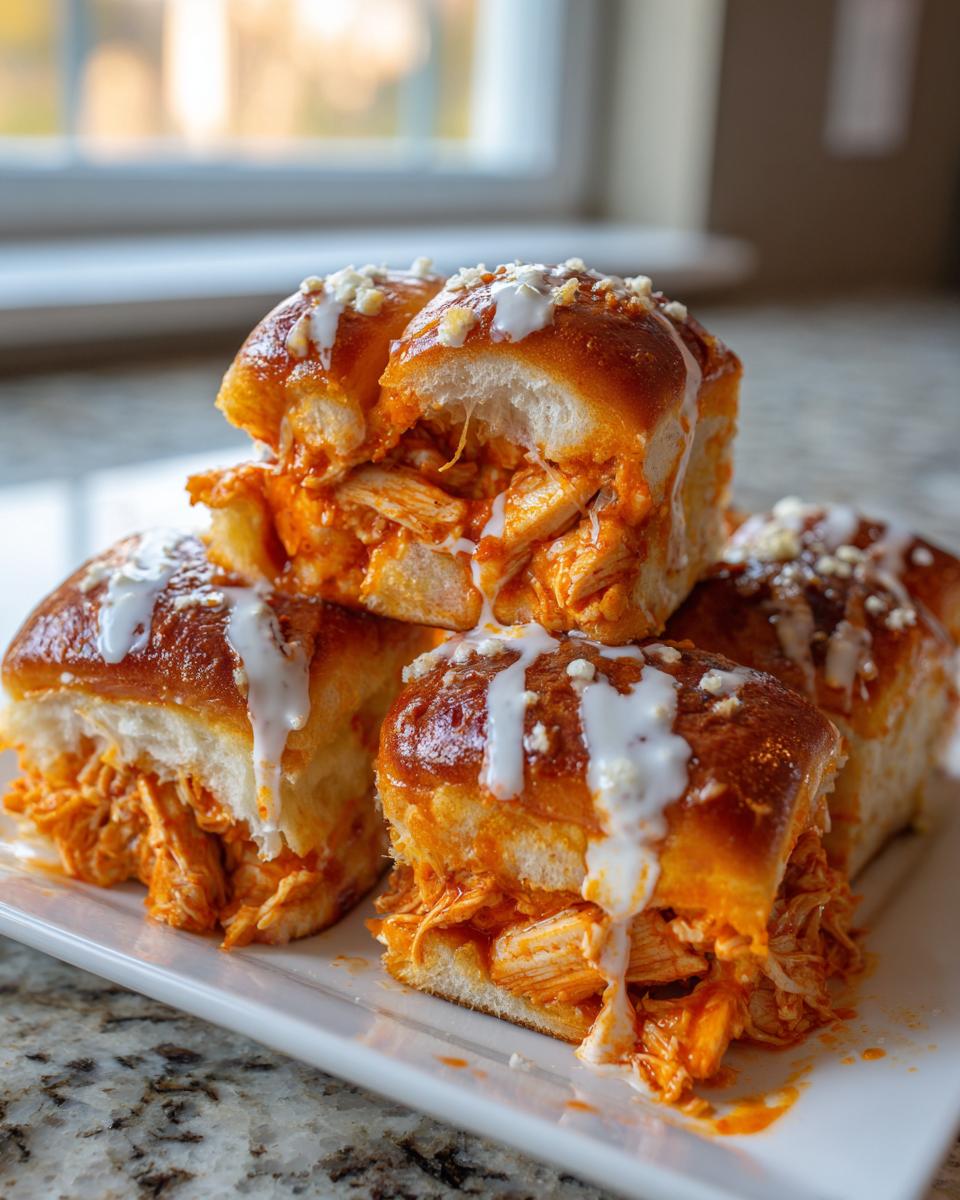
You know those weekends where you realize you forgot to plan anything for feeding the crowd, or maybe you just need a dinner that feels fun but takes zero brainpower? I totally get it. That rush is why I live by simple, satisfying comfort food here in my kitchen. Forget juggling pans on the stove; we are baking these bad boys right in a casserole dish! I’m talking about the ultimate crowd-pleaser: **buffalo chicken sliders**. They are unbelievably easy, perfectly spicy, wonderfully cheesy, and they just soak up that creamy ranch flavor into those soft Hawaiian rolls. Bringing people together over delicious, homemade food is what MDLATDMM is all about, and these definitely bring the joy. If you love dipping into a big bowl of hot chicken goodness, you absolutely have to check out my recipe for creamy crockpot buffalo chicken dip—it’s the dip version of this exact flavor profile!
- Why These are the Best Easy Buffalo Chicken Sliders (E-E-A-T Focus)
- Gathering Ingredients for Your Buffalo Chicken Sliders
- Step-by-Step Instructions for Baked Chicken Sliders Recipe
- Tips for Perfect Pull Apart Chicken Sliders
- Serving Suggestions for Your Buffalo Chicken Sliders
- Storage and Reheating Instructions for Leftover Buffalo Chicken Sliders
- Frequently Asked Questions About These Spicy Chicken Sliders
- Nutritional Estimates for Your Game Day Appetizers
- Share Your Experience Making These Buffalo Chicken Sliders
Why These are the Best Easy Buffalo Chicken Sliders (E-E-A-T Focus)
What makes these my go-to recipe for **buffalo chicken sliders**? It’s that perfect marriage between spicy heat and soft, sweet Hawaiian rolls. Trust me, using those specific rolls makes all the difference; they soak up the sauce beautifully without getting totally soggy before you serve them. The baking method is key, too. It melts that cheese right down into the filling without you having to stand over a skillet!
If you’re worried about time, here’s my big secret for making this an even quicker **easy buffalo chicken sliders** fix: use pre-cooked, shredded chicken! Grabbing a rotisserie chicken and shredding it saves about twenty minutes right there. When I need a super fast dinner, I’ll throw this together, or maybe pair it with that comforting chicken broccoli casserole for a fun dual-dinner situation.
Gathering Ingredients for Your Buffalo Chicken Sliders
You don’t need a secret pantry for this recipe; everything is pretty straightforward, which is why I rely on this when I’m short on time. The ingredient list is short, but every bit plays a huge role in delivering those amazing spicy, cheesy flavors we are looking for. Since this is a baked recipe, make sure you have a 9×13 baking dish ready to go!
The Essential Components for Perfect Sliders with Melted Cheese
First up, grab that package of slider rolls—my favorite are the soft Hawaiian rolls because their slight sweetness balances the spice in the **buffalo chicken sliders**. You’ll need about two cups of cooked, shredded chicken ready to go. For the cheese, I recommend Monterey Jack or cheddar because they melt so beautifully, giving you those glorious strings when you pull the finished sandwiches apart.
Crafting the Flavorful Buffalo Sauce Topping
Okay, let’s talk topping, because this is what sets these **buffalo chicken sliders** apart! We melt down unsalted butter and whisk it with Worcestershire sauce and basic seasonings like garlic and onion powder. But the real kicker for these **ranch chicken sliders** is the final brush of ranch dressing on top of the buns. A little whisper of poppy seeds sprinkled on that ranch adds a fantastic, subtle crunch—don’t skip that if you can help it!
Step-by-Step Instructions for Baked Chicken Sliders Recipe
Alright, the fun part! We’re moving fast here because the beauty of these **buffalo chicken sliders** is how quickly they bake up. Remember, we want tender chicken soaked in sauce and gooey, melted cheese, so keeping an eye on the oven time is really important. Just like when I made those creamy white chicken enchiladas, getting the heat right is half the battle!
Mixing the Shredded Chicken Sliders Filling
First things first: get your oven heated up to 350°F (175°C) and gently grease up that 9×13 dish. Now, for the filling. Grab a medium bowl and toss in your two cups of shredded chicken. Then, you need to pour in the buffalo sauce, the melted butter, that splash of Worcestershire sauce, and those seasonings—garlic powder and onion powder. Don’t be shy here; you want every single piece of chicken completely coated. Stir it around until it frankly looks a little messy and completely delicious. That’s the sign you’ve done it right for your **shredded chicken sliders**!
Simple Slider Assembly and Baking Prep
This is where **simple slider assembly** comes into play. Take your whole package of those gorgeous rolls and carefully slice them right down the middle horizontally. Keep the top half and the bottom half connected—that’s the magic trick for easy cleanup later! Press the bottom layer into your prepared dish. Now, gently spoon all that spicy chicken mixture evenly across those bottom buns. Next, shower everything with the shredded cheese. Place the top roll half carefully back on top.
For the grand finale before they hit the heat, whisk together your ranch dressing with those optional poppy seeds. Take a pastry brush—or even the back of a spoon if you don’t have one—and brush that entire top layer generously. Cover the dish tightly with foil and slide it into the oven for 15 minutes. This step is crucial because it steams everything just enough to melt that cheese perfectly inside your **buffalo chicken sliders**. After 15 minutes, pull that foil off and keep baking for another 5 to 10 minutes until the tops look golden and bubbly. Serve ’em hot and watch them disappear!
Tips for Perfect Pull Apart Chicken Sliders
Now that you’ve mastered the assembly of your amazing **buffalo chicken sliders**, I have a few tricks up my sleeve—little things my friends always ask about when they try to recreate them. These tips are all about cutting corners smartly or dialing in that perfect flavor balance when you need it!’;
First off, let’s talk about speed, because who has the time to boil and shred chicken every time you want **party food ideas**? Use a high-quality rotisserie chicken! It saves so much time, and honestly, those birds are cooked up so well already. Just shred it straight from the skin, and you’re basically halfway to serving these **pull apart chicken sliders**!
For those of you who like it a little milder, maybe you have some sensitive eaters, the magic is in the fat content. If you find the heat of the standard sauce is a bit much, just add an extra tablespoon of melted butter right into the chicken and sauce mixture before you spread it. That little bit of extra fat actually mellows out the spice nicely without diluting the flavor. I learned this trick when testing out various levels of heat for my mom.
And finally, for extra flavor insurance on those tops—which is my favorite part of the baking process, honestly—I often brush the tops of the buns not just with the ranch mixture, but a tiny bit more melted butter mixed with just a whisper of Worcestershire sauce before the poppy seeds go on. It helps them crisp up beautifully under that foil wrap. It’s these small additions that guarantee everyone asks for the recipe for your **spicy chicken sliders**!
If you’re looking for other ways to use up leftover chicken or want another weeknight hero, you simply must check out my easy forgotten chicken and rice recipe. It’s pure comfort!
Serving Suggestions for Your Buffalo Chicken Sliders
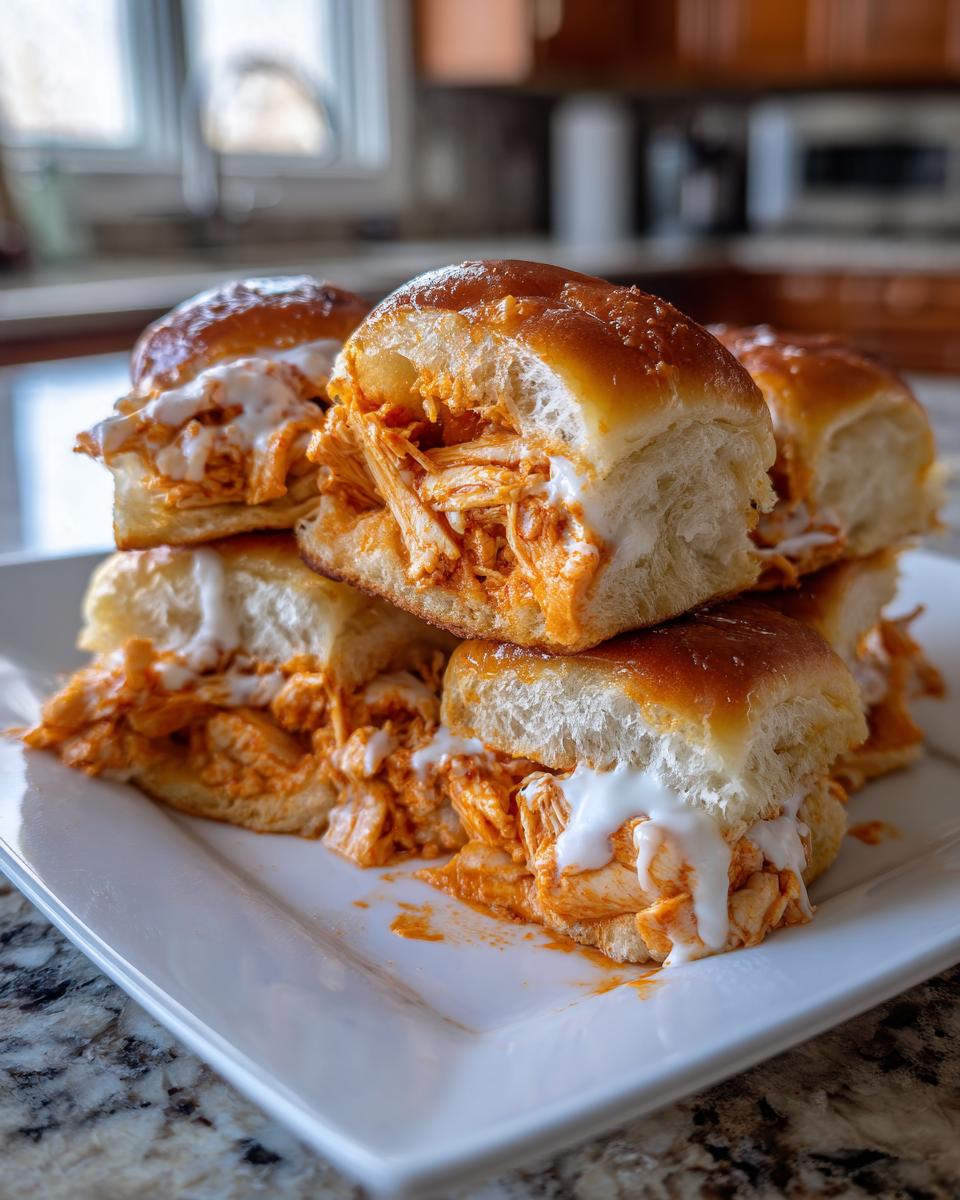
So, your **buffalo chicken sliders** are baked, golden brown, and smell absolutely heavenly. Now comes the best part of planning **game day appetizers**: what do you put next to them so the flavor explosion doesn’t overwhelm everything else? Since these little sandwiches are rich—packed with spicy sauce, creamy ranch, and melty cheese—you need sides that offer a cool, crisp counterpoint. That’s the secret to a balanced spread for any of your big **party food ideas**!
My favorite approach is to lean into those classic Buffalo wing accompaniments. You absolutely need a nice big bowl of celery and carrot sticks. They’re crunchy, fresh, and they give everyone a little break from the heat. Don’t stop there, though—you have to serve them with a good, thick blue cheese dressing or extra ranch for dipping. It’s non-negotiable, right?
If you are serving these as part of a larger meal rather than just an appetizer spread, I suggest something light. Forget heavy sides that compete with the richness of the sliders. A simple, bright, acidic salad works wonders. Think of something with lots of green lettuce, maybe some thinly sliced red onion, and a light vinaigrette dressing. It cuts right through the richness perfectly!
On game day, if you need another hearty but easy item to round out the table, I’m a huge fan of doubling down on the easy theme. Instead of making something complicated, just whip up a batch of soup. My one-pot taco soup uses shredded chicken, so if you used rotisserie chicken for the sliders, you’ve already got dinner covered for the week, which is a huge win in my book!
Storage and Reheating Instructions for Leftover Buffalo Chicken Sliders
What happens when you actually have leftovers? Honestly, that’s a rare event in my house when these are out, but it does happen, especially if I make a double batch for a big game day gathering! You want to treat these like any leftover chicken sandwich—handle them quickly and store them properly so you don’t end up with soggy sadness the next day.
The best way to store any extra **buffalo chicken sliders** is to keep them in the refrigerator. Just make sure you put them in an airtight container. They will last well for about three to four days, provided they haven’t sat out too long after the party ended. Keep in mind the Hawaiian rolls will start to absorb more of that moisture as time goes on, so they are definitely best eaten within 48 hours.
Now, when it comes to reheating, please, for the love of delicious, crispy buns, avoid the microwave if you can! The microwave is your enemy here because it turns those beautiful, slightly toasted tops into chewy sponges. We need texture back!
Instead, you’ve got two excellent options if you want to bring them back to life. The absolute best way is to use the oven. Pop those leftovers onto a baking sheet, maybe loosely tent them with foil—just enough to stop the tops from burning before the insides heat up—and bake at about 325°F (160°C) for about ten minutes. This melts that cheese again and brings some of the crispness back to the bun tops.
If you need just one slider heated up fast, the air fryer works wonders too! Just run it at about 300°F for maybe three or four minutes. It gives you that little bit of crispness back without turning everything into a dry hockey puck like the microwave tends to do. Enjoy those second-day spicy chicken sliders!
Frequently Asked Questions About These Spicy Chicken Sliders
I always get so many questions after people try these for the first time! It really shows how much everyone loves a good, easy appetizer. If you’re wondering how to turn this into a consistent hit for your routine, I’ve gathered the most common things folks ask regarding these **buffalo chicken sliders**.
Can I make these buffalo chicken sliders ahead of time?
Yes, you absolutely can make them ahead, which is perfect for people planning parties or looking for easy **quick dinner recipes** for later! The best way to prep them in advance is to assemble everything—the chicken mixture, the cheese, the whole works—but leave the ranch topping off. Cover the assembled sliders tightly and stick them in the fridge for up to 24 hours. When you’re ready to bake them, let them sit out on the counter for about 20 minutes to take the chill off, then brush on that ranch topping mixture and bake as directed. This keeps the buns from getting too dense before you bake them!
What is the best way to achieve perfectly melted cheese on the sliders with melted cheese?
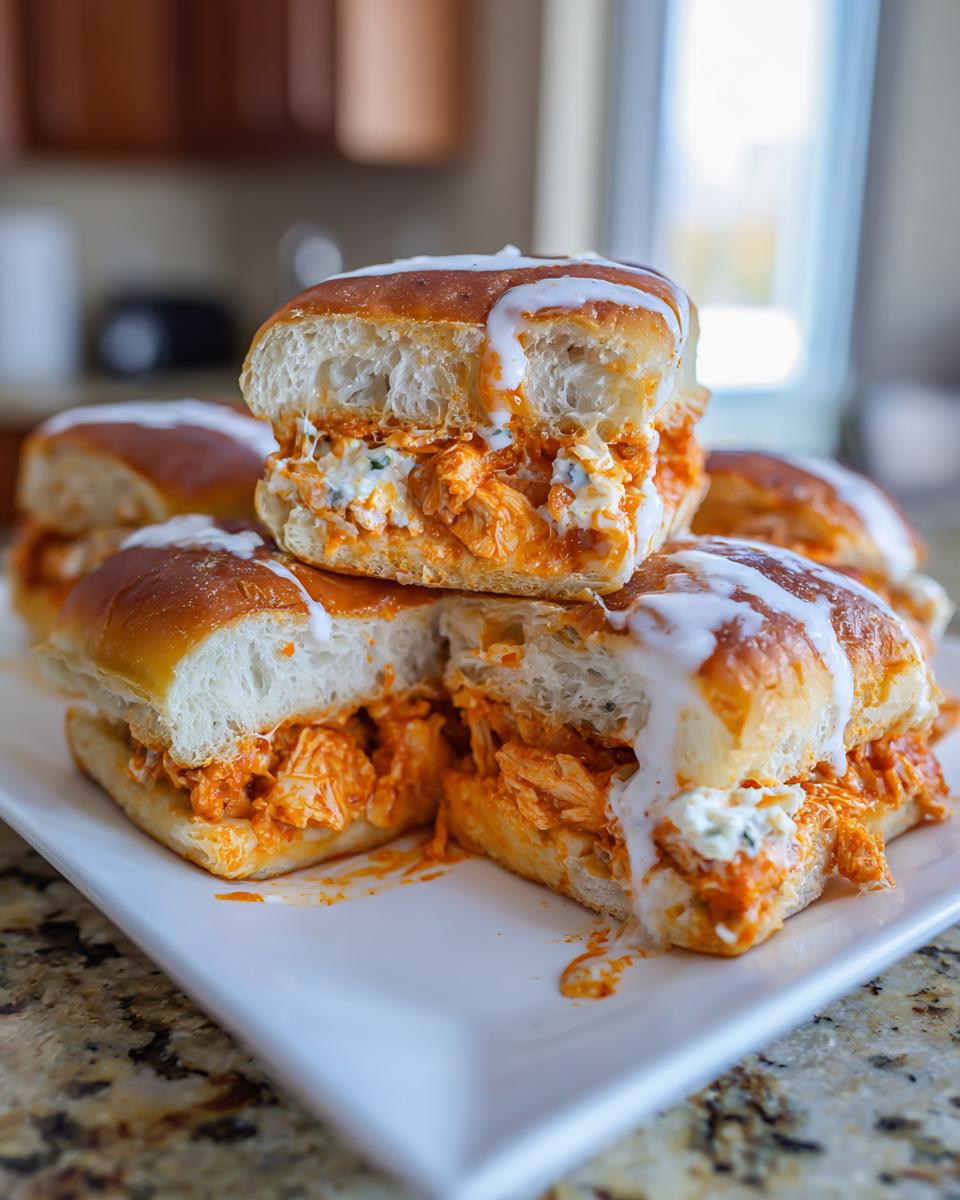
That gooey, stringy cheese pull is non-negotiable, right? When you are making these **sliders with melted cheese**, the initial bake under foil is your best friend. Remember in the instructions? Covering the pan tightly traps the steam released from the chicken and sauce. That steam acts like a little sauna for the cheese layer, making sure it melts completely and smoothly down into the **shredded chicken sliders** filling. Only take the foil off for the last few minutes so the top buns can brown up a little!
If you’re looking for more ways to streamline your cooking for busy evenings, make sure you check out my collection of quick weeknight dinners—we all need a few reliable heroes like this on rotation!
Seriously, if you try these and have anything left over, someone once told me they found a great reheating trick over on The Effortless Cook, so that might be worth checking out for your leftovers!
Nutritional Estimates for Your Game Day Appetizers
Okay, I know sometimes when we are making something this indulgent—spicy, cheesy, perfect party food—we just want to enjoy it without worrying too much, but I always try to give a rough idea of what’s in one of these wonderful little sandwiches. Please remember, since we are using different brands of rolls, different sauces, and depending on how heavy-handed you are with that ranch drizzle, these numbers are just estimates!
These estimates are based on serving one of the 12 **game day appetizers** exactly as laid out in the recipe. If you’re making a smaller batch, the numbers will shift, so adjust accordingly.
- Serving Size: 1 slider
- Calories: You’re looking at about 280 calories per slider. A solid little package of flavor!
- Fat: Roughly 14 grams total fat, with about 6 grams coming from saturated fat.
- Carbohydrates: Around 22 grams of carbs, mostly coming from those sweet rolls.
- Protein: A great punch of protein, usually hovering around 18 grams, thanks to all that chicken!
- Sugar: Quite low, around 5 grams, which means most of the sweetness is balanced out by the spice.
- Sodium: This is the high point, so be aware—around 650mg. That comes straight from the buffalo sauce and the seasoned rolls, so keep that in mind if you are tracking salt intake!
See? Not too bad for something that tastes like you spent all afternoon in the kitchen making ultimate **appetizer recipes for a crowd**. It’s proof that comfort food can be made relatively quickly and still pack a satisfying punch!
Share Your Experience Making These Buffalo Chicken Sliders
Whew! I hope you are just as excited as I am watching these **buffalo chicken sliders** bake up, filling your kitchen with that amazing spicy, cheesy aroma. Honestly, when you pull that foil off and the cheese is perfectly melted, it feels like you just won the Super Bowl of appetizers!
I want to hear all about it! Did you use the leftover rotisserie chicken trick? Did your crowd go wild for the ranch and poppy seed topping? Please, don’t keep your wins a secret! I absolutely love seeing how these recipes come to life in your homes. Scroll down and leave me a rating—five stars, if they disappeared in under five minutes, which I suspect they will!
Snap a quick picture when you serve them up, especially if you’ve got them plated next to some crisp celery sticks. Tag me on social media so I can see your wonderful spread! Hearing from you really helps me keep developing recipes that work for busy people like us who still want fantastic homemade flavor.
If you’re looking for another easy-to-share dish that’s guaranteed to be a hit at your next gathering, you should certainly take a peek at my recipe for one-pot bacon cheeseburger soup. Talk about next-level **party food ideas**!
Thanks for baking with me today—happy eating!
PrintEasy Baked Buffalo Chicken Sliders for Game Day
Make these simple, crowd-pleasing buffalo chicken sliders baked on soft rolls. They feature shredded chicken tossed in spicy buffalo sauce, topped with cheese and a ranch drizzle, perfect for parties or a quick dinner.
- Prep Time: 10 min
- Cook Time: 25 min
- Total Time: 35 min
- Yield: 12 sliders 1x
- Category: Appetizer
- Method: Baking
- Cuisine: American
- Diet: Vegetarian
Ingredients
- 1 (12 count) package slider rolls (Hawaiian rolls work well)
- 2 cups cooked, shredded chicken
- 1/2 cup buffalo sauce (like Frank’s RedHot)
- 1/4 cup unsalted butter, melted
- 1 tablespoon Worcestershire sauce
- 1 teaspoon garlic powder
- 1/2 teaspoon onion powder
- 1 cup shredded Monterey Jack or cheddar cheese
- 1/4 cup ranch dressing
- 1 tablespoon poppy seeds (optional, for topping)
Instructions
- Preheat your oven to 350°F (175°C). Lightly grease a 9×13 inch baking dish.
- In a medium bowl, combine the shredded chicken, buffalo sauce, melted butter, Worcestershire sauce, garlic powder, and onion powder. Mix until the chicken is fully coated.
- Slice the package of slider rolls horizontally, keeping the tops and bottoms connected in their original formation. Place the bottom half of the rolls into the prepared baking dish.
- Spoon the buffalo chicken mixture evenly over the bottom layer of rolls.
- Sprinkle the shredded cheese evenly over the chicken mixture.
- Place the top half of the rolls over the cheese layer.
- In a small bowl, whisk together the ranch dressing and poppy seeds (if using). Brush this mixture evenly over the top of the slider buns.
- Cover the baking dish tightly with aluminum foil.
- Bake for 15 minutes.
- Remove the foil and bake for another 5 to 10 minutes, or until the cheese is fully melted and the tops of the rolls are lightly golden brown.
- Slice the sliders apart between the rolls and serve immediately as a great party food idea.
Notes
- You can use rotisserie chicken for faster prep time.
- For extra flavor, brush the tops of the rolls with melted butter mixed with a dash of Worcestershire sauce before adding the poppy seeds.
- If you prefer a milder heat, reduce the amount of buffalo sauce slightly or add a tablespoon of melted butter to the chicken mixture.
Nutrition
- Serving Size: 1 slider
- Calories: 280
- Sugar: 5
- Sodium: 650
- Fat: 14
- Saturated Fat: 6
- Unsaturated Fat: 8
- Trans Fat: 0.5
- Carbohydrates: 22
- Fiber: 1
- Protein: 18
- Cholesterol: 55