
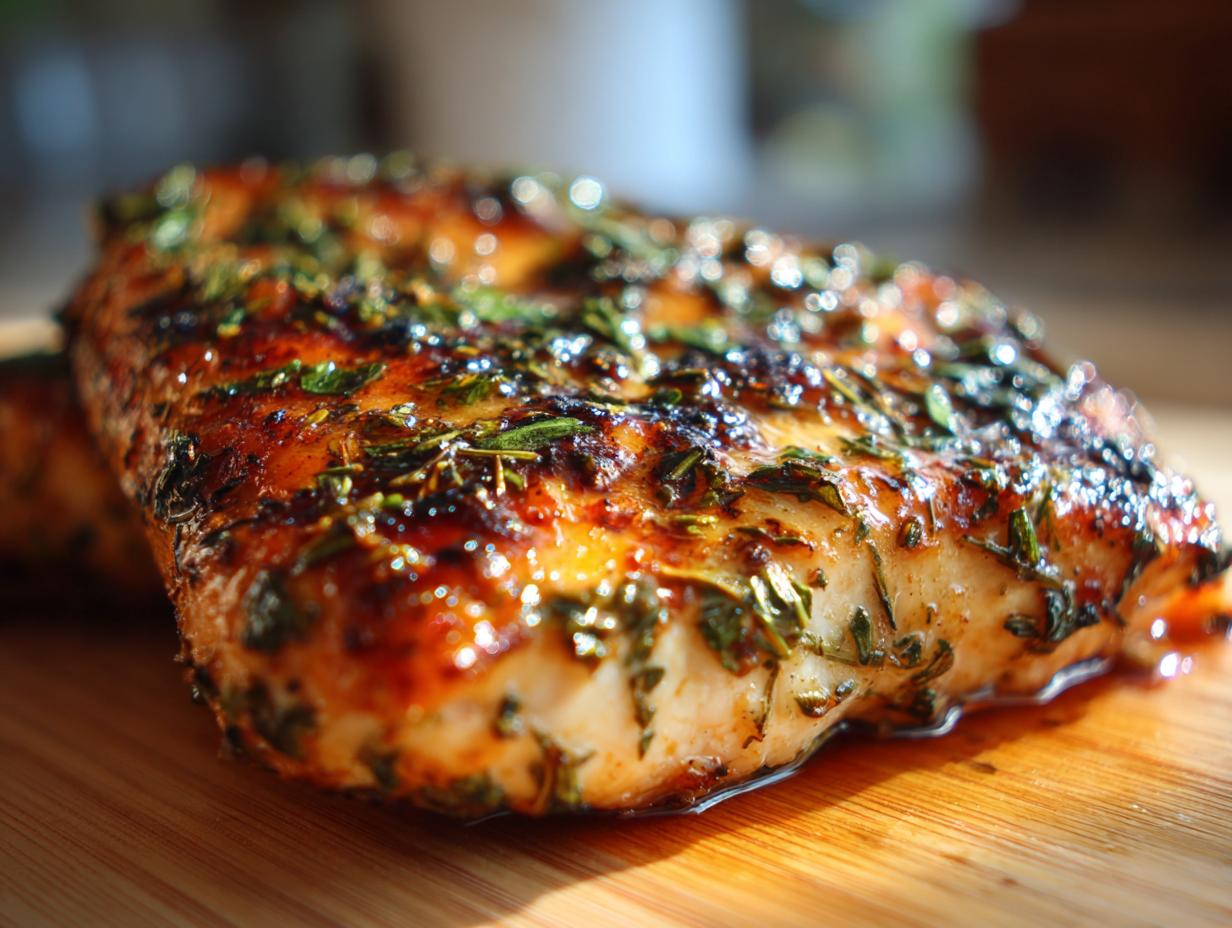
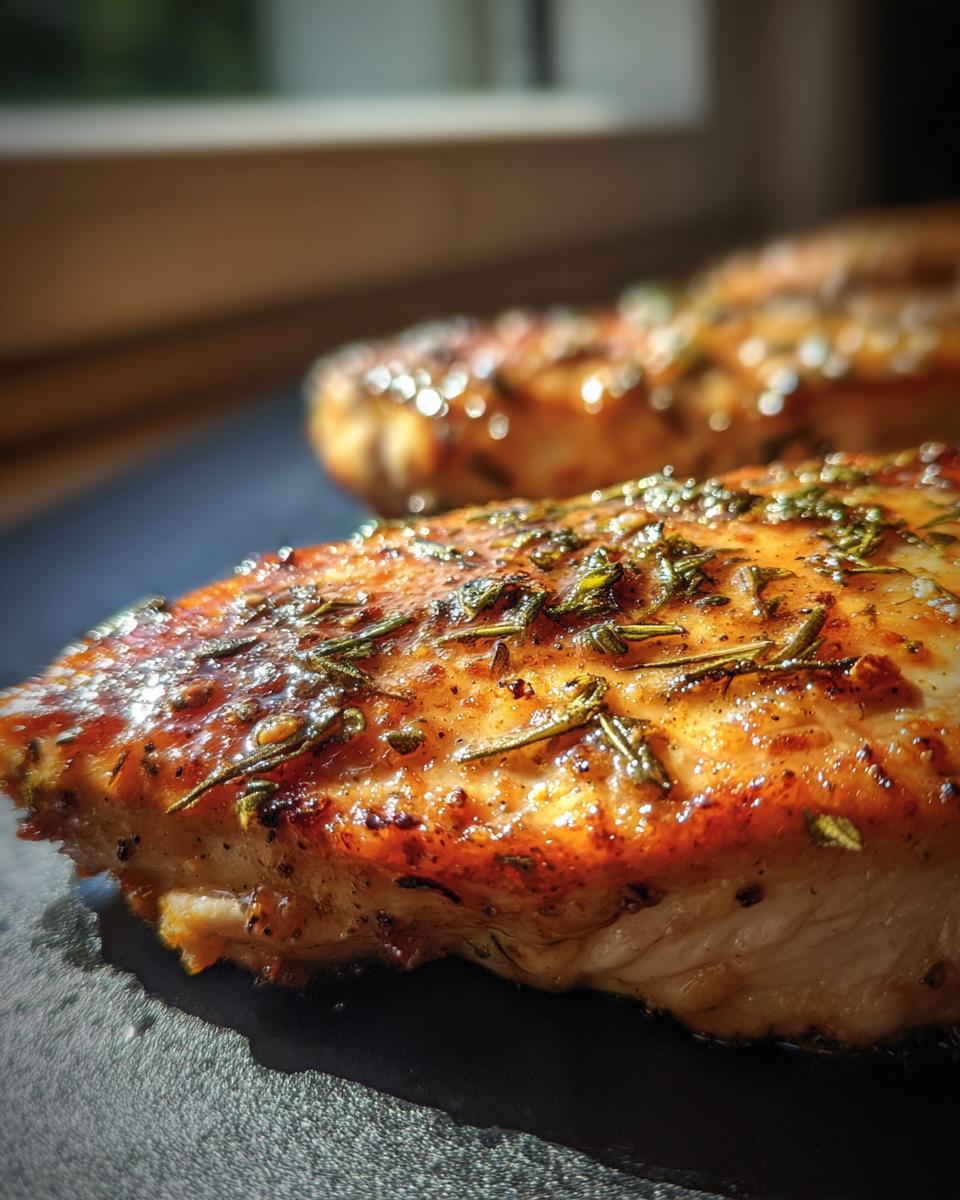
We’ve all been there, right? You’re craving a perfectly cooked chicken breast, maybe for a salad, a quick dinner, or to pack for lunch. But when you bite into it… it’s dry. Like, sawdust dry. It’s honestly the worst, and it’s probably happened to most of us at some point. That’s exactly why I fell head over heels for this brined herb chicken breasts recipe. It’s my absolute go-to for getting chicken breasts so tender and juicy, you’ll wonder if you’re even cooking them correctly (spoiler: you are!). It’s all about a simple, fuss-free herb brine that works like magic, a method I’ve tested countless times right here in my own kitchen, because at MDLATDMM Recipes, we believe delicious home cooking should be totally achievable.
- Why You'll Love These Brined Herb Chicken Breasts
- Understanding the Brine: The Secret to Juicy Chicken
- Gather Your Ingredients for Brined Herb Chicken Breasts
- Step-by-Step Guide to Perfect Brined Chicken Breasts
- Tips for Meal Prep Success
- Ingredient Notes and Substitutions
- Frequently Asked Questions about Brined Chicken
- Estimated Nutritional Information
- Share Your Brined Herb Chicken Breasts Creations!
Why You’ll Love These Brined Herb Chicken Breasts
Think dry, boring chicken breasts are your only option? Think again! This recipe is a game-changer because:
- It’s ridiculously easy – seriously, just a few simple steps!
- The herb brine infuses so much flavor, it’s amazing.
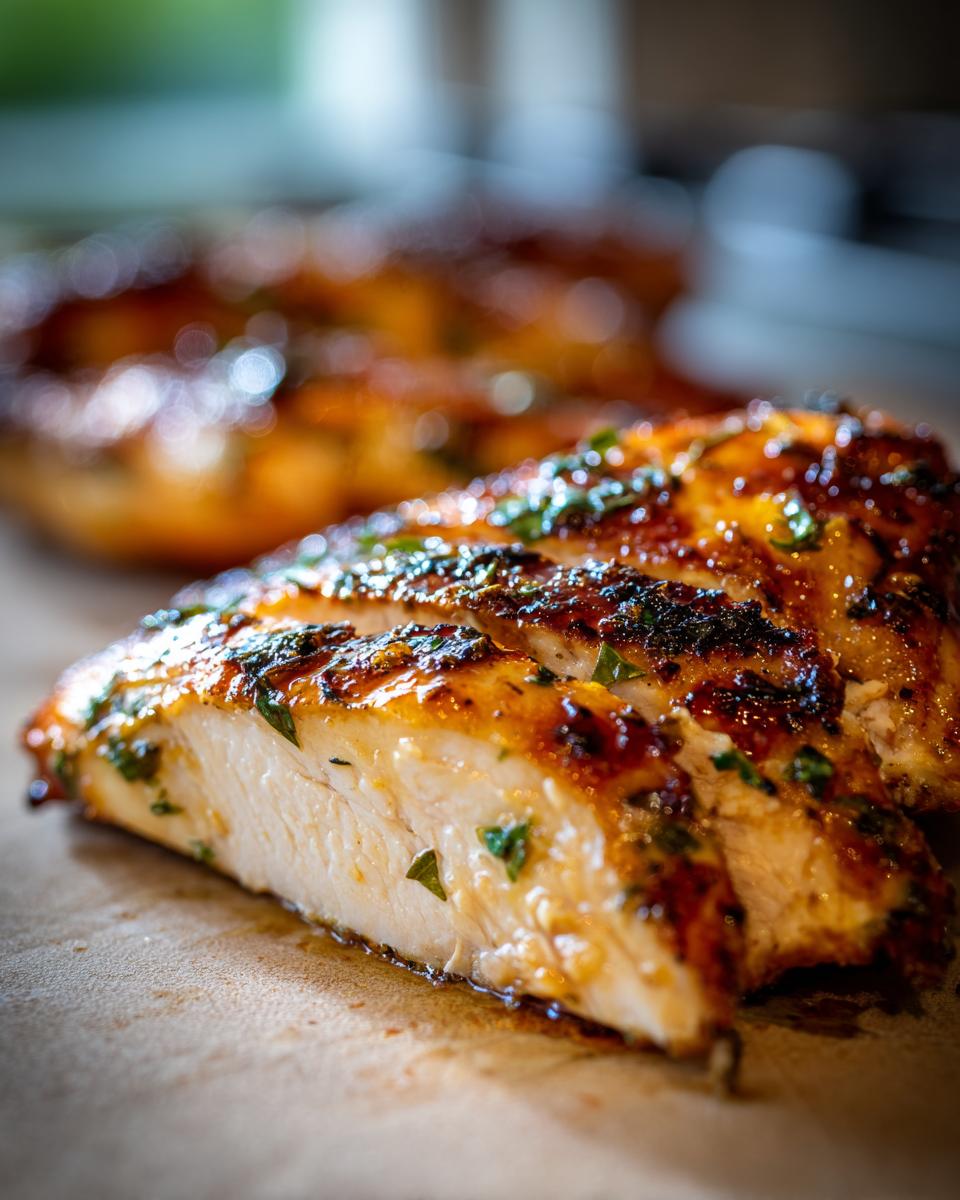
- You get super juicy, tender chicken every single time. No more dry chicken regrets!
- It’s crazy versatile; perfect for grilling, baking, or pan-searing.
Understanding the Brine: The Secret to Juicy Chicken
So, what’s the magic behind these ridiculously juicy brined herb chicken breasts? It’s all about the brine! It might sound fancy, but it’s super simple. Think of it like a flavor and moisture spa for your chicken. The salt in the brine does this amazing thing where it helps the chicken proteins relax and absorb more water. Plus, a little bit of sugar helps keep that moisture locked in and adds a touch of sweetness that you just can’t beat. I’ve found this specific ratio of salt to sugar really hits the sweet spot – it gives you incredible results without making the chicken taste too salty, which is something I learned firsthand after a few… *experiments* back in the day!
How Long to Brine Chicken Breasts
Okay, this is super important: you don’t want to leave your chicken in the brine for too long! For chicken breasts, I’ve found that about 30 minutes to an hour is the sweet spot. Any longer than that, and you risk making the chicken too salty or giving it a weird, spongy texture. So, set a timer and stick to it! Knowing exactly how long to brine chicken correctly is key to getting it perfectly tender and flavorful, not overpoweringly salty.
Gather Your Ingredients for Brined Herb Chicken Breasts
Alright, let’s get everything ready! Pulling this off is super straightforward because it uses stuff you probably already have, plus just a few little flavor boosters. For this recipe, you’ll need:
- Four boneless, skinless chicken breasts, about 6 to 8 ounces each. We want them to be a good size, you know?
- A quarter cup of kosher salt. I really prefer kosher salt here because its larger flakes dissolve nicely and give you a bit more control than table salt.
- Another quarter cup of regular granulated sugar. This little bit of sweetness balances the salt perfectly.
- Four cups of water, divided. We’ll use some for the brine and some to make sure everything dissolves easily.
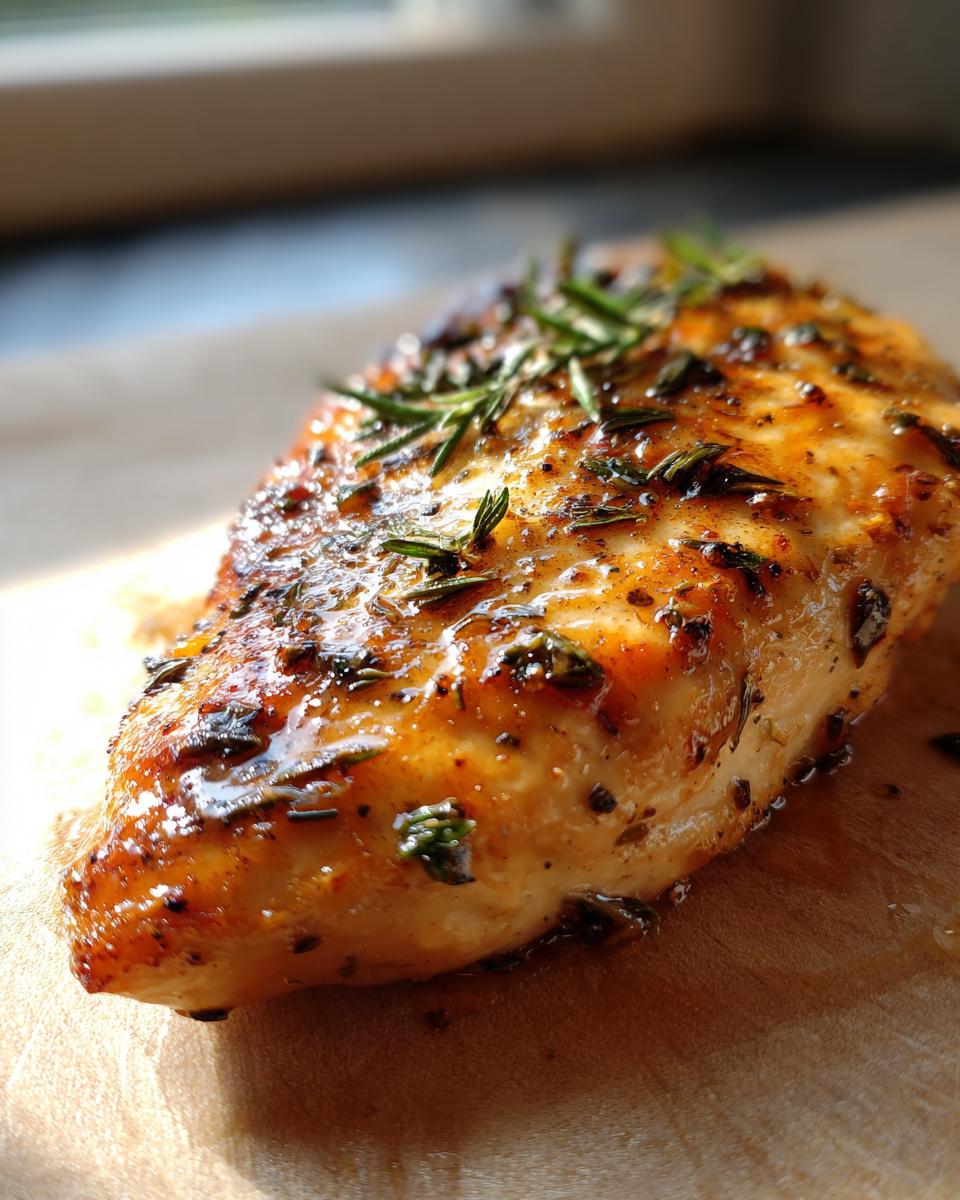
- Two sprigs of fresh rosemary. Oh, the smell!
- Four sprigs of fresh thyme. Thyme just adds this wonderful earthy note.
- Two cloves of garlic, smashed. Just give ’em a good thump with the side of your knife, that helps release all that yummy garlicky goodness.
- One tablespoon of black peppercorns. For a little bit of spice.
- And finally, just one tablespoon of olive oil for cooking.
See? Nothing too crazy, but these simple things come together to make something truly special. Having all your ingredients prepped and ready to go makes the whole process so much smoother, just like Maddie says is so important for home cooking!
Step-by-Step Guide to Perfect Brined Chicken Breasts
Okay, ready to make some seriously delicious chicken? It’s honestly so easy, you’ll be wondering where this recipe has been all your life! First things first, let’s get that simple brine mixed up. Grab a bowl, pour in about 2 cups of that water, and stir in your kosher salt and sugar until they’re totally dissolved. Then, toss in your fresh rosemary and thyme sprigs, those smashed garlic cloves, and the peppercorns. Give it all a good stir to get those flavors mingling. It’s like a little flavor party getting started!
Now, take your chicken breasts and pop them into a zip-top bag or a shallow dish. Pour that lovely herb-infused brine all over the chicken – make sure every piece is swimming in it! Pop it in the fridge. Remember, we’re talking 30 minutes to an hour, tops. Any longer than that, and trust me, the chicken can get a little too much of a good thing. Once it’s done its spa treatment, pull the chicken out and give it a really good rinse under cold running water. This is super important to get off any excess salt; it’s a trick I learned early on, much like the thoughtful home-cooking philosophy Maddie shares on the MDLATDMM About page. Then, pat those brined chicken breasts completely dry with paper towels. This step is absolutely crucial if you want a nice sear!
Choosing Your Cooking Method: Grilling, Baking, or Pan-Searing
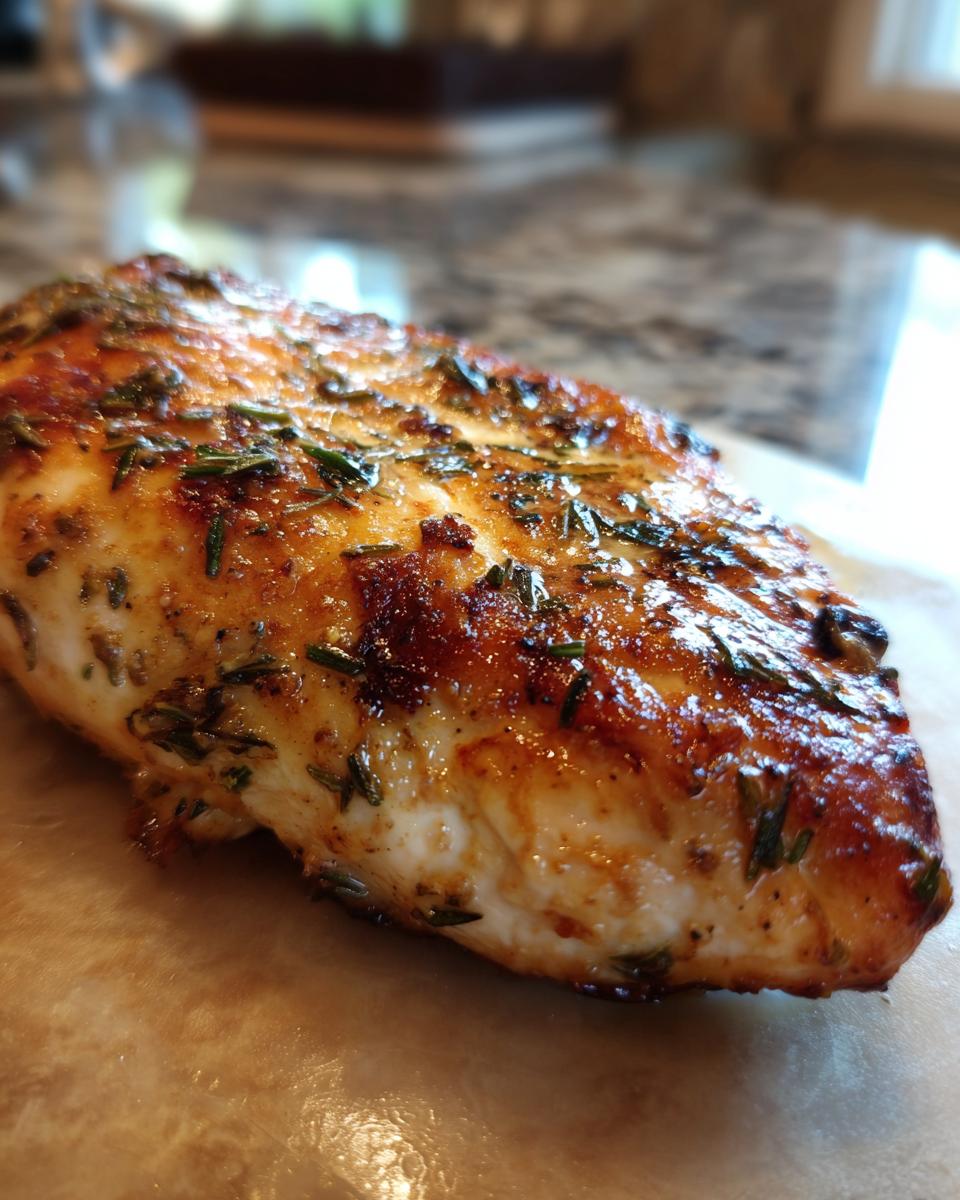
Now for the fun part – cooking! You’ve got options, and they’re all winners. For that smoky char, fire up your grill to medium-high heat and get ready for some delicious grilled chicken breasts. If you’re going for a hands-off approach, preheat your oven to 400°F (200°C) for some fantastic oven baked chicken breast. And for a quick, golden-brown sear that’s perfect any night of the week, get some olive oil shimmering in a skillet over medium-high heat for that classic pan seared chicken.
Achieving the Perfect Internal Temp 165F
No matter how you cook it, the golden rule is to hit an internal temperature of 165°F (74°C). This is super important for food safety, and it’s exactly where chicken breast is perfectly cooked – not a second more, not a second less! A meat thermometer is your best friend here; just pop it into the thickest part of the breast. We want that juicy, tender perfection that comes with hitting precisely 165F! It seriously takes all the guesswork out of it.
The Importance of Resting Your Brined Herb Chicken Breasts
Almost there! Once your brined herb chicken breasts hit that magic 165°F, take them off the heat and let them rest. Seriously, don’t skip this! Just cover them loosely with foil for about 5-10 minutes. This lets all those delicious juices redistribute throughout the meat, making every single bite incredibly moist and flavorful. It’s like a final little hug for your amazing work!
Tips for Meal Prep Success
Life gets crazy, right? That’s why I absolutely love making a big batch of this brined herb chicken breasts on a Sunday and having delicious, juicy chicken ready all week long for lunches or quick dinners. It totally fits with the whole MDLATDMM philosophy of making home cooking totally doable, even when you’re swamped. Just cook up a few batches following the steps, let them cool completely before packing them into airtight containers. They’ll stay wonderfully moist and delicious in the fridge for about 3 days. Seriously, throwing together a salad or a quick wrap with pre-cooked chicken is such a lifesaver! It’s my secret weapon for sticking to healthy eating when things get hectic, just like the ideas you find in our quick weeknight dinners section!
Ingredient Notes and Substitutions
Sometimes you’re halfway through a recipe and realize you’re missing something! Don’t sweat it. For this brined herb chicken breasts recipe, most ingredients are pretty standard, making it super accessible. But if you can’t find kosher salt, regular table salt will work in a pinch, just use a little less – maybe 3 tablespoons instead of 1/4 cup, since it’s finer. And fresh herbs are amazing, but if you only have dried, use about a teaspoon of dried rosemary and thyme. I’ve totally done that when I’ve run out!
We smash the garlic cloves to help release their flavor into the brine, but if you forget or don’t have a heavy knife, just mince them finely. The goal is just to get that great garlic essence into the liquid. It’s all about making home cooking work for *you*, no matter what your pantry looks like, which is something I really connect with from Maddie’s philosophy at MDLATDMM Recipes!
Frequently Asked Questions about Brined Chicken
Got questions about getting your chicken super juicy? I get it! It’s totally normal to have a few as you get the hang of things:
Can I brine chicken breasts for longer than an hour?
Honestly, I wouldn’t recommend it for chicken breasts! While a longer brine can be great for larger cuts like turkeys or whole chickens, chicken breasts are pretty delicate. If you leave them in the chicken brine for too long, they can end up absorbing too much salt and actually become tough and unpleasantly salty, which is the opposite of the juicy chicken breast we’re going for. The 30-minute to 1-hour window is perfect for infusing flavor and moisture without overdoing it.
What if I don’t have fresh herbs for the brine?
No fresh herbs? No problem! You can absolutely use dried herbs in your chicken brine. Just remember that dried herbs are more potent than fresh. I’d suggest about 1 teaspoon of dried rosemary and 1 teaspoon of dried thyme for this recipe. You can add them right into the brine mixture with the salt and sugar. They might not give quite the same vibrant color, but they’ll still add fantastic flavor!
How do I *really* know if my brined chicken breasts are cooked through?
This is a super important one for food safety! The best way is definitely using an instant-read meat thermometer. It’s a kitchen game-changer! You want to check the thickest part of the chicken breast, and it should register 165°F (74°C). If you don’t have a thermometer, you can cut into the center – the juices should run clear, and the meat should be opaque white with no pink. But seriously, a thermometer makes it foolproof!
Can I use this brining method for boneless, skinless thighs?
You sure can! Chicken thighs are a bit more forgiving than breasts, so you could probably brine them for a little longer, maybe up to 2 hours. They’re also a bit fattier, which means they tend to stay super juicy no matter what. But this herb brine works beautifully on them too, adding a lovely flavor that complements the richness of the thigh meat!
Estimated Nutritional Information
Just so you know, the nutrition info can wiggle around a bit depending on exactly how big your chicken breasts are and what kind of oil you use. But as a general idea, this recipe comes out to about 200 calories, 35g of protein, 5g of fat, and just 3g of carbs per serving. That’s pretty darn good for something so flavorful and satisfying, right?
Share Your Brined Herb Chicken Breasts Creations!
I just LOVE hearing from you all! Have you tried making these brined herb chicken breasts yet? I’d be thrilled if you left a comment below, shared your experience, or even gave the recipe a star rating. If you make it, tag me on social media or send me a pic through the contact page – I can’t wait to see your delicious creations!
PrintBrined Herb Chicken Breasts
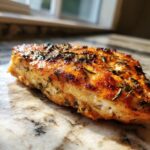
Learn how to make ultra-juicy chicken breasts using a simple herb brine. This recipe provides clear instructions for grilling, baking, or pan-searing, along with tips for meal prepping.
- Prep Time: 10 min
- Cook Time: 25 min
- Total Time: 35 min
- Yield: 4 servings 1x
- Category: Main Course
- Method: Grilling, Baking, or Pan-Searing
- Cuisine: American
- Diet: Vegetarian
Ingredients
- 4 boneless, skinless chicken breasts (about 6–8 ounces each)
- 1/4 cup kosher salt
- 1/4 cup granulated sugar
- 4 cups water, divided
- 2 sprigs fresh rosemary
- 4 sprigs fresh thyme
- 2 cloves garlic, smashed
- 1 tablespoon black peppercorns
- 1 tablespoon olive oil (for cooking)
Instructions
- In a bowl, dissolve the salt and sugar in 2 cups of water. Add the rosemary, thyme, garlic, and peppercorns. Stir to combine.
- Place the chicken breasts in a resealable bag or shallow dish. Pour the brine mixture over the chicken, ensuring it is fully submerged.
- Refrigerate for 30 minutes to 1 hour. Do not brine for longer than 1 hour, as the chicken can become too salty.
- Remove chicken from brine and rinse thoroughly under cold water. Pat dry completely with paper towels. This step is crucial for achieving a good sear.
- Preheat your grill, oven, or skillet. If grilling, preheat to medium-high heat. If baking, preheat oven to 400°F (200°C). If pan-searing, heat 1 tablespoon of olive oil in a skillet over medium-high heat.
- Cook chicken until the internal temperature reaches 165°F (74°C). Grilling time is typically 6-8 minutes per side. Baking time is usually 20-25 minutes. Pan-searing takes about 5-7 minutes per side.
- Let the chicken rest for 5-10 minutes before slicing and serving.
Notes
- For meal prep, cook multiple batches and store cooled chicken in airtight containers in the refrigerator for up to 3 days.
- You can customize the herbs to your preference. Sage or marjoram also work well.
- Ensure you rinse the chicken thoroughly after brining to remove excess salt.
Nutrition
- Serving Size: 1 chicken breast
- Calories: 200
- Sugar: 2g
- Sodium: 400mg
- Fat: 5g
- Saturated Fat: 1g
- Unsaturated Fat: 4g
- Trans Fat: 0g
- Carbohydrates: 3g
- Fiber: 0g
- Protein: 35g
- Cholesterol: 100mg