
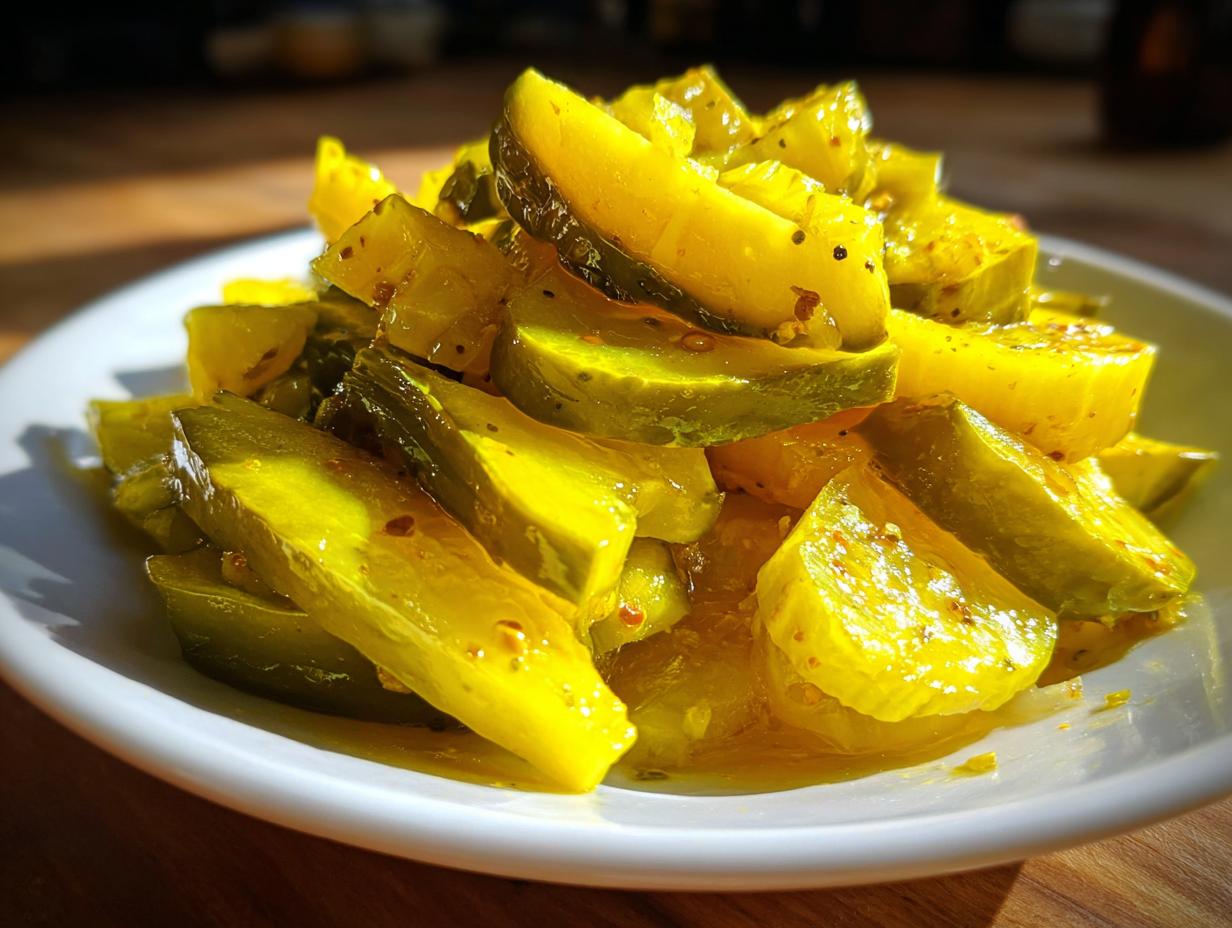
Oh, that perfect bite! You know the one—that bright, sweet, and tangy snap you get from a truly great pickle? For me, that flavor instantly throws me back to my grandmother’s pantry. When life in the city felt too much, going back to those simple, preserved flavors like a good **bread and butter pickle** recipe brought me right back home. I spent ages messing around with measurements, trying to capture that nostalgic taste, but honestly, the simplicity won out. This recipe for the **Best Bread and Butter Pickles** uses the refrigerator method, which is perfect for beginners. Forget intimidating water baths for now; this is how we get **easy homemade pickles** quickly, tasting like they’ve been marinating for weeks instead of days.

- Why This Bread and Butter Pickles Recipe is Your New Go-To
- Ingredients for the Best Bread and Butter Pickles
- How To Make Bread And Butter Pickles: Step-by-Step Instructions
- Quick Refrigerator Pickles vs. Bread and Butter Canning Recipe
- Tips for Old Fashioned Bread and Butter Pickles Success
- Small Batch Pickles Recipe Adjustments for Bread and Butter Pickles
- Serving Suggestions for Your Homemade Bread and Butter Pickles
- Frequently Asked Questions About Bread and Butter Pickles
- Storing Your Homemade Preserves Cucumbers
- What to Do Next After Making Bread and Butter Pickles
Why This Bread and Butter Pickles Recipe is Your New Go-To
I promise you, once you try this batch of **bread and butter pickle**, you won’t go back to store-bought. This recipe is the one I hand out to everyone because it just works, even when you think you’re terrible at preserving. It’s definitely my favorite for getting that classic sweet and tangy profile every single time.
- It’s truly beginner-friendly—no fancy equipment needed!
- We guarantee a fantastic, satisfying crunch.
- That signature **sweet tangy pickle** flavor develops beautifully.
You can see other folks wrestling with canning right away, but we’re keeping it simple here. If you want to master the basics first, this quick batch is for you. Check out how others are enjoying their simple recipes here: Great Bread and Butter Pickles.
Achieving the Perfect Crunchy Pickles
Nobody wants a limp pickle, right? That’s where the first step in our technique comes in, and it’s pure science working for us. That 2-hour soak in salt water might feel unnecessary, but trust me on this one. It pulls excess moisture right out of the cucumbers and onions before they even see the vinegar!
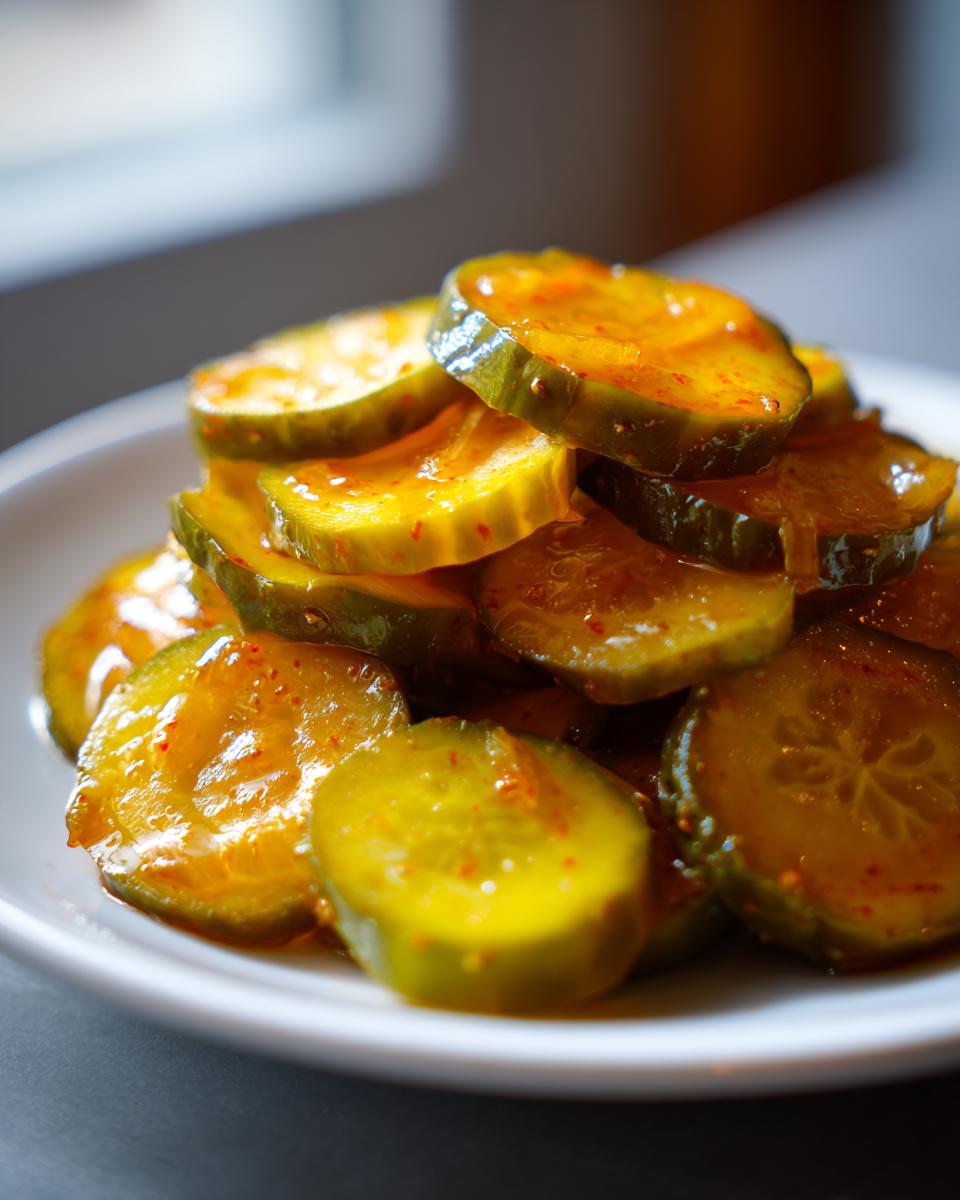
It’s this essential dewatering process that locks in the structure, making sure you end up with those wonderfully **crunchy pickles** we all crave.
Ingredients for the Best Bread and Butter Pickles
Okay, gathering your supplies is half the fun! When you make **bread and butter pickles**, the quality of your **cucumbers onions pickling** stock really shows. For this **easy homemade pickles** recipe, you need a good solid stack of fresh produce and, of course, the spices that give us that gorgeous color and fragrance. Remember, this is the base for our **sweet tangy pickles**, so don’t skimp on the good stuff!
You will need:
- 3 pounds pickling cucumbers, which need to be thinly sliced—evenness matters here!
- 2 medium yellow onions, also thinly sliced.
- 1/4 cup canning salt (or pickling salt—don’t use table salt, trust me!).
- 4 cups cold water for the pre-soak.
See how straightforward that is? Now for the part that makes all the difference in our **bread and butter pickle** flavor!
Vinegar Pickle Brine Components
This is where the magic simmers. The balance of sweet and sour is what defines this style. When you boil this up, your whole house is going to smell incredible—it’s such a comforting smell!
- 3 cups white vinegar (good old standard works perfectly).
- 2 cups granulated sugar (measuring this accurately is super important!).
- 1 teaspoon ground turmeric (hello, beautiful color!).
- 1 teaspoon celery seed.
- 1 teaspoon mustard seed.
- 1/2 teaspoon ground cloves.
- 1/2 teaspoon ground allspice.
Take a peek at how others use their ingredients for their classic jars over at making homemade favorites.
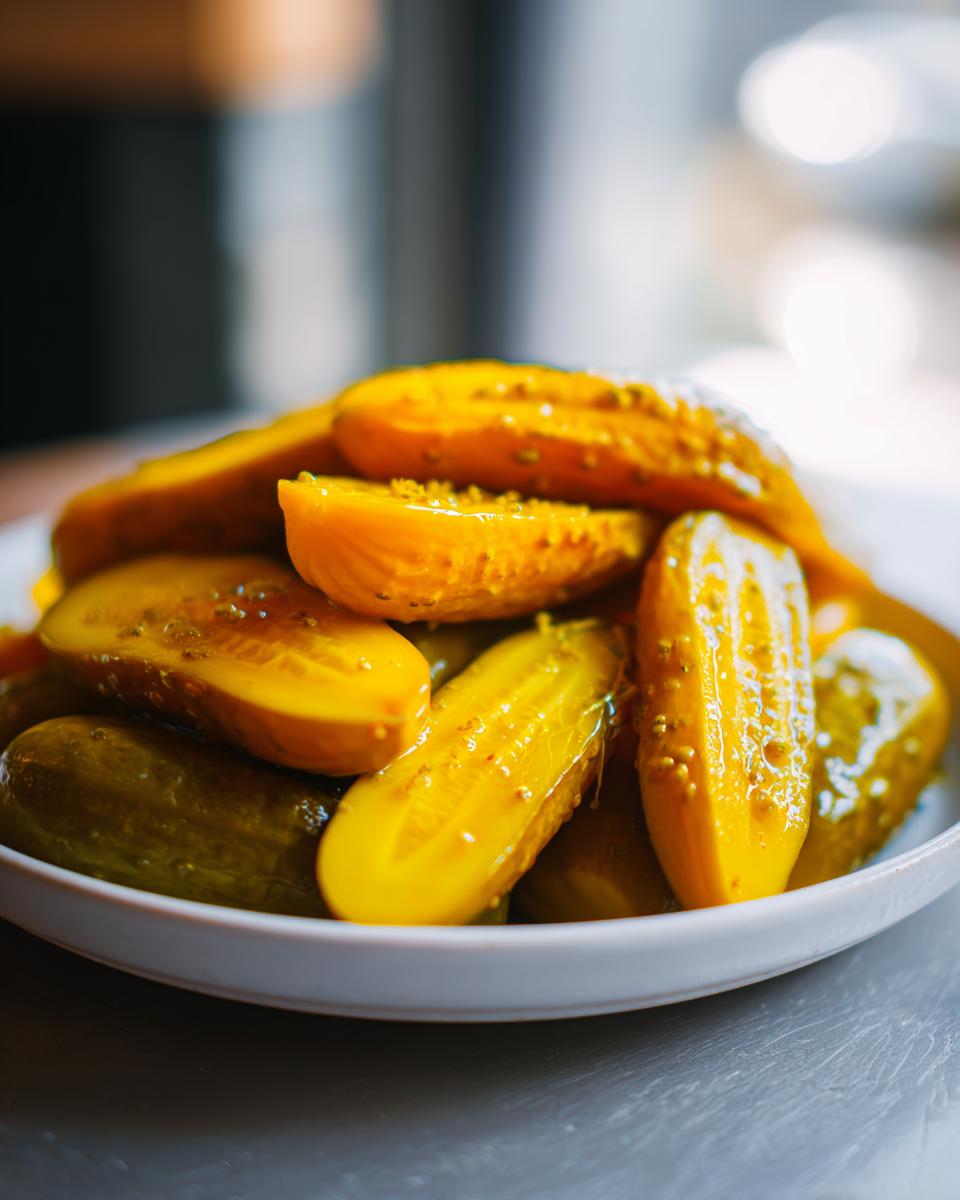
How To Make Bread And Butter Pickles: Step-by-Step Instructions
Alright, let’s get down to the fun part—turning those crisp cukes into perfect **bread and butter pickle** spears! Honestly, the procedure of making **easy homemade pickles** is so satisfying. Follow these steps exactly, especially the initial soaking phase, and I can guarantee you’ll be proud of what comes out of your jar. It takes a little time, but this recipe is so worth it for that classic sweet and sour balance. You get that amazing flavor development!
We start by getting the cucumbers and onions to release all that extra water. That’s why the salt soak is our first big task. Then, we make the flavorful **vinegar pickle brine**, which is super quick, and finally, we just combine everything! While you’re waiting for the brine to heat up, think about what you’ll serve them with—they’re incredible on our garlic naan bread later!
You can peek at the full step-by-step guide others use for these great preserves here at Refrigerator Bread and Butter Pickles.
The Salt Soak for Crunchy Bread and Butter Pickles
This is non-negotiable if you want crispness! Mix your sliced **cucumbers onions pickling** mix with the salt and water (Step 1). Now, you must let that sit for 2 to 3 hours. This step is the secret sauce for getting those heavenly **crunchy pickles** because it compacts the vegetables. After the soak, you need to rinse them super well under cold water until every last bit of salt residue is gone! Drain them very thoroughly before moving on—I mean it!
Preparing the Sweet Tangy Pickles Brine
While your cucumbers are relaxing in the salt bath, turn your attention to the saucepan. Combine your white vinegar, granulated sugar, turmeric, and all those wonderful spices we listed earlier (Step 4). Heat this mixture over medium heat, stirring constantly until that sugar is completely dissolved. Seriously, keep stirring until it looks perfectly clear again! Once it’s boiling and clear, take it right off the heat. That hot, aromatic liquid is what transforms your humble cucumbers into fantastic **sweet tangy pickles**.
Quick Refrigerator Pickles vs. Bread and Butter Canning Recipe
So, here’s the deal with storage, which is a big question for anyone making **bread and butter pickle** batches for the first time. Since this exact recipe is for **quick refrigerator pickles**, there’s no need to worry about sterile canning procedures right now! You seal the jars, let them cool, and pop them straight into the fridge. They’re ready relatively fast, but you must eat them within about a month for that peak, vibrant crunch.
Now, if you harvest way too many **cucumbers onions pickling** supplies and want these to last way longer, you absolutely can switch this to a **bread and butter canning recipe**! The brine itself is high-acid, which is great for preserving, but you’d need to follow proper water bath canning rules—you know, the whole sterilization and sealing routine. If you want to research that safety aspect, I always recommend reading up on general preserving guidelines first, like how to maintain the health of your starter cultures, because safety is key!
If you are leaning toward canning, you can find solid procedures over here too: Bread and Butter Canning Recipe help.
Tips for Old Fashioned Bread and Butter Pickles Success
So, you’ve done the soak, you’ve poured the brine, and now you’re staring at the jars waiting for them to become magic. I totally get it! Building that perfect **sweet tangy pickle** flavor takes just a tiny bit of patience after the initial assembly. This is where moving from just following steps to actually *cooking* kicks in. Trust me, these little tips are what turned my decent batches into the **Best Bread and Butter Pickles** I serve now.
The first thing you must nail is consistency in your produce. Be militant about that slicing! Whether you use a mandoline or your sharpest knife, every cucumber slice and onion piece needs to be uniform. If one is thick and the next is paper-thin, the brine hits them differently, and that’s a recipe for uneven texture. You want every single piece to absorb that vinegary goodness equally.
Flavor development isn’t instant, either. While you *can* sneak a taste after 12 hours, I really, really push waiting for a full 24 hours before digging in. That extra time allows the sugar and spices to truly penetrate the vegetables. If you are looking for that deep, rich taste often associated with **Old Fashioned Bread and Butter Pickles**, try boosting the celery seed just a touch—maybe an extra half teaspoon! That earthy note really grounds the sweetness.
If you’re dedicated to capturing that true old-fashioned comforting taste, you should check out how others handle their traditional recipes for guidance. I found some great insights on replicating that classic profile here: Old fashioned bread and butter pickles are so worth the wait!
And speaking of old-fashioned comfort, if you love that slower, traditional approach to cooking, you might enjoy seeing how I approach things like my moist date nut bread recipe!
Small Batch Pickles Recipe Adjustments for Bread and Butter Pickles
I get it—sometimes you don’t have bushels of cucumbers on hand, or maybe you just aren’t sure how you’ll feel about eating twenty jars of pickles by winter! If you need a **Small Batch Pickles Recipe**, don’t panic. You don’t have to re-engineer the whole flavor profile for a smaller batch of **bread and butter pickle** goodness.
The easiest thing to do is simply cut every single ingredient amount in half. That goes for the cucumbers, the onions, the salt, the water, everything in the main veggie prep phase! This keeps your volume manageable for a standard fridge space. If you’re making half the veggies, you make half the required brine, too.
And here’s the reassurance: the ratio of sugar, vinegar, and spices stays the same! We are maintaining the integrity of the **sweet tangy pickle** flavor by cutting everything proportionally. If you’re playing around with smaller quantities, that’s certainly less stressful than handling a giant, boiling pot of brine. You can see how this works for an even smaller yield over here: Small-batch bread and butter pickles talk.
When you are trying to scale down recipes, I always think about how I handle baking. If you’re ever worried about ratios, just picture scaling down my pumpkin banana bread—it’s all about keeping those core proportions intact!
Serving Suggestions for Your Homemade Bread and Butter Pickles
Now that you have jars of the **best bread and butter pickles**, the fun really begins! These aren’t just for sad lunchtime sandwiches; they are mandatory for a proper backyard cookout. Think about piling them high on a juicy burger or serving them alongside pulled pork at your next BBQ. They add that essential bright pop that cuts through rich, savory foods perfectly.
Honestly, I can eat them straight out of the jar while making something else! They are fantastic laid over toasted slices of our ham and cheese sliders. Trust me, they make everything taste better!
Frequently Asked Questions About Bread and Butter Pickles
I know when I first started canning—or rather, *not* canning, in our case—I had a million little questions buzzing around my head. It’s always better to ask than to end up with a weird batch, right? Here are the top things folks ask me about making these **bread and butter pickles**.
How long do refrigerator pickles last once made?
Because we skip the full canning process here, these **quick refrigerator pickles** are made for fresher eating! They are best enjoyed within about one month for that ultimate crunch. They will last longer—maybe six weeks—but the texture starts to soften a bit after that first month mark. Keep them tightly sealed in the coldest part of your fridge.
Can I use regular table salt if I don’t have canning salt?
Oh, this is a classic kitchen substitution question! Try to stick to canning salt or pickling salt if you can get it. Regular table salt usually contains anti-caking agents that can make your brine cloudy. Plus, it often has added iodine, which can sometimes give your beautiful **sweet tangy pickles** an off-flavor. If it’s an absolute emergency, you *can* use plain table salt, but expect less clarity in your brine.
Why aren’t my bread and butter pickles crunchy?
If you are wondering about your crunch factor, nine times out of ten, it comes down to that crucial pre-soak! Did you let the **cucumbers onions pickling** mixture sit for the full 2-3 hours in the salt water? And just as important: Did you rinse every speck of salt off afterward? If salt residue remains, it can interfere with the crisping process. Also, check your cucumber age—the freshest, smallest pickling cucumbers always give you the best results for **crunchy pickles**.
Speaking of simple, reliable recipes, if you ever need a foolproof side dish, my easy cornbread recipe is a perfect pairing for these pickles!
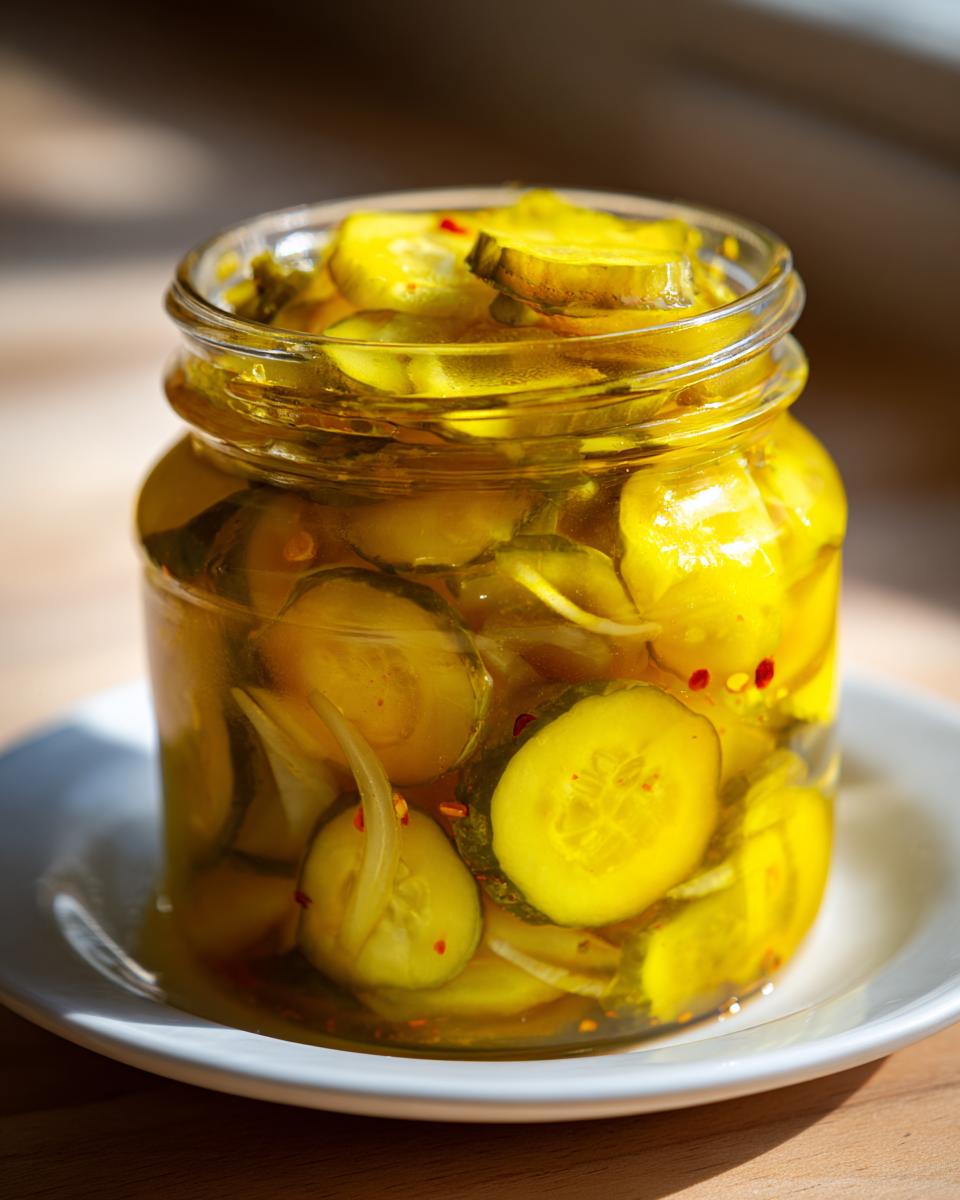
Storing Your Homemade Preserves Cucumbers
Since we went for the magic of **quick refrigerator pickles** instead of full canning, storage is super simple, but very important for safety and flavor! Keep your beautiful **bread and butter pickle** jars in the fridge right away. Since this is a no-cook setup, aim to enjoy those **homemade preserves cucumbers** when they are at their absolute best—that means within about four weeks for the crispest bite!
What to Do Next After Making Bread and Butter Pickles
Whew! We did it! Now that you have these incredible jars brimming with **bread and butter pickle** goodness cooling on the counter, I want to hear all about it! Don’t just walk away now; tell me how they look! Did you use sweet onions or yellow? Did you manage to get that perfect brine clarity?
Please pop down to the comments below and let me know what rating you’d give this recipe. Did it live up to the hype? I live for hearing about your successes because that’s how I know my **easy homemade pickles** recipe is working for everyone!
If you tried this recipe and loved the sweet tang, I hope you’ll share the love. Tell me what you’re planning to serve your batch with next—I’m always looking for new sandwich inspiration! And if you need something totally different to bake up next, you absolutely have to try my favorite recipe for chewy chocolate chip cookies when you’re done pickling!
PrintEasy Bread and Butter Refrigerator Pickles for Beginners
Make classic, sweet, and tangy bread and butter pickles at home with this simple refrigerator method. This beginner recipe yields crunchy pickles perfect for sandwiches and snacks.
- Prep Time: 3 hours 15 min
- Cook Time: 10 min
- Total Time: 3 hours 25 min
- Yield: About 4 pints 1x
- Category: Side Dish
- Method: Refrigerator Pickling
- Cuisine: American
- Diet: Vegetarian
Ingredients
- 3 pounds pickling cucumbers, thinly sliced
- 2 medium yellow onions, thinly sliced
- 1/4 cup canning salt (or pickling salt)
- 4 cups cold water
- For the Brine:
- 3 cups white vinegar
- 2 cups granulated sugar
- 1 teaspoon ground turmeric
- 1 teaspoon celery seed
- 1 teaspoon mustard seed
- 1/2 teaspoon ground cloves
- 1/2 teaspoon ground allspice
Instructions
- Combine the sliced cucumbers, onions, canning salt, and cold water in a large bowl. Stir well.
- Let the cucumbers and onions sit in the salt brine for 2 to 3 hours. This draws out moisture, helping keep your pickles crunchy.
- Drain the cucumbers and onions completely. Rinse them thoroughly under cold running water for several minutes to remove excess salt. Drain again very well.
- While the vegetables are draining, prepare the pickling brine. In a medium saucepan, combine the white vinegar, granulated sugar, turmeric, celery seed, mustard seed, ground cloves, and ground allspice.
- Bring the brine mixture to a boil over medium heat, stirring until the sugar dissolves completely. Remove the brine from the heat.
- Pack the drained cucumbers and onions tightly into clean pint or quart jars (this is a refrigerator pickle recipe, so no water bath canning is required unless you choose to process them).
- Pour the hot brine over the cucumbers and onions in the jars, leaving about 1/2 inch of headspace at the top.
- Tap the jars gently to release any trapped air bubbles. Wipe the rims clean.
- Seal the jars with lids and bands if canning, or simply cover if storing in the refrigerator.
- Allow the pickles to cool to room temperature, then transfer the jars to the refrigerator. Wait at least 24 hours before eating for the best flavor development. These homemade preserves cucumbers are best eaten within one month for maximum crunch.
Notes
- For the crunchiest pickles, slice your vegetables evenly and ensure you rinse all the salt off after the soaking period.
- If you want to process these for shelf stability (Bread and Butter Canning Recipe), follow standard water bath canning procedures for high-acid foods after sealing the jars.
- For an Old Fashioned Bread and Butter Pickles flavor, you can slightly increase the amount of celery seed.
Nutrition
- Serving Size: 3 slices
- Calories: 45
- Sugar: 10
- Sodium: 350
- Fat: 0
- Saturated Fat: 0
- Unsaturated Fat: 0
- Trans Fat: 0
- Carbohydrates: 11
- Fiber: 0
- Protein: 0
- Cholesterol: 0