

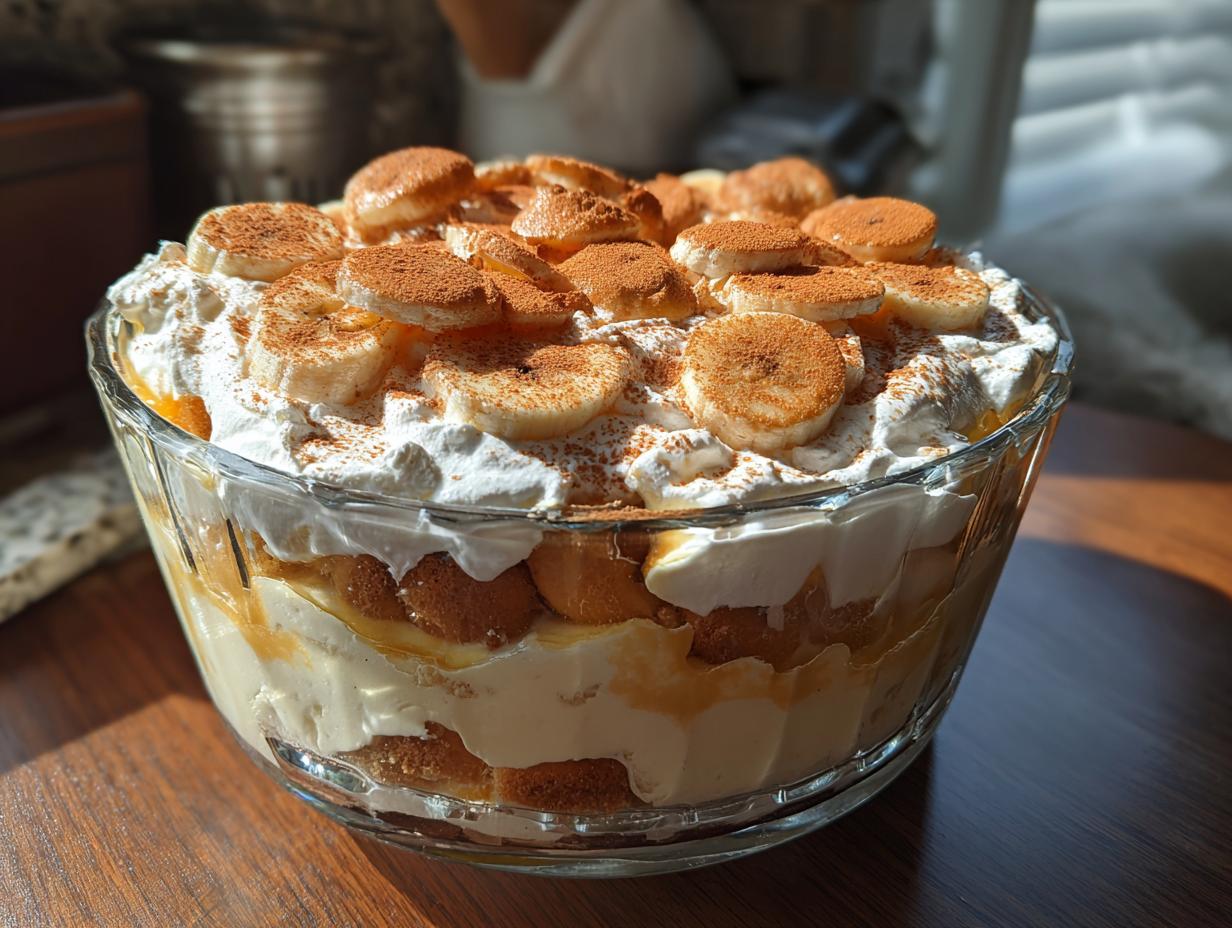
If you’re looking for a dessert that wraps you up like a warm blanket on a humid Southern evening, you need to stop what you’re doing and make this banana pudding. It tastes like home, like memory, like everything good about gathering around a table. This recipe is my secret weapon for true old fashioned Southern banana pudding; we are making the decadent custard completely from scratch here, no instant mixes allowed! When I was feeling disconnected back in the city, recreating this dessert was my bridge back to my roots. It’s simple, it’s honest, and it proves that the very best connection to your heritage often comes through honest, good food made with care. You can find more of my favorite delicious dessert recipes here on the site!
- Why This Old-Fashioned Southern Banana Pudding is the Ultimate Comfort Food
- Ingredients for Your Ultimate Banana Pudding
- Mastering the Scratch Pudding: Steps for Creamy Banana Pudding Dessert
- Assembling Your Classic Banana Pudding Recipe Layers
- Tips for the Best Homemade Banana Pudding Success
- Variations and Serving Suggestions for Your Banana Pudding
- Storage and Reheating Instructions for This Traditional Banana Dessert
- Frequently Asked Questions About Banana Pudding
- Nutritional Estimates for Your Creamy Banana Dessert
Why This Old-Fashioned Southern Banana Pudding is the Ultimate Comfort Food
Listen, I know how easy it is to cheat with that blue box of instant mix, but trust me, this scratch version is what transforms a dessert into an heirloom. This is hands-down the best homemade banana pudding you’ll ever taste because the flavor is deep and rich. We aren’t chasing convenience here; we are chasing that authentic, deeply satisfying texture. The result is a truly creamy banana dessert where the vanilla wafers melt just right, creating a sliceable, spoonable dream.
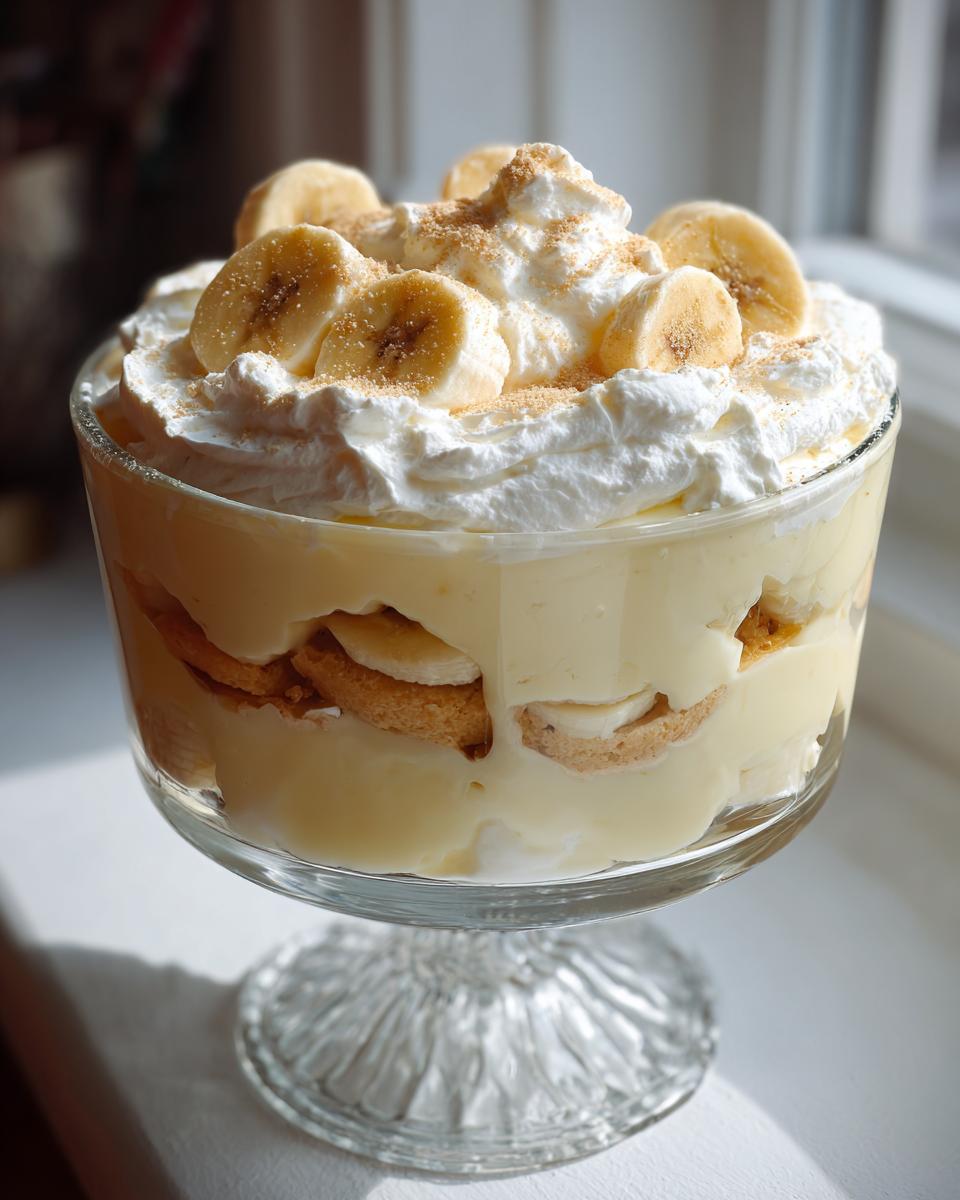
You can find my recipe for pumpkin banana bread if you need another cozy bake, but nothing beats this pudding for sharing.
Flavor Profile: Traditional Banana Pudding vs. Quick Versions
When you use egg yolks and whole milk cooked down on the stove, you get real, true custard. It has a subtle richness that you just can’t replicate with powders and artificial flavors. Those instant mixes taste thin and overly sweet, frankly. Making pudding from scratch is the difference between a fleeting snack and a true Southern comfort experience.
Perfect for Crowds: Making the Best Banana Pudding for Gatherings
This recipe easily yields eight generous servings, making it an easy crowd pleasing dessert. The best part? It actually tastes better the next day! It travels beautifully to potlucks or family dinners because it sets up perfectly in the fridge. You don’t have to worry about it sweating or falling apart like some baked goods do.
Ingredients for Your Ultimate Banana Pudding
When you’re making something this special, you need to respect the ingredients, and I mean *truly* respect them! For this recipe, make sure you have one cup of granulated sugar and a quarter teaspoon of salt ready. You’ll blend those with a quarter cup of cornstarch, which is what gives us that incredible thickness. Don’t forget 1 1/2 cups of whole milk—we need that fat content for richness. You’ll also need two large egg yolks, which must be lightly beaten before tempering. Finally, grab two tablespoons of unsalted butter and a solid teaspoon of vanilla extract to stir in at the end. Oh, and about four large, ripe bananas, sliced neatly about a quarter inch thick, plus that one box of vanilla wafers!
Mastering the Scratch Pudding: Steps for Creamy Banana Pudding Dessert
This is where we transform simple pantry staples into that luxurious, creamy banana pudding dessert you dream about. Making the pudding from scratch takes maybe ten minutes longer than opening a box, but the payoff is huge! First, grab your medium saucepan. I always mix the sugar, cornstarch, and salt together really well *before* I even think about adding the milk. This prevents those awful lumps! Once they’re buddies, whisk in the milk slowly until it’s totally smooth. Then, we cook it over medium heat, and I mean stir constantly—don’t walk away! You have to watch it closely until it gets thick and starts to actually boil. Let it boil for a full minute, still stirring, to cook out that starchy taste. Now for the bit that intimidates everyone: the eggs. You’ll see them added after the brief cooling period.
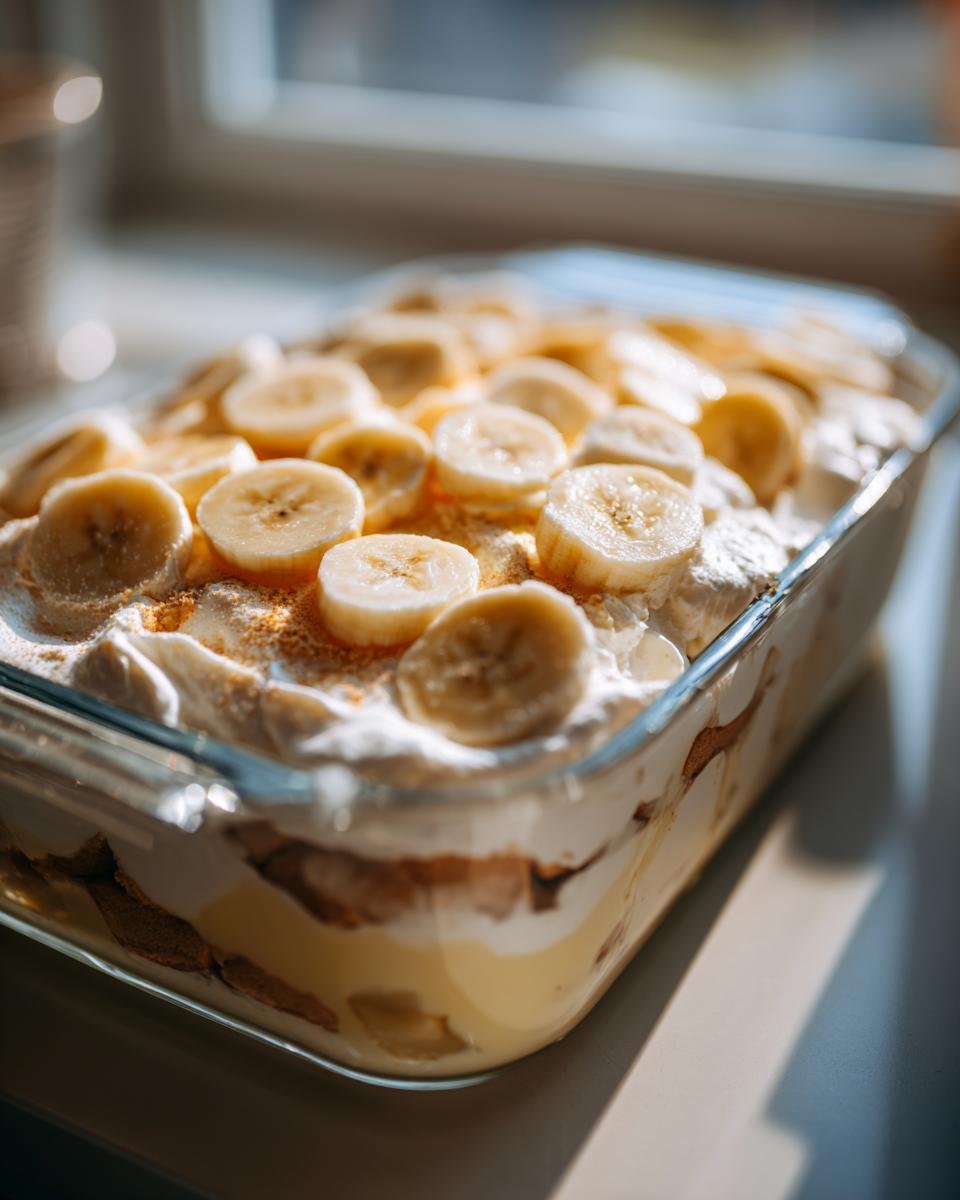
If you want that silky texture—the kind you’d find in the best homemade banana pudding—you need to treat those yolks right. If you’re interested in learning more about getting silky stovetop fillings perfect, I wrote a whole deep-dive on classic custard pie filling secrets that applies here too!
The Crucial Step: Tempering Egg Yolks for Smooth Banana Pudding
If you dump your hot milk right into your egg yolks, you end up making scrambled eggs floating in sweet milk. Nobody wants that! Tempering just means slowly warming up those yolks so they don’t seize up. While you’re whisking the yolks in a separate little bowl, dribble in about half a cup of that hot milk mixture—super slowly, like a tiny rain shower. Keep whisking the yolks like your life depends on it! Once they’re warmed up, pour that tempered egg mixture back into the main pot. Return it to low heat for just a minute or two until it thickens right up again. My tip? When it coats the back of a spoon perfectly and you can draw a clean line through it with your finger, it’s done. Then, whisk in your butter and vanilla right off the heat!
Assembling Your Classic Banana Pudding Recipe Layers
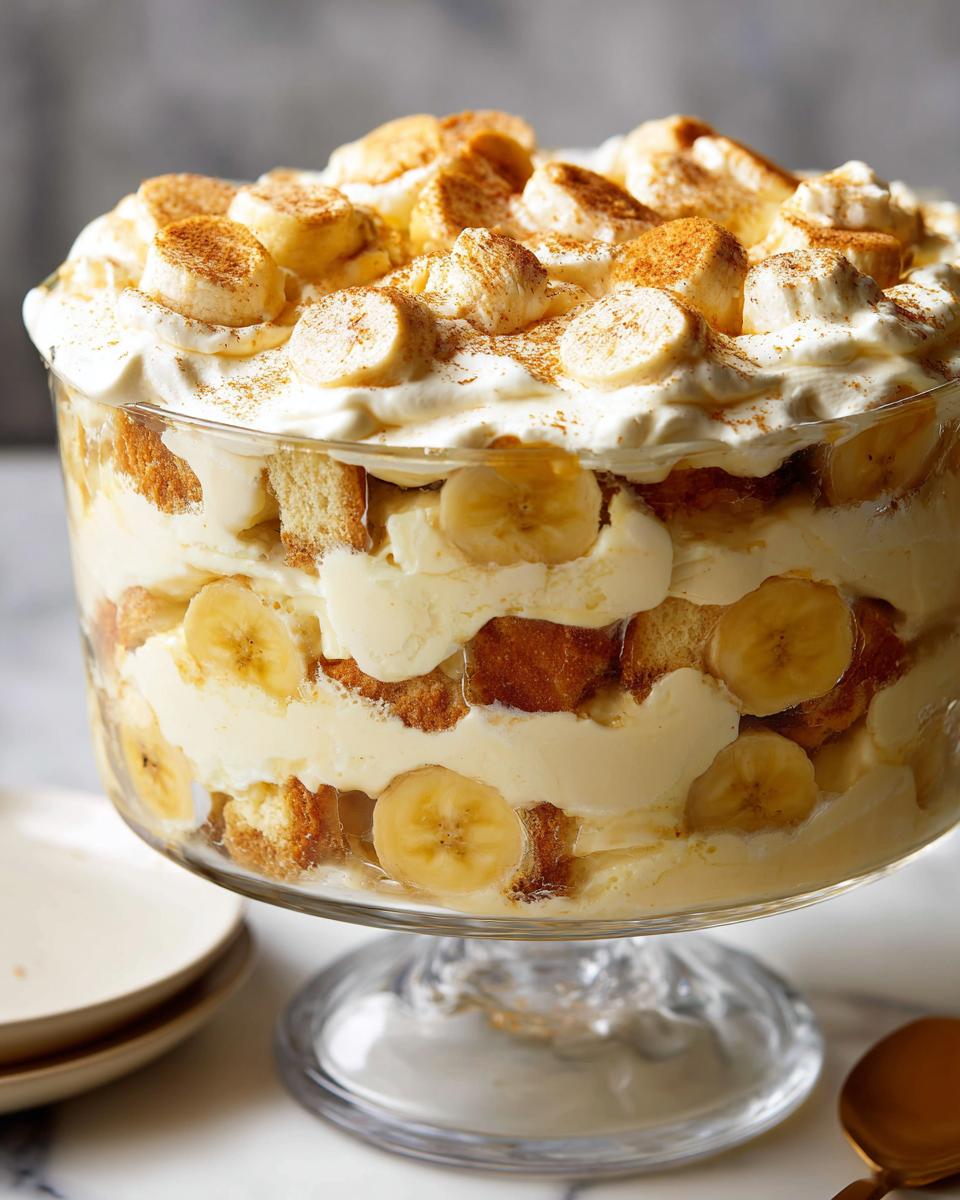
Okay, the pudding is cooked, it’s cooled down just a bit, and now we get to the fun part: the layering! I always use a big, gorgeous glass bowl when I make this so everyone can see those beautiful layers of vanilla wafer banana pudding; it just looks so much more appealing that way. You want to start by laying down a single, nice, crisp layer of those wafers on the bottom. Don’t be shy—make sure they cover the whole base!
Next up are your lovely sliced bananas. Spread them out nicely over the wafers. Then, pour about a third of your warm, rich pudding evenly right over those bananas. This is the magic step! You need to cover those wafers completely so they have time to soak up all that creamy goodness overnight. Repeat that process two more times, making sure your layers alternate perfectly: wafers, bananas, pudding. Finish the whole beautiful dessert with one final, proud layer of wafers right on top.
Tips for the Best Homemade Banana Pudding Success
If you want this to be the best homemade banana pudding anyone has ever served at a gathering, there are just two non-negotiable rules you must follow. Following these little pieces of wisdom separates a good dessert from an unforgettable one. Don’t worry, they are super easy, but they require just a tiny bit of planning!
Make Ahead Pudding Dessert Timing and Chilling
You absolutely cannot rush the chilling time on this dessert. I know you want to sneak a spoonful the second you finish layering, but you have to resist! We need a minimum of four hours for the magic to happen. Honestly though, overnight is when this banana pudding truly shines. That resting time is what allows the vanilla wafers to absorb moisture from the custard and transform completely into that soft, vanilla-cake-like layer. If you skip this, you just have soggy cookies sitting next to firm pudding, and that’s not what we’re aiming for!
Quick Variation: Semi-Homemade Banana Pudding Copycat
Look, I preach scratch cooking, and I mean it for the *ultimate* version above. But sometimes life moves fast, right? If you’re in a real bind, I totally get wanting that quick fix! In the notes, I briefly mentioned how you can lean into a semi-homemade approach, almost like a Magnolia Bakery banana pudding copycat. Instead of making the pudding from scratch, just prepare two boxes of instant vanilla pudding, but use slightly less milk—maybe three cups total—so it sets up extra thick. Then stir in a teaspoon of pure vanilla extract. It’s fast, it’s still delicious, but it won’t have that deep, egg-y luxury of the traditional version. You can find more ideas for make ahead pudding dessert strategies on my site!
Variations and Serving Suggestions for Your Banana Pudding
This banana pudding is wonderful as a big, beautiful centerpiece in a glass bowl, but sometimes you need something a little more controlled, especially for a party where everyone is milling around. If you want to streamline serving, try making individual banana pudding cups recipe style! Just use small mason jars or little clear dessert cups and follow the exact same layering sequence. They look fancy, but they are just as simple to assemble. Believe me, little individual portions just disappear faster at a gathering!
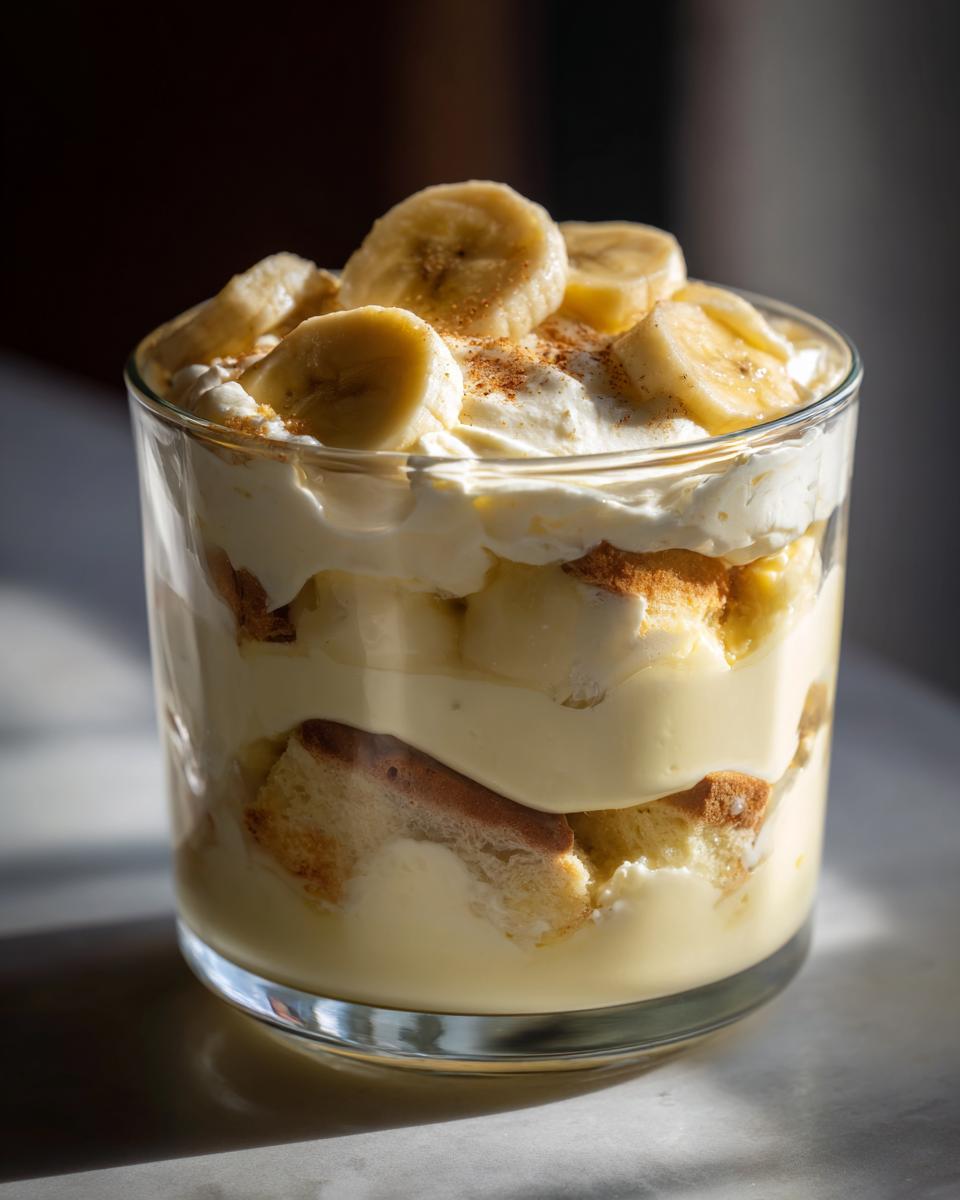
Also, if you are looking for a showstopper presentation instead of the classic final wafer layer, you can pivot toward a baked topping. You can absolutely make up a quick meringue topping—just egg whites whipped stiff with a little sugar—and spread that over the top layer of pudding and wafers before baking it briefly until the peaks turn golden brown. It changes the texture completely, but it’s a gorgeous alternative to the no-bake version. For other exciting twists, check out how I use apples in my apple cinnamon muffins!
Storage and Reheating Instructions for This Traditional Banana Dessert
Since this traditional banana dessert relies on the magic of chilling, storage is straightforward but important. You absolutely must keep this pudding refrigerated, always. Cover the container tightly with plastic wrap—make sure the wrap doesn’t squash the top layer because we want to serve it chilled and looking pretty! The texture will actually continue to soften as it sits, which is what we want for those tender wafers.
Now, a quick word on reheating: don’t even try it! This isn’t a casserole; it’s a custard and fresh fruit dessert. Heating it destroys the creamy structure and turns your lovely bananas mushy. Just pull it straight from the fridge when you’re ready to serve up another scoop. If you need more make-ahead ideas, I’ve got a whole guide on make ahead pudding dessert strategies!
Frequently Asked Questions About Banana Pudding
I know you probably have a few lingering questions after diving into this scratch recipe! That’s totally fine. When you’re committing to making the ultimate banana pudding, you want to get it right the first time. Here are a few things folks always ask me about making this southern classic.
Can I make this banana pudding without baking anything?
That’s the beauty of this dessert! Technically, yes, this is a no-bake assembly, even though we cook the custard base on the stove. You aren’t putting the final layered dessert into the oven, which is why it falls into that wonderful category of no bake banana pudding favorites. It gets all its flavor and texture just by chilling! If you’re really looking to minimize heat entirely, you can always pivot to the semi-homemade option I mentioned earlier. That version uses instant pudding mixes, so zero stovetop time is needed, though you miss out on that rich, cooked custard depth!
What makes this an ‘Old Fashioned Southern Banana Pudding’?
This is probably the most important distinction! An old fashioned Southern banana pudding is defined by using scratch-cooked custard—that means whisking egg yolks into whole milk until it thickens into a heavy cream. We aren’t just shaking up a box of instant powder! We use real vanilla wafers, let them soak up that rich flavor, and use real, ripe bananas. If you see a recipe calling for whipped topping or instant pudding, it’s usually a variation of the easy potluck style, but this recipe right here is the real deal, built on tradition. For more incredibly simple, non-oven treats, check out my guide to easy dessert ideas!
Nutritional Estimates for Your Creamy Banana Dessert
Now, nobody makes this glorious banana pudding because they are counting macros, right? But if you are curious, here are the standard estimates based on the full recipe yielding 8 servings, calculated per one-cup serving size. Remember, this is just an estimate because how much butter soaks into those wafers is a wild variable! We’re looking at about 380 calories, 12 grams of fat, 65 grams of carbohydrates, and 5 grams of protein per scoop. It does have about 45 grams of sugar, that’s for sure, but it’s the best sugar you’ll ever eat. You can find more of my simple dessert ideas here!
PrintThe Ultimate Old-Fashioned Southern Banana Pudding
Make the best homemade banana pudding from scratch. This recipe delivers creamy, traditional Southern comfort in every layer, using real cooked pudding instead of instant mixes.
- Prep Time: 20 min
- Cook Time: 10 min
- Total Time: 30 min
- Yield: 8 servings 1x
- Category: Dessert
- Method: Stovetop Cooking and Chilling
- Cuisine: Southern American
- Diet: Vegetarian
Ingredients
- 1 cup granulated sugar
- 1/4 cup cornstarch
- 1/4 teaspoon salt
- 1 1/2 cups whole milk
- 2 large egg yolks, lightly beaten
- 2 tablespoons unsalted butter
- 1 teaspoon vanilla extract
- 4 large ripe bananas, sliced about 1/4 inch thick
- 1 box (11 ounces) vanilla wafers (Nilla Wafers)
Instructions
- Make the Pudding: In a medium saucepan, whisk together the sugar, cornstarch, and salt. Gradually whisk in the milk until smooth.
- Cook the Pudding: Place the saucepan over medium heat. Cook, stirring constantly, until the mixture thickens significantly and comes to a boil. Boil for one minute, still stirring. Remove from heat.
- Temper the Eggs: In a small bowl, whisk the egg yolks. Slowly drizzle about 1/2 cup of the hot milk mixture into the yolks while whisking constantly. This prevents the eggs from scrambling.
- Finish the Pudding: Pour the tempered egg mixture back into the saucepan with the remaining hot pudding. Return to medium-low heat and cook, stirring constantly, for 1 to 2 minutes until the pudding thickens again. Do not boil.
- Stir in Flavor: Remove the pudding from the heat. Stir in the butter and vanilla extract until fully combined and smooth.
- Cool Slightly: Press plastic wrap directly onto the surface of the pudding to prevent a skin from forming. Let it cool at room temperature for about 20 minutes.
- Assemble the Pudding: Select a large glass bowl or individual serving cups for layering. Arrange a single layer of vanilla wafers on the bottom. Top the wafers with a layer of sliced bananas. Spoon about one-third of the pudding evenly over the bananas.
- Repeat Layers: Repeat the layering process two more times: wafers, bananas, and pudding. Finish with a final layer of wafers on top.
- Chill: Cover the bowl loosely with plastic wrap (do not let it touch the top layer if possible) and refrigerate for at least 4 hours, or preferably overnight. Chilling allows the wafers to soften into a cake-like texture.
- Serve: Serve your creamy banana dessert cold.
Notes
- For a quicker, semi-homemade version similar to Magnolia Bakery style, substitute the scratch pudding with two boxes of instant vanilla pudding mix, prepared according to package directions but using only 3 cups of milk total, and adding 1 teaspoon of vanilla extract.
- Use firm, ripe bananas; overly soft bananas will break down too much during chilling.
- If you prefer a meringue topping, skip the final wafer layer and top the pudding with baked meringue before chilling.
Nutrition
- Serving Size: 1 cup
- Calories: 380
- Sugar: 45
- Sodium: 210
- Fat: 12
- Saturated Fat: 6
- Unsaturated Fat: 6
- Trans Fat: 0
- Carbohydrates: 65
- Fiber: 2
- Protein: 5
- Cholesterol: 65