
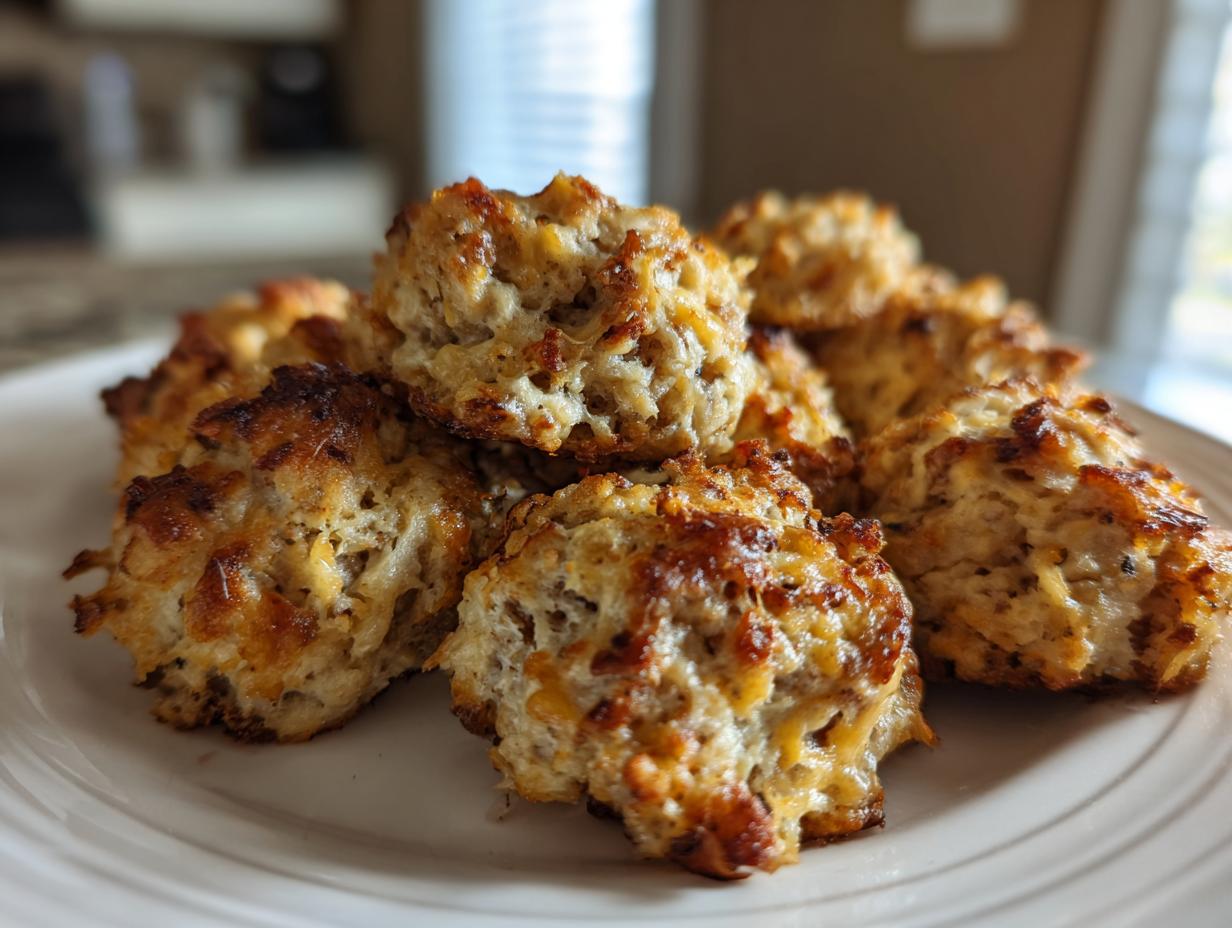
When it comes to game day spreads or holiday entertaining, the last thing I want is a fussy appetizer that takes half the day! I completely get the craving for something deeply savory, cheesy, and incredibly easy. That’s why I always fall back on these unbelievably simple, 3-ingredient sausage balls. Seriously, folks, if you need a quick appetizer idea that vanishes the moment you set it out, this is it. These sausage balls, relying on the magical binding power of Bisquick, always bring me that same sense of comforting ease I felt back in my grandmother’s kitchen. It proves that the best food doesn’t need a dozen steps; sometimes, all you need are three perfect components!
- Why These Are the Best Sausage Balls Recipe for Any Gathering
- Gathering Ingredients for Your Sausage Balls
- Step-by-Step Instructions for Easy Sausage Balls Recipe
- Tips for Making the Most Craveable Sausage Balls
- Make Ahead and Storage for Your Sausage Balls
- Serving Suggestions for These Savory Sausage Balls
- Frequently Asked Questions About Sausage Balls
- Nutritional Snapshot of Your Sausage Balls
- Share Your Easy Sausage Balls Experience
Why These Are the Best Sausage Balls Recipe for Any Gathering
I’ve tried countless recipes for Party Appetizers over the years, but I keep coming back to this one. Why? Because it delivers maximum flavor for minimal effort, which is exactly what you need when hosting. If you are looking for the Best Sausage Balls according to what everyone actually wants, this is it. It’s super reliable, which means you can make a huge batch for Game Day and trust they will be perfect straight out of the oven. Plus, it aligns perfectly with the search for the ultimate 3 Ingredient Appetizer. It’s just as simple and satisfying as my go-to Jiffy Corn Casserole recipe, honestly.
The Magic of 3-Ingredient Sausage Balls
The secret sauce here isn’t a sauce at all—it’s the simplicity! We only use bulk sausage, cheese, and Bisquick. That pancake mix, which I know some folks skip for other versions, is essential here. It acts as the perfect binder and gives these little bites the right texture so they don’t just turn into greasy blobs. You rely on it completely, and that’s why this version works so flawlessly every single time.
Perfect Cheesy Sausage Balls Texture
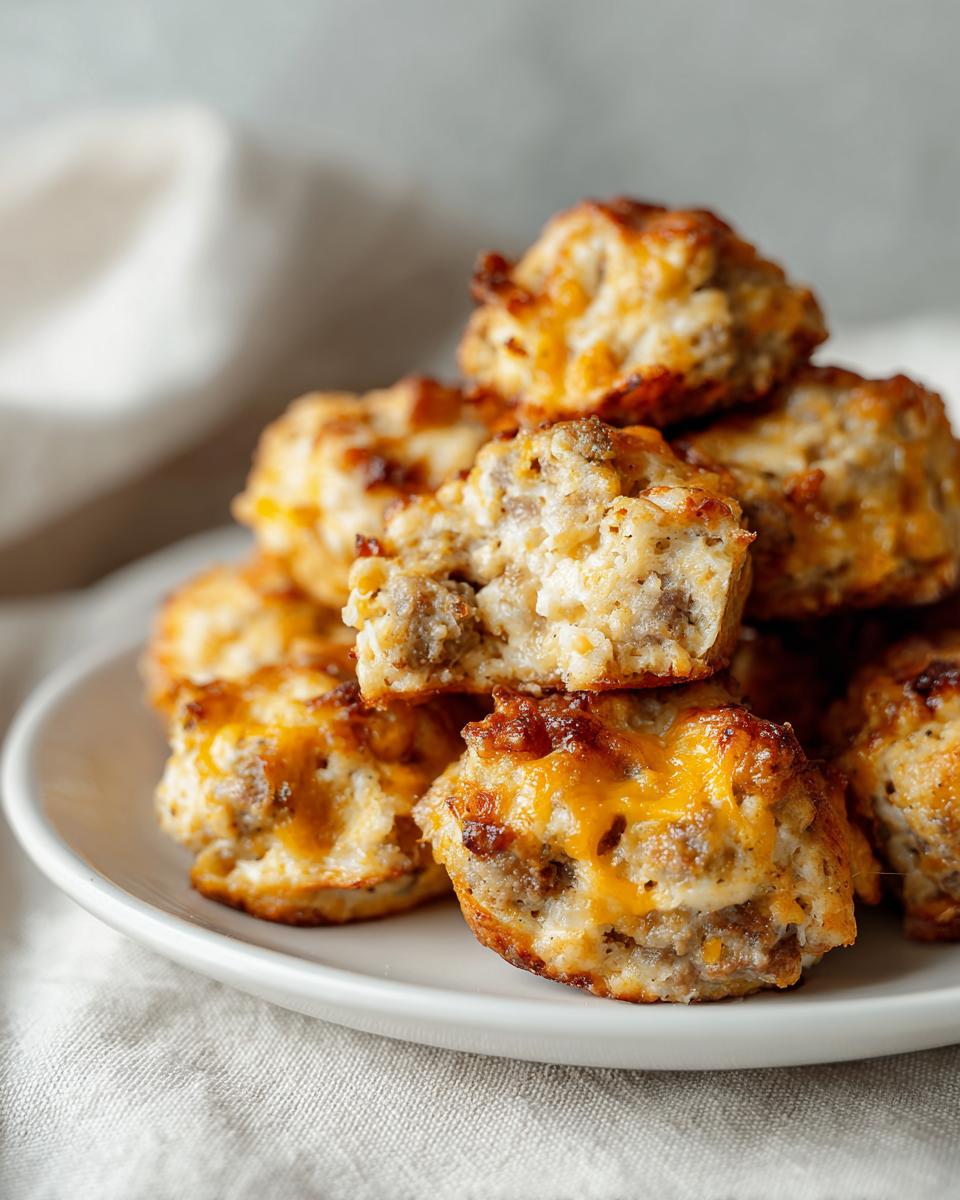
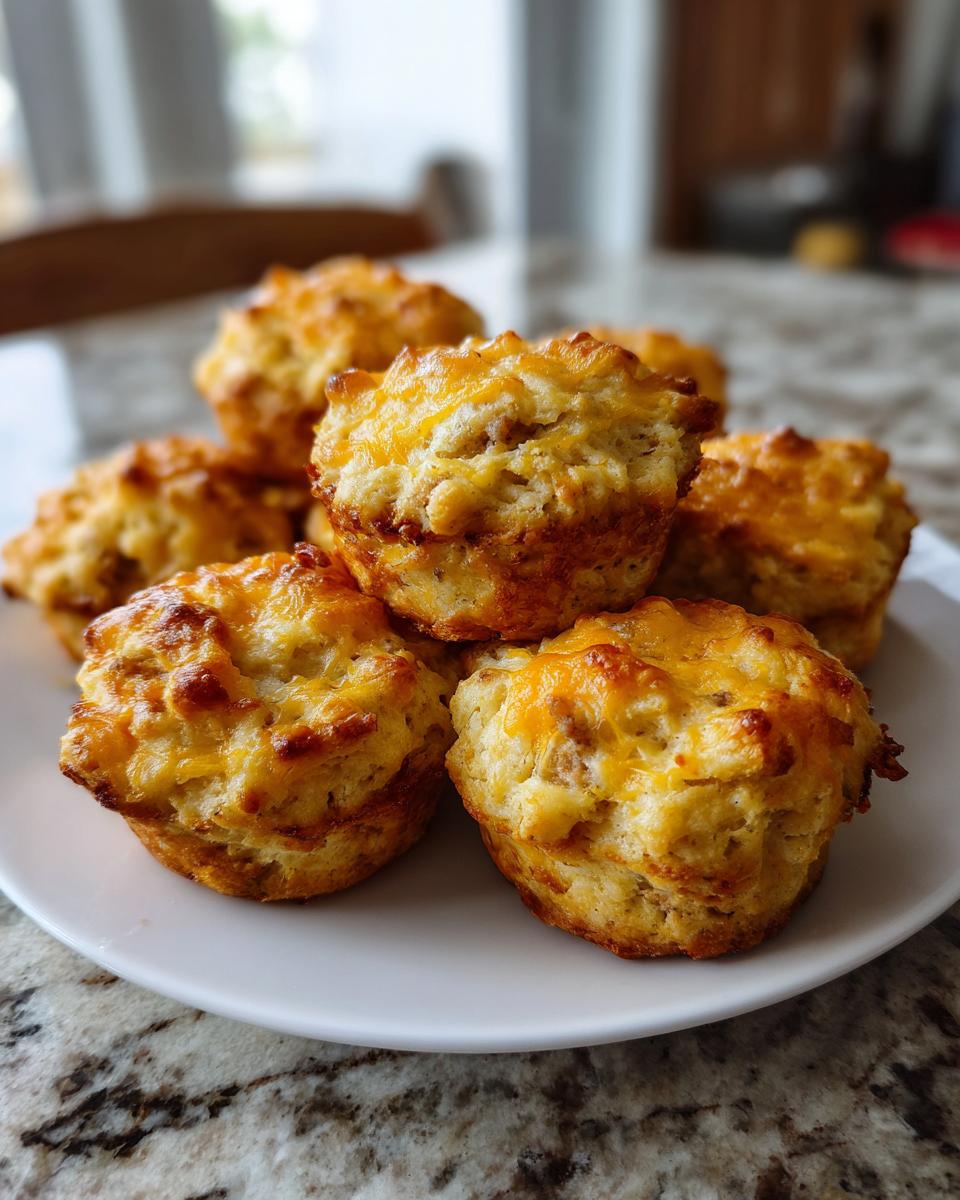
What sets these apart as the ultimate Cheesy Sausage Balls is that incredible contrast. You get a little bit of crispness on the outside from the baking, but the inside stays unbelievably moist, savory, and packed with melted cheddar. They aren’t heavy or dense like a meatball; they are light enough that you can grab three or four before you even realize what you’re doing! They’re truly craveable.

Gathering Ingredients for Your Sausage Balls
The beauty of this recipe is that you probably have most of what you need already! Seriously, gathering ingredients for these sausage balls is faster than making a phone call. I need absolute clarity here because there are only three core components, and substituting them changes the whole game. Don’t forget, precision matters when you’re only using three things!
Here is exactly what you need for about 30 perfect bites:
- 1 pound bulk pork sausage
- 1 cup Bisquick pancake mix
- 1 cup shredded sharp cheddar cheese
Now, for my little tip: I always use the standard, savory pork sausage. While some folks use maple breakfast sausage—and that’s fine for a sweet curveball—if you want that classic, savory, slightly tangy Southern Sausage Balls flavor, stick to basic bulk pork sausage. It pairs perfectly with the sharp cheddar. If you love cornbread, mastering the precise amounts here is just as important as making my easy cornbread recipe!
Step-by-Step Instructions for Easy Sausage Balls Recipe
Okay, getting these Easy Sausage Balls Recipe put together is a breeze—honestly, the prep time is just 10 minutes! Remember what I said earlier about simplicity? This is where we prove it. Set your oven right now, because temperature control is key to not having too many greasy spots.
- First things first: Get that oven cranked up to 350 degrees Fahrenheit. While it’s warming up, grab your baking sheet and give it a quick grease. We want these little guys to release without a fight later!
Mixing and Rolling the Sausage Balls
This is the most important part for texture! Dump all three of your delicious ingredients—sausage, Bisquick, and cheese—into a big bowl. Now, use your clean hands to mix everything together. You’re looking for it to be just combined. Seriously, stop mixing the second you don’t see any dry spots of Bisquick left. Overmixing makes them tough, and nobody wants a tough sausage ball! Once mixed, roll your dough into tidy little one-inch balls. Place them on that greased sheet, making sure you leave about an inch of space between each one so they can brown nicely. I find chilling the dough for 15 minutes helps keep them perfectly round, too, especially if your kitchen is warm!
Baking Time and Doneness for Perfect Sausage Balls
Once they are tucked onto the pan, slide them into that preheated 350°F oven. For most ovens, you are looking at 20 to 25 minutes. Don’t just set a timer and walk away! Keep your eye on them. You want them to be lightly browned around the edges and definitely cooked all the way through. They’ll smell incredible when they’re ready! Pull them out, let them cool on the pan just for a minute before moving them—they hold together much better once they set up a tiny bit. These cheesy delights go perfectly with a batch of those Hawaiian roll sliders for a full party spread.
Tips for Making the Most Craveable Sausage Balls
You know, once you master the basic three ingredients, it’s fun to tweak things just a little bit to make these Savory Bites uniquely yours. That’s the spirit of great home cooking! While this recipe is designed to be easy, tweaking the cheese can really elevate the flavor profile if you want to move slightly beyond the classic sharp cheddar. Don’t go crazy adding new things, though; we are sticking close to the core concept of making fantastic Southern Sausage Balls here, not creating a whole new dish!
My biggest tip, which I mentioned briefly when we were rolling, is chilling the dough. If your kitchen is warm—and let’s face it, whenever I make these, I get too excited and turn the oven on early—the sausage grease can make the dough a little sticky and messy. Pop the whole bowl of mixed ingredients into the fridge for about 15 or 20 minutes before you start rolling. They become beautifully firm and so much easier to handle. It’s a trick I learned making my famous meatloaf with glaze, which also benefits from a little chill before shaping!
Ingredient Substitutions for Sausage Balls
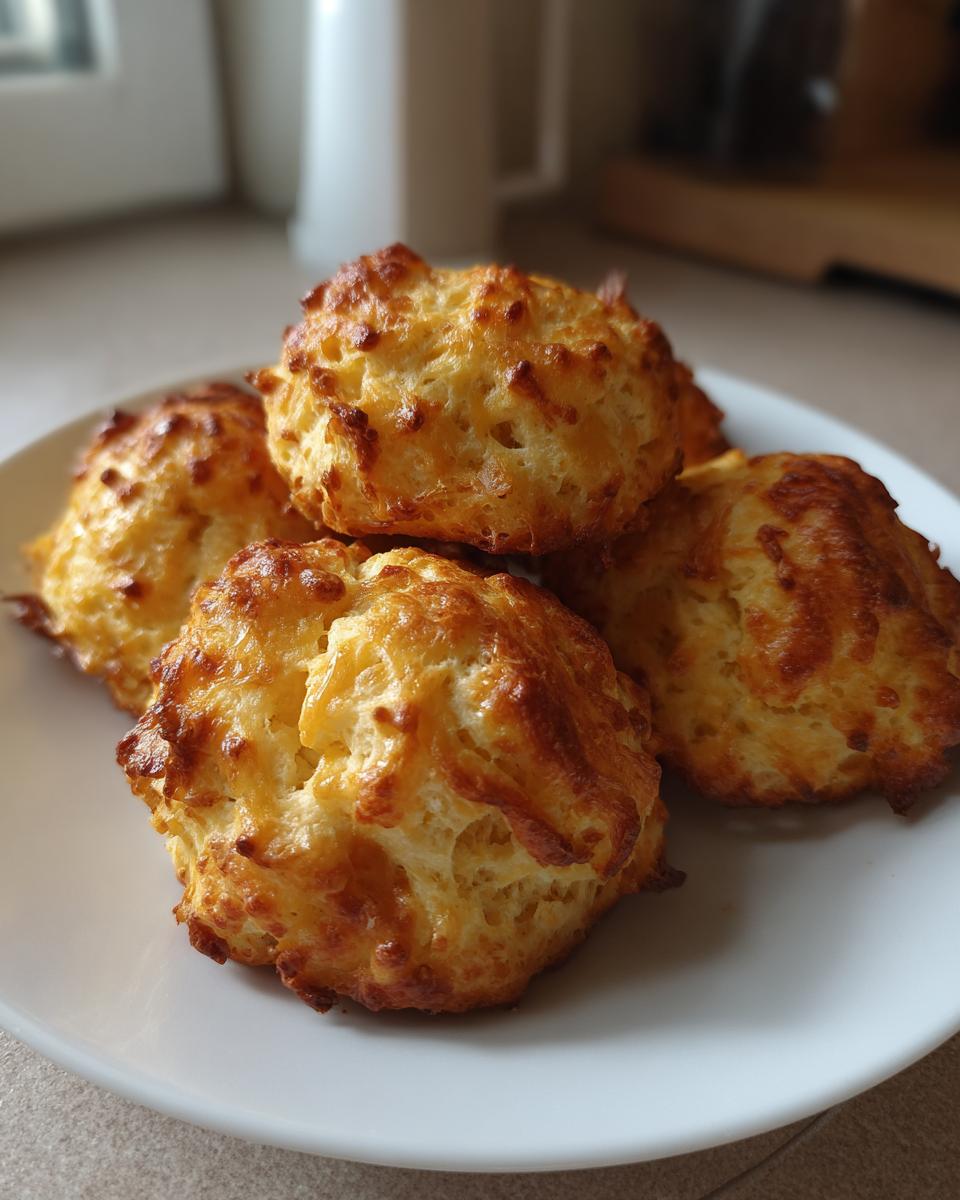
Sticking with cheese is the easiest alteration because it doesn’t mess with the ratios too much. If sharp cheddar isn’t your family favorite, don’t worry! You can absolutely swap it out. I often use Monterey Jack because it melts beautifully and gives a really creamy interior. A Colby-Jack blend is also fantastic for that slightly softer texture and coloring.
The main thing to remember when swapping cheeses is to stick to pre-shredded or shred it yourself, but make sure you’re still using about one full cup. We need that bulk of cheese to interact with the Bisquick and the fat from the sausage. Avoid super high-moisture cheeses, though, as they can make the final sausage balls a bit soggy instead of keeping that nice internal moisture we love.
Make Ahead and Storage for Your Sausage Balls
Because these are the ultimate Make Ahead Snacks for when company descends, you are in luck! Planning ahead for parties is my favorite thing, and these sausage balls are perfect for it. You have a couple of great options depending on when you are serving them, and both are incredibly easy. Don’t stress about juggling cooking tasks the day of the party; get these done early!
For next-day service, you can mix the dough, roll the one-inch balls, arrange them on a tray or plate, cover them tightly, and keep them in the refrigerator for up to 24 hours. When guests arrive, just pop them right into the oven! They might need an extra minute or two since they start cold, but they’ll be just as delicious. I use this exact method for my hash brown egg casserole when I know brunch is going to be crazy.
If you need these for a future event, these little bites freeze like a dream! After you roll them, lay them on a parchment-lined sheet and flash freeze them until solid. Then, transfer them to a freezer-safe bag and keep them tucked away for up to three months. When it’s time to eat, reheat them straight from frozen in a 350°F oven until heated through. It’s the perfect way to always have a satisfying appetizer ready to go.
Serving Suggestions for These Savory Sausage Balls
Part of the joy of making fantastic Game Day Food is serving it up in a way that makes grabbing a bite super easy. Honestly, these sausage balls are so flavorful and perfectly balanced with the cheese and savory sausage that they truly shine all on their own. They are the definition of a self-sufficient appetizer!
If you’re setting these out for a big crowd, especially during the football season or a busy weeknight gathering, I always grab a bowl of simple wooden toothpicks. Just stick one into each sausage ball and arrange them artfully on a big platter. It makes it feel a little nicer than just having people grab them with their fingers, and it’s perfect for mingling!
However, let’s talk dipping sauces, because why not go the extra mile for your Holiday Finger Foods? While they are fantastic dry, a little something on the side never hurt anyone. I don’t like anything too sweet here; we want to complement that savory flavor, not fight it. If you’ve got a jar of spicy brown mustard, that works beautifully. If you want something creamy, a mix of equal parts mayonnaise and Dijon mustard, maybe with a tiny dash of Worcestershire sauce stirred in, is incredible for dipping.
For brunch settings, instead of dipping sauces, try serving them alongside a big bowl of fresh fruit to cut through the richness, or even tucking them next to my bacon cheeseburger soup if you’re aiming for comfort food central!
Frequently Asked Questions About Sausage Balls
It’s totally normal to have a few questions pop up when you find a simple recipe like this! Since we are relying on just three main ingredients, understanding what each one does is key to getting the texture just right. We want these to be satisfying, crispy on the outside, and never dry. Let’s clear up any confusion so your next batch of Cheesy Sausage Balls is perfect!
Can I make sausage balls without Bisquick?
That’s a great question! So many people ask if they can swap out the Bisquick, and while I know there are recipes out there that use flour or crushed crackers, for *this* specific recipe, you really need the Bisquick. Bisquick isn’t just flour; it has baking powder and salt mixed in, which gives our sausage balls the lift they need. If you skip it, you end up with a dense, greasy meatball, not a light and airy sausage bite. The Bisquick is acting as our binder *and* our leavening agent here, which is how we keep this an Easy Sausage Balls Recipe.
What kind of sausage works best for sausage balls?
When I make these for Game Day Food, I always reach for standard, bulk pork sausage. It has the best fat content and the most savory flavor that pairs perfectly with sharp cheddar. If you are trying to make them a little lighter, you absolutely can use ground turkey or chicken sausage, but just be aware that your final product will be less flavorful and might be slightly drier because those alternatives usually have less fat. If you use turkey, you might want to add just a touch more cheese for moisture.
How do I reheat leftover sausage balls?
Oh, if you even have leftovers—that’s impressive! These are usually gone in minutes. Since we want to keep that slight crispness we worked so hard to achieve, the oven is your best friend for reheating. Don’t even think about the microwave! If you have a handful, spread them on a small baking sheet and heat them at 350°F for about 8 to 10 minutes, or until they are warmed through and the cheese is gooey again. If you want to make these ahead for a big event, check out my tips above about freezing; those reheat beautifully too! For more make-ahead inspiration, you might like seeing how I prep my chicken broccoli casserole.
Nutritional Snapshot of Your Sausage Balls
Okay, let’s talk real numbers for a minute. I know when we’re making something this comforting and delicious, we aren’t aiming for a salad, but I always feel better knowing what we’re eating, especially when these sausage balls are flying off the platter at a party! Since this is based on a recipe with just three core ingredients, the estimates are cleaner than some complex appetizers, but you know I have to give you the standard disclaimer.
These nutritional estimates are based on using standard bulk pork sausage, Bisquick, and sharp cheddar. If you use turkey sausage or a lower-fat cheese, these numbers will definitely shift! Like with my no-bake protein bars, ingredient brand choice really makes a difference here.
Here is the typical estimate, calculated per one sausage ball:
- Serving Size: 1 ball
- Calories: 95
- Fat: 8g
- Saturated Fat: 3g
- Protein: 5g
- Carbohydrates: 2g
- Sugar: 0.5g
- Sodium: 250mg
See? Not bad for such a deeply satisfying, savory bite! They pack a decent protein punch for a little appetizer. Just be mindful of the serving size if you’re setting these out for Game Day Food—they really are designed to be popped one after the other!
Share Your Easy Sausage Balls Experience
Now that you have the absolute simplest, cheesiest recipe for these amazing sausage balls, I really want to hear what you think! Trying out a classic like this means a lot to me, especially since it’s such a cornerstone of easy American party food. Did they fly off the platter at your gathering? Were they an instant hit for brunch?
Seriously, don’t just head out the door! I would be so grateful if you took just a moment to leave a rating for the recipe right here on the page—give it five stars if you loved how quick and craveable they were! And please, drop a comment below. I absolutely love seeing how you served these savory bites. Did you go classic with toothpicks, or did you find a great spicy mustard to dip them in?
Also, if you tried one of the cheese swaps we talked about, or maybe used turkey sausage, let me know how it turned out! Knowing what works for your family helps everyone else who might be looking for that perfect Easy Sausage Balls Recipe. If you have any trouble or questions that weren’t covered above, you can always reach out through my contact page, but usually, these simple recipes are foolproof!
Happy baking, and thank you for bringing a little bit of that comforting, home-cooked magic to your table!
PrintEasy 3-Ingredient Bisquick Sausage Balls

Make these simple, cheesy sausage balls using only three ingredients. They are a perfect, craveable party appetizer or game day snack that requires minimal effort.
- Prep Time: 10 min
- Cook Time: 25 min
- Total Time: 35 min
- Yield: About 30 servings 1x
- Category: Appetizer
- Method: Baking
- Cuisine: American
- Diet: Vegetarian
Ingredients
- 1 pound bulk pork sausage
- 1 cup Bisquick pancake mix
- 1 cup shredded sharp cheddar cheese
Instructions
- Preheat your oven to 350 degrees Fahrenheit. Lightly grease a baking sheet.
- In a large bowl, combine the bulk pork sausage, Bisquick mix, and shredded cheddar cheese.
- Mix the ingredients thoroughly with your hands until they are just combined. Do not overmix.
- Roll the mixture into small, one-inch balls. Place the balls onto the prepared baking sheet, leaving about one inch between them.
- Bake for 20 to 25 minutes, or until the sausage balls are lightly browned and cooked through.
- Remove from the oven and let them cool slightly before serving.
Notes
- You can prepare the dough ahead of time, roll the balls, and store them covered in the refrigerator for up to 24 hours before baking.
- For a different flavor, substitute the sharp cheddar with Monterey Jack or a Colby-Jack blend.
- These sausage bites freeze well after baking; cool them completely, place them in a freezer-safe bag, and freeze for up to three months. Reheat in the oven.
Nutrition
- Serving Size: 1 ball
- Calories: 95
- Sugar: 0.5
- Sodium: 250
- Fat: 8
- Saturated Fat: 3
- Unsaturated Fat: 5
- Trans Fat: 0.1
- Carbohydrates: 2
- Fiber: 0.1
- Protein: 5
- Cholesterol: 25