
Oh, that smell! There is simply nothing in the world that says ‘home’ quite like the rich, warm perfume of freshly baked sweet bread filling the air. If you’re like me, you’ve probably been craving that perfect slice of comfort—you know, the one that’s impossibly soft and bursting with cinnamon and sweet raisins? Well, friend, I’ve got that recipe for you today! We are deep-diving into making the best homemade raisin bread, aiming specifically for that pillowy, fluffy bread texture you dream about. Here at MDLATDMM, my commitment, as Maddie Thompson, is making sure these cherished, heritage-inspired recipes are clear and reliable so you get a perfect loaf every single time, even if you’re juggling a busy schedule. If you ever want an alternative sweet bread, be sure to check out my recipe for quick, Amish Cinnamon Bread if you skip the yeast!
- Why This Soft Raisin Loaf Recipe Delivers Comfort
- Gathering Ingredients for Homemade Raisin Bread
- Step-by-Step Instructions for Your Raisin Bread
- Tips for Success When Baking Homemade Raisin Bread
- Storage and Reheating Instructions for Your Loaf
- Serving Suggestions for Breakfast Loaf Ideas
- Frequently Asked Questions About Making Raisin Bread
- Estimated Nutritional Data for Cinnamon Raisin Bread
- Share Your Homemade Raisin Bread Creations
Why This Soft Raisin Loaf Recipe Delivers Comfort
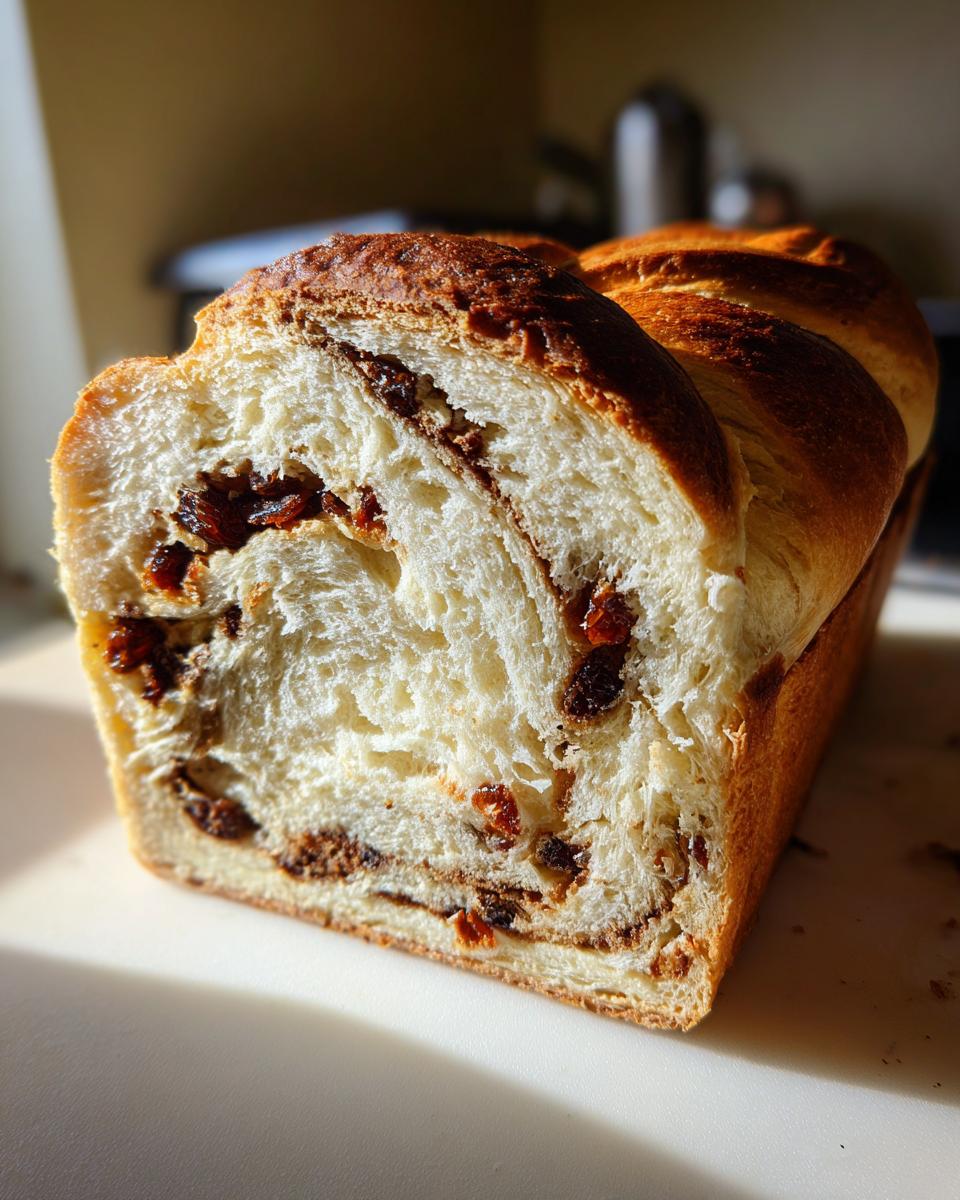
When you’re looking for that truly comforting homemade raisin bread, you don’t want something dense or dry. Trust me, you want those sliceable, pillow-soft results! This recipe isn’t just a sweet bread; it’s designed for maximum coziness. If you love making cozy breakfast loaf ideas, you’ll want to bookmark this one for sure—check out my general list of easy breakfast ideas, too!
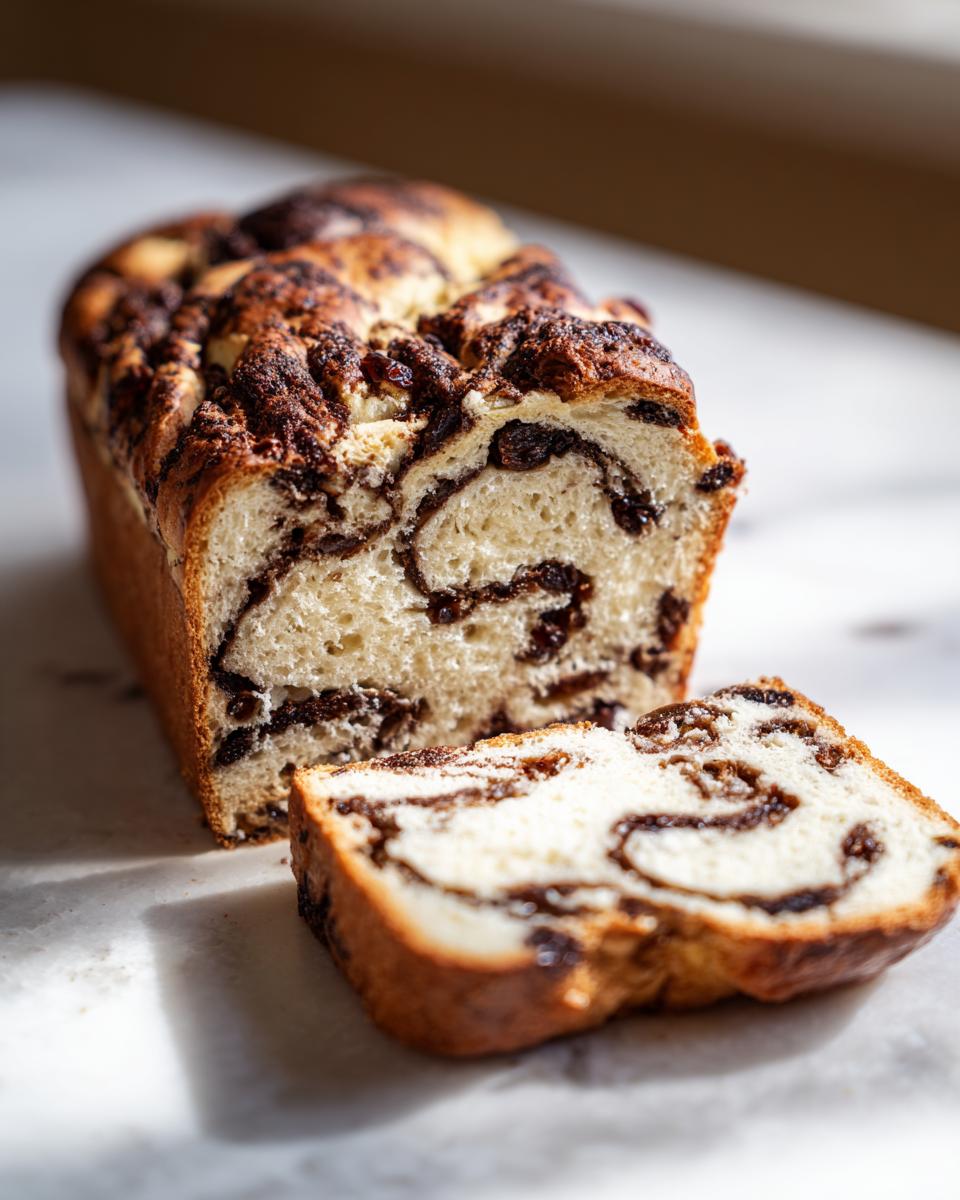
- We guarantee a super fluffy bread texture that makes the perfect breakfast treat.
- That deep, rich cinnamon swirl sets this loaf apart from the plain stuff.
- It uses a reliable yeast method, giving you incredible rise and structure!
We put a lot of work into testing this so you can spend less time worrying and more time enjoying your warm baked goods.
Achieving the Best Fluffy Bread Texture
The fluffiness starts right away! Warming your milk to that sweet spot—around 110°F—is non-negotiable because it wakes up the yeast perfectly, giving you that wonderful initial lift. Then, we knead thoroughly! That full 8 to 10 minutes of kneading develops the gluten structure. That structure is what traps the gases, creating those beautiful, airy pockets for an amazing, soft raisin loaf recipe result.
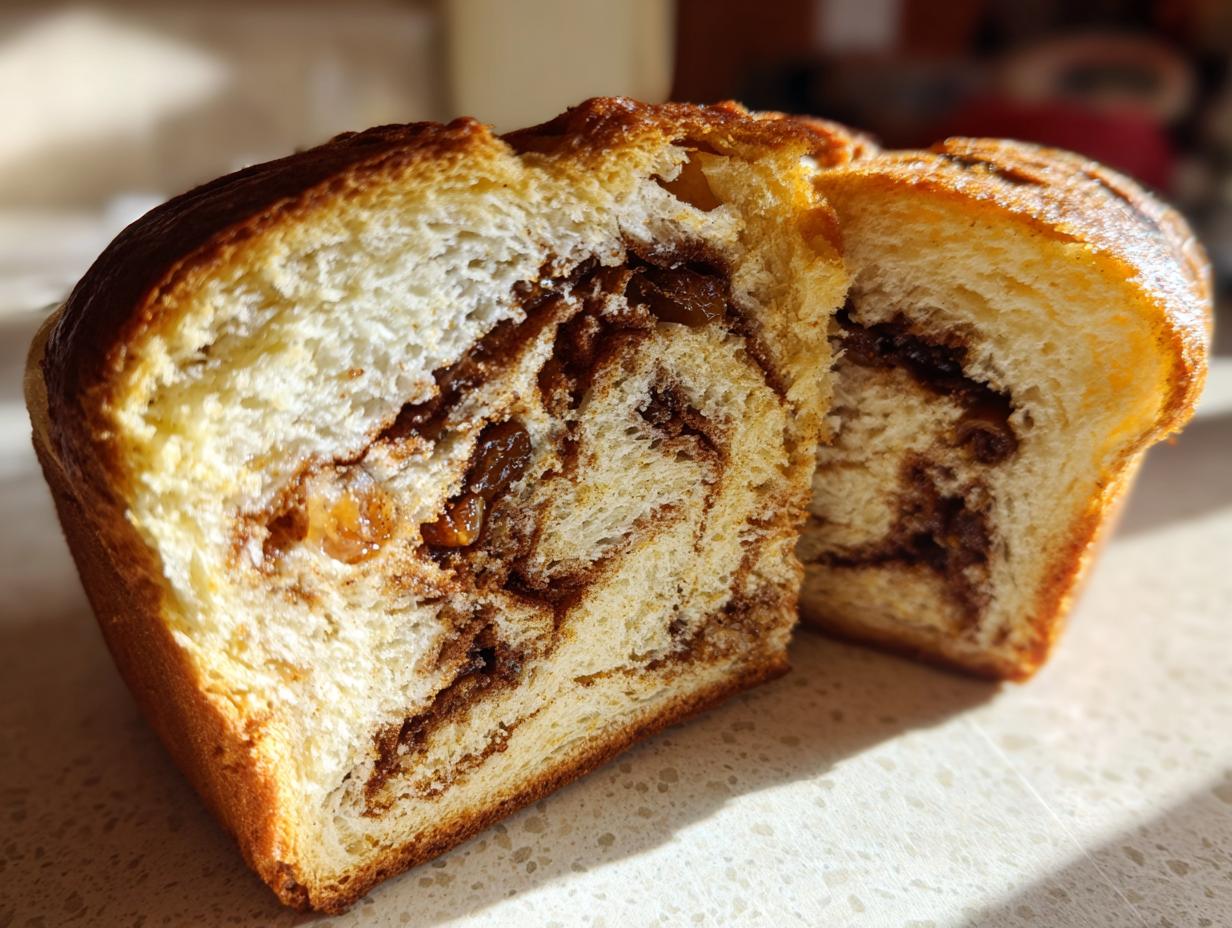
The Perfect Cinnamon Swirl Bread Filling
Nobody wants a filling that just melts away into the bread! The secret here is using softened butter, not just melted. When you mix that brown sugar and cinnamon with softened butter, it becomes a rich, slightly crumbly paste. When you roll it out, this paste stays put, ensuring that when you slice your bread later, you get those distinct, gorgeous ribbons—a true cinnamon swirl bread masterpiece!
Gathering Ingredients for Homemade Raisin Bread
Getting your ingredients ready is half the battle won when you’re aiming for a show-stopping loaf of sweet bread. Lay everything out before you start mixing! Having that one large egg at room temperature is my little secret—it incorporates much better into the dough than a cold one, helping us achieve that truly fluffy bread texture we are after. If you’re looking for other spiced loaf inspiration, I highly recommend giving my pumpkin banana bread a try next time!
Ingredient Notes and Substitutions for Raisin Bread
Let’s talk raisins for a minute. I use standard dark, plump raisins here, but golden raisins work great if you prefer a slightly less intense chew. Just make sure they are well-drained if you decide to soak them first—we don’t want extra liquid messing with our dough hydration!
As for flour, while this recipe calls for all-purpose flour to maximize that soft raisin loaf result, you can try swapping up to half a cup for whole wheat. Just know that using too much whole wheat will definitely give you a heartier crumb, which means you’ll lose a little bit of that light, airy feel. Always try to stick to the white flour for the ultimate fluffy experience!
Step-by-Step Instructions for Your Raisin Bread
Okay, deep breath! This is where the magic happens, and I promise, breaking it down into these manageable steps makes baking this amazing homemade raisin bread feel totally achievable. We are going to follow the yeast activation path carefully so we guarantee a great rise. If you’ve ever felt intimidated by yeast bread recipes, stick right here with me. For general bread tips that might help you on your journey, check out my notes on maintaining a healthy sourdough starter, even though this recipe uses instant yeast!
Activating Yeast and Mixing the Dough for Raisin Bread
First things first: wake up that yeast! You need your milk to be warm—and I mean precisely warm, right around 110°F. If it’s too cold, the yeast sleeps; too hot, and it dies, oops! Mix the yeast and one teaspoon of sugar into that milk and just wait. If it gets foamy and bubbly after about five to ten minutes, you’re golden! Now, stir in the rest of your sugar, the melted butter, and your room-temperature egg. Whisk that wet mixture up before tackling the dry stuff.
Kneading and First Rise for Optimal Raisin Bread Dough
Once your dry ingredients (flour and salt) are whisked together, start adding them slowly to your wet mixture until it gets shaggy. Now, it’s time for some elbow grease! Turn that dough out onto a lightly floured surface and knead it for a full 8 to 10 minutes. You are searching for a dough that feels smooth and elastic under your hands—not sticky! Gently work in all those raisins until they look evenly scattered. Once they are in, pop the dough into an oiled bowl, cover it tightly, and let it chill out in a warm spot for about an hour and a half until it’s doubled up. It should look puffy and happy!
Shaping the Cinnamon Swirl into Your Raisin Bread Loaf
While that first rise is happening, whip up your filling—that rich mix of softened butter, brown sugar, and cinnamon. When the dough is ready, punch it down gently and roll it out into a long rectangle, about 12 by 18 inches. Spread that cinnamon mixture evenly all over the dough, but make sure you leave a tiny clean border on one of the long sides—this helps seal the deal! Roll it up tightly, like a jelly roll, making sure that seam underneath gets pinched closed securely. Tuck the ends under neatly and nestle that beautiful log into your prepared loaf pan.
Tips for Success When Baking Homemade Raisin Bread
Baking raisin bread is rewarding, but those last few steps can sometimes trip us up if we aren’t patient! I’ve learned a few tricks over the years to make sure my homemade raisin bread comes out looking picture-perfect. If you love bringing cozy baked goods into your life, check out my tips for chewy chocolate chip cookies, too – they use surprising techniques for texture!We focus on texture in cookies, just like we focus on rise here!
Managing Dough Proofing for Perfect Raisin Bread Rise
That second rise, or the final proofing, is crucial for that soft raisin loaf texture. Don’t rush it! You want the dough to be nice and puffy, usually crowning about one inch over the rim of your 9×5 loaf pan. That’s your visual cue that it’s ready to hit the oven. Now, here’s a classic trick: once that loaf is baking, if you notice the top is getting richly golden brown way before the middle is cooked—and trust me, this happens—just grab a small piece of aluminum foil and loosely tent it over the top. This protects the beautiful crust from burning while the inside finishes baking perfectly. It’s how we guarantee it’s done without drying out the edges!
Storage and Reheating Instructions for Your Loaf
The hardest part is waiting, right? But keeping this beautiful homemade raisin bread fresh is simple! Once it’s completely cooled on the rack—and I mean totally cool, otherwise condensation gets sneaky—wrap that loaf up tightly. You can keep it right on the counter at room temperature for about two or three days. It stays surprisingly soft!
If you know you won’t finish it that fast, tucking it into the freezer is great. Slice it first, then put the slices in a freezer-safe bag. That way, you can reheat just what you need!
I honestly think this bread tastes the best when it’s toasted the very next day. Slathered with butter? Heaven! For more ideas on keeper loaves, you might love my old-fashioned date nut bread recipe, which also freezes beautifully.
Serving Suggestions for Breakfast Loaf Ideas
This cinnamon raisin bread is practically begging to be eaten fresh from the cooling rack! For simple breakfast loaf ideas, you can never go wrong with a thick slice toasted lightly and smeared with good quality salted butter. The melted butter sinking into those cinnamon swirls? Perfection!
But don’t stop at breakfast! This sweet bread is wonderful crumbled over vanilla ice cream for a quick dessert, or served alongside a warm cup of tea in the afternoon. It pairs beautifully with something a little tart, like my apple cinnamon muffins might, if you happen to be rounding out a big weekend brunch.
Frequently Asked Questions About Making Raisin Bread
I know that stepping into the world of yeast bread recipes can feel a little intimidating sometimes! You want that perfect, soft raisin loaf, and any slip-up can make you worry your hard work is ruined. Don’t fret! I’ve gathered your most common questions so you can bake this homemade raisin bread with total confidence. We are aiming for the best raisin bread recipe, after all! For tons of ideas on serving this bread, don’t forget to look at my post on easy breakfast ideas for inspiration!
Can I use bread machine for this raisin bread recipe?
Oh, you absolutely can explore using a bread machine for your cinnamon raisin bread! Since this recipe is mostly straightforward, you can likely use the machine’s ‘Dough Cycle’ to handle all the kneading and the first rise beautifully. Just remember to manually remove the dough once it doubles, shape your loaf with the cinnamon swirl filling, and then bake it in a conventional oven for that perfect golden top. It simplifies the process for those who love ‘Bread Machine Raisin Bread’ but give you more control over the swirl!
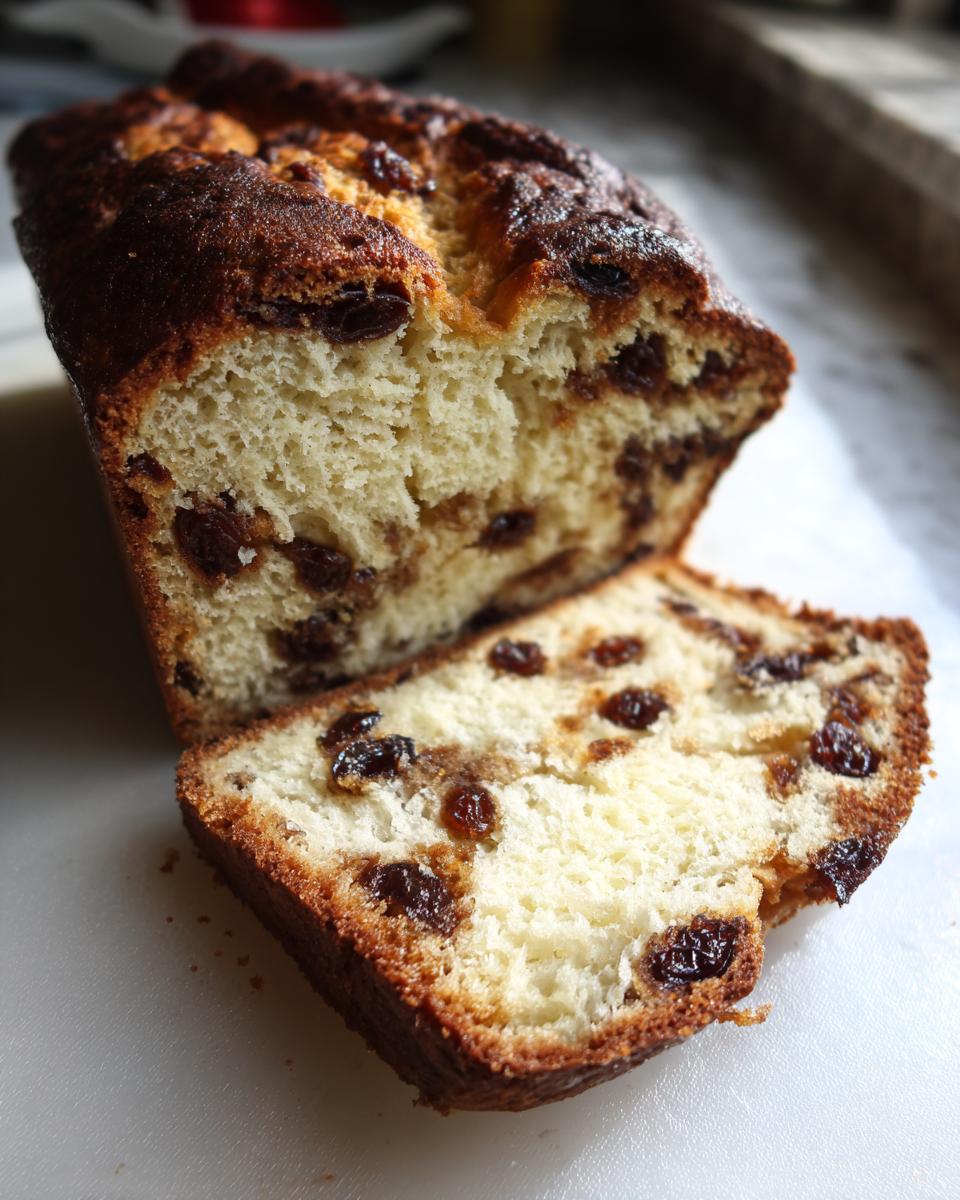
What is the best way to prevent raisins from sinking in my raisin bread?
This is a classic baking fear! Nobody wants all their yummy raisins piled at the bottom of the pan, right? Here’s my little trick based on what I learned to ensure they stay nestled throughout your loaf. Before you add the raisins into the dough during the final minutes of kneading, toss them lightly in just a spoonful or two of your all-purpose flour. That light dusting gives the sticky raisins something to grab onto in the elastic dough, helping them stubbornly stay suspended right where they belong!
If you’re looking to build even more bread-baking skills, check out my tips on starting with easy homemade bread. We cover a lot of similar concepts there!
Estimated Nutritional Data for Cinnamon Raisin Bread
I know some of you are tracking everything, and I totally get that! When I developed this soft raisin loaf recipe, I wasn’t focused on cutting corners, so keep that in mind when you look at these numbers. This data is just an estimate based on the specific ingredients listed above. Remember, taste testing is a crucial part of any baking experiment, and these values don’t account for the extra butter you might sneak on your morning slice!
- Serving Size: 1 slice
- Calories: 240
- Sugar: 12g
- Sodium: 280mg
- Fat: 5g
- Protein: 6g
This is for one slice, folks, but honestly, who stops at one slice of homemade raisin bread? Enjoy every bit of that comforting, sweet flavor!
Share Your Homemade Raisin Bread Creations
Well, that’s it! You’ve made it to the end of the process, and I truly hope your kitchen smells as wonderfully cozy as mine does right now. I’d absolutely love to see your beautifully swirled loaves! When you finish baking this ‘Best Raisin Bread Recipe,’ please come back and leave a star rating because that really helps other home cooks know this recipe is reliable. If you made any little adjustments or just want to share how much your family loved this sweet bread, drop a comment below. You can also tag me on social media when you share those stunning photos of your warm baked goods. If you need more sweet inspiration later, don’t forget to explore my collection of delicious dessert recipes!
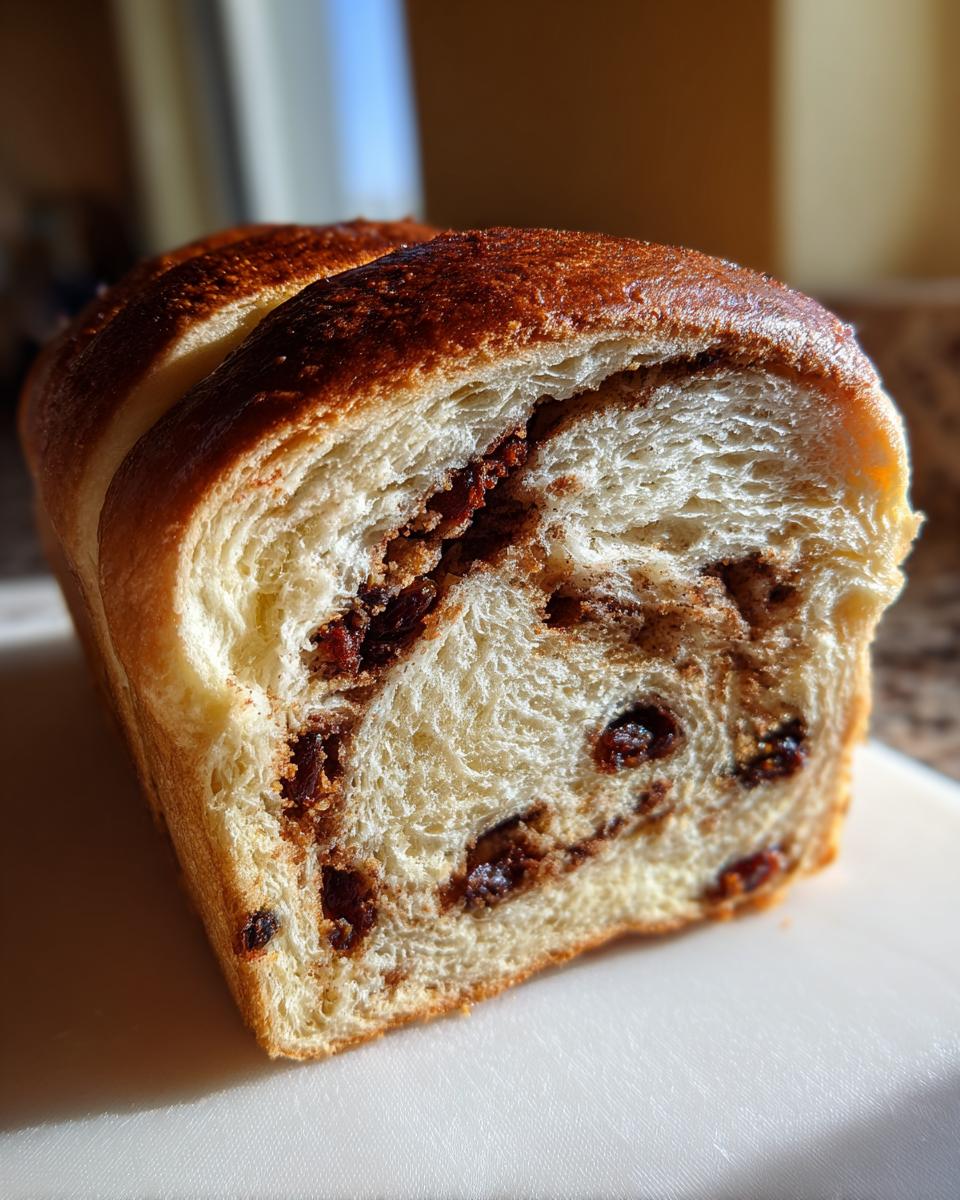
PrintSoft and Fluffy Homemade Cinnamon Raisin Bread

Bake a soft, sliceable homemade cinnamon raisin bread with a clean cinnamon-sugar swirl. This recipe delivers a fluffy texture perfect for breakfast or a cozy snack.
- Prep Time: 30 min
- Cook Time: 35 min
- Total Time: 2 hr 40 min
- Yield: 1 loaf 1x
- Category: Breakfast
- Method: Baking
- Cuisine: American
- Diet: Vegetarian
Ingredients
- 1 cup warm milk (about 110°F)
- 2 1/4 teaspoons active dry yeast
- 1/4 cup granulated sugar plus 1 teaspoon for yeast
- 1 large egg, room temperature
- 1/4 cup unsalted butter, melted
- 3 1/2 cups all-purpose flour, plus more for dusting
- 1 teaspoon salt
- 1 cup raisins
- 1/2 cup packed light brown sugar
- 2 teaspoons ground cinnamon
- 2 tablespoons unsalted butter, softened (for swirl)
- 1 large egg, beaten (for egg wash)
Instructions
- In a large bowl, combine the warm milk, 1 teaspoon of sugar, and yeast. Let stand for 5 to 10 minutes until foamy.
- Add the remaining 1/4 cup sugar, melted butter, and the egg to the yeast mixture. Stir to combine.
- In a separate bowl, whisk together 3 cups of the flour and the salt. Gradually add the dry ingredients to the wet ingredients, mixing until a shaggy dough forms.
- Turn the dough out onto a lightly floured surface. Knead for 8 to 10 minutes, adding the remaining flour as needed until the dough is smooth and elastic.
- Gently knead in the raisins until they are evenly distributed.
- Place the dough in a lightly oiled bowl, turning to coat. Cover the bowl with plastic wrap and let it rise in a warm place for 1 to 1.5 hours, or until doubled in size.
- While the dough rises, prepare the filling: In a small bowl, mix the brown sugar, cinnamon, and 2 tablespoons of softened butter until crumbly.
- Punch down the risen dough. Turn it out onto a lightly floured surface and roll it into a rectangle about 12×18 inches.
- Spread the cinnamon-butter mixture evenly over the dough surface, leaving a small border on one long edge.
- Starting from the long edge opposite the border, tightly roll the dough into a log. Pinch the seam closed.
- Tuck the ends under and place the log, seam-side down, into a greased 9×5 inch loaf pan.
- Cover the pan loosely and let the dough rise again in a warm place for 30 to 45 minutes, or until it has crowned about 1 inch over the rim of the pan.
- Preheat your oven to 375°F (190°C). Brush the top of the loaf with the beaten egg wash.
- Bake for 30 to 35 minutes, or until the top is golden brown and the internal temperature reaches 190°F (88°C). If the top browns too quickly, loosely tent it with foil.
- Remove the loaf from the pan immediately after baking and cool on a wire rack before slicing.
Notes
- For a richer flavor, soak the raisins in hot water for 10 minutes before kneading them into the dough; drain them well first.
- If you prefer a sweeter crust, brush the top of the loaf with melted butter immediately after it comes out of the oven.
- This bread is excellent toasted the next day for breakfast.
Nutrition
- Serving Size: 1 slice
- Calories: 240
- Sugar: 12g
- Sodium: 280mg
- Fat: 5g
- Saturated Fat: 3g
- Unsaturated Fat: 2g
- Trans Fat: 0g
- Carbohydrates: 45g
- Fiber: 2g
- Protein: 6g
- Cholesterol: 30mg