
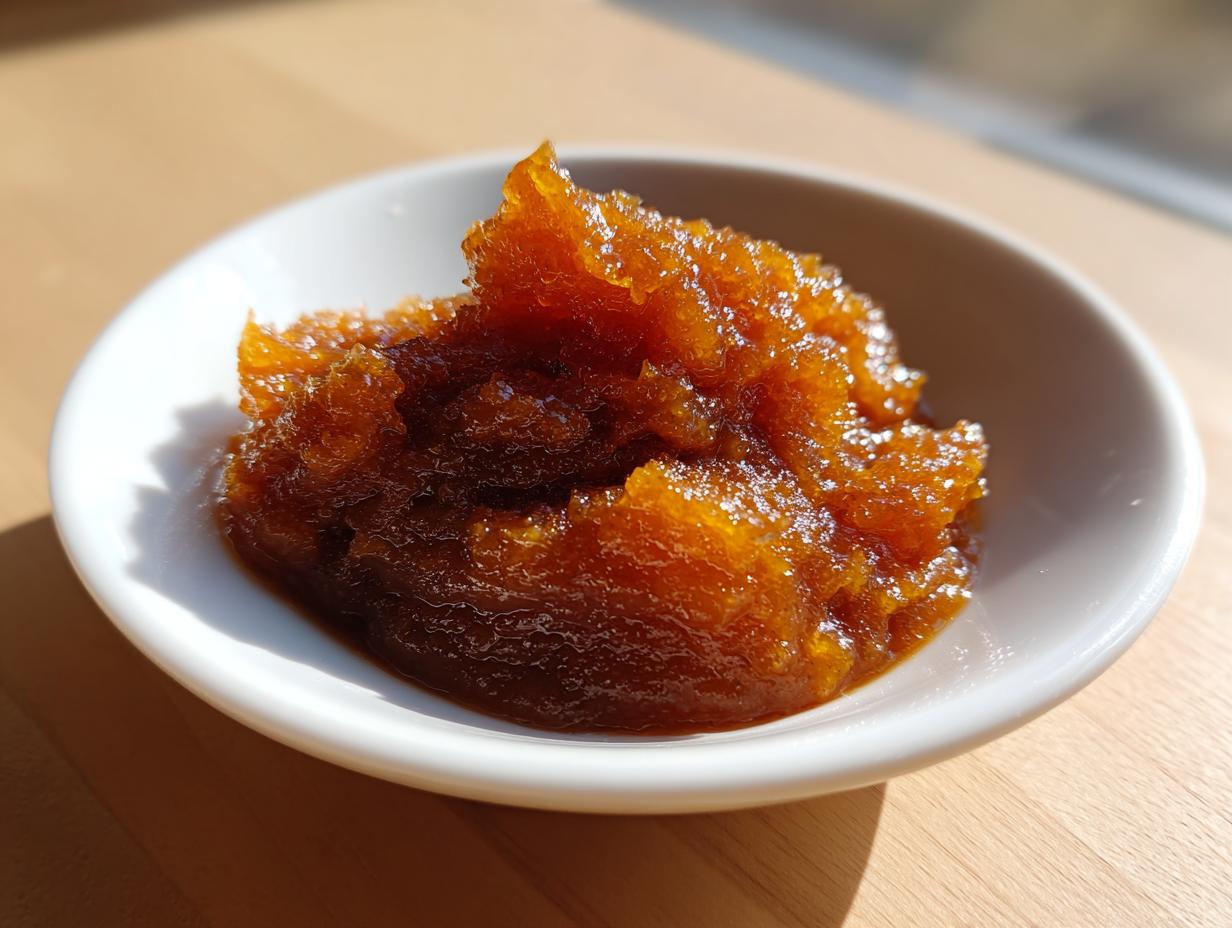
There is truly nothing that brings the warmth of my grandmother’s kitchen back to me faster than the sweet, heady aroma of fruit simmering away low and slow. It feels like instant comfort, doesn’t it? That’s why I love sharing recipes for pear butter; it captures all that autumn magic in a jar. Forget scraping the bottom of the pot on the stovetop! This is honestly the easiest Slow Cooker pear butter recipe we’ve ever developed, and I’ve even included all my notes on water-bath canning so you can save this goodness for months. Remember, our goal here isn’t perfection, but connection—bringing that simple joy of slow, intentional cooking right into your busy life.
- Why This Slow Cooker pear butter Recipe is Your New Favorite Autumn Fruit Preserves
- Gathering Ingredients for Your Homemade pear butter Recipe
- How to Make pear butter from Scratch Using the Slow Cooker
- Spiced pear butter Canning Instructions for Long-Term Storage
- Serving Suggestions for pear butter for Toast and Biscuits
- Tips for Success When Making Gourmet pear spreads
- Storage and Reheating Instructions
- Frequently Asked Questions About pear butter
- Share Your Homemade pear butter Creations
Why This Slow Cooker pear butter Recipe is Your New Favorite Autumn Fruit Preserves
If you ever stressed over stirring fruit butter constantly on the stove, thinking you had to hover over the pot so it wouldn’t burn, I have the best news for you! That’s why this recipe focuses so heavily on the slow cooker. It lets time do the heavy lifting for you, resulting in the most reliably smooth and flavorful homemade pear butter.
- It requires minimal checking, unlike stovetop recipes, giving you time back in your busy day.
- The low, steady heat guarantees the pears break down completely without any scorching or sticking.
- This method is so forgiving! It’s the definition of easy fruit butter spreads that actually work every time.
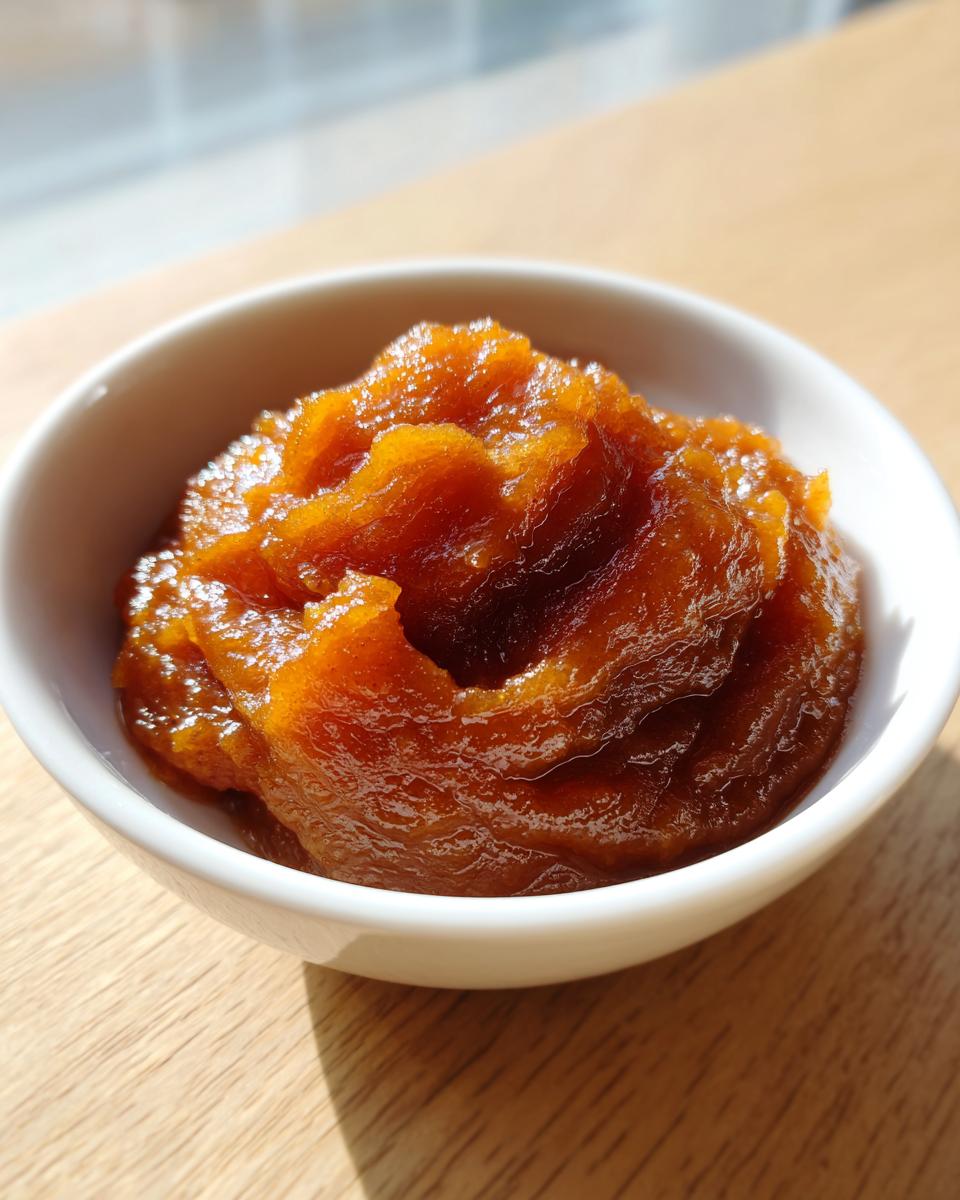
We make sure to get the texture just right so you end up with that signature thick pear butter consistency, perfect for spreading thick on a slice of warm apple cranberry cobbler topping.
Hands-Off Cooking with the Crockpot Fruit Spreads Method
When you use the crockpot, you eliminate almost all the risk of burning your fruit puree. Scorching is the enemy of smooth preserves, and honestly, who has time to stand over a hot burner for hours just stirring? The slow cooker handles the initial breakdown beautifully. This hands-off approach is exactly what we need for simple, reliable cooking, letting the fragrant vanilla and spices really marry together while the pears tenderize.
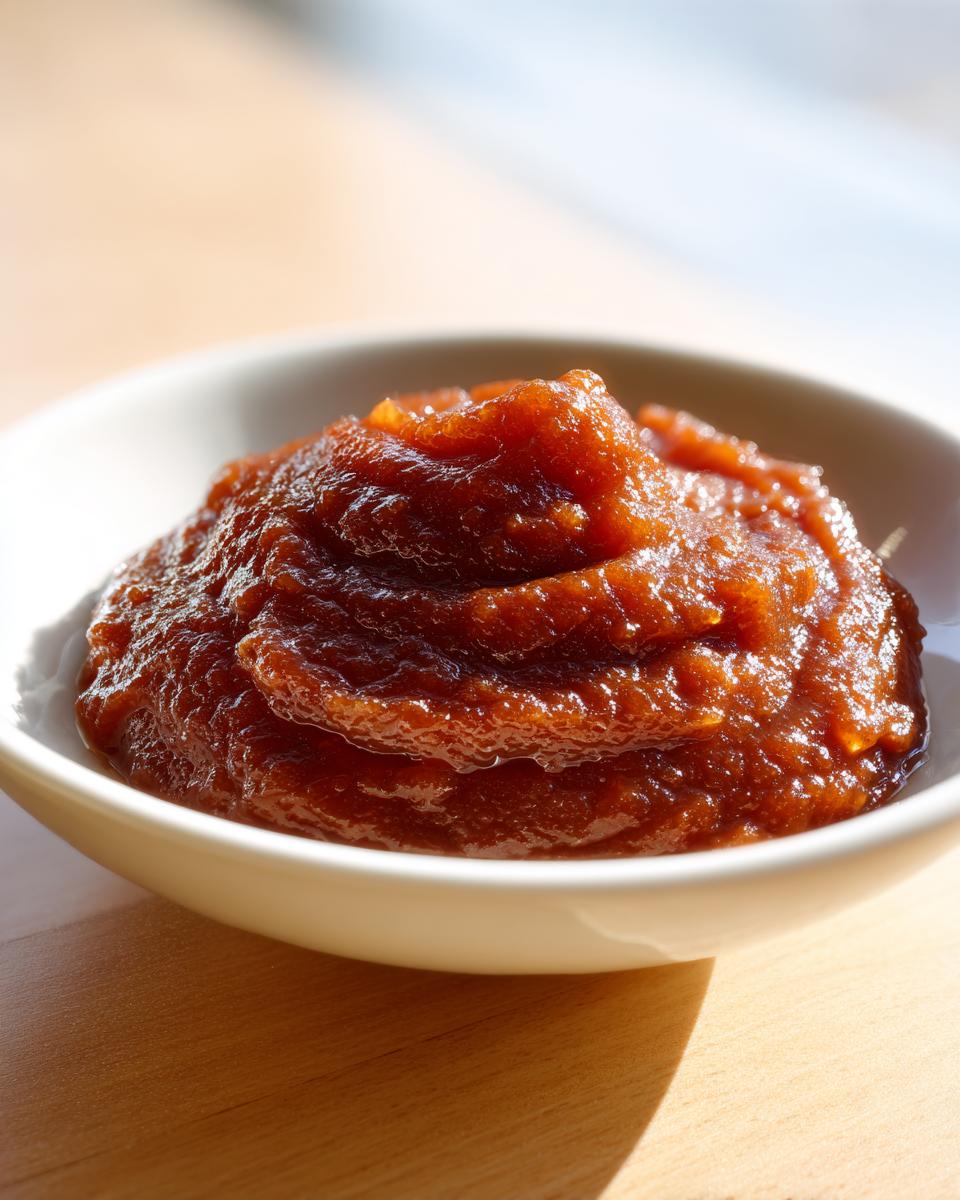
Achieving the Perfect Thick pear butter Tutorial
The secret to getting that gorgeous, thick pear butter texture—the kind that holds its shape on a biscuit—is our two-step cooking process. First, we cook them low and slow until they are mushy. Then, once pureed, we cook it again *uncovered* to let the excess moisture evaporate. This final stage is crucial for achieving that dense, glossy finish that makes this pear butter so addictive.
Gathering Ingredients for Your Homemade pear butter Recipe
Okay, let’s talk about what you need to make this fantastic pear butter! When you’re making fruit spreads, the ingredients are everything, and that starts with the right pears. We need roughly four pounds, and make sure you get them peeled, cored, and nicely quartered.
We are keeping the spice profile classic—cinnamon, cloves, and nutmeg—plus a touch of vanilla and salt. This combination really lets the pear flavor shine through in your homemade pear butter.
Ingredient Notes and Flavor Variations
For the best results, I always recommend using ripe Bartlett or Bosc pears. They have that perfect balance of sweetness and structure that breaks down beautifully in the slow cooker. If you are feeling extra adventurous, remember our Salted Caramel pear butter variation? Just swap out a quarter cup of that dark brown sugar with the same amount mixed with a little sea salt; it takes it up a notch!
Also, if you have an abundance of apples coming in from the orchard, don’t hesitate to try the Apple Pear Butter Combinations substitution I noted. Swapping one pound of pears for apples works like a charm for a slightly tangier finish. It’s all about using what you have, right?
How to Make pear butter from Scratch Using the Slow Cooker
This is where the magic happens, and honestly, it’s ridiculously simple. Because we are using the slow cooker, most of the process is waiting patiently, which is my favorite way to cook! We break this down into two main stages to ensure we get that perfect, spreadable texture for our homemade pear butter.
Phase 1: Slow Cooking and Pureeing
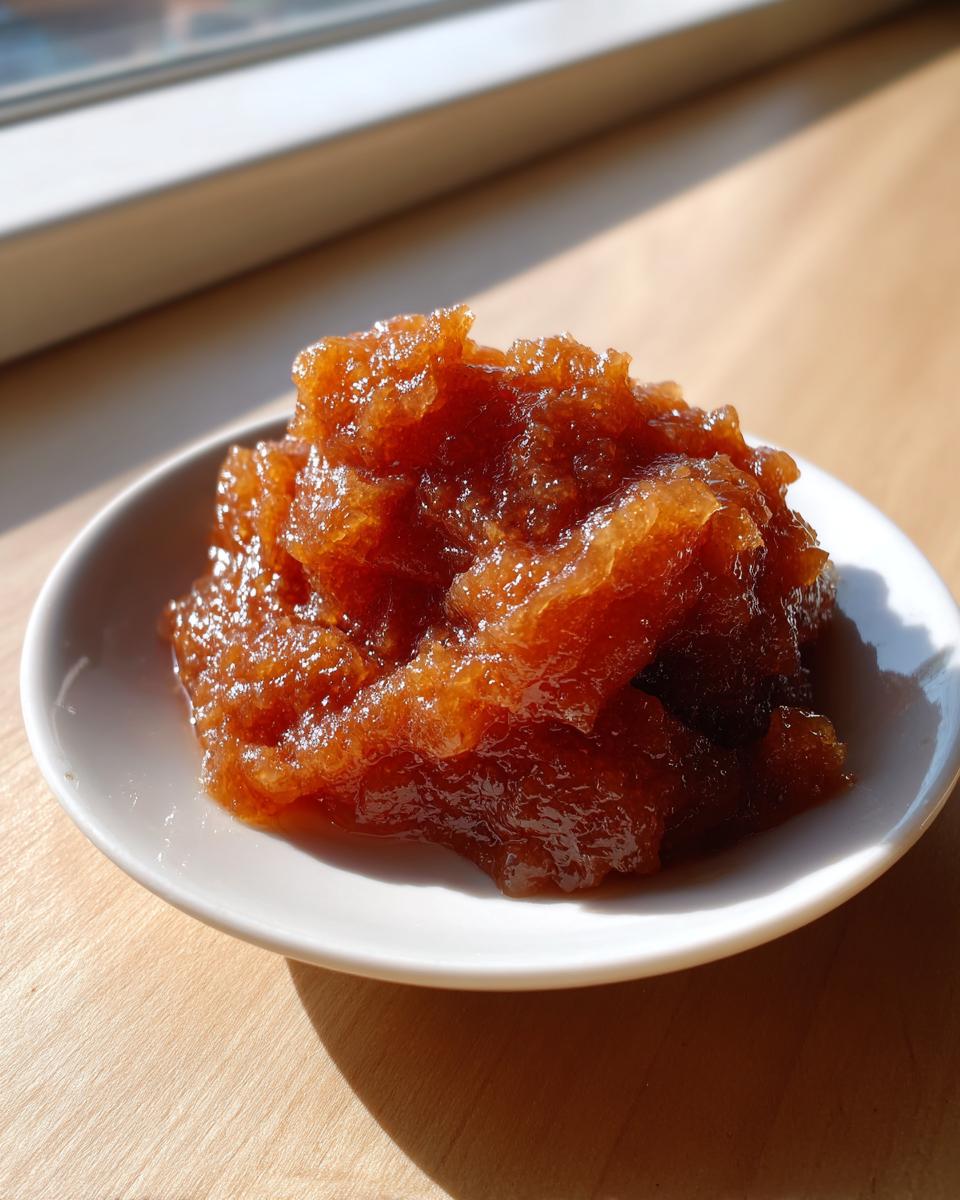
First up, toss those quartered pears, brown sugar, and water right into the pot. You are going to let this cook low for six to eight hours, or high for about three or four hours. The goal here is total breakdown—you want those pears to be falling apart tender, like sweet mush! Once they are soft, you have to puree them smooth. If you’re using a standard blender, please be careful; work in small batches because that hot fruit mixture can expand quickly and make a huge mess. If you have an immersion blender, use that right in the pot! It’s much safer and cleaner.
Phase 2: Spicing and Thickening the pear butter
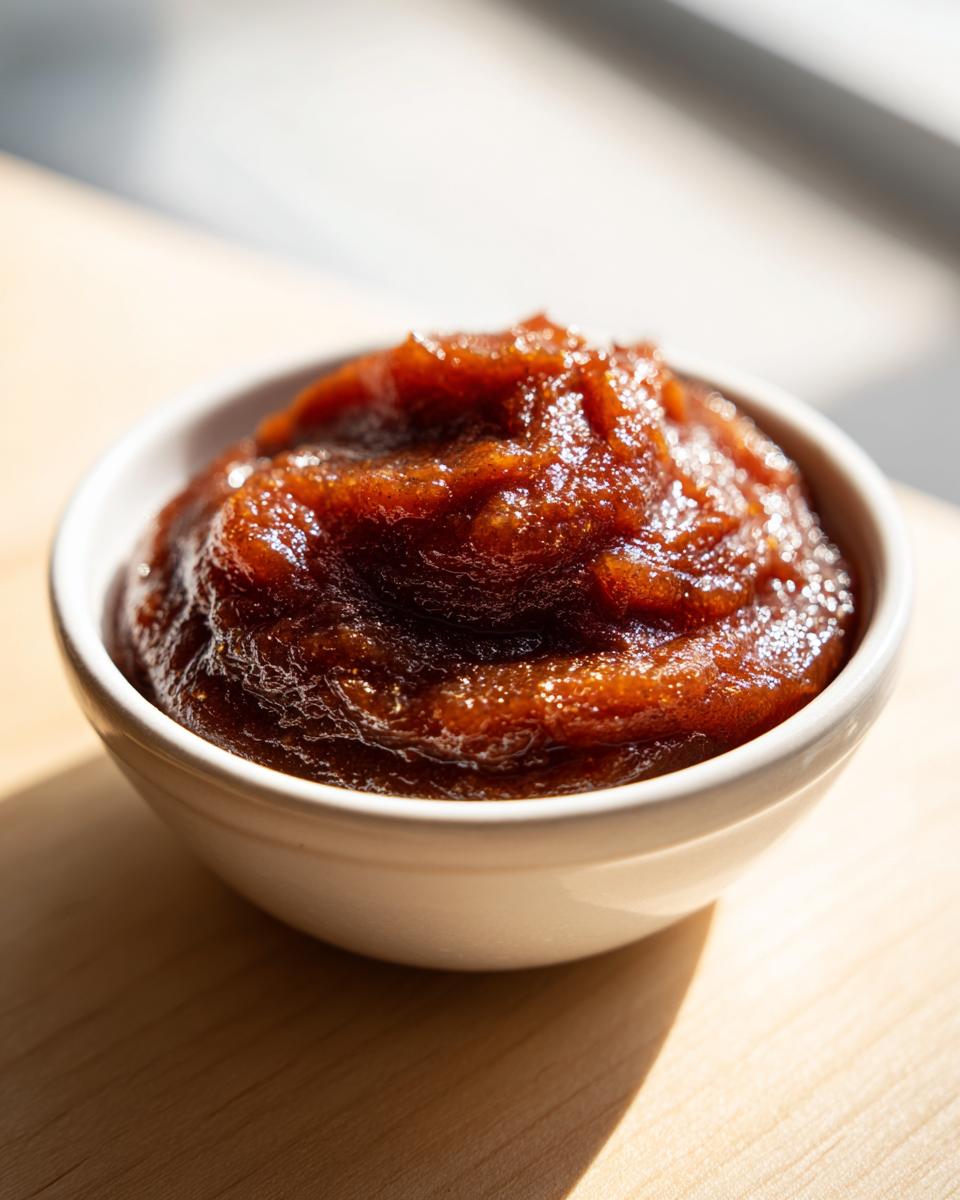
Once you have that velvety smooth puree, stir in all those wonderful spices—the cinnamon, cloves, nutmeg—along with the vanilla and salt. Now, this final step requires your attention! You return the puree to the slow cooker, but this time, you leave the lid off. We need that moisture to evaporate so your pear butter gets nice and thick. Cook it on low for another hour or two. Crucially, you must stir it every 30 minutes during this phase. If you let it sit, it will absolutely scorch on the bottom, and sad, burnt spots are no good for gorgeous preserves. You’ll know it’s ready when it looks glossy and barely moves off the spatula!
If you want to see how someone else tackles this method, check out this great Slow Cooker Spiced Pear Butter recipe for more inspiration. We often use techniques learned from other home cooks, just like when I perfected my crockpot french onion soup!
Spiced pear butter Canning Instructions for Long-Term Storage
Once you’ve made your beautiful, thick spread, you might want to put some away for those dreary winter mornings when you need a taste of fall! Canning is the key here. This is the part that requires me to pay careful attention to safety guidelines because we are preserving food, after all. It’s really straightforward if you follow the rule book for water-bath canning.
First, make sure all your jars and lids are hot and ready to go. If you need a refresher on setting up your canner or jarring equipment safely, I always refer back to my notes, just like when I preserve my homemade salsa; trust me, safe canning practices are non-negotiable!
Preparing Jars and Processing Times
When you ladle that piping hot fruit butter into the sterilized jars, you must leave exactly 1/4 inch of space at the top—that’s called headspace. Too much space, and it might not seal right! Once the rims are wiped clean (no sticky residue allowed!), put the lids on finger-tight and get those jars into your boiling water bath canner. You process them for 10 minutes. That’s it! If you live somewhere high up, remember you need to add extra time for altitude, so check those specific adjustments. After the time is up, pull them out carefully and let them sit undisturbed for a full day. You’ll hear those satisfying pings as they seal. If you love the vanilla spice addition, this canned version is perfect for gifting around the holidays; you can see another great recipe idea over at Baked in AZ!
Serving Suggestions for pear butter for Toast and Biscuits
Now that you have this gorgeous, silky pear butter, the fun part begins: eating it! Honestly, I just stand in front of the fridge with a spoon, but you should try to be more refined. This spread is incredible slathered thickly on warm toast or buttery biscuits—it’s definitely a step up from plain jam.
Because it’s so flavorful, you don’t need much. Try swirling a spoonful into your morning oatmeal or yogurt instead of plain sugar. It’s also amazing layered between slices of fresh no-yeast cinnamon bread. If you make my easy cornbread recipe, drizzle a bit of this pear butter on top instead of honey. It elevates everything!
Tips for Success When Making Gourmet pear spreads
I want your pear butter to be absolutely perfect—that glossy, melt-in-your-mouth spread we all dream of. Since we are working with natural fruit sugars, there are just a couple of quick things I learned the hard way that I want to pass along to you!
First, about the sugar. If you’re making a smaller batch or using incredibly ripe pears, you can absolutely pull back on that brown sugar. The goal is letting the pear flavor dominate! Don’t be afraid to taste it toward the end of the thickening stage and adjust just slightly. It’s your kitchen, after all.
Also, when you get to the pureeing step, the texture really matters for a gourmet spread. If you see any little flecks of skin or overly fibrous spots after blending, don’t panic! Just press that puree through a fine-mesh sieve. It takes an extra five minutes, but trust me, it creates the silkiest texture imaginable, making it perfect for drizzling over things like my pumpkin banana bread. If you want a deep dive into small-batch making, check out this excellent guide on small-batch vanilla pear butter!
Storage and Reheating Instructions
Once your fruit butter is done, how you store it depends entirely on that canning step we just talked about. If you processed your jars correctly in the water bath, you’re good to go for the long haul! Sealed jars of this delicious spread should live happily in a cool, dark pantry for up to a year. Just make sure you check that seal—if the center of the lid pops when you press it, that jar is not sealed, and you need to put it straight into the fridge.
For any jars you opened, or any leftover spread you decided not to can (maybe you just couldn’t wait to try it!), just pop those into an airtight container in the refrigerator. This fresh batch will keep well for about three to four weeks. It’s going to thicken up even more as it cools down, which is fantastic!
Now, about reheating—you rarely need to reheat it unless you are stirring it into something like oatmeal or warming up a tiny spoonful to drizzle over ice cream. If you do need it warm, just scoop out what you need into a small, microwave-safe bowl and heat it in 10-second bursts until it reaches your desired temperature. I find that even room temperature is perfect for spreading, so you might not need the microwave at all!
Frequently Asked Questions About pear butter
I know sometimes you have those lingering questions right before you start a big batch of preserves, especially when you want to make sure you get that perfect, thick pear butter texture! I’ve rounded up the things folks ask me most often about this recipe. Hopefully, this helps you feel totally confident before you even turn on that slow cooker.
Can I make this recipe using an Instant Pot pear butter setting?
Oh, absolutely you can! While this recipe is written perfectly for the slow cooker, the Instant Pot is fantastic for speeding things up. Pears break down beautifully under pressure. The initial cook time will be much shorter—you’ll likely need about 15 to 20 minutes on high pressure, followed by a natural release so the fruit doesn’t explode out when you open the valve. For the exact timing and how to do the final thickening step in the Instant Pot, I recommend checking out a dedicated pressure cooker guide so you get those times spot-on!
What is the best way to use pear butter as a homemade edible gift?
If you canned your batch, that’s already half the battle won because it’s shelf-stable! For a gorgeous homemade edible gift, layer that beautiful Vanilla Spice pear butter into a cute little half-pint jar—the size we used. Make sure you use nice labels, maybe with some twine tied around the neck of the jar. It looks rustic and gourmet all at once! People absolutely love getting something like this, especially around the holidays; it feels so much more thoughtful than a store-bought jam.
How do I adjust the sweetness if I want a Natural Sweetener Fruit Butter?
That’s a great instinct! The ripest pears have a ton of natural sugar, so you don’t always need that full cup of brown sugar. If you’re aiming for a lower-sugar option, I suggest starting by cutting the brown sugar down to 3/4 cup instead of a full cup. Then, bake it through the initial step, taste it *before* you add the spices, and see where you stand. You can always add a tiny bit more sugar in that final thickening stage if needed, but it tastes best when the pears are allowed to shine through!
If you are looking for more great breakfast ideas to top with your new spread, check out my favorite easy breakfast ideas!
Share Your Homemade pear butter Creations
That’s it, my friend! You have successfully made a beautiful, thick, comforting batch of spiced pear butter, whether you canned it all away or immediately dug into a jar warmed up on some fresh toast. I always get so excited when I hear how everyone customizes their spreads.
Did you go wild with spices? Maybe you tried that Salted Caramel variation I mentioned, or perhaps you even tried the apple and pear combination? I truly want to know! Please take a moment to leave a comment below letting me know how your batch turned out and what you are spreading it on.
If you snapped a picture, please consider sharing it! Tagging me lets me see your beautiful work and helps other home cooks feel more confident about trying this recipe next time. You can always reach out through my contact page if you have any super specific questions that didn’t get covered above. Happy preserving!
PrintEasy Slow Cooker Spiced Pear Butter with Canning Instructions
Make a silky, flavorful pear butter in your slow cooker. This recipe uses simple spices and includes directions for water-bath canning so you can store this autumn preserve.
- Prep Time: 25 min
- Cook Time: 9 hr
- Total Time: 9 hr 25 min
- Yield: About 4 half-pint jars 1x
- Category: Preserves
- Method: Slow Cooker
- Cuisine: American
- Diet: Vegetarian
Ingredients
- 4 pounds ripe pears (such as Bartlett or Bosc), peeled, cored, and quartered
- 1 cup packed brown sugar
- 1/2 cup water
- 1 teaspoon ground cinnamon
- 1/4 teaspoon ground cloves
- 1/4 teaspoon ground nutmeg
- 1 teaspoon pure vanilla extract
- 1/4 teaspoon salt
Instructions
- Place the peeled, cored, and quartered pears, brown sugar, and water into your slow cooker.
- Cook on low for 6 to 8 hours, or on high for 3 to 4 hours, until the pears are very soft. Stir occasionally.
- Carefully transfer the cooked pear mixture to a blender or use an immersion blender to puree until completely smooth. Work in batches if necessary.
- Return the puree to the slow cooker. Stir in the cinnamon, cloves, nutmeg, vanilla extract, and salt.
- Continue cooking on low, uncovered, for another 1 to 2 hours, stirring every 30 minutes, until the mixture has thickened significantly and resembles a spreadable butter.
- To serve immediately, let cool slightly and use on toast or biscuits.
- For water-bath canning: Prepare your canning jars, lids, and water bath canner according to standard safety procedures.
- Ladle the hot pear butter into hot, sterilized canning jars, leaving 1/4 inch headspace. Wipe rims clean.
- Place lids on jars and process in a boiling water bath canner for 10 minutes (adjust time for altitudes above 1,000 feet).
- Remove jars and let them cool undisturbed on a towel for 12 to 24 hours to seal. Check seals before storing.
Notes
- For a Salted Caramel Pear Butter variation, replace 1/4 cup of the brown sugar with 1/4 cup of packed light brown sugar mixed with 1/2 teaspoon of sea salt.
- If you prefer a smaller batch, halve all ingredients and use a smaller slow cooker or cook on the stovetop over low heat, stirring frequently until thick.
- To make an Apple Pear Butter combination, substitute 1 pound of the pears with 1 pound of tart apples, peeled and cored.
- This homemade pear butter makes an excellent edible gift when properly canned.
Nutrition
- Serving Size: 2 Tablespoons
- Calories: 85
- Sugar: 20g
- Sodium: 15mg
- Fat: 0g
- Saturated Fat: 0g
- Unsaturated Fat: 0g
- Trans Fat: 0g
- Carbohydrates: 22g
- Fiber: 2g
- Protein: 0g
- Cholesterol: 0mg