
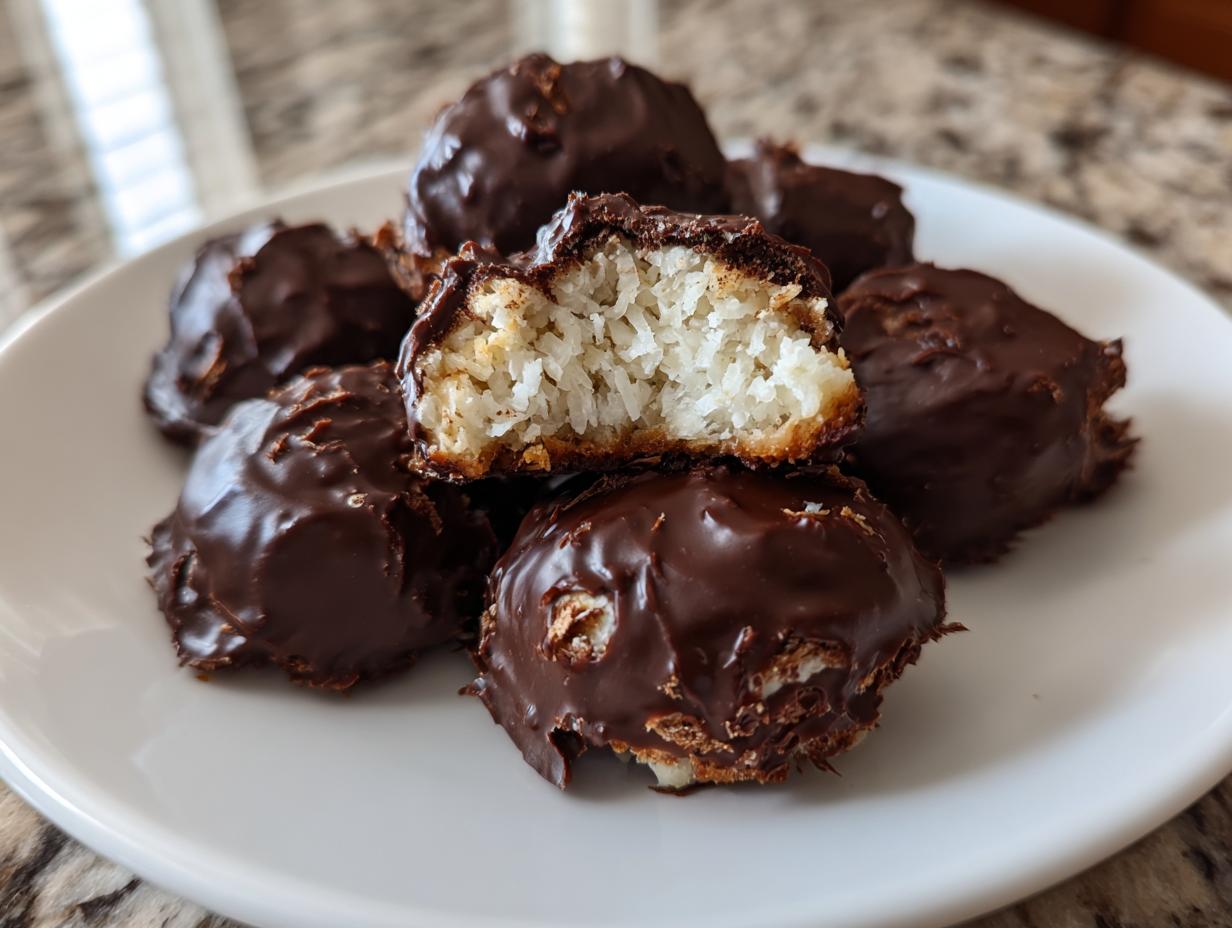
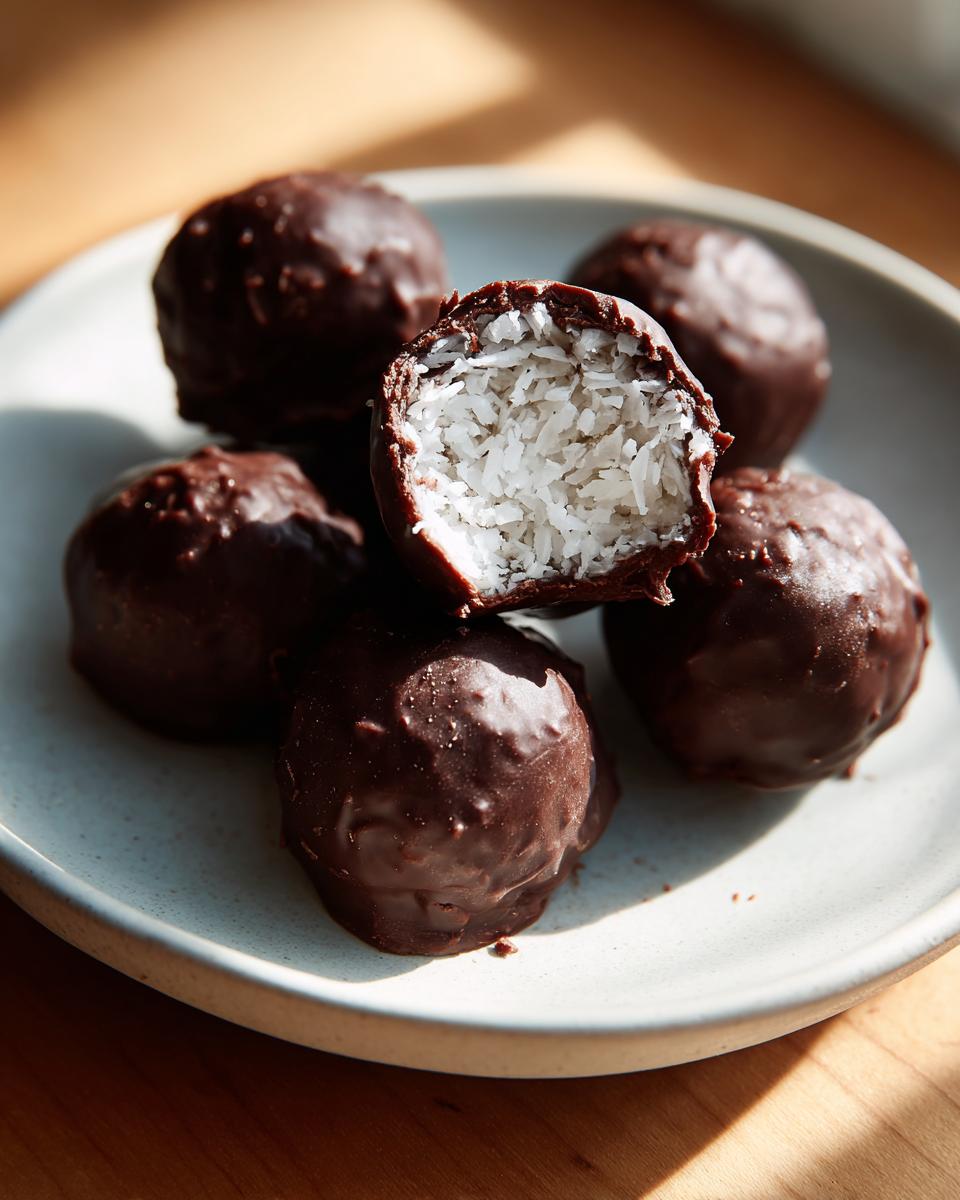
Do you ever get that fierce, specific craving for something sweet that reminds you of childhood, but you just don’t have time for a huge baking project? Trust me, I live for those moments now that my schedule is crazy! That’s why I’m obsessed with these almond joy truffles. We’re talking creamy coconut filling, a whole almond crunch, and rich dark chocolate—all in one bite. The best part? They are truly no-bake and use just four core ingredients. For me, these quick dessert bites represent the kind of honest, simple cooking I want to bring back into my kitchen. They come together so fast, proving you don’t need hours to create something truly decadent.
- Why You Will Make These Easy Almond Joy Truffles
- Gathering Ingredients for Your Almond Joy Truffles
- Step-by-Step Guide to Making No Bake Coconut Filling
- Mastering the Chocolate Dip for Homemade Chocolate Truffles
- Tips for Perfect Almond Joy Truffles Every Time
- Serving and Storing Your Homemade Candy
- Variations on the Classic Almond Joy Truffles
- Frequently Asked Questions About These Copycat Candy Bar Recipes
- Estimated Nutritional Data for These Decadent Dessert Bites
- Share Your Homemade Almond Joy Truffles Creations
Why You Will Make These Easy Almond Joy Truffles
Honestly, there are so many reasons why I keep this recipe tacked right above my spice rack. I know you’re busy, so I promise these quick dessert bites deliver huge flavor payoff for practically zero effort. You’ll see why they stand out among all the other homemade candy recipes.
-
Quick Assembly: Perfect for Last-Minute Needs
We’re talking mix, roll, dip, done! Since these are no-bake candy, the time spent actively working is seriously minimal. You can whip up a batch right before guests arrive, I promise!
-
True Copycat Candy Bar Taste
It takes me right back to being a kid. This recipe nails that trifecta: the sweet coconut, the crunch of the almond, and the satisfying snap of the chocolate coating. It’s one of my favorite copycat candy bar recipes because it just works so well.
-
Minimal Ingredients for Maximum Impact (4 Ingredient Desserts)
That’s right—we are sticking to just four core items for the truffle itself! This is what makes it one of my go-to 4 ingredient desserts for when I need to show up with something impressive without stress.
Gathering Ingredients for Your Almond Joy Truffles
The beauty of these coconut almond chocolate treats is how few things you need to pull together. Since this is such a simple recipe, the quality of what you use really shines through! I’ve standardized mine to use the exact measurements so you don’t have to guess, which is essential when you’re making homemade chocolate truffles.
The Coconut Almond Chocolate Treats Base
For the chewy, tropical center, you’ll need unsweetened shredded coconut. Please use shredded, not flaked—the texture is just different! Then, grab your smooth almond butter and the maple syrup. I stick to maple syrup because I love the hint of depth it adds, but you can certainly use agave if that’s what you keep stocked. This mixture binds everything up beautifully.
Coating and Topping for Perfect Almond Joy Truffles
Next up is the coating. I prefer dark chocolate chips because the slight bitterness balances the sweetness of the coconut filling, but using semi-sweet or milk chocolate works too if you like things sweeter! Lastly, don’t forget the whole almonds. These sit right on top after dipping and give you that necessary, satisfying crunch we all expect.
Step-by-Step Guide to Making No Bake Coconut Filling
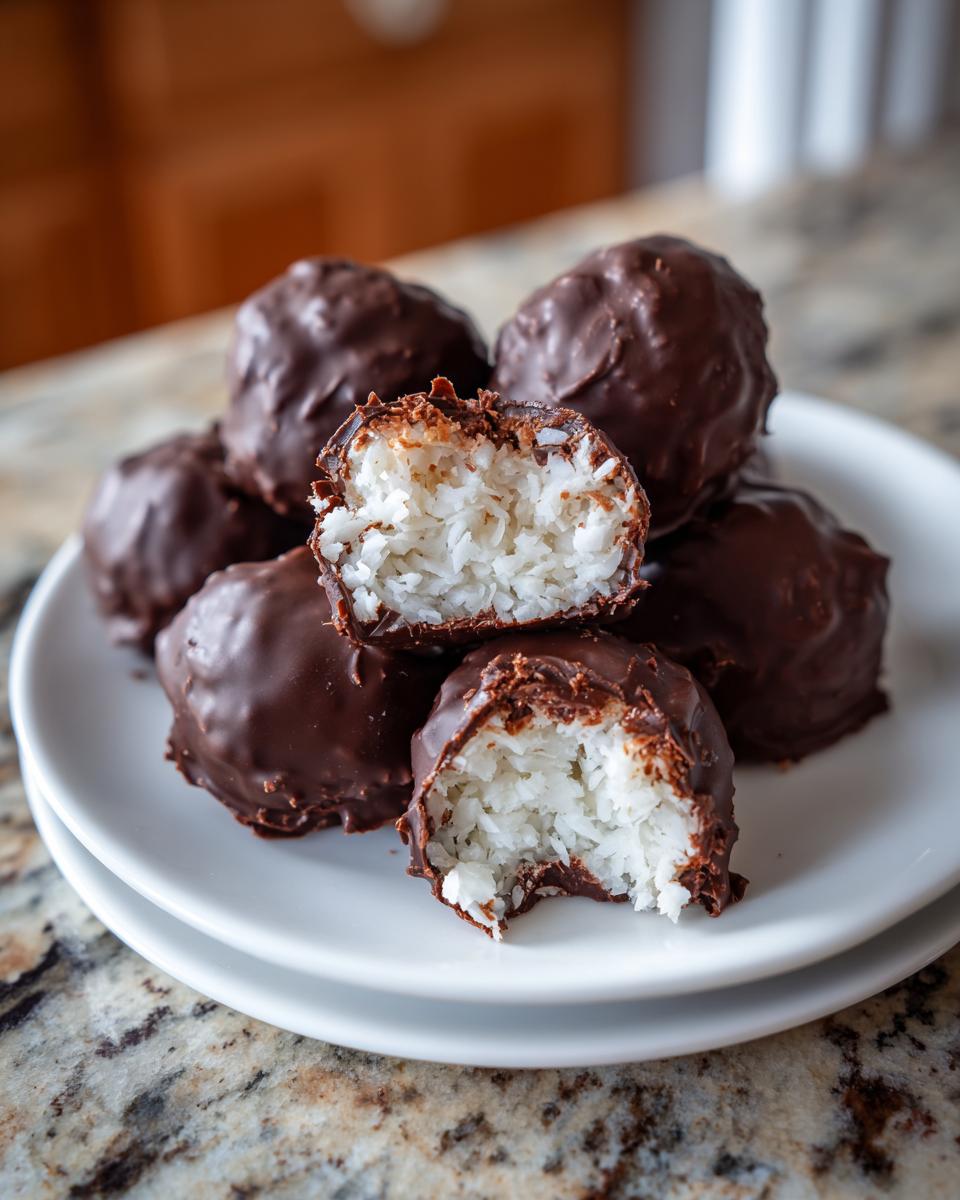
Okay, let’s get into the real fun—building that perfect, chewy center for our almond joy truffles. This is where the magic happens, and honestly, it’s the easiest part of the whole adventure. We are aiming for a really cohesive, sticky dough that holds together perfectly once it chills.
Mixing the Dough for Your Almond Joy Truffles
Grab that bowl with your coconut, almond butter, and maple syrup. I always dump them all in at once. Now, you need to mix thoroughly. I use a firm spatula—not an electric mixer here! You really need to work the almond butter through the dry coconut until everything is distributed. My tip? Keep mixing even when you think it’s done; you want zero dry patches left. If you do it right, it shouldn’t look like loose coconut anymore; it should clump together when you squeeze a handful.
Forming and Setting the Truffle Centers
Once that no bake coconut filling is unified, start rolling. I aim for about one inch across—think a generous bite size. Lay them out on your parchment-lined sheet. Then comes the signature touch: gently press one whole almond right into the center top of each ball. This is key for the full candy bar experience! Pop that entire tray into the freezer for a quick 15 minutes. Don’t skip the chill time! That cold solidifies the filling just enough so it won’t fall apart when we dip it into the warm chocolate later.
Mastering the Chocolate Dip for Homemade Chocolate Truffles
This next stage is what turns our little coconut nests into beautiful, decadent dessert bites. Getting that chocolate coating smooth and shiny is crucial—nobody wants lumpy chocolate on their homemade chocolate truffles! You have options here, but my go-to for speed is the microwave. Just remember, chocolate scorches faster than you think, so patience is key!
Melting Chocolate Smoothly
If you are using the microwave, put your dark chocolate chips in a microwave-safe bowl. Heat it in short bursts—I swear by 30-second intervals. After each 30 seconds, take the bowl out and stir it really well, even if it doesn’t look melted yet. That stirring distributes the heat and prevents those weird hot spots that burn the bottom. Keep going and stirring until it’s mostly melted and smooth. If you prefer, a double boiler works too, but honestly, this microwave method is so reliable for these easy truffle recipes.
Coating the Frozen Coconut Almond Chocolate Treats
Once your chocolate is gorgeous and glossy, grab those rock-hard, frozen truffle centers. Drop one ball right into the melted chocolate. Use a fork or a dipping tool to roll it around until it’s thoroughly coated. You need to get rid of the extra chocolate so the coating isn’t too thick. Gently lift the truffle out, let it hang over the bowl for just a second, and then tap the fork softly against the side of the bowl so the excess drips off. Place it right back onto your waiting parchment paper sheet.
Tips for Perfect Almond Joy Truffles Every Time
Even though this is one of the easiest recipes I know, things can sometimes go a little sideways, especially when you’re working with coconut and sticky binders. Don’t panic if your dough isn’t holding shape right away! Building confidence in the kitchen is what this whole site is about. If you stick to these little adjustments, you’ll keep making fantastic delicious dessert recipes.
Adjusting the Coconut Filling Consistency
If your mixture looks crumbly, dry, or just won’t stick together when you squeeze it, it means one thing: the coconut needs a little extra moisture. I always keep a tiny bit of hot water handy and add it just a teaspoon at a time until it binds into that sticky dough. If it feels too wet, then add another tablespoon of your shredded coconut. If you’re having trouble getting things to clump, sometimes a teaspoon of coconut oil helps bring it all together beautifully so you can roll those perfect centers.
Choosing the Right Chocolate for Your Almond Joy Truffles
I built this almond joy truffles recipe around dark chocolate because I love that deep contrast, but you absolutely don’t have to stick to it! If you like your treats sweeter—maybe for a little kid event or just your personal preference—switch to a good quality milk chocolate chip. Semi-sweet is a nice middle ground. Whichever you pick, make sure it’s a brand you enjoy eating on its own, because that flavor will definitely carry through to your simple sweet treats.
Serving and Storing Your Homemade Candy
We’re almost there! Once you’ve dipped those beauties, you need to let that gorgeous chocolate coating set up properly. These treats are fantastic as easy chocolate gifts, especially around the holidays, so setting them up right for storage is key. You want them firm and ready to present when it’s time to share your incredible holiday candy ideas!
Setting the Chocolate Coating
After you’ve dipped your frozen coconut balls, they need to chill down properly so the chocolate doesn’t crack when you pick them up. I always slide the tray right back into the refrigerator and set a timer for at least 30 minutes. That gives the coating plenty of time to harden up firm. If your kitchen is super warm, you might need 45 minutes, but don’t rush it!
Airtight Storage for Best Flavor
These are surprisingly robust, but I definitely find they taste the freshest within a few days. Keep them in an airtight container—I usually layer them between sheets of wax paper if I have a lot. Luckily, they store really well in the refrigerator for about a week. Just make sure that lid is sealed tight so they don’t absorb any weird fridge smells!
Variations on the Classic Almond Joy Truffles
Part of the fun of making your own candy is being able to tweak it just a little bit so it feels totally yours! While these almond joy truffles are perfect as written, they are also a wonderful base for experimenting. I love swapping things up, especially when I make a big batch for gifting. These little changes can turn a simple sweet treat into something unexpectedly special. Think of these as the starting point for your own fantastic dessert bites!
Swapping the Nut Component
The whole almond on top is iconic, but you are not locked into that one nut if you don’t want to be! If you’re not a huge almond eater, try pressing a small cashew or even a pecan half into the center before you freeze them. You get that essential crunch, but the flavor profile shifts just slightly. Don’t go too big on the nut, though; you still want that chocolate layer to seal it in nicely.
Flavor Infusions in the Coconut Filling
If you want to really lean into that tropical dessert recipes vibe, try tossing a tiny bit of flavor right into the coconut mixture when you first combine the ingredients. Just one single drop of pure vanilla extract makes a world of difference in the almond butter base. Or, if you really want to punch up the nut flavor without changing the topping almond, add just a touch of almond extract. Be careful, though—extracts are strong! A little goes a very long way here.
Frequently Asked Questions About These Copycat Candy Bar Recipes
I get so many questions whenever I share this recipe, mostly because people are amazed at how easy these almond joy truffles are! Since we are aiming for those perfect copycat candy bar recipes at home, I wanted to clear up the most common things I hear. If you have any other burning questions, check out my main index for more easy truffle recipes!
Can I use sweetened coconut instead of unsweetened?
You certainly can, but be warned! Unsweetened coconut is what balances out the sweetness from the maple syrup and the chocolate coating. If you use sweetened, the final product might taste overly sugary for your palate. If you do use sweetened coconut, I’d suggest cutting the maple syrup down by about half, maybe just start with two tablespoons, and taste your mixture before rolling.
Can these almond joy truffles be made vegan?
Yep, this is already a super friendly recipe for vegetarian and often vegan sweets! The coconut and maple syrup are naturally fine. The key check is your chocolate chips—make sure whatever brand you choose for melting doesn’t contain any milk solids or butterfat. Most high-quality dark chocolate chips are dairy-free, but you always have to check that label!
What is the best way to get a smooth chocolate coating?
The smoothness always comes down to two things, and you’ve probably guessed them: temperature and texture! First, make sure your centers are absolutely rock hard from the freezer; cold filling prevents the warm chocolate from dissolving the coconut mixture. Second, take your time melting the chocolate and stir until every single chip is completely smooth before you even think about dipping. No lumps allowed!
Estimated Nutritional Data for These Decadent Dessert Bites
Since we are making these delicious treats right here in our own kitchens, the exact counts can change based on the brands of chocolate or almond butter we use. But for guidance when you’re thinking about serving these almond joy truffles, I’ve run the numbers based on what I use. These are just estimates, so please keep that in mind!
- Serving Size: 1 truffle
- Calories: 150
- Sugar: 12g
- Fat: 10g
This is just a ballpark, of course, since making homemade candy means we control the ingredients, which is the best part! They are certainly worth every single calorie when you nail that perfect coconut-almond balance.
Share Your Homemade Almond Joy Truffles Creations
Now comes the best part—seeing what you all created! When I look back at my grandma’s kitchen, the real joy wasn’t just the food, it was the sharing. It was seeing someone light up after taking that first bite of something I made with care. That’s the spirit I hope you take away from making these almond joy truffles.
I truly hope these easy truffle recipes become something you make again and again. If you tried this recipe and it just blew your mind—or if you had a funny little kitchen mishap, I want to hear about all of it! Please take a moment to leave a star rating right down below the instructions. Those ratings really help others decide if they should dive in to make these quick dessert bites!
And seriously, if you snapped a beautiful picture of your finished coconut almond chocolate treats, tag me on social media! I absolutely love seeing your work. It validates every hour I spend testing and writing these recipes to make sure they work perfectly for you, just like this one from Written Reality did for me. Come back soon and check out the ‘About’ page to read a little more about our philosophy here at MDLATDMM Recipes—it’s all about finding that connection back home through simple food!
PrintEasy 4-Ingredient Almond Joy Truffles

Make these simple, no-bake Almond Joy truffles that taste just like the candy bar. This recipe uses only four ingredients for a quick, decadent dessert bite perfect for gifting or parties.
- Prep Time: 20 min
- Cook Time: 5 min
- Total Time: 25 min
- Yield: About 20 truffles 1x
- Category: Dessert
- Method: No Bake
- Cuisine: American
- Diet: Vegetarian
Ingredients
- 2 cups unsweetened shredded coconut
- 1/2 cup almond butter
- 3 tablespoons maple syrup
- 1 cup dark chocolate chips
- 1/2 cup whole almonds (for topping)
Instructions
- Combine the shredded coconut, almond butter, and maple syrup in a medium bowl. Mix until the ingredients form a sticky dough.
- Roll the coconut mixture into small balls, about one inch in diameter. Press one whole almond lightly into the top center of each ball.
- Place the formed balls on a baking sheet lined with parchment paper. Freeze for 15 minutes to firm up.
- Melt the dark chocolate chips in a microwave-safe bowl in 30-second intervals, stirring until smooth.
- Dip each frozen coconut ball into the melted chocolate, ensuring it is fully coated. Return the coated truffles to the parchment-lined sheet.
- Refrigerate the finished Almond Joy truffles for at least 30 minutes, or until the chocolate coating is set.
Notes
- For a richer flavor, use semi-sweet or milk chocolate instead of dark chocolate for the coating.
- If your coconut mixture is too dry to hold together, add one teaspoon of water or coconut oil at a time until it binds.
- These homemade chocolate truffles store well in an airtight container in the refrigerator for up to one week.
Nutrition
- Serving Size: 1 truffle
- Calories: 150
- Sugar: 12g
- Sodium: 15mg
- Fat: 10g
- Saturated Fat: 6g
- Unsaturated Fat: 4g
- Trans Fat: 0g
- Carbohydrates: 15g
- Fiber: 2g
- Protein: 3g
- Cholesterol: 0mg