
We’ve all been there, right? You pull that beautiful baked chicken breast out of the oven, ready for a simple weeknight dinner, and it’s drier than the Sahara. Ugh! It’s the absolute worst feeling when you’re just trying to get a quick, healthy meal on the table. That’s why I spent ages testing methods in my own kitchen to make sure this recipe is foolproof. Here at MDLATDMM Recipes, Maddie Thompson is obsessed with giving you reliable food that tastes like home, and this ultimate juicy garlic butter version is the answer to all your dry chicken drama. Trust me, this changes everything! If you want to read more about our commitment to honest home cooking, check out our story here.
- Why This Garlic Butter Baked Chicken Breast Recipe Works Every Time
- Gathering Ingredients for Your Perfect Baked Chicken Breast
- Step-by-Step Instructions for Easy Oven Baked Chicken
- Making This the Best Baked Chicken Recipe for Meal Prep Chicken Breast
- Serving Suggestions for Your Quick Chicken Dinner Idea
- Storage and Reheating Instructions for Leftover Baked Chicken Breast
- Answering Common Questions About Oven Baked Poultry
- Nutritional Estimate for This Simple Seasoned Chicken
- Share Your Ultimate Juicy Baked Chicken Breast Experience
Why This Garlic Butter Baked Chicken Breast Recipe Works Every Time
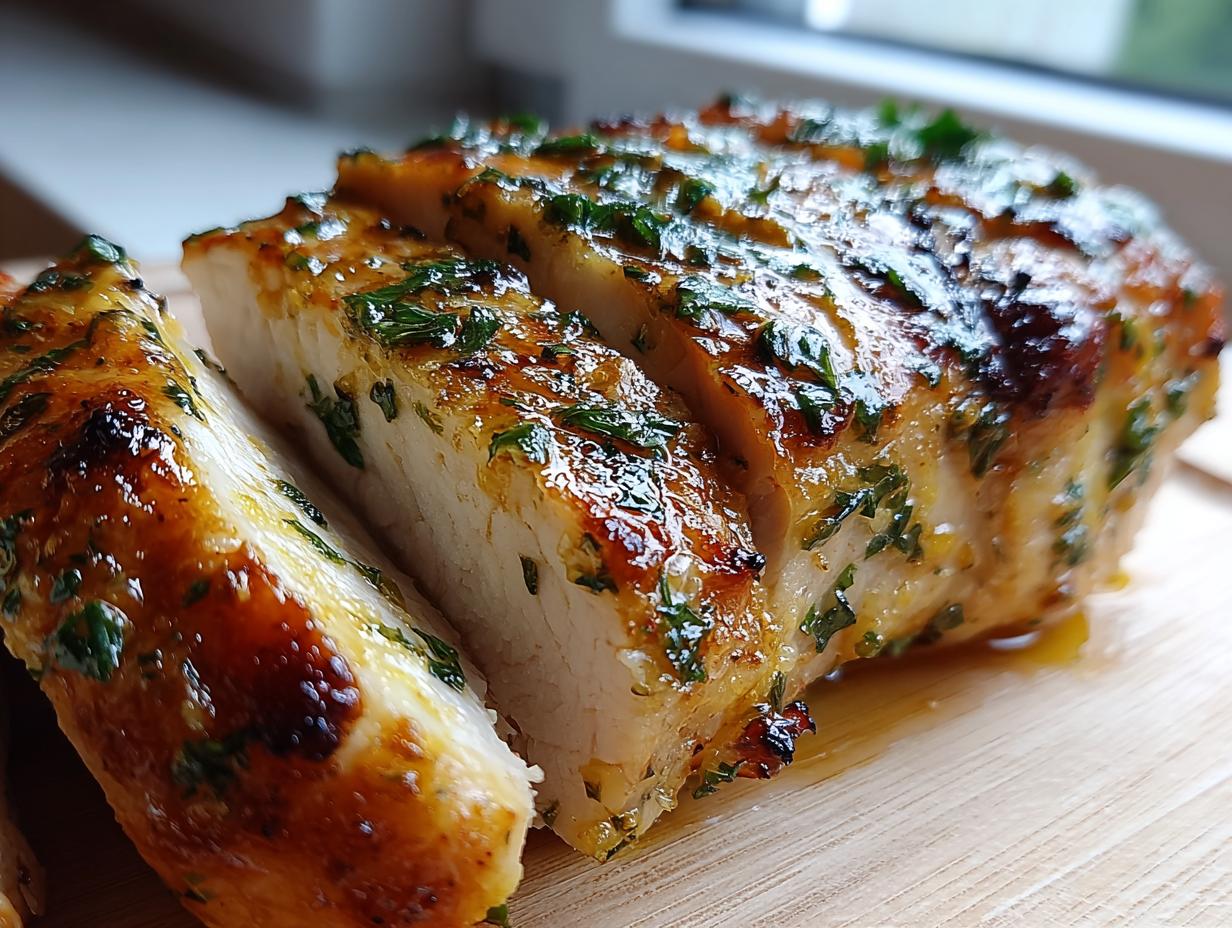
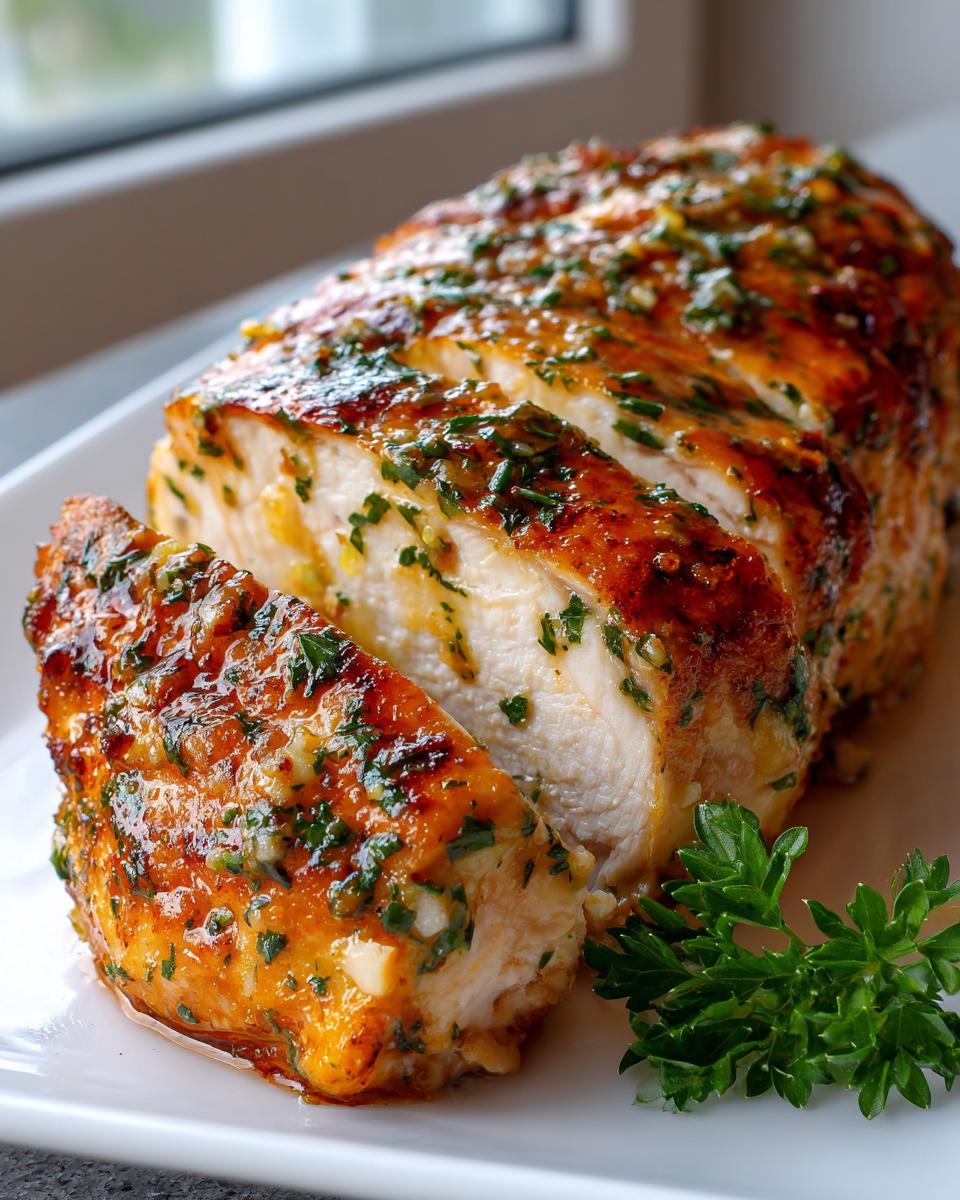
If you’ve been hunting for a truly reliable Juicy Baked Chicken Breast, stop looking right now! This method solves the mystery of chicken breast turning rubbery halfway through cooking. My secret weapon is the thick layer of soft, garlicky butter we slather on top before it even sees the oven. It’s genius, really. That butter melts down slowly, basting the meat and creating an edible, flavor-packed seal. It’s exactly what you need for a streamlined and delicious Weeknight Chicken Breast that tastes like you spent all afternoon tending to it.
We keep the oven temperature high enough—400°F—so we aren’t waiting forever, but we compensate for that quick cook time with simple science.
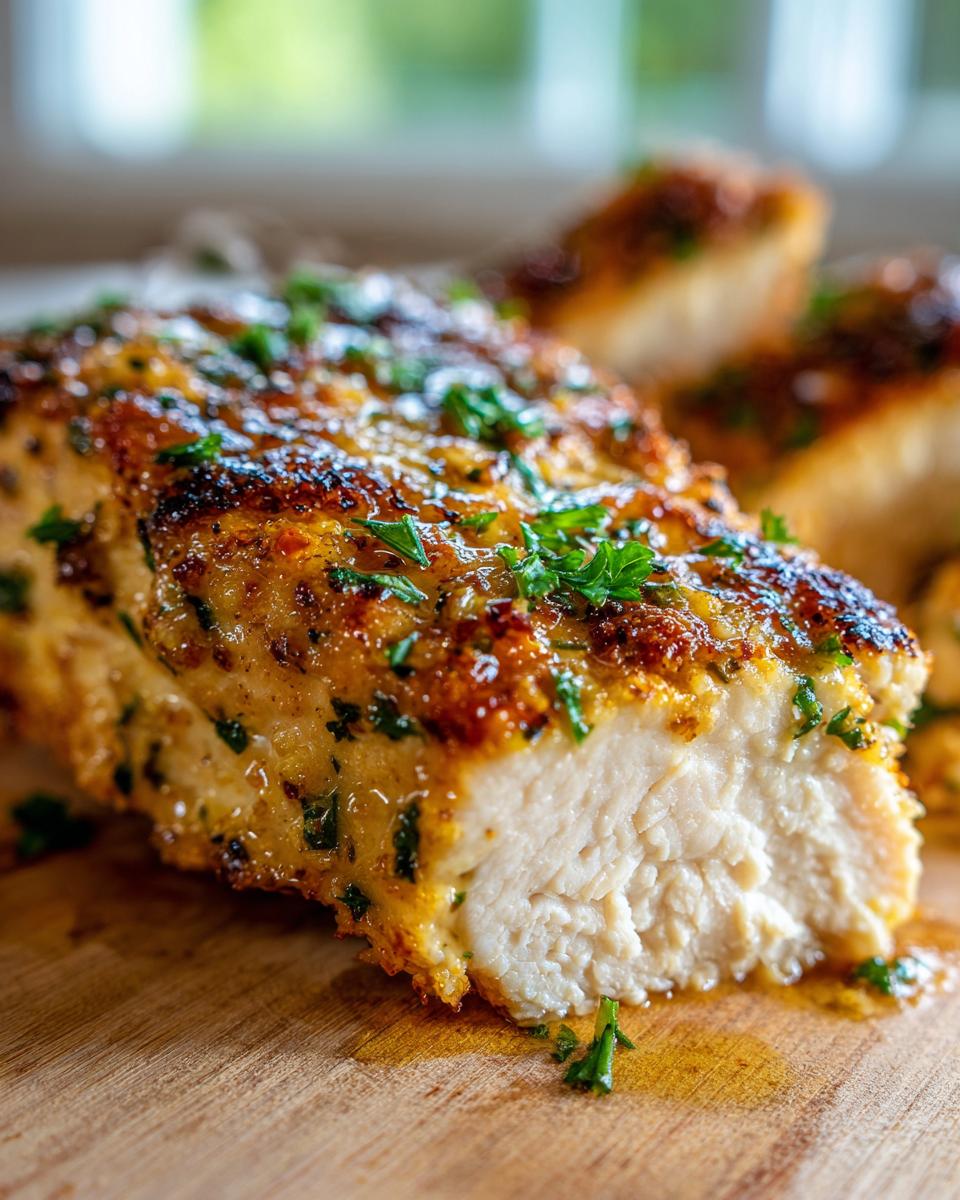
Achieving Melt In Your Mouth Chicken Texture
It all comes down to two things: preventing moisture loss and respecting the rest time. The butter coating helps lock in those precious juices, but the real magic happens after it leaves the heat. You absolutely must let your chicken rest for five minutes! Seriously, walk away! If you slice into the Tender Chicken Breast Recipe instantly, all those cooked juices just run out onto your plate. Resting lets the muscle fibers relax and redistribute that moisture so you get that incredible Melt In Your Mouth Chicken experience every single time. You can find lots of quick dinner wins like this when you check out our guide to fast weeknight meals.
Gathering Ingredients for Your Perfect Baked Chicken Breast
Okay, let’s get the good stuff ready! Because this recipe is so simple, the quality of your core ingredients really shines through. You don’t need a ton of fancy spices here—we are letting the garlic butter do the heavy lifting for that amazing Garlic Butter Baked Chicken flavor. I need you to grab four boneless, skinless chicken breasts. Try to get them relatively similar in size so they cook at the same speed. That’s half the battle solved!
The butter has to be soft, not melted. I mean it! Take it out about an hour before you plan to mix it up. We need to beat that butter until it’s creamy so it mixes perfectly with the garlic and the Italian seasoning. And please, use real garlic, minced nice and fine! That pre-minced stuff in the jar just doesn’t have the same pop. These simple components make this one of the most satisfying ways to prepare baked chicken breast.
Ingredient Notes and Substitutions for Baked Chicken Breast
One of the best parts about this preparation is how cleanly it fits into specific eating plans. Because we aren’t adding flour or sugar to the main coating, this is automatically a fantastic option for a Healthy Baked Chicken that keeps everyone happy. It works beautifully for anyone keeping things Keto or Gluten Free, which is such a relief when you’re just trying to get dinner done!
What if you’re avoiding dairy? Don’t worry at all! You can totally pivot this recipe. Just swap out the four tablespoons of butter for four tablespoons of good olive oil. Then, mix your minced garlic, seasonings, salt, and pepper directly into the oil. It won’t get quite as thick and spreadable, but it will coat the chicken just fine and give you a wonderfully moist result. We love making reliable food for everyone!
Step-by-Step Instructions for Easy Oven Baked Chicken
Okay, time to get mixing! Even though these instructions are straightforward, following the order I lay out here is key to making sure you succeed with this Easy Oven Baked Chicken. First things first, get that oven cranking up to 400 degrees Fahrenheit—you want it fully heated before anything else goes in. While it’s warming up, quickly grease that baking dish or, if you’re like me when I’m facing a big week, line it with parchment paper for zero scrubbing later. You can dive into healthy lunch ideas after you nail this dinner!
Next up is that glorious garlic butter spread. Mix your softened butter, minced garlic, Italian seasoning, salt, and pepper in a small bowl until it’s all smooth and uniform. Now, pay attention here: take those chicken breasts and pat them down super thoroughly with paper towels. Seriously! If they are wet, the seasoning slides right off, and you won’t get that nice golden sear we want. Once they’re dry, nestle them into your prepared dish and then generously smother the top of each piece with that garlic butter mixture.
Into the oven they go! Set your timer for 20 minutes to start, but remember, thickness matters! You need to check the internal temperature when the time is up.
Tips for How to Bake Chicken Breast Perfectly
The secret to getting that beautiful Moist Baked Breast isn’t just about the butter; it’s about knowing when to pull it out and respecting the carryover cooking time. You are aiming for an internal temperature of 165 degrees Fahrenheit right in the thickest part of the breast. Don’t trust the clock alone; always use a meat thermometer for accuracy!
If you have breasts that vary a lot in thickness—maybe one is plump and one is thin—here’s a trick my mom taught me for How to Bake Chicken Breast Perfectly: wrap the thinner ends in a tiny square of foil as they start to look done, or use a mallet to gently pound the thicker end until it’s closer to the thin end’s size. This makes sure everything finishes cooking together!
But the ABSOLUTE most critical step for tenderness? The rest! Once they hit 165°F, pull them out immediately and just let them sit in the dish (no peeking!) for a full five minutes. This lets the juices settle back into the meat, ensuring every bite is tender. I even looked up someone else who swears by this method over at Platings + Pairings! Trust me on the resting part—it makes a massive difference.
Making This the Best Baked Chicken Recipe for Meal Prep Chicken Breast
I know life gets busy, and sometimes cooking a fresh dinner every single night just isn’t realistic. Believe me, I’ve been there staring down a pile of Tupperware hoping yesterday’s leftovers will taste good! The great news is that this specific formulation for baked chicken breast holds up amazingly well for making your life easier later in the week. It might just be the Best Baked Chicken Recipe for those of you focusing on Meal Prep Chicken Breast.
Because we used that protective garlic butter coating and ensured the chicken was rested properly before storing, it retains moisture so much better than plain baked chicken. It reheats beautifully, which is the real test of a great meal prep item, isn’t it?
I often make a double batch on Sunday—one batch for dinner that night, and the other gets tucked away for quick lunches or emergency dinners. It’s so satisfying to open the fridge mid-week and already have perfectly cooked, flavorful protein ready to go. Maybe you pair it with some fluffy rice—you can check out some great sides in my baked chicken and rice ideas post!
Serving Suggestions for Your Quick Chicken Dinner Idea
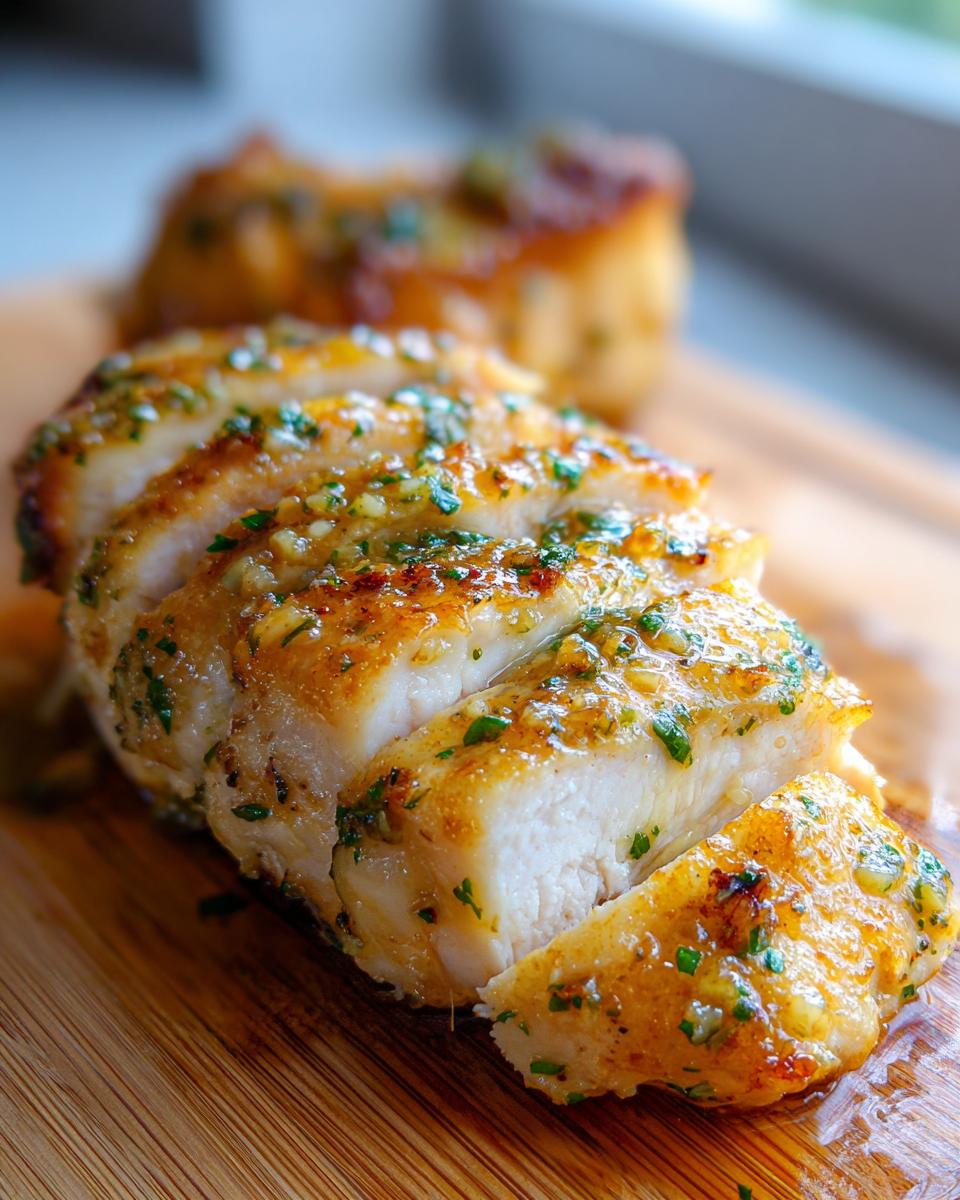
Once that beautiful, juicy chicken rests, it’s time to eat! The great thing about this Garlic Butter Baked Chicken is that it plays so nicely with almost anything you already have in the fridge. Since we are all about making this a Fast Dinner Chicken Recipe, I usually lean toward sides that cook almost as fast as the chicken itself.
My go-to is roasting some quick vegetables. Broccoli florets toss perfectly with a little olive oil, salt, and pepper, and they can roast right alongside the chicken for the last 15 minutes if you arrange them strategically on the same pan. If you prefer potatoes, you have to try my recipe for crispy oven-roasted potatoes—they come out just golden and fluffy, similar to the texture we avoid in dry chicken breast!
If you’re trying to keep things lighter or cooler, a simple side salad works wonders. Just use a bright vinaigrette—something with a little lemon or red wine vinegar—to cut through that richness of the garlic butter. Honestly, sometimes I just slice the chicken up and serve it over a bed of quick-cooking quinoa or rice. It’s a balanced, satisfying plate in under 40 minutes flat, making it perfect for those crazy Tuesday evenings!
Storage and Reheating Instructions for Leftover Baked Chicken Breast
Now, unless you’re cooking for a very small crowd, you’re probably going to have some leftovers, and thank goodness for that! Having this prepped chicken around makes assembling lunch the next day a total breeze. When you’re done enjoying your fantastic baked chicken breast, the key to keeping it tasting great tomorrow is proper storage. Make sure you let the chicken cool down slightly on the counter—don’t put piping hot meat directly into the fridge, as it traps steam and can ruin the texture.
Once it’s just warm, tuck the leftover pieces into a well-sealed, airtight container. You can usually keep this delicious protein good in the refrigerator for about three to four days. That’s plenty of time for a few extra lunches!
The trickiest part of leftovers is reheating without turning that juicy meat dry again, isn’t it? We want to preserve that lovely tenderness we worked so hard for. So, banish the microwave if you can, or at least use it sparingly on low power!
If you have time, low and slow is the way to go for that Moist Baked Breast quality. Pop your chicken slices into a baking dish—I often add just a splash of chicken broth or even a little water to the bottom of the dish. Cover the dish tightly with foil and heat it in a 300°F oven for about 10 to 15 minutes. That little bit of steam keeps the meat soft and prevents sticking. If you’re truly rushing, microwave it in short 30-second bursts, stirring or flipping it each time until it’s just warm.
Answering Common Questions About Oven Baked Poultry
I know when you’re trying out a new go-to recipe like this one, a few questions always pop up. Sometimes I have to call my mom to double-check these things myself! I wanted to gather the most common things people ask about when they are trying to master the process of Oven Baked Poultry so you can feel totally confident the next time you make this.
For instance, can you use frozen chicken? Honestly, I highly advise against it if you’re aiming for that “Melt In Your Mouth” result. Starting with frozen meat throws off your cooking time wildly, and it usually means the outside is overcooked by the time the middle thaws and finishes. It causes uneven results, which is the exact opposite of what we want!
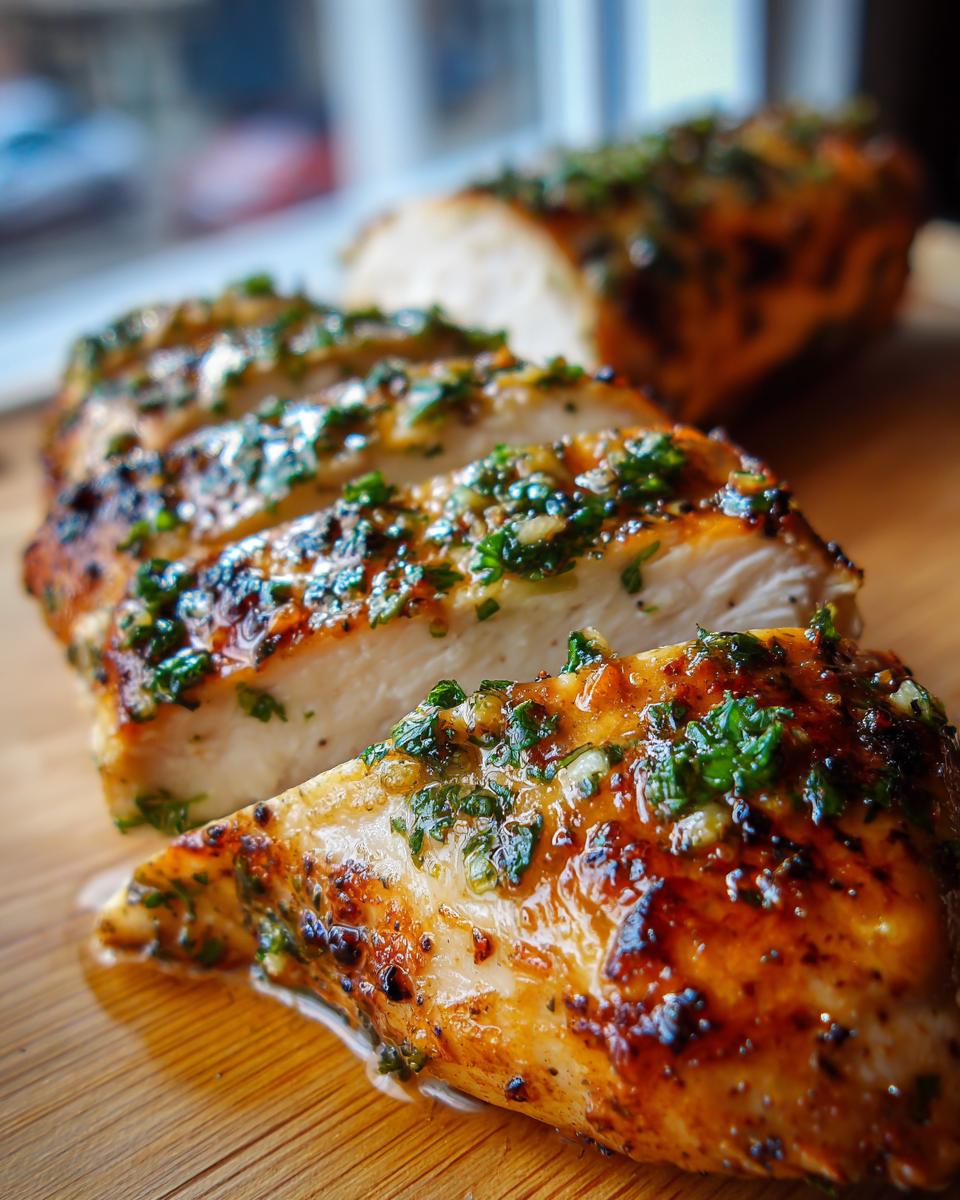
What about using different herbs? This recipe is a wonderful base! If you aren’t feeling the Italian seasoning, feel free to switch to something smoky like smoked paprika and a dash of chili powder for a whole new flavor profile. Or, if you love spice, a pinch of cayenne pepper added to that garlic butter is fantastic. Just remember that flavor is the easiest thing to adapt!
And just to circle back on thickness, remember how we talked about pounding the chicken? If your cuts are much thinner than 1 inch, you’ll need to reduce that baking time significantly—maybe even by 5 or 7 minutes. Always rely on that thermometer reading rather than the clock when you get big variations in size!
Can I make this a Comfort Food Chicken Bake variation?
Oh, I love this question! If you’re craving something richer and bordering on that cozy, Comfort Food Chicken Bake that people talk about, you can certainly adapt this! It won’t be the same as the lighter, cleaner version we made here, but it’s lovely for a weekend treat. Right after you pull the chicken out of the oven (before you let it rest!), you can quickly mix together some cream cheese, a splash of chicken broth or heavy cream, and a little extra garlic powder.
Spoon that mixture right over the hot chicken in the pan. Pop the whole dish back into the oven for just about 5 more minutes, or until the topping is bubbly and melted. It turns your simple dinner into something super decadent! If you need more kitchen inspiration for easy, satisfying meals, you can always browse my thoughts on easy inspiration over here!
Nutritional Estimate for This Simple Seasoned Chicken
I know that when we are making something we love this much, we still want to keep an eye on what’s going into our bodies. This garlic butter preparation keeps things surprisingly lean, especially since we are using primarily lean protein! I wanted to give you the best overview I can of what you can expect from this recipe. Remember, these numbers are just an estimate for one serving, and they depend entirely on the exact size of your chicken breasts and how much butter really clung to the pan versus the meat.
This is what the data looks like for one standard serving of our Simple Seasoned Chicken based on the recipe ratios:
- Serving Size: 1 breast
- Calories: 310
- Protein: 35g! (Hello muscle fuel!)
- Fat: 18g (Mostly from that delicious butter, don’t regret it!)
- Carbohydrates: 1g
- Sugar: 1g
- Sodium: 350mg
See? Lots of protein and very low on the sugar and carbs, which is why this works so wonderfully for diets like Keto. Having this clear picture helps you slot this recipe right into whatever eating plan you are following, whether it’s for a healthy planned meal or just a satisfying, home-cooked dinner. Just keep in mind that if you drizzle on extra sauces or serve it over a huge bowl of pasta, those numbers will certainly climb!
Share Your Ultimate Juicy Baked Chicken Breast Experience
Whew! We made it through the whole process, from taking dry, sad chicken to producing what I truly believe is the most reliable, flavorful baked chicken breast you’ll ever make at home. Now it’s your turn to join in on the fun!
I am so eager to hear how this recipe worked out for you. Did you use the garlic butter, or did you sneak in some smoked paprika like I suggested? Did you manage to let it rest for the full five minutes, and did you notice the difference? Please take a moment to leave a rating—a solid five stars if this was a winner for your Simple Seasoned Chicken night!
Seriously, drop your comments, questions, or any fun serving ideas down below. I read every single one, and sharing your experience helps everyone else gain confidence in the kitchen. If you need to reach out directly with a question or a picture of your perfect plate, you can always find me over at the contact page. Happy cooking, and thank you for trusting this recipe with your dinner!
PrintUltimate Juicy Garlic Butter Baked Chicken Breast (Simple & Quick Weeknight Dinner)
You get tender, moist baked chicken breast every time with this simple garlic butter recipe. It is quick enough for a weeknight meal and perfect for meal prep.
- Prep Time: 10 min
- Cook Time: 25 min
- Total Time: 35 min
- Yield: 4 servings 1x
- Category: Dinner
- Method: Baking
- Cuisine: American
- Diet: Gluten Free
Ingredients
- 4 boneless, skinless chicken breasts (about 6 oz each)
- 4 tablespoons unsalted butter, softened
- 2 cloves garlic, minced
- 1 teaspoon dried Italian seasoning
- 1/2 teaspoon salt
- 1/4 teaspoon black pepper
- 1 tablespoon fresh parsley, chopped (for garnish)
Instructions
- Preheat your oven to 400 degrees Fahrenheit. Lightly grease a baking dish or line it with parchment paper for easier cleanup.
- In a small bowl, combine the softened butter, minced garlic, Italian seasoning, salt, and pepper. Mix until you have a smooth garlic butter spread.
- Pat the chicken breasts dry with paper towels. This step helps the seasoning adhere and promotes better browning.
- Place the chicken breasts in the prepared baking dish.
- Spread the garlic butter mixture evenly over the top of each chicken breast.
- Bake for 20 to 25 minutes, or until the internal temperature of the chicken reaches 165 degrees Fahrenheit. Cooking time depends on the thickness of your chicken.
- Remove the chicken from the oven. Let the chicken rest in the dish for 5 minutes before serving. This resting period keeps the chicken juicy.
- Garnish with fresh chopped parsley before you serve your melt in your mouth chicken.
Notes
- For extra juicy baked chicken breast, you can pound the thicker end of the chicken breast to an even thickness before seasoning.
- This recipe is naturally Keto Baked Chicken Breast and Gluten Free.
- If you prefer a dairy-free option, substitute the butter with an equal amount of olive oil mixed with garlic and seasonings.
Nutrition
- Serving Size: 1 breast
- Calories: 310
- Sugar: 1
- Sodium: 350
- Fat: 18
- Saturated Fat: 11
- Unsaturated Fat: 7
- Trans Fat: 0
- Carbohydrates: 1
- Fiber: 0
- Protein: 35
- Cholesterol: 110