
There are days—and I know you’ve had them—when you just need deep, absolute chocolate comfort, but you absolutely cannot handle turning on an oven. My sweet friends, I totally get that. Life moves fast, and sometimes the best connection you can make to a moment of peace is through something unbelievably rich and simple.
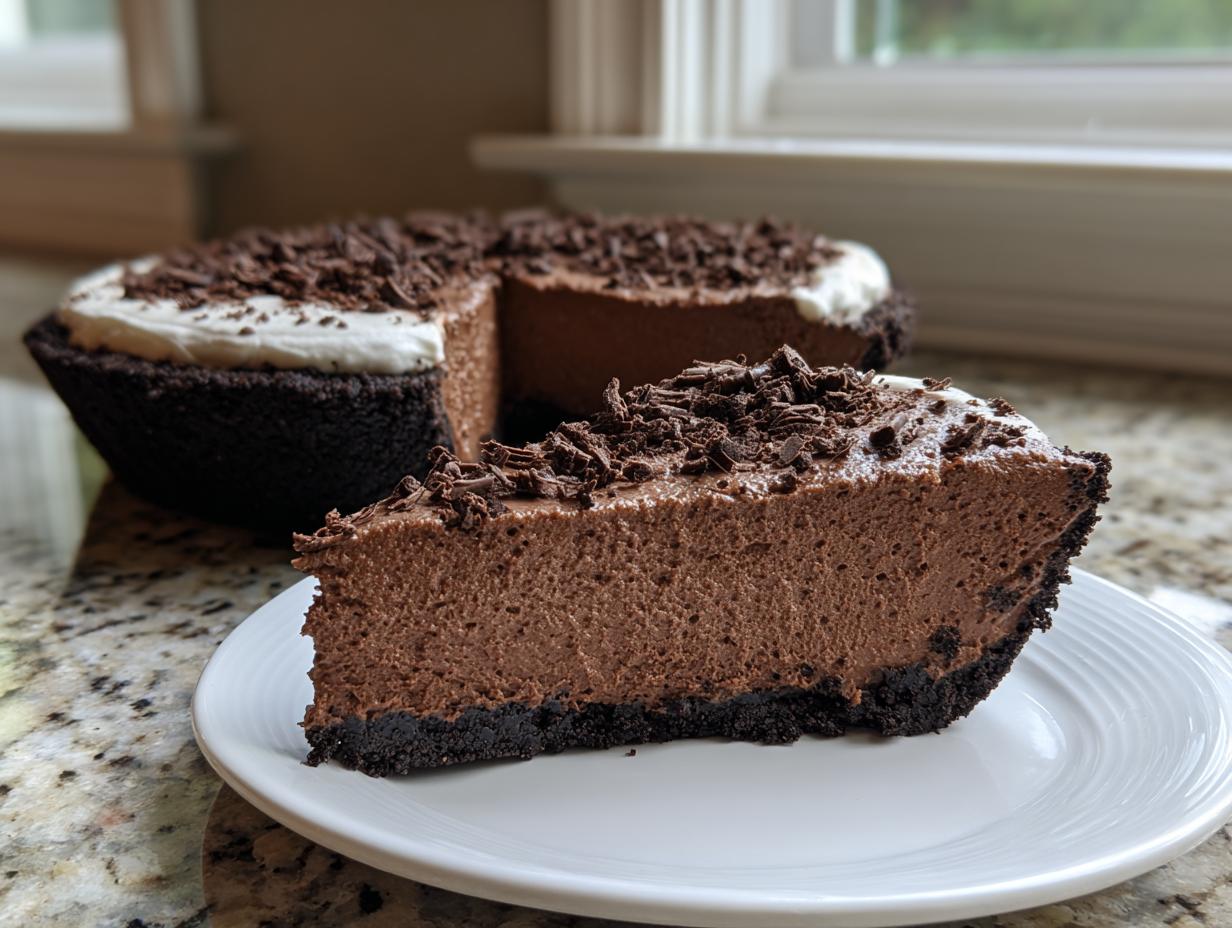
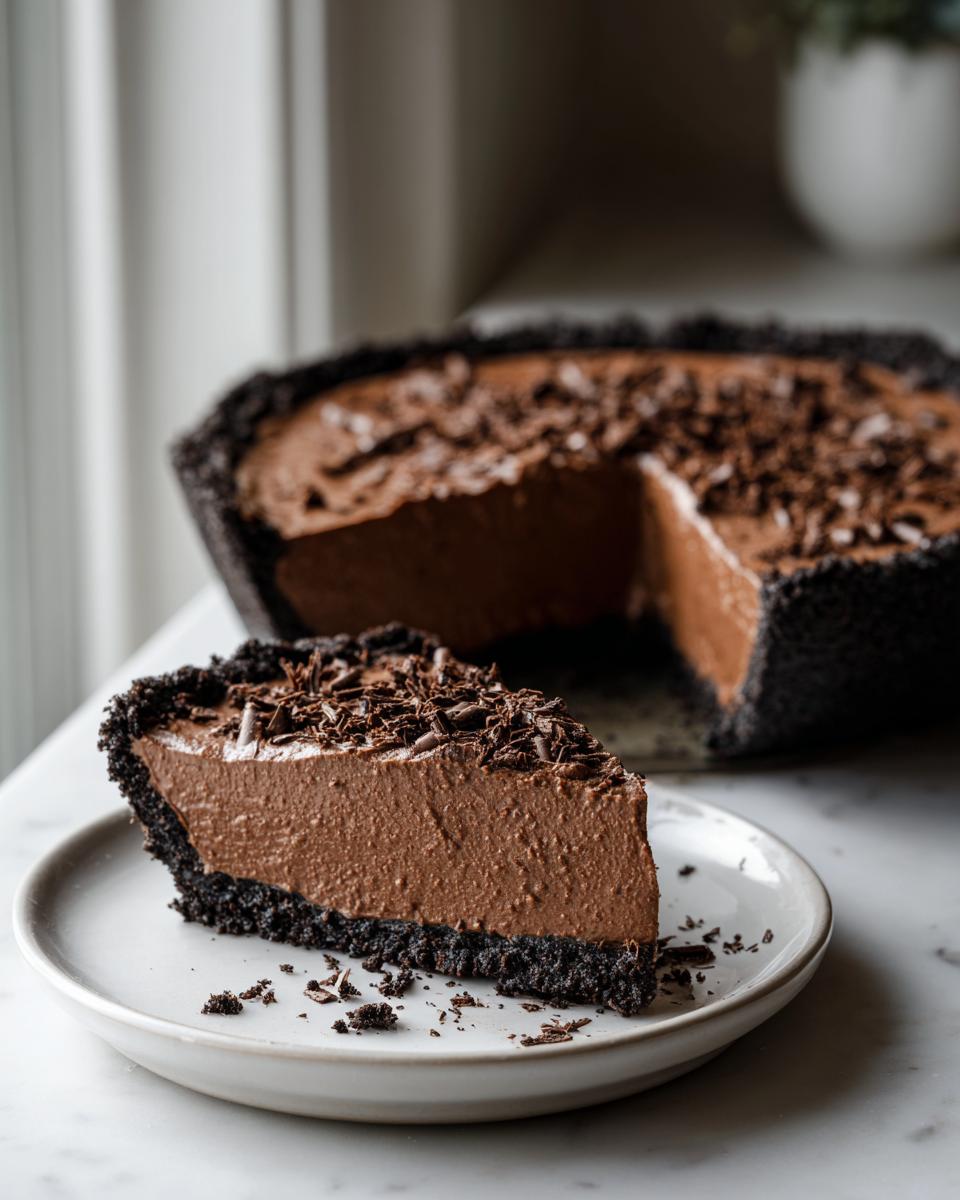
That’s why I’ve perfected this **No-Bake Oreo Chocolate Mousse Pie** recipe. It captures that decadent, creamy texture you dream about without any fuss. When I’m feeling overwhelmed by city life, making this pie brings me right back to the warmth of my grandmother’s kitchen. It’s proof that the most impressive, luscious desserts are often the easiest ones to pull together. Trust me, this layered chocolate dessert is exactly what you need.
- Why This No-Bake Chocolate Mousse Pie Recipe Works (E-E-A-T)
- Gathering Ingredients for Your Decadent Chocolate Dessert
- Step-by-Step Instructions for the No Bake Chocolate Pie
- Tips for the Best Chocolate Mousse Pie Success
- Make Ahead Chocolate Dessert Storage and Serving
- Serving Suggestions for this Creamy Chocolate Pie
- Frequently Asked Questions About Chocolate Mousse Pie
- Estimated Nutrition for One Slice of Chocolate Mousse Pie
- Share Your Dreamy Chocolate Pie Experience
Why This No-Bake Chocolate Mousse Pie Recipe Works (E-E-A-T)
When I develop recipes here at the site, my number one goal is for you to succeed, even if you’re having a chaotic week. Because this is a no-bake chocolate mousse pie, we skip all the scary stuff—no careful tempering of eggs, no worrying about oven temperatures. It’s the definition of an easy chocolate dessert that always delivers that creamy chocolate pie payoff.
Simplicity of the Chocolate Mousse Pie Recipe
Seriously, this filling comes together faster than boiling water! We rely on pantry staples like instant pudding mix, which does all the heavy lifting for that rich chocolate flavor and structure. It sets up beautifully in the fridge, so you get that dreamy, silky texture without ever sweating over a hot stove. It’s magic, I tell you!
The Perfect Oreo Crust Pie Base
And let’s talk about that base. We are not messing around with finicky pastry here. The oreo crust pie provides the perfect salty-sweet crunch that contrasts beautifully with the light mousse. It locks in place when it chills, making slicing this specific chocolate mousse pie unbelievably clean. You won’t believe how sturdy it is!
Gathering Ingredients for Your Decadent Chocolate Dessert
Okay, for this incredible, easy chocolate dessert, we aren’t using complicated ingredients. This is what makes it so fantastic to whip up when you need something impressive fast. Don’t skimp on quality here, though, because since there’s no baking to hide behind, your ingredients have to shine! Getting everything ready beforehand means assembly goes totally smoothly, which is key when you’re nearing dessert time.
This is one of those recipes where the small details—like making sure your cream cheese isn’t cold—make the difference between a glorious, decadent chocolate dessert and a lumpy mess. Gather everything on the counter, and let’s make some magic happen!
Crust Components for this Chocolate Mousse Pie
For that crunchy, irresistible chocolate sandwich cookie base, you’ll need about 25 standard Oreos, crushed finely—that should give you about 1 1/2 cups of crumbs. You melt 6 tablespoons of good unsalted butter and mix it right in. Seriously, press this mixture down hard into your 9-inch pie plate. I mean firmly. Push it against the bottom and right up the sides so it holds its shape when frozen.
Creating the Rich Chocolate Filling
Now for the dreamy part! The body of this filling comes together in two bowls. First, make sure your 8 ounces of cream cheese is fully softened. I mean room temperature—poke it, and it should give easily. Beat that until it’s silky, then work in 1 cup of powdered sugar and 1 teaspoon of vanilla extract. Separately, whisk up one package (3.9 ounces) of instant chocolate pudding mix with 1 1/2 cups of ice-cold milk until it just starts to get thick.
Step-by-Step Instructions for the No Bake Chocolate Pie
This is where it all comes together, and honestly, this part moves quickly because it’s a **no bake chocolate pie**! We’re layering textures here, so take your time on the press-down, but be fast when mixing the fillings so everything stays light and airy. Remember, we aren’t using the oven for anything, so your freezer and fridge are doing all the hard work for this rich chocolate filling.
Preparing and Chilling the Oreo Crust Pie
First things first: finish setting that crust! Make sure the Oreo and butter mixture is totally combined—no dry spots sticking to the bottom of your bowl. Then, use the bottom of a measuring cup or just your clean hands to press that mixture firmly into your 9-inch pie plate. You want it compact! Pop that filled pie plate right into the freezer. It needs to chill out there for at least 15 minutes while you get the filling ready. This step is crucial so the buttery crust doesn’t crumble when you pour the mousse in.
Assembling the Creamy Chocolate Pie Filling
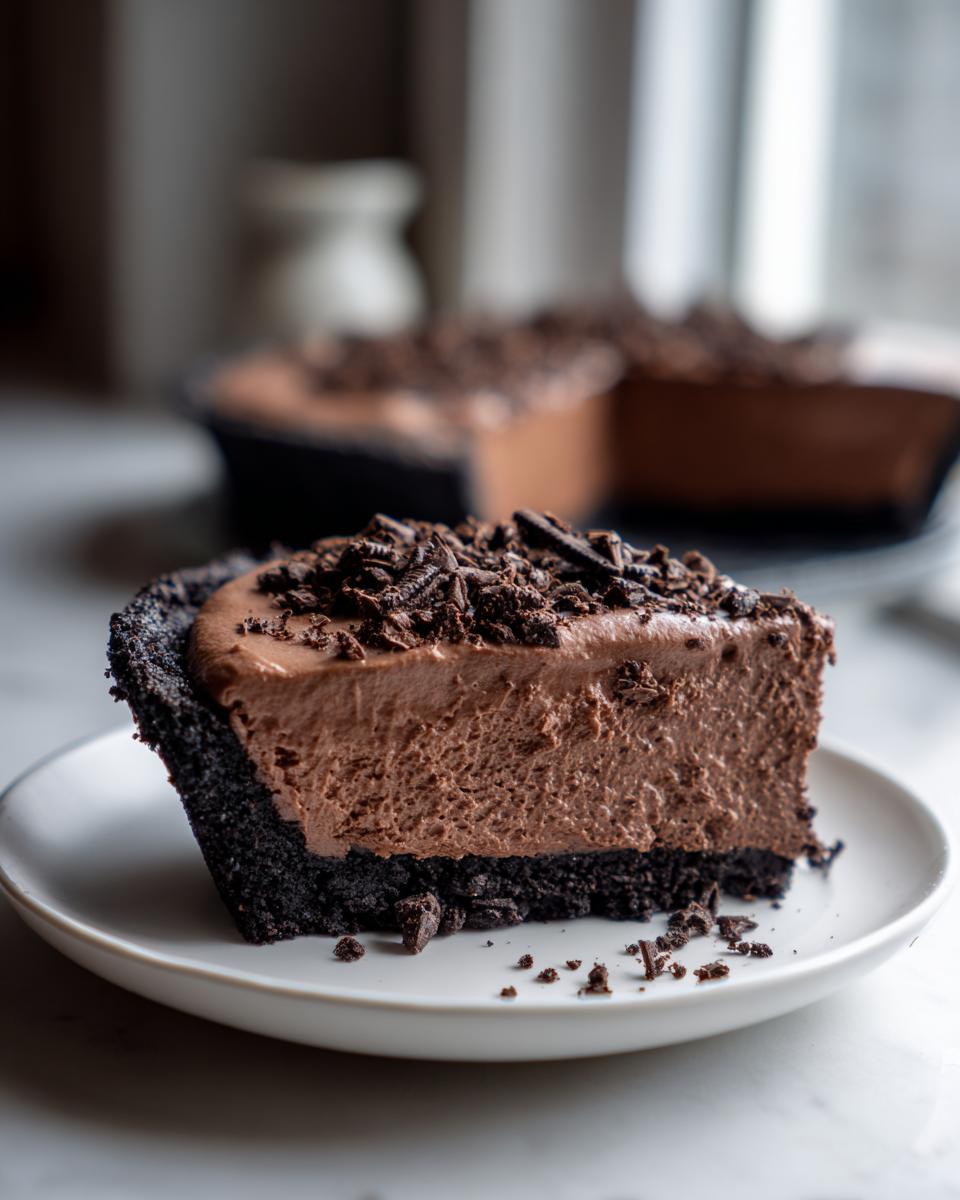
Referring back to what we mixed earlier, grab your softened cream cheese mixture. Now, slowly pour in that thickened chocolate pudding mixture you made with the cold milk. Mix this until it’s just smooth—we don’t want to overwork it yet! Now comes the folding for that perfect creamy chocolate pie texture. Take about two-thirds of your thawed whipped topping and very gently fold it into the chocolate base. I mean gentle! Use a rubber spatula and cut down the middle, sweep to the side, and lift. You’re incorporating air, not stirring glue. Stop folding the moment you don’t see white streaks anymore.
Final Chill Time for the Chocolate Mousse Pie
Pour that lovely, airy mousse right into that waiting, cold Oreo crust. Smooth the top gently with an offset spatula. This is the hardest part, I know, but you must cover this pie loosely with plastic wrap and stick it immediately into the refrigerator. You have to let it chill for a minimum of 4 hours. Seriously, don’t rush this! That chill time allows the pudding and cream cheese to fully set up, locking everything into a sliceable, gorgeous slab of chocolate heaven. If you cut it early, it’ll collapse, and nobody wants that!
Tips for the Best Chocolate Mousse Pie Success
Even though this is a simple chocolate pie, sometimes a little extra know-how can turn a good dessert into the best chocolate mousse pie you’ve ever made. I’ve fiddled with this recipe enough times to know exactly where things can go sideways (usually when I try to rush the chill time, oops!). Here are the production secrets I’ve gathered over the years to guarantee success.
Ingredient Swaps for Your Chocolate Mousse Pie
First off, if Oreos aren’t your thing, you can absolutely pivot! If you want a slightly less intense chocolate vibe, swap out that Oreo crust for a classic graham cracker one. You’ll just need about 1 1/2 cups of graham cracker crumbs mixed with a touch of sugar and that same melted butter. Also, when it comes to flavor depth in this chocolate mousse pie, I’ve found that swapping the regular instant pudding for the dark chocolate version creates a much richer chocolate profile. It turns it into a truly decadent chocolate dessert without adding any extra steps. Go bold or go home, right?
Achieving Lightness in the Filling
This is my biggest piece of advice for anyone who wants that super airy, fluffy texture you see in those fancy bakery photos. When it comes time to introduce that thawed whipped topping to your chocolate and cream cheese base—stop right there with the electric mixer! Seriously, put the beaters away. An electric mixer will deflate all the precious air you just incorporated. You *must* use a big rubber spatula and gently fold it in. Cut down the center, scrape up the side, and turn it over, just until the white streaks disappear. That gentle folding is what keeps this filling dreamy and light, not dense and heavy.
Make Ahead Chocolate Dessert Storage and Serving
This is truly one of my favorite stress-savers! Because this lovely treat sets up so well in the cold, it’s the perfect make ahead chocolate dessert for holidays or busy weekends. You can absolutely make this the day before you plan to serve it; in fact, I think the flavors meld together even better overnight! Just make sure that when you pop it into the fridge, you cover the pie plate loosely with plastic wrap. We don’t want the surface getting that dry little skin.
It keeps beautifully in the refrigerator for up to four days. If you plan on having leftovers of this simple chocolate pie, keep the topping on; it helps protect the filling. When you’re ready to serve, just pull it out about 15 minutes before slicing so it softens just slightly from that hard fridge set. People will never believe how little effort went into this!
Serving Suggestions for this Creamy Chocolate Pie
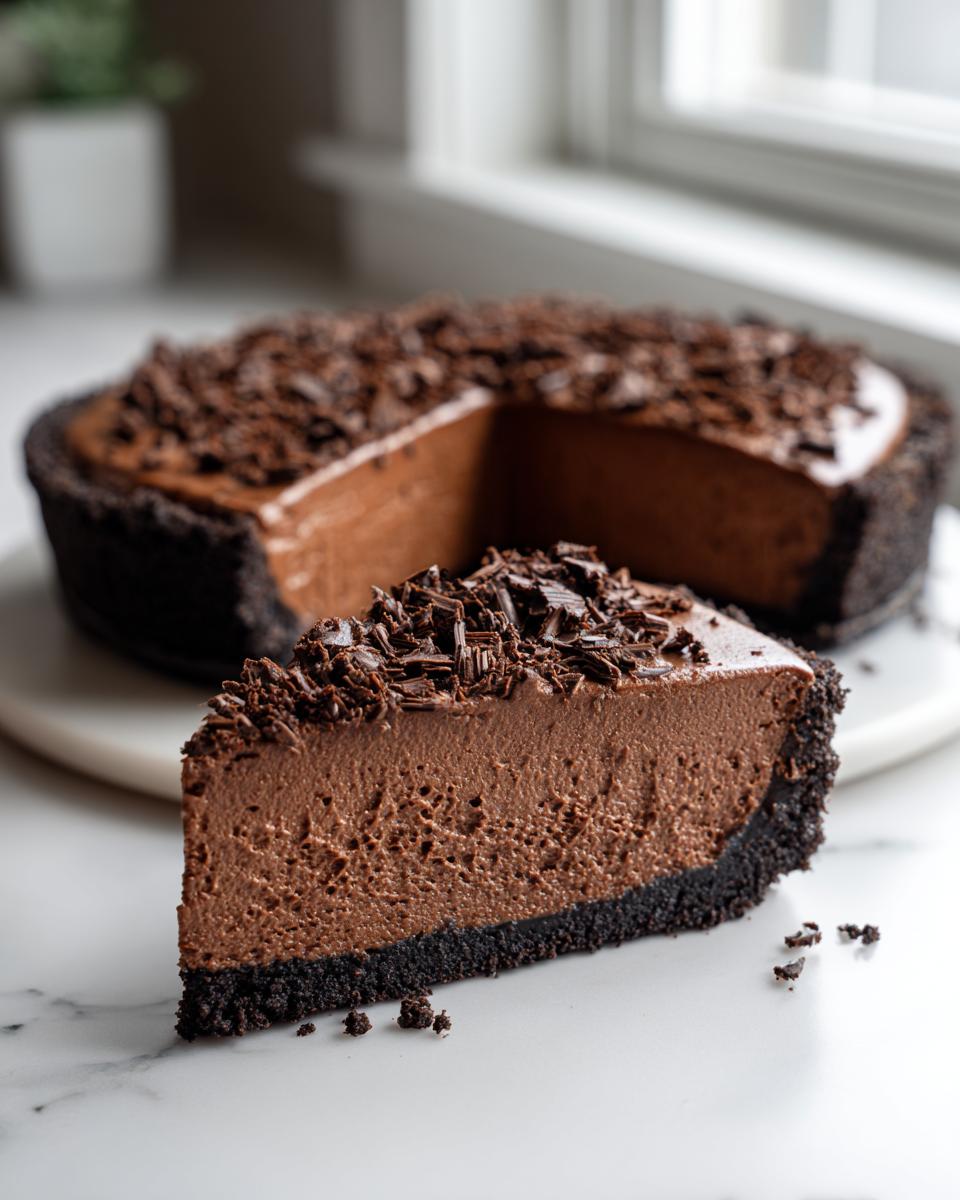
Now for the grand finale! Serving this rich chocolate dessert is almost as fun as making it, especially because it’s already so gorgeous sitting in that Oreo crust. It’s naturally decadent, so you don’t need much fuss. I love to keep it simple. A light dusting of high-quality unsweetened cocoa powder right before it hits the table looks so elegant!
If you want a little brightness to cut through the richness of this creamy chocolate pie, you can never go wrong with fresh raspberries or sliced strawberries arranged around the edges. They look stunning against the dark chocolate and the black crust. Try it—it takes this simple chocolate pie straight to ‘gourmet’ status!
Frequently Asked Questions About Chocolate Mousse Pie
When developing any chocolate mousse pie recipe, I always anticipate what questions might pop up once you’re actually in the kitchen. No-bake recipes are usually super straightforward, but flavor and texture questions always surface! Here are the things I get asked most often about making this dreamy dessert.
Can I use homemade whipped cream instead of the frozen topping in this chocolate mousse pie recipe?
Oh, absolutely! I support homemade whipped cream any day of the week—it often tastes fresher, just like I prefer in my kitchen general! If you go this route, just make sure you whip it until you get nice, stiff peaks. Then, take that beautifully homemade whipped cream and fold it into the chocolate mix just as gently as you would the frozen stuff. My one little heads-up is that the thawed whipped topping sometimes helps that filling set up a tiny bit firmer because of its stabilizers. Your homemade version might turn out just a touch softer, but it will still be divine and very much a creamy chocolate pie.
What is the difference between this and a French Silk Pie variation?
That’s a great question because both are wonderfully indulgent! The main difference is structure. Traditional French Silk Pie is much richer and denser because it almost always relies on raw (or sometimes gently cooked) eggs and often uses a base of pure melted chocolate incorporated into the butter. Ours, on the other hand, is a super easy chocolate dessert because we use instant chocolate pudding mix and softened cream cheese to create that light, airy structure. So while both are heavenly, ours leans into that fluffy lightness, making it a simpler, less fussy take on that classic, dense texture.
How long can I keep this no bake chocolate pie refrigerated?
Because this is such a wonderful make ahead chocolate dessert, you can bake your success into your weekend planning! Since there’s no egg structure to worry about breaking down, this pie holds up incredibly well. I find that this no bake chocolate pie stays absolutely perfect for about three to four days in the fridge. The key, like I mentioned before, is covering it loosely with plastic wrap right after it sets so the whipped topping doesn’t dry out or absorb any weird fridge smells. It’s solid comfort food that lasts!
Estimated Nutrition for One Slice of Chocolate Mousse Pie
I always encourage everyone to focus on the joy of eating something delicious rather than stressing over the numbers, especially with an amazing treat like this **chocolate mousse pie**! However, for those of you who like to keep track, I’ve pulled together the general estimates for one slice based on the recipe ingredients we used. Remember, this is just a guideline, especially since the exact amounts can vary based on the brands of pudding or whipped topping you grab.
This information is calculated based on 8 servings from the full recipe. Think of this as a helpful reference point for your easy chocolate dessert planning!
- Serving Size: 1 slice
- Calories: 410
- Sugar: 35g
- Sodium: 320mg
- Total Fat: 25g
- Saturated Fat: 13g
- Carbohydrates: 45g
- Protein: 5g
See? Decadent, yes! But totally worth it for that pure, creamy chocolate goodness!
Share Your Dreamy Chocolate Pie Experience
Now that you’ve had a chance to tackle this absolutely divine **chocolate mousse pie**, I really, truly want to hear all about it! Did the Oreo crust hold up perfectly? Did you manage to hide the leftovers from your family?
Baking, for me, has always been about connecting—connecting with the past, connecting with ingredients, and connecting with you, my readers. Sharing your results means the world to me and helps others who are looking for a fantastic easy chocolate dessert gain confidence to try it for themselves.
Please take a moment to drop a star rating below and let me know how everything went! If you took a picture of your finished dreamy chocolate pie—maybe drizzled with too much caramel, who am I to judge?—I’d be thrilled if you shared it on social media and tagged us. Hearing that you brought this simple, creamy delight to your table is the best part of my day!
PrintEasy No-Bake Oreo Chocolate Mousse Pie
You can make this rich, creamy No-Bake Chocolate Mousse Pie with an Oreo crust. This simple chocolate dessert is decadent and requires no oven time.
- Prep Time: 20 min
- Cook Time: 0 min
- Total Time: 4 hr 20 min
- Yield: 8 servings 1x
- Category: Dessert
- Method: No-Bake
- Cuisine: American
- Diet: Vegetarian
Ingredients
- 1 1/2 cups crushed Oreo cookies (about 25 cookies)
- 6 tablespoons unsalted butter, melted
- 1 package (8 ounces) cream cheese, softened
- 1 cup powdered sugar
- 1 teaspoon vanilla extract
- 1 package (3.9 ounces) instant chocolate pudding mix
- 1 1/2 cups cold milk
- 1 container (8 ounces) frozen whipped topping, thawed (or homemade whipped cream)
- Optional: Chocolate shavings for topping
Instructions
- Prepare the crust: Combine the crushed Oreo cookies and melted butter in a bowl. Press the mixture firmly into the bottom and up the sides of a 9-inch pie plate. Place the crust in the freezer while you prepare the filling.
- Make the cream cheese layer: In a large bowl, beat the softened cream cheese until smooth. Gradually beat in the powdered sugar and vanilla extract until fully combined.
- Prepare the pudding: In a separate bowl, whisk the instant chocolate pudding mix with the cold milk for about two minutes until it starts to thicken.
- Combine the fillings: Gently fold the prepared chocolate pudding into the cream cheese mixture until just combined.
- Fold in whipped topping: Carefully fold in about two-thirds of the thawed whipped topping until no streaks remain. Do not overmix; you want the filling to stay light and airy.
- Assemble the pie: Pour the rich chocolate filling into the chilled Oreo crust and spread it evenly.
- Chill the pie: Cover the pie loosely with plastic wrap and refrigerate for at least 4 hours, or until the filling is firm.
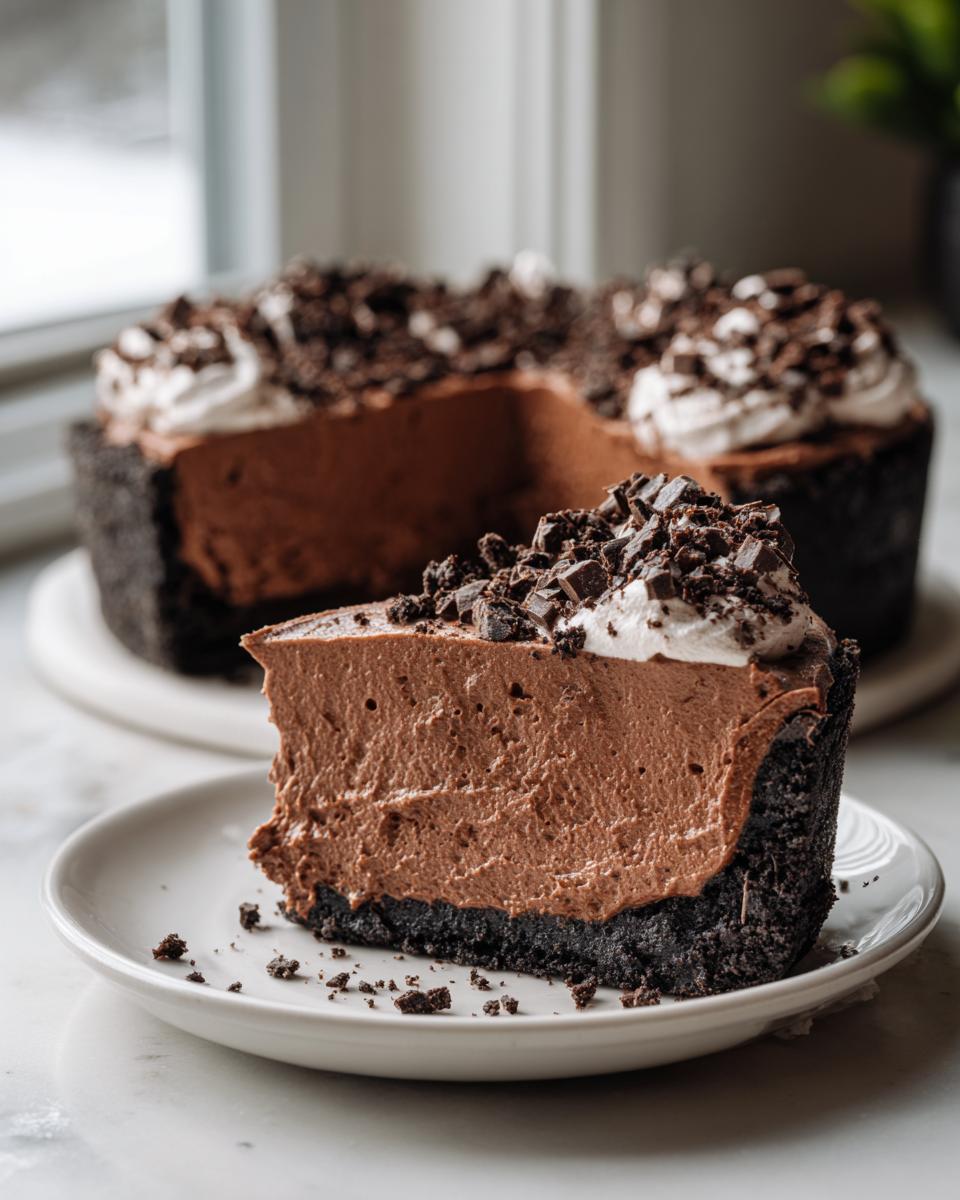
- Finish and serve: Before serving this decadent chocolate dessert, top the pie with the remaining whipped topping and sprinkle with chocolate shavings, if desired. Slice and enjoy your creamy chocolate pie.
Notes
- For an even richer flavor, use dark chocolate instant pudding mix instead of regular.
- If you prefer a graham cracker crust, substitute 1 1/2 cups of graham cracker crumbs mixed with 1/4 cup sugar and 6 tablespoons melted butter.
- You can make this make ahead chocolate dessert the day before serving for the best texture.
Nutrition
- Serving Size: 1 slice
- Calories: 410
- Sugar: 35
- Sodium: 320
- Fat: 25
- Saturated Fat: 13
- Unsaturated Fat: 12
- Trans Fat: 0.5
- Carbohydrates: 45
- Fiber: 2
- Protein: 5
- Cholesterol: 45