
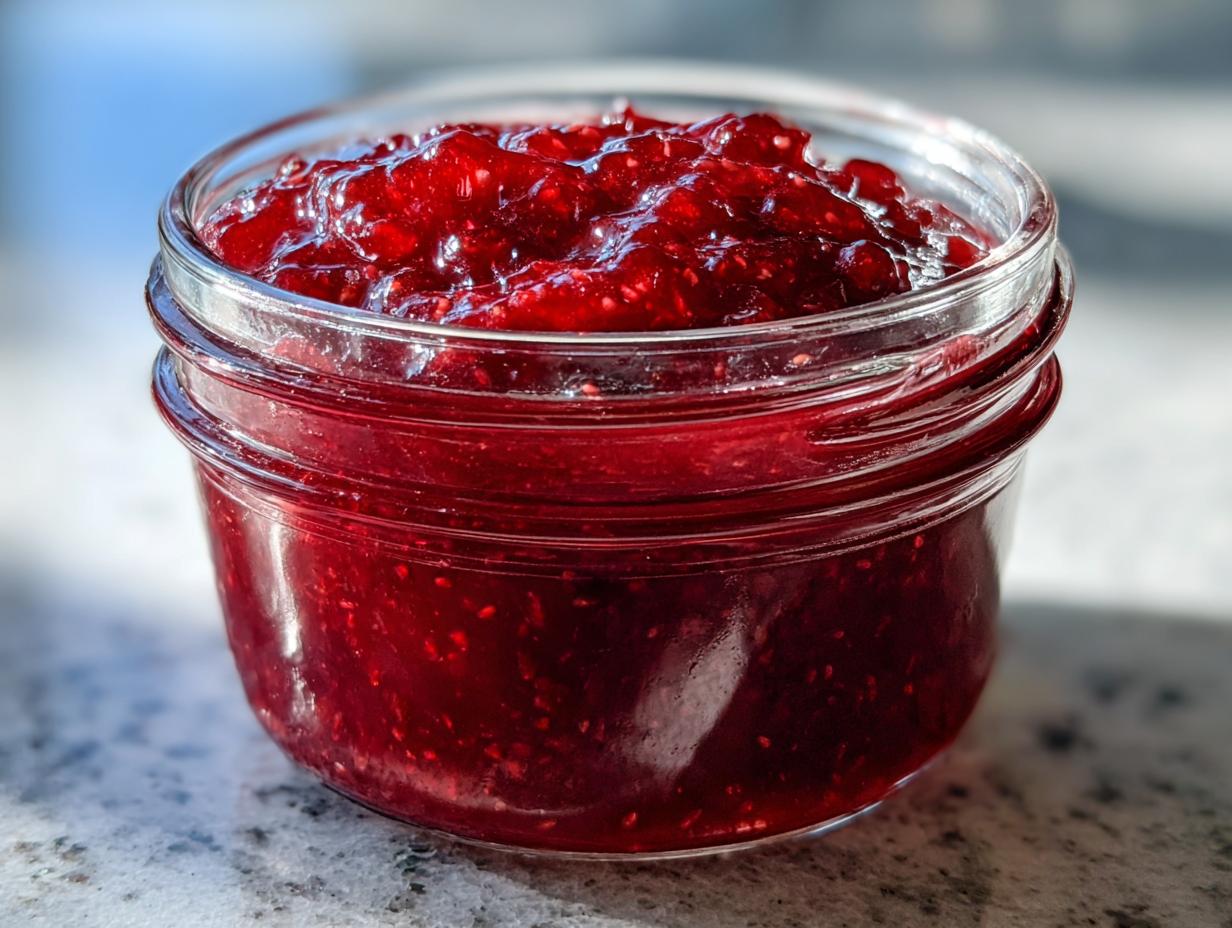
Oh, friends, if you’ve ever walked through a field of ripe strawberries on a hot summer day, you know that scent—that potent, sweet burst of pure sunshine? My biggest goal in the kitchen has always been capturing that exact moment, and honestly, canning felt like too much work sometimes, especially when I just wanted a little spread for Sunday morning toast!
That’s why I’m absolutely thrilled to share my go-to recipe for strawberry freezer jam. Forget pulling out the big water bath canner; this is an incredibly easy, no-cook recipe, and I promise, you’ll have beautiful, vibrant jam ready for the freezer in under 30 minutes of active time. It’s the perfect way to lock in that fresh strawberry flavor without muddying it up with extra cooking. This method lets the berries shine, which is exactly what I learned from watching my grandmother preserve the best of every season.
- Why This is the Best Strawberry Freezer Jam Recipe
- Gathering Ingredients for Your Strawberry Freezer Jam
- How to Make Strawberry Freezer Jam: Step-by-Step Instructions
- Expert Tips for Your Quick Freezer Jam
- Storage and Enjoying Your Homemade Strawberry Preserves
- Frequently Asked Questions About Strawberry Freezer Jam
- Nutritional Snapshot of This Strawberry Freezer Jam
- Share Your Homemade Strawberry Preserves
Why This is the Best Strawberry Freezer Jam Recipe
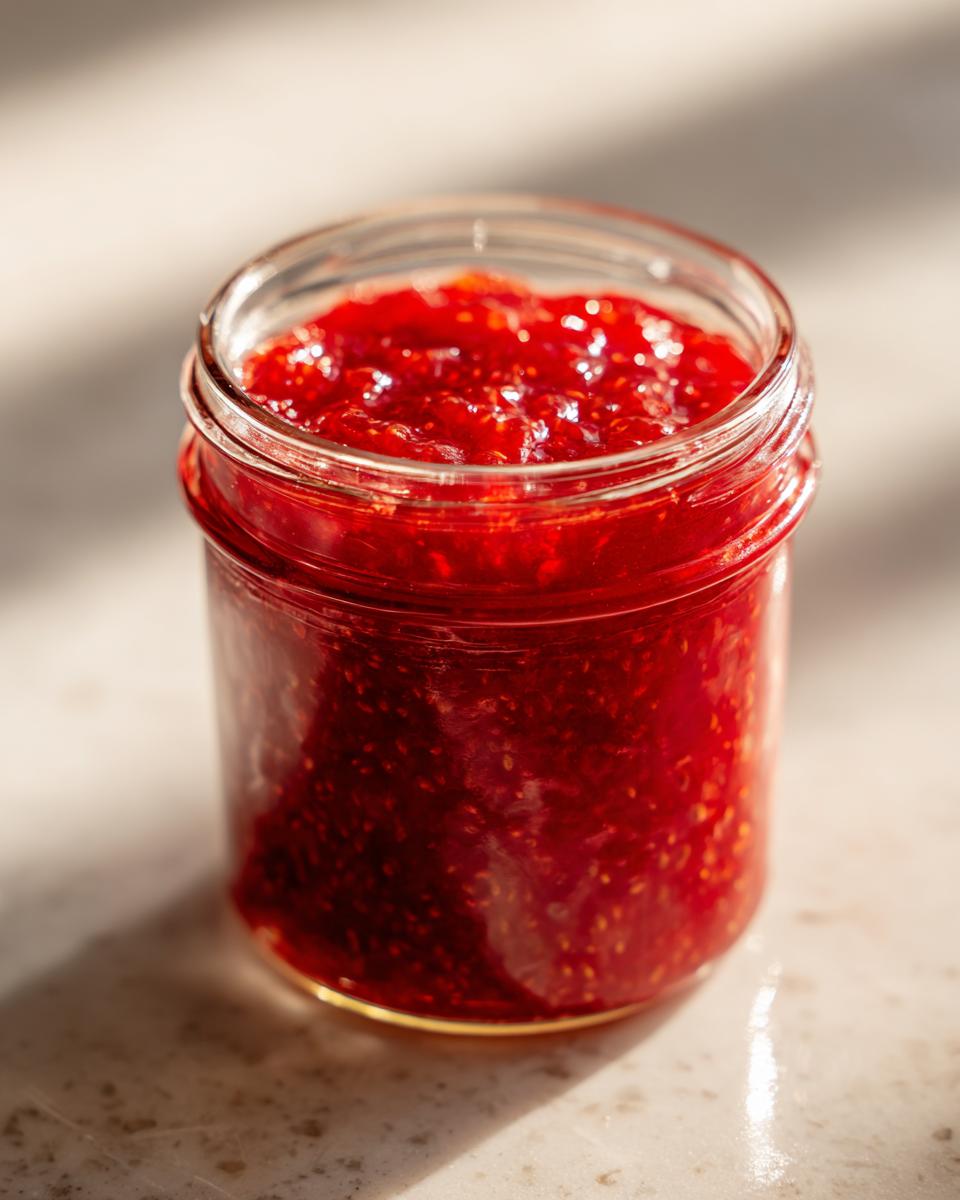
When I first started making jam, I was intimidated by the canning process. It felt like science class! But this **no cook jam recipe** changed everything because it keeps that incredibly bright, fresh taste. It truly is the **best strawberry freezer jam** because we skip the heat that often dulls the berry flavor.
You get all the satisfaction of making your own **easy strawberry jam recipe** with minimal fuss. If you’re looking for something quick to spread on your toast tomorrow, this is it. It’s perfect for those busy weeks when you still want homemade goodness.
Speed and Simplicity: The No-Cook Advantage
The absolute best part? We aren’t cooking these berries down for an hour on the stovetop. Because we aren’t cooking them for long, the fresh, vibrant taste of summer strawberries stays completely intact. It’s almost like eating fresh berries suspended in sweet jelly! Seriously, the active time on this **strawberry freezer jam** is under 25 minutes. You can whip up six jars before your coffee even cools off.
Pectin Options for Your Strawberry Freezer Jam
Now, let’s talk about pectin because I know there are strong feelings there! This specific recipe works perfectly with standard powdered fruit pectin—the kind you might know as Sure-Jell—because it sets reliably every single time. That reliability is crucial for a beginner jam recipe. However, you absolutely can swap that for a low-sugar pectin if you are watching the sweets. Just remember, if you switch the pectin type, you have to follow the directions on *that* package for the boiling time, okay? It builds trust knowing you have options! Check out some quick breakfast ideas to go with your new jam here.
Gathering Ingredients for Your Strawberry Freezer Jam
Okay, for any **easy strawberry jam recipe**, the quality of your ingredients really matters, especially when you aren’t cooking things for a long time. Since we want that pure burst of sweet berry flavor, we absolutely need the freshest, plumpest strawberries we can find. Don’t even think about using sad, mushy ones for this!
Ingredient Clarity and Preparation
Here is exactly what you need to have right on your counter before you even start mashing things. This recipe is super helpful because it keeps the ingredient list short and sweet, making it a fantastic **beginner jam recipe**.
- 4 cups fresh strawberries, hulled and crushed
- 7 cups granulated sugar
- 1 box (1.75 oz) powdered fruit pectin (like Sure-Jell)
- 1/4 cup water
The key preparation step here is those strawberries. You must hull them, of course, and then crush them until they are just perfectly mashed. I just use a standard potato masher right in the bowl—no need to pull out the food processor unless you want it ultra-smooth. Make sure that powdered fruit pectin is the standard kind, not the low-sugar version, unless you intentionally change the liquid amount!
How to Make Strawberry Freezer Jam: Step-by-Step Instructions
Learning **how to make freezer jam** is so much simpler than you think, especially when you skip the long cooking time! This process is incredibly straight-forward. We are using the pectin to do all the heavy lifting, while we just handle the mixing and hitting that one specific timing mark. You’ll want to have all your jars ready before you even start mixing!
Preparing Containers and Strawberries
First things first: grab your freezer-safe jars or containers. Make sure they are squeaky clean and totally dry. You don’t want any water hanging around for this! Then, turn your attention to those beautiful strawberries you prepped. Put your hulled and crushed berries into a nice big bowl. If you like that chunky, rustic texture—the kind that makes you say, “Wow, that really is fresh fruit!”—just use a sturdy potato masher or even a strong fork. Beat those berries until they look exactly how you want your final jam to look!
Activating the Pectin in Your Strawberry Freezer Jam
Next, pay attention because this is where the setting magic starts. In a totally separate, dry bowl, whisk together that 7 cups of sugar and your powdered fruit pectin until there are absolutely no clumps remaining. This thorough mixing is key for a good set! Once they are combined, dump that sugar-pectin mix right into your crushed strawberries. Stir it all up nicely until that sugar completely dissolves—you shouldn’t feel grit on the bottom of the bowl. Now, you have to let this mixture rest for a full 10 minutes. This dwell time is crucial for the **strawberry freezer jam** to set up properly later.
The Quick Boil for Perfect Setting
Okay, this next part moves fast, so be ready! In a small saucepan, bring that 1/4 cup of water to a rolling boil over medium-high heat. Once it’s boiling hard, carefully dump your entire strawberry-sugar mixture into the boiling water. You need to stir constantly until it comes *right* back up to a full rolling boil—one that cannot be stirred down. This is technical, so listen closely: boil it hard for **exactly 1 minute**. Not 45 seconds, not a minute and a half—60 seconds on the dot! Take it off the heat immediately after that final minute. If you want to see a great video example of this step, check out this guide here.
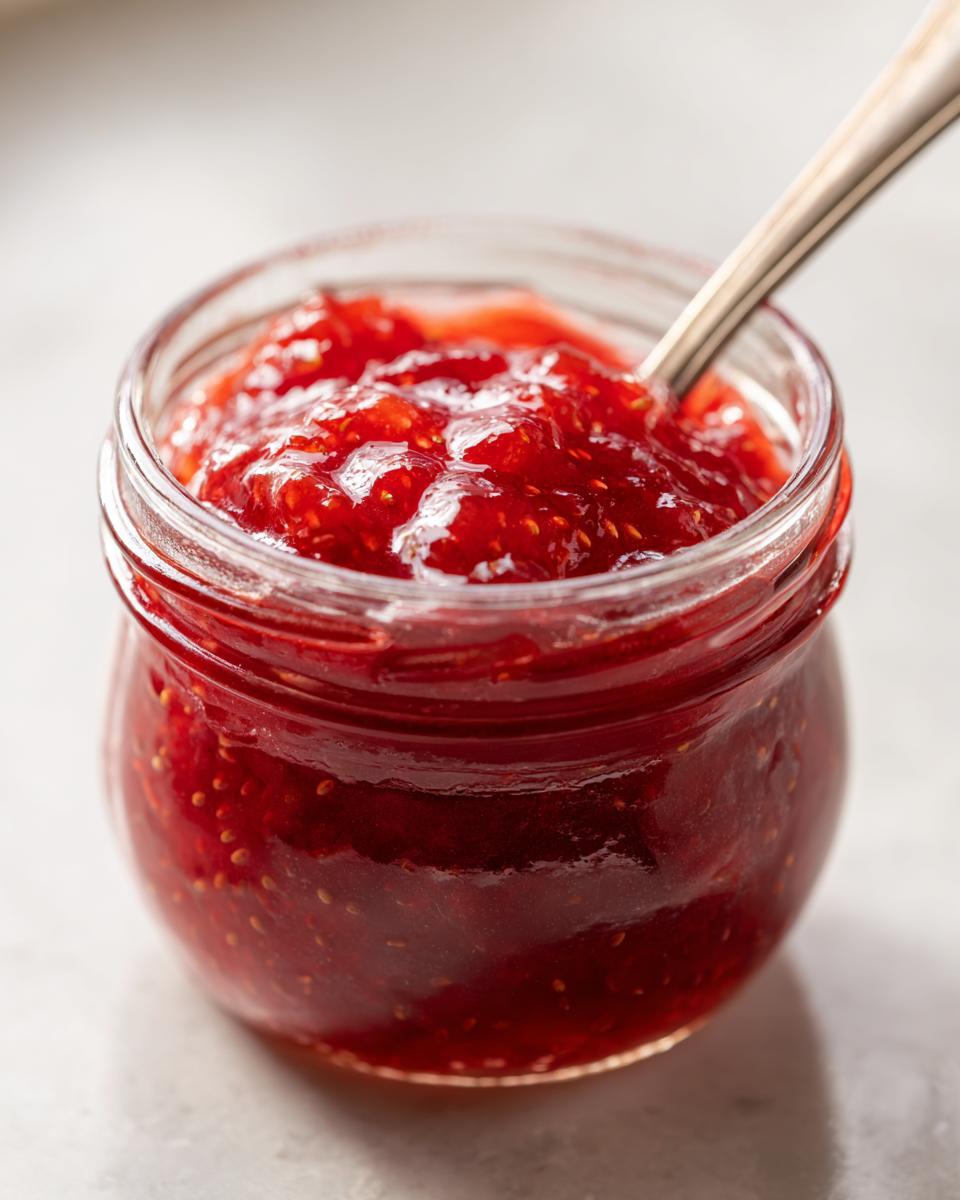
Filling, Cooling, and Freezing
Carefully ladle that hot jam mixture into your clean, empty jars. Make sure you leave about half an inch of space (that’s headspace!) at the top of each jar. This space is important because liquid expands when it freezes! After filling, just wipe the rims clean—no sticky mess allowed—and let them sit on the counter until they reach room temperature. Once they are totally cool, seal them up tight and pop them straight into your freezer. You can honestly start enjoying this **fresh strawberry preserve** after about 24 hours freezing time!
If you want some recipe inspiration for blueberry jams that use a slightly different technique, take a peek at this recipe.
Expert Tips for Your Quick Freezer Jam
I always tell people that once you master this technique, you’ve essentially unlocked one of the best secrets for making **homemade strawberry preserves**. It’s not just about following the steps; it’s the little tweaks that make your batch the absolute best one on the block. These points are lifted straight from my own testing notes when I was figuring out the perfect balance!
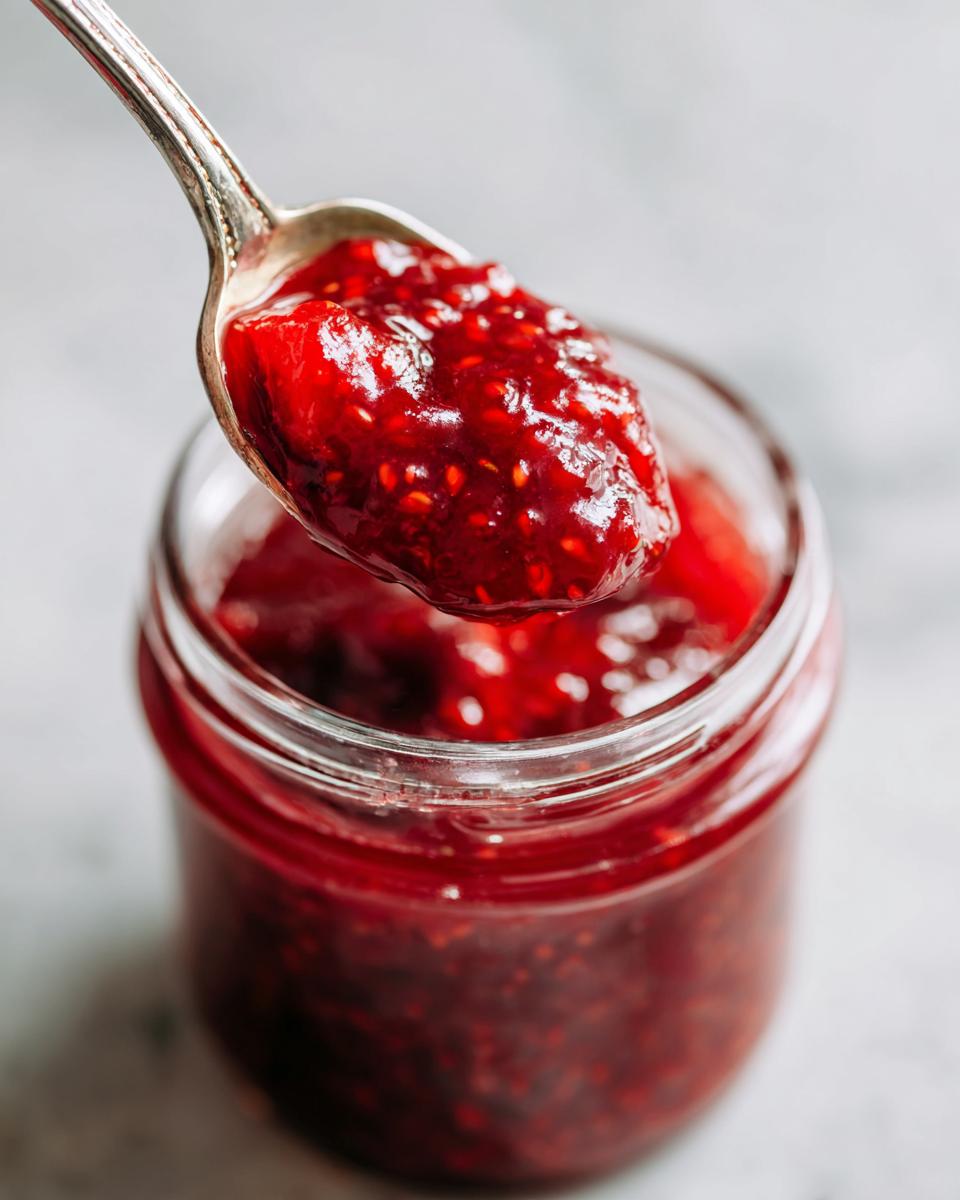
Achieving the Right Texture in Your Strawberry Freezer Jam
When I first started, I always used the potato masher, which gave me those lovely, chunky bits—perfect for dolloping over yogurt or my homemade granola recipes! But what if you want something super smooth, almost like commercial jelly? Simple! Instead of mashing by hand, use a food processor. Just pulse those hulled strawberries until they are finely chopped rather than completely puréed. Be careful not to run the processor too long or you’ll get air whipped in, which isn’t ideal. This gives you a much smoother consistency, which is sometimes preferred!
Making Strawberry Freezer Jam Without Canning
This is huge, especially for my friends who are just dipping their toes into preserving: we are making **strawberry freezer jam**, which means absolutely **no can strawberry jam** equipment is needed! There’s no sterilizing jars for a water bath, no complicated sealing tests. We are relying 100% on the freezer to preserve that gorgeous, fresh flavor for months. It’s the easiest way to get that homemade taste without using that scary canning equipment. If you want to read about another great, fast recipe, you should check out what my friends over at Tastes Better From Scratch suggest here.
Storage and Enjoying Your Homemade Strawberry Preserves
You’ve put in the effort to make this gorgeous, bright **strawberry freezer jam**, so now we need to make sure it lasts and that you use it on everything! The best part about this method is how long the berries stay bright. We aren’t compromising flavor by keeping it around forever, but we certainly want to keep that summer taste available through the cold months.
How Long Does Strawberry Freezer Jam Last?
The good news is that because this is a proper **freezer friendly jam**, it keeps astonishingly well! My personal note on the recipe confirms that you can reliably store this homemade strawberry jam in the freezer for up to one full year. Can you believe that? It’s like having summer still waiting for you in January!
When you want to use a jar, just pull it out of the freezer and transfer it to the refrigerator. It thaws pretty quickly there—usually within 24 hours, depending on how full the jar is. Once thawed, it behaves just like regular jam. You have to keep it refrigerated after thawing, of course!
Serving Suggestions for Fresh Strawberry Preserve
Honestly, I’m terrible at saving this stuff because I use it up so fast! But since you’ll want ideas for your wonderful **homemade strawberry preserves**, here are my favorite ways to enjoy it. First, on classic buttered toast, obviously. But don’t stop there!
It makes the most incredible swirl into plain Greek yogurt—it brightens up breakfast instantly. It’s also divine warmed up just slightly and poured over vanilla ice cream. Trust me, using this as one of your **easy dessert toppings** beats anything store-bought. I even use a small dollop in my homemade scones! If you are looking for more ideas for using up fruit, I have a whole section of my favorite easy dessert recipes you might enjoy!
Frequently Asked Questions About Strawberry Freezer Jam
I get so many questions about this recipe because it feels a little different than what most people learn first. It’s exciting to branch out from canning, but maybe you still have a few lingering doubts. That’s totally okay! I’ll answer the big ones I see popping up about making this **quick freezer jam**.
Can I make this strawberry freezer jam recipe without pectin?
That’s a very common question! To be completely honest with you, this specific recipe relies on the powdered pectin—the kind we use for the quick 1-minute boil—to get that nice, sliceable set. If you skip the pectin entirely, yes, you can still make a lovely **sweet strawberry spread**, but it will turn out much softer. Think of it more like a thick syrup or sauce rather than a proper jam that holds its shape on a spoon. It will still taste amazing, though!
Can I use frozen strawberries for this quick freezer jam?
Absolutely! This is one of my favorite ways to make **freezer friendly jam** in the middle of winter when fresh strawberries just cost a fortune or aren’t really flavorful. Just make sure you allow the frozen berries to thaw completely before you start crushing them. The trick is to drain off any excess liquid they release when they thaw. Too much extra water messes with the sugar-to-pectin ratio, so drain it well before you move on to the next step of making your **strawberry freezer jam**.
What is the difference between this and regular canned jam?
This is the core differentiator! With regular canned jam, you cook everything down for a long time—usually like 20 to 30 minutes—to force the setting process and then process it in boiling water to make it shelf-stable. Because we are making **strawberry jam without canning**, we skip that entire cooking step and the high-heat bath. That means this **strawberry freezer jam** tastes so much brighter and fresher, almost raw—just like nature intended! It needs to live in the freezer, though, because it isn’t sterilized for pantry storage. If you’re looking for **quick weeknight dinners** to balance out your sweet treats, check out my favorites here. For more on general jam recipes, you might find this link helpful here.
Nutritional Snapshot of This Strawberry Freezer Jam
Now, I have to give you the official disclosure here first: because this is a **strawberry freezer jam** recipe relying heavily on sugar for both texture and preservation (alongside the freezer!), the nutrition facts reflect that. These numbers are estimates, okay? They are calculated based on the exact ingredient ratios I provided earlier. If you use low-sugar pectin or change the amount of sugar, these numbers will definitely shift, so keep that in mind if you’re tracking!
For a standard serving size of about two tablespoons of this sweet spread, here is what you can generally expect. Remember, even though it’s high in sugar, it’s bursting with real fruit flavor, which is way better than those artificial preserves!
| Nutrient | Amount (Per 2 Tbsp Serving) |
| Calories | 80 |
| Sugar | 20g |
| Carbohydrates | 20g |
| Fat | 0g |
| Cholesterol | 0mg |
See what I mean? It’s definitely a treat, but that 20 grams of natural sugar is what binds this beautiful **fresh strawberry preserve** together so nicely when it freezes. Keep that in mind when you decide what delicious toast or pancake you plan to top with this homemade goodness!

Share Your Homemade Strawberry Preserves
Honestly, seeing your beautiful jars of **strawberry freezer jam** makes my whole week! I really hope you give this recipe a try, especially if you’ve been eyeing preserves but felt intimidated by the whole setup. It’s such a rewarding project, and for such a simple, **easy strawberry jam recipe**, the payoff in flavor is massive.
When you make a batch, please come back here and let me know how it went! Did you find a great berry farm nearby? Did you use the food processor for a super smooth spread, or stick to the hand-mashed version? Drop your favorite ways—maybe you found a fantastic pairing I haven’t thought of yet!
If this recipe helped you finally conquer the world of fruit preserving, would you mind leaving it five stars? That helps other cooks who are looking for a reliable, **beginner jam recipe** find something they can trust. Your feedback means the world to me, Maddie Thompson, and helps us keep sharing these simple, heartfelt recipes.
If you have any questions that I missed in the FAQ, or if you want to send me a picture of what you’re slathering your **homemade strawberry preserves** on, feel free to reach out through my contact page. Happy jamming!
PrintQuick Strawberry Freezer Jam: Easy No-Cook Recipe
Capture the fresh taste of summer with this easy, no-cook strawberry freezer jam recipe. It is beginner-proof and ready fast, perfect for spreading on toast or topping desserts.
- Prep Time: 20 min
- Cook Time: 5 min
- Total Time: 25 min
- Yield: About 6 half-pint jars 1x
- Category: Preserves
- Method: No-Cook
- Cuisine: American
- Diet: Vegetarian
Ingredients
- 4 cups fresh strawberries, hulled and crushed
- 7 cups granulated sugar
- 1 box (1.75 oz) powdered fruit pectin (like Sure-Jell)
- 1/4 cup water
Instructions
- Prepare your containers: Wash and dry several freezer-safe jars or containers. Set aside.
- Crush the strawberries: Place the hulled strawberries in a bowl and mash them until you reach your desired consistency. You can use a potato masher or a fork.
- Mix sugar and pectin: In a separate medium bowl, combine the granulated sugar and the powdered fruit pectin thoroughly.
- Combine mixtures: Add the sugar-pectin mixture to the crushed strawberries. Stir well until the sugar is completely dissolved. Let this mixture stand for 10 minutes.
- Add water: In a small saucepan, combine the 1/4 cup of water. Bring the water to a boil over medium-high heat. Once boiling, stir in the strawberry-sugar mixture. Continue stirring constantly until the mixture returns to a full rolling boil that cannot be stirred down. Boil hard for exactly 1 minute. Remove from heat immediately.
- Fill jars: Carefully ladle the hot jam mixture into your prepared freezer jars, leaving about 1/2 inch of headspace at the top.
- Cool and freeze: Wipe the rims clean. Let the jars cool to room temperature on the counter. Once cool, seal the jars and place them in the freezer. This jam is ready to eat after it has frozen solid, usually within 24 hours.
Notes
- This recipe makes a sweet strawberry spread that tastes like fresh berries because it skips the cooking step.
- For a low-sugar option, substitute the granulated sugar with an equal amount of low-sugar pectin mix and follow the package directions for that specific product.
- This homemade strawberry jam keeps well in the freezer for up to one year.
- If you prefer a smoother texture, process the strawberries in a food processor until finely chopped instead of crushing by hand.
Nutrition
- Serving Size: 2 Tbsp
- Calories: 80
- Sugar: 20
- Sodium: 5
- Fat: 0
- Saturated Fat: 0
- Unsaturated Fat: 0
- Trans Fat: 0
- Carbohydrates: 20
- Fiber: 0
- Protein: 0
- Cholesterol: 0