
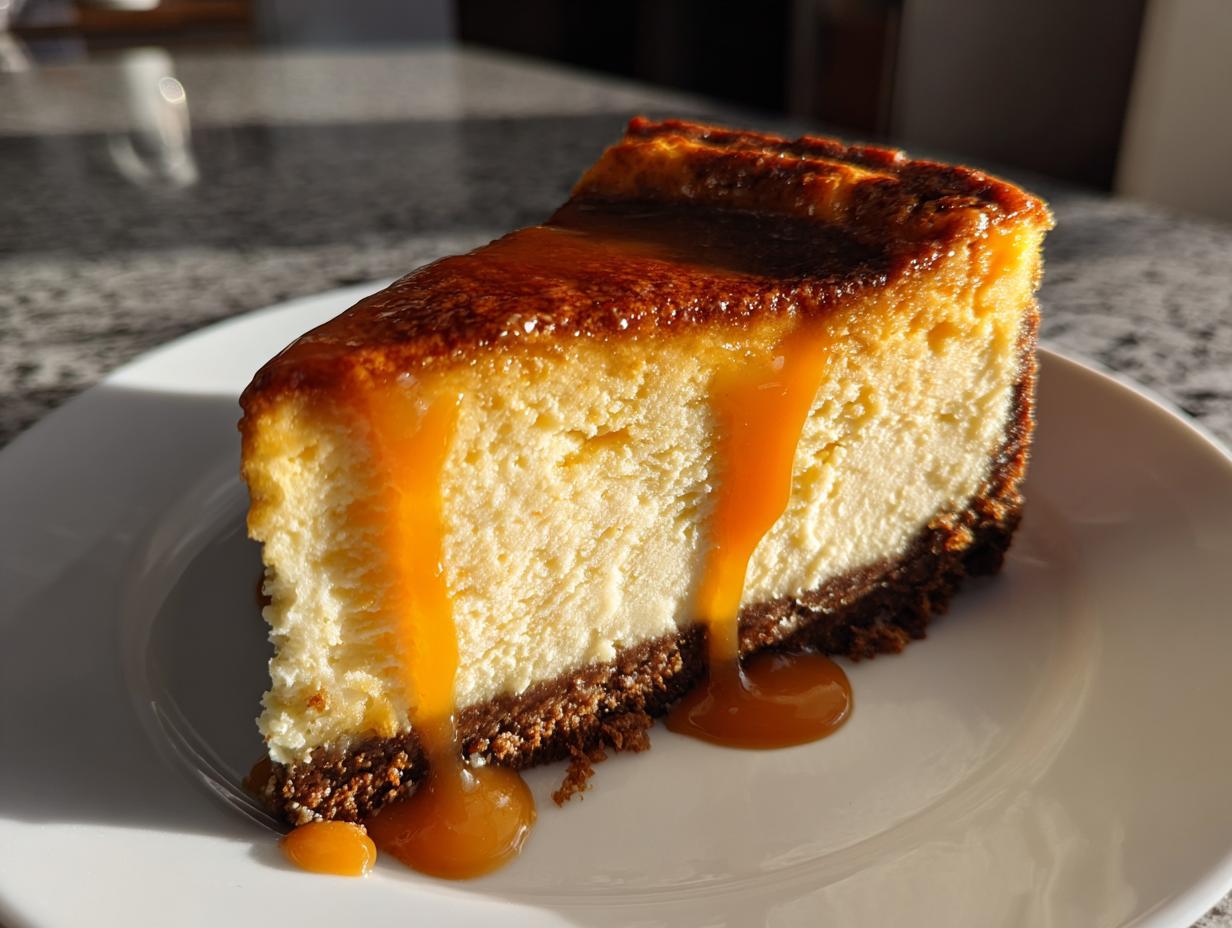
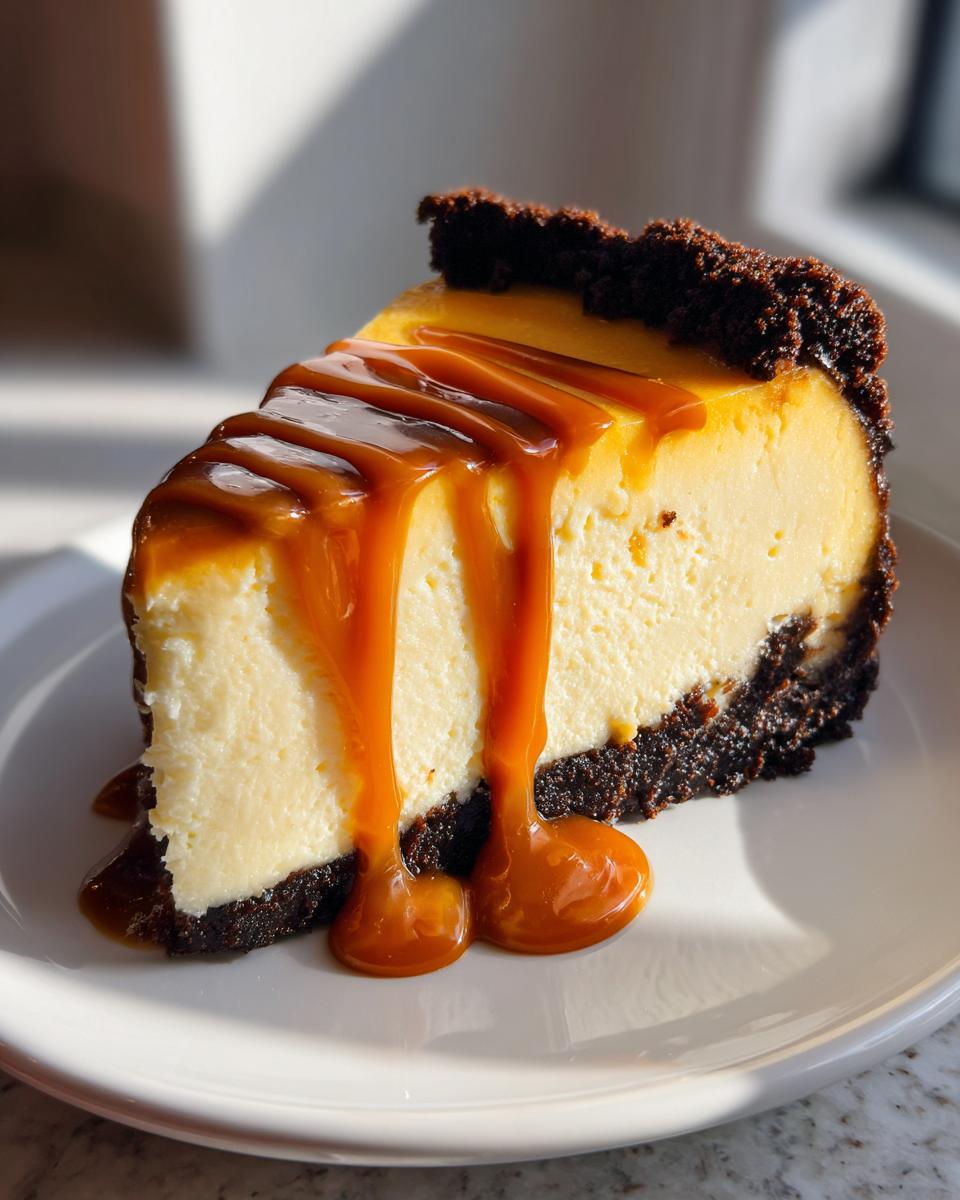
If you’ve ever craved a truly decadent dessert experience—something that hits that perfect sweet and salty note—then pull up a chair. I know my philosophy here at MDLATDMM is about taking cherished, often intimidating flavors and making them totally approachable for your kitchen. That’s exactly what we’re doing today with this salted caramel cheesecake. Forget the hassle; this recipe delivers pure richness thanks to an unbelievably flavorful Biscoff cookie crust. It brings all that cozy, comforting heritage flavor right to your table, but made easily for a busy weeknight or even an impromptu gathering. Trust me, this is the foolproof recipe you’ve been waiting for.
- Why This Easy Baked Salted Caramel Cheesecake Stands Out
- Gathering Ingredients for Your Salted Caramel Cheesecake
- Easy Cheesecake Instructions for a Perfect Salted Caramel Cheesecake
- Tips for the Best Salted Caramel Cheesecake
- Variations on the Salted Caramel Dessert Recipes
- Serving Suggestions for Your Decadent Desserts
- Storage and Reheating Instructions for Salted Caramel Cheesecake
- Frequently Asked Questions About This Salted Caramel Cheesecake
- Nutritional Estimates for This Ultimate Caramel Dessert
- Share Your Experience Making This Salted Caramel Cheesecake
Why This Easy Baked Salted Caramel Cheesecake Stands Out
I know what you’re thinking: baked cheesecake sounds like a whole ordeal. But I promise you, this version is designed to be incredibly straightforward while giving you a gourmet result. This is why I think you’ll fall in love with it as much as I do when looking for those perfect delicious dessert recipes.
- It’s the ultimate sweet and salty treats adventure in every bite.
- The richness is totally balanced, so it isn’t overly sweet.
- The steps are clear, which is the secret to making it feel easy!
Achieving the Ultimate Creamy Texture
For that luxurious, smooth mouthfeel that everyone wants in creamy cheesecake recipes, we rely on two things: making sure our cream cheese is perfectly room temperature, which we get to later, and using that water bath. The water bath is non-negotiable because it keeps the heat so gentle and even, making sure the filling sets up like silk instead of getting rubbery edges.
The Perfect Biscoff Crust Cheesecake Base
Honestly, ditch the boring graham cracker crust for this one. Using Biscoff cookies gives us this spiced, slightly caramelized crunch that is just heaven underneath the cheesecake. If you’re hunting for that trendy Biscoff Crust Cheesecake upgrade, this is it. It adds so much depth before we even get to the caramel!
Gathering Ingredients for Your Salted Caramel Cheesecake
Okay, before we start mixing, we need to make sure we have everything ready to go, because when you’re making a showstopper like this, any pause can throw off our timing! I’ve broken down the list below so you can easily check your pantry. Remember, precision here is what keeps this from turning into one of those frustrating, complicated recipes. We want easy and delicious, right?
For the Biscoff Crust
This is where that amazing spiced flavor comes from. Grab these odds and ends first!
- 1 1/2 cups Biscoff cookie crumbs (that’s about 25 cookies, give or take!)
- 1/4 cup granulated sugar
- 6 tablespoons unsalted butter, melted
For the Creamy Cheesecake Filling
This part needs attention! Make sure your cream cheese is truly softened—this is key for avoiding lumps—and use three *large* eggs. We mix gently here, so don’t rush the order!
- 3 (8 ounce) packages cream cheese, softened
- 1 1/2 cups granulated sugar
- 1/4 cup all-purpose flour
- 1 teaspoon vanilla extract
- 1/2 teaspoon salt
- 1/4 cup heavy cream
- 3 large eggs
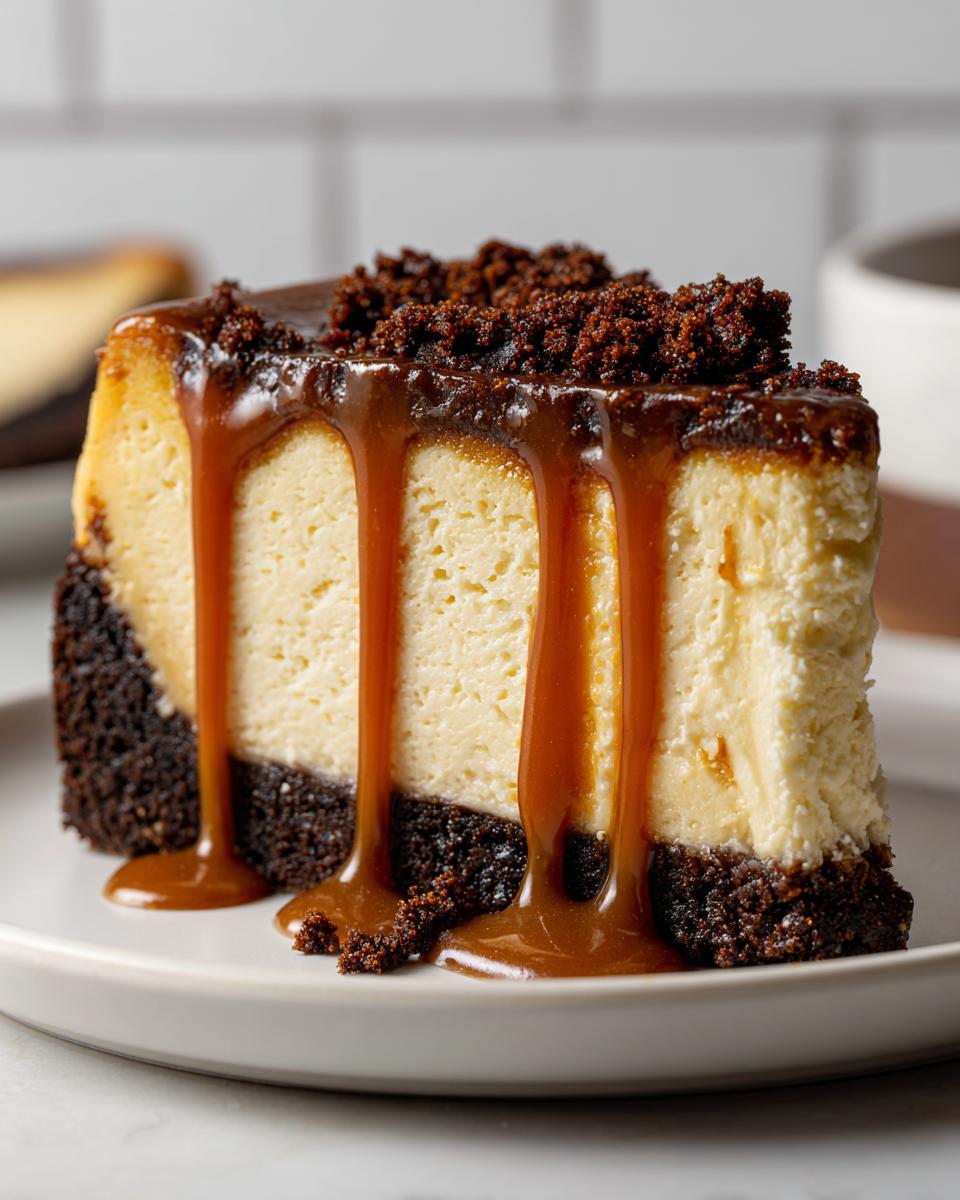
For the Salted Caramel Drizzle
You need caramel sauce for two jobs here: baking it right into the filling for extra depth, and saving some for that gorgeous topping when we serve it. So, make sure you have enough!
- 1/2 cup homemade or store-bought salted caramel sauce, plus more for topping
Easy Cheesecake Instructions for a Perfect Salted Caramel Cheesecake
Okay, this is where the magic really happens! Even though this is a baked cheesecake recipe, I’ve streamlined things so much that you’ll feel like a pro. The key to getting those totally smooth rich creamy dessert layers is paying attention to the mixing order and letting things cool down slowly. Don’t stress; just follow me step-by-step, and you’ll have the ultimate caramel dessert!
Preparing the Crust and Oven
First things first, we need high heat for the crust to set up nicely. Preheat your oven to 325 degrees Fahrenheit. Right away, wrap the outside of that 9-inch springform pan tightly with heavy-duty aluminum foil—this needs to be snug! Then, mix your Biscoff crumbs, a quarter cup of sugar, and the melted butter until it all looks like wet sand. Press that firmly into the bottom and up the sides of your foiled pan. Pop that straight into the oven to bake for just 10 minutes. Let it cool down a tiny bit while you make the filling.
Mixing the Rich Creamy Dessert Layers Filling
Grab your large bowl. Beat that softened cream cheese until it’s totally smooth—no lumps allowed! Next, slowly beat in the rest of the sugar and the flour until they are just incorporated. Add your vanilla and salt. Now, pour in the heavy cream and mix on low speed. This is the moment to be gentle: add your eggs one at a time, mixing only until you see the yolk disappear. Seriously, do not overmix the eggs! Finally, gently fold in that half cup of salted caramel sauce.
Baking the Salted Caramel Cheesecake with Water Bath
Time for the water bath setup, which keeps the edges from drying out. Pour your filling over that slightly cooled crust. Place the springform pan inside a larger roasting pan. Carefully pour hot water into the roasting pan until it gets about halfway up the sides of your cheesecake pan. Bake this setup for 60 to 75 minutes. You’re looking for the edges to be firm, but the middle should still have a little delicate wiggle or jiggle when you nudge the rack.
Cooling and Chilling for Structure
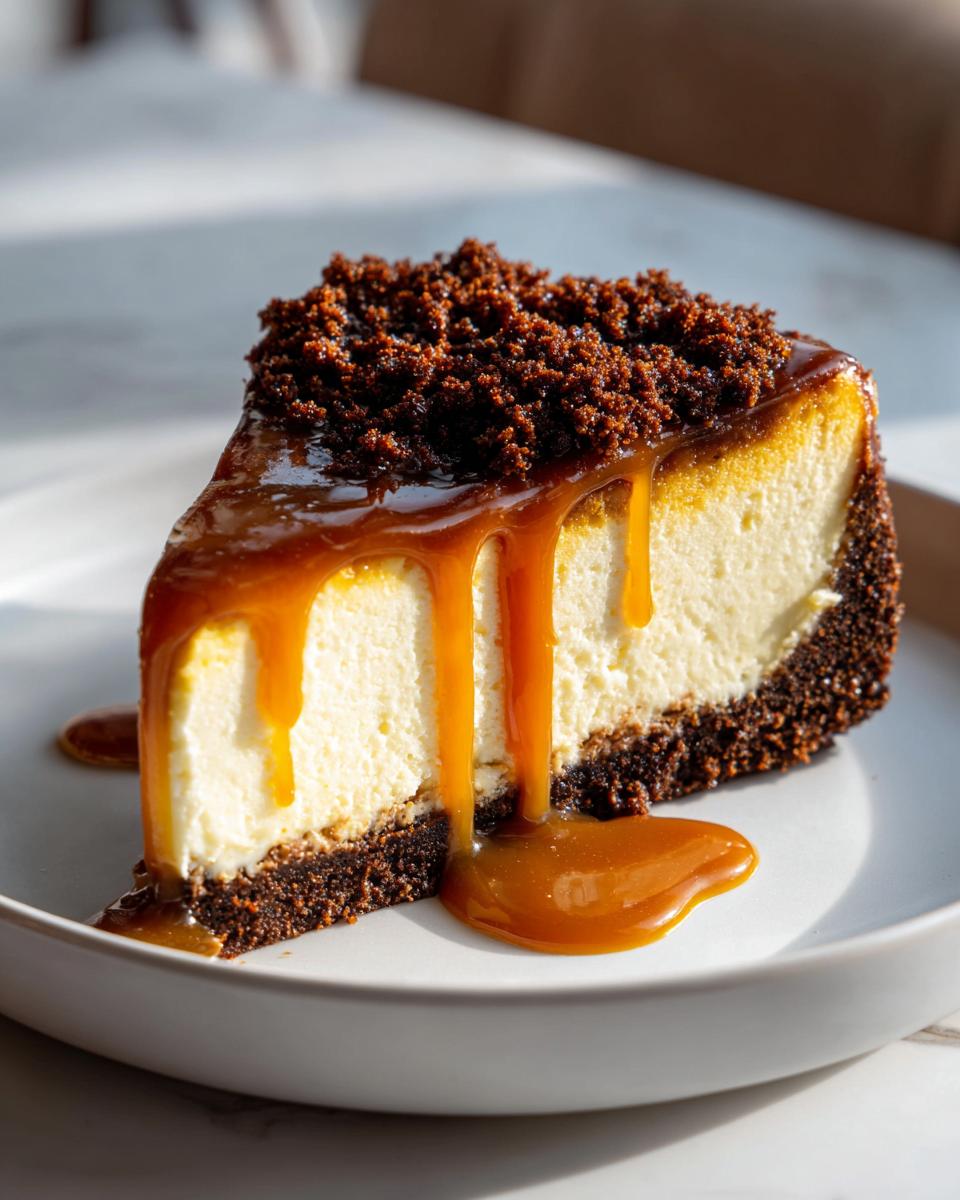
For the best results and to avoid any nasty cracks, we cool things down gently. Turn the oven OFF, crack the door open just a smidge, and let the cheesecake hang out in that warm environment for a full hour. After that hour, take it out of the water bath and let it cool completely on a wire rack. Once it’s room temperature, wrap it up tight and chill it for a minimum of six hours, or preferably overnight. When you’re ready to serve this amazing treat, run a thin knife around the edge, release the springform, and drizzle on that extra salted caramel sauce you saved!
Tips for the Best Salted Caramel Cheesecake
If you are aiming for what I truly think is the Best Cheesecake Recipe Ever, it all comes down to respecting the ingredients and treating the cheesecake gently during the bake and cool-down phases. My grandmother used to say that patience was the secret spice in any good recipe, and that’s especially true for this rich beauty. These little tricks make the difference between a good cheesecake and one that melts in your mouth! We’re talking total smooth perfection here, easily achievable even if you’re intimidated by baking.
Ingredient Temperature Matters for Creamy Cheesecake
Listen, you can’t skimp on this step. If your cream cheese is cold, you’re guaranteed to have lumps, and no amount of beating (which is bad anyway, remember the mixing warning!) will fix that. Seriously, pull those cream cheese bricks and those eggs out on the counter at least an hour before you plan to start. Room temperature ingredients emulsify so much better, which locks in that silky, smooth texture we are after, just like when I make my lemon cream cheese dump cake—temp is everything!
Water Bath Alternatives and Why We Use It
That water bath might look fussy—and yes, be careful with that hot water!—but it’s the great equalizer in the oven. It keeps the internal temperature super stable, creating moisture that stops the edges from over-baking while the middle is still cooking. If you skip it, the texture won’t be as smooth. Also, just a little note: if you can’t find the Biscoff, don’t fret! You can always use graham cracker crumbs, as mentioned in the notes, and it will still be delicious, just a touch less spiced.
Variations on the Salted Caramel Dessert Recipes
Now that we’ve mastered this rock-solid baked base, I love encouraging everyone to play around! This recipe is fantastic year-round, making it one of my favorite fall baked goods, but you can easily jazz it up for any party to create true gourmet cheesecake variations.
Adding Texture: Nut or Chocolate Swirls
If you want another layer of crunch or depth, you can absolutely add mix-ins! Just before you pour the filling into the crust, try gently folding in about a cup of chopped pecans. They toast up nicely in the water bath. Or, for the chocolate lovers? Melt down some good quality semi-sweet chips and swirl them gently through the caramel-laced batter before baking. Just don’t overmix—we want swirls, not muddy batter!
No Bake Salted Caramel Dessert Alternative
I’ve had a few people ask if they can skip the oven entirely. And sure, you *can* make a no bake salted caramel dessert alternative! Those usually rely on gelatin or stabilized whipped cream to set up, similar to a mousse. But just know, this baked version gives you that dense, rich classic cheesecake mouthfeel that you just can’t replicate without the oven. Stick with this recipe for the best texture, trust me!
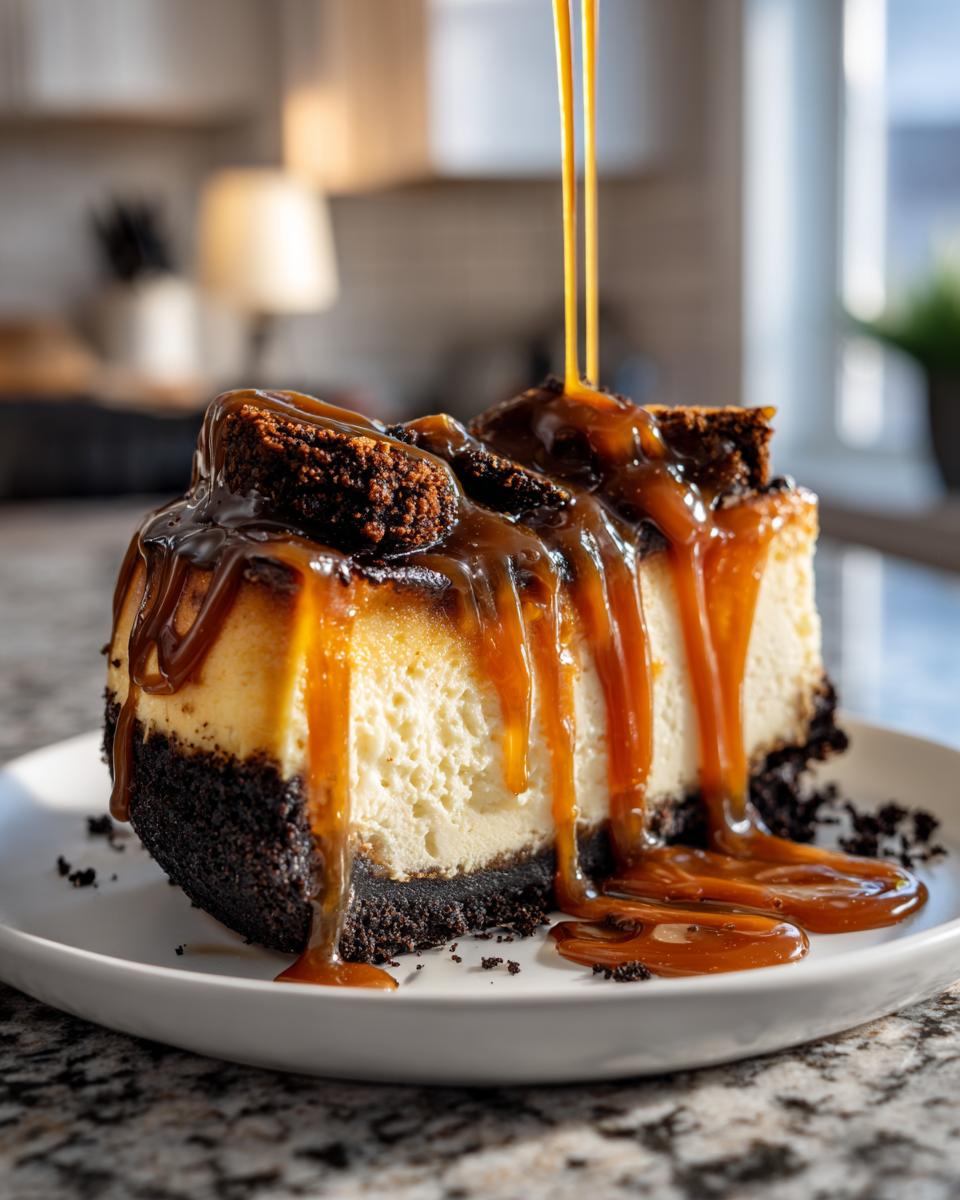
Serving Suggestions for Your Decadent Desserts
Once you’ve successfully navigated the water bath and chilled this beauty overnight, it’s time for the grand reveal! These decadent desserts deserve a beautiful presentation. Because we have that gorgeous sweet and salty balance, I love leaning into something slightly less sweet alongside it. A tiny dollop of unsweetened whipped cream cuts through the richness perfectly. Or, if you want another layer of nutty flavor without overpowering the caramel, you absolutely have to check out my recipe for pecan cream pie—it’s a stunning pairing for a holiday spread!
Storage and Reheating Instructions for Salted Caramel Cheesecake
Good baking news: this cheesecake actually gets better overnight! Because we went to all that trouble with the water bath to ensure its texture was perfect, we need to treat it right during storage. The short answer is, you don’t really reheat cheesecake—it’s designed to be served chilled, which helps that creamy filling stay nice and firm.
Once you’ve gotten that springform ring off after chilling, you need to cover it properly. I use plastic wrap gently pressed over the top, making sure the caramel drizzle doesn’t stick anywhere, or you can carefully place it in an airtight container. You absolutely must keep this gorgeous creation refrigerated, not just because of the dairy, but because the flavor of the salted caramel deepens wonderfully when cold.
You’ll want to aim for that minimum of six hours, but honestly, overnight is when this salted caramel cheesecake reaches its peak glory. When you are ready to serve, just pull it out of the fridge about 20 minutes before slicing. That small window lets the chill come off just enough so it slices beautifully without being rock hard. Enjoy that sweet and salty flavor straight from the cold!
Frequently Asked Questions About This Salted Caramel Cheesecake
It’s totally normal to have questions when tackling a truly decadent dessert! Even though I tried to make these creamy cheesecake recipes instructions super clear, sometimes the little details need spelling out. Here are the things I hear most often when people are getting ready to bake this showstopper.
Can I make the Homemade Caramel Sauce separately?
Oh, absolutely, and I highly recommend it! Making your homemade caramel sauce a day ahead saves you stress on baking day. If you are whipping up the sauce from scratch, just make sure it comes down to room temperature before you fold it into the batter for the filling. If you fold hot caramel into cold cream cheese batter, you risk melting the structure we just worked so hard to build! A slightly warm or cooled sauce is perfect.
What if I don’t have Biscoff cookies for the crust?
Don’t panic if you can’t find the Speculoos cookies! While the Biscoff really lends a unique depth to this crust, you can definitely use standard graham cracker crumbs as a backup substitution. Just use the same amount, mix it with the butter and sugar the same way, and bake for 10 minutes. It will taste slightly more traditional, but it’s still going to be that fantastic solid base your magnificent salted caramel cheesecake needs!
How do I prevent my baked cheesecake from cracking?
Cracking is usually caused by sudden temperature shifts, which we hate! To make sure you get that perfect, unblemished top texture, remember the two golden rules we used in the instructions. First, you must use that gentle water bath during baking—it keeps the heat humid and even. Second, and this is the big one, do not pull it straight out of the oven! You need that slow cool-down period in the oven with the door cracked for at least an hour. That gradual temperature change is the secret to avoiding fissures and keeping your cheesecake looking flawless.
Nutritional Estimates for This Ultimate Caramel Dessert
Now listen, nobody is making this spectacular salted caramel cheesecake because they’re worried about calories, right? But just for transparency—because that’s what good recipe sharing is all about—here are the rough estimates. These numbers are based on dividing the entire recipe into 12 generous slices, so keep that serving size in mind!
- Serving Size: 1 slice
- Calories: 450
- Sugar: 35g
- Fat: 28g
It’s a rich, indulgent treat—a true ultimate caramel dessert—and certainly something we save for special occasions, but wow, is it worth every single bite! Enjoy responsibly!
Share Your Experience Making This Salted Caramel Cheesecake
Whew! We made it! You’ve now baked what I truly believe is one of the most spectacular salted caramel cheesecake recipes out there. Now comes my favorite part: hearing from all of you!
I would absolutely love it if you took a moment to come back here and leave a rating once you’ve had a chance to try it. Did the Biscoff crust hold up just right? Were the cooling instructions foolproof? Your feedback is how we keep improving these family-favorite recipes and build trust in our home kitchen here at MDLATDMM.
If you snap a picture of your gorgeous, drizzled creation—maybe next to some of my chewy chocolate chip cookies for a dessert spread—please tag me on social media! Seeing your triumphs is what keeps me motivated to translate Grandma’s best stories and my mom’s favorite baking secrets into recipes that work for you. If you loved this, you might also enjoy checking out another incredible showstopper from a fellow baker, this one for even more caramel inspiration!
Happy baking, friend! Let me know what you think!
PrintEasy Baked Salted Caramel Cheesecake with Biscoff Crust
Make this rich, creamy baked salted caramel cheesecake featuring a buttery Biscoff cookie crust and topped with a homemade salted caramel drizzle. This recipe delivers decadent flavor with straightforward steps for the home cook.
- Prep Time: 25 min
- Cook Time: 75 min
- Total Time: 100 min
- Yield: 12 servings 1x
- Category: Dessert
- Method: Baking
- Cuisine: American
- Diet: Vegetarian
Ingredients
- 1 1/2 cups Biscoff cookie crumbs (about 25 cookies)
- 1/4 cup granulated sugar
- 6 tablespoons unsalted butter, melted
- 3 (8 ounce) packages cream cheese, softened
- 1 1/2 cups granulated sugar
- 1/4 cup all-purpose flour
- 1 teaspoon vanilla extract
- 1/2 teaspoon salt
- 1/4 cup heavy cream
- 3 large eggs
- 1/2 cup homemade or store-bought salted caramel sauce, plus more for topping
Instructions
- Preheat your oven to 325 degrees Fahrenheit. Wrap the outside of a 9-inch springform pan tightly with heavy-duty aluminum foil to prepare for a water bath.
- Prepare the crust: Mix the Biscoff cookie crumbs, 1/4 cup sugar, and melted butter in a bowl until combined. Press the mixture firmly into the bottom and about 1 inch up the sides of the prepared springform pan. Bake for 10 minutes. Remove from the oven and let it cool slightly.
- Prepare the filling: In a large bowl, beat the softened cream cheese with an electric mixer until smooth. Gradually beat in the 1 1/2 cups sugar and flour until just combined. Mix in the vanilla extract and salt.
- Pour in the heavy cream and mix on low speed until incorporated. Add the eggs one at a time, mixing only until each egg is just blended into the batter. Do not overmix.
- Gently fold in 1/2 cup of the salted caramel sauce into the cheesecake batter.
- Pour the filling over the cooled crust in the springform pan. Place the springform pan inside a larger roasting pan. Carefully pour hot water into the roasting pan until the water reaches about halfway up the sides of the springform pan. This creates a water bath for even baking.
- Bake for 60 to 75 minutes, or until the edges are set but the center still has a slight jiggle.
- Turn off the oven, crack the oven door open slightly, and let the cheesecake cool inside the oven for 1 hour. This slow cooling prevents cracking.
- Remove the cheesecake from the water bath and foil. Let it cool completely on a wire rack. Once cooled, cover and chill in the refrigerator for at least 6 hours, or preferably overnight.
- Before serving, carefully run a thin knife around the edge before releasing the springform side. Drizzle generously with the remaining salted caramel sauce.
Notes
- For the creamiest texture, bring your cream cheese and eggs to room temperature before starting the recipe.
- If you skip the water bath, bake time may be shorter, but the texture might not be as smooth.
- You can substitute graham cracker crumbs for Biscoff cookies if you do not have them available.
Nutrition
- Serving Size: 1 slice
- Calories: 450
- Sugar: 35g
- Sodium: 300mg
- Fat: 28g
- Saturated Fat: 17g
- Unsaturated Fat: 11g
- Trans Fat: 0.5g
- Carbohydrates: 42g
- Fiber: 1g
- Protein: 7g
- Cholesterol: 110mg