
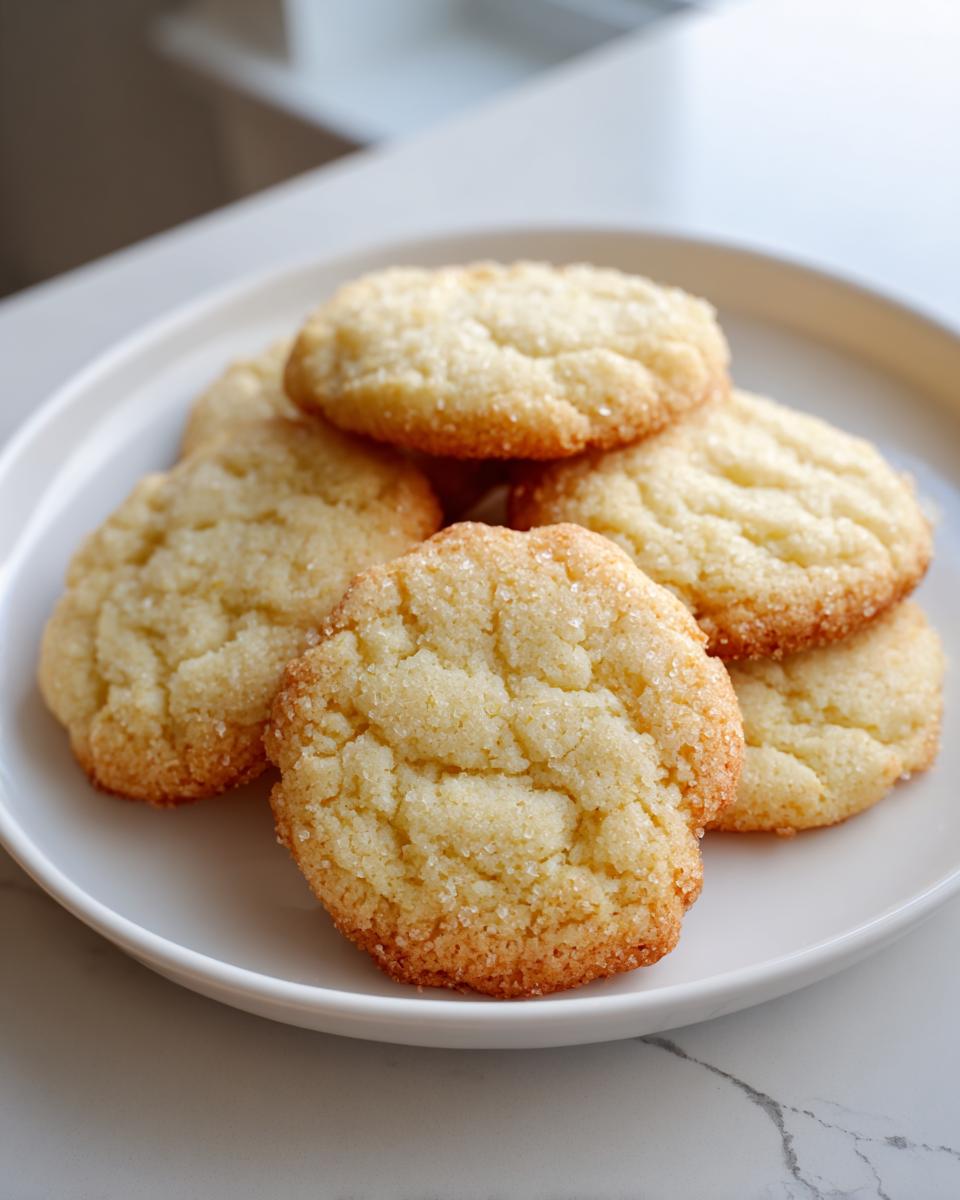
Oh, the smell of fresh-cut sugar cookies! That buttery, vanilla scent instantly takes me back to holiday mornings and tracing the outline of giant gingerbread men on the counter. It’s probably the most nostalgic cookie there is, right? But honestly, trying to find the *right* recipe has always been such a headache. You want them soft, maybe a little chewy, but they absolutely *must* hold their shape! That’s why I am so thrilled to share this ultimate recipe for soft and chewy cutout sugar cookies that hold their shape perfectly for easy decorating. This isn’t just some random recipe I grabbed online; this is carefully tested, just like everything else here at MDLATDMM Recipes. I’m Maddie, and I promise, these reliable sugar cookies will be your new go-to, year after year.
- Why This is the Best Sugar Cookie Recipe You Will Ever Make
- Simple Ingredients for Classic Sugar Cookies
- Step-by-Step Guide to Easy Sugar Cookie Recipe Success
- Tips for Perfect Cutout Sugar Cookies Every Time
- Variations on Classic Sugar Cookies
- Serving Suggestions for Your Buttery Vanilla Cookies
- Storage & Reheating Instructions for Sugar Cookies
- Frequently Asked Questions About Making Sugar Cookies
- Nutritional Estimates for These Sweet Treats Baking
Why This is the Best Sugar Cookie Recipe You Will Ever Make
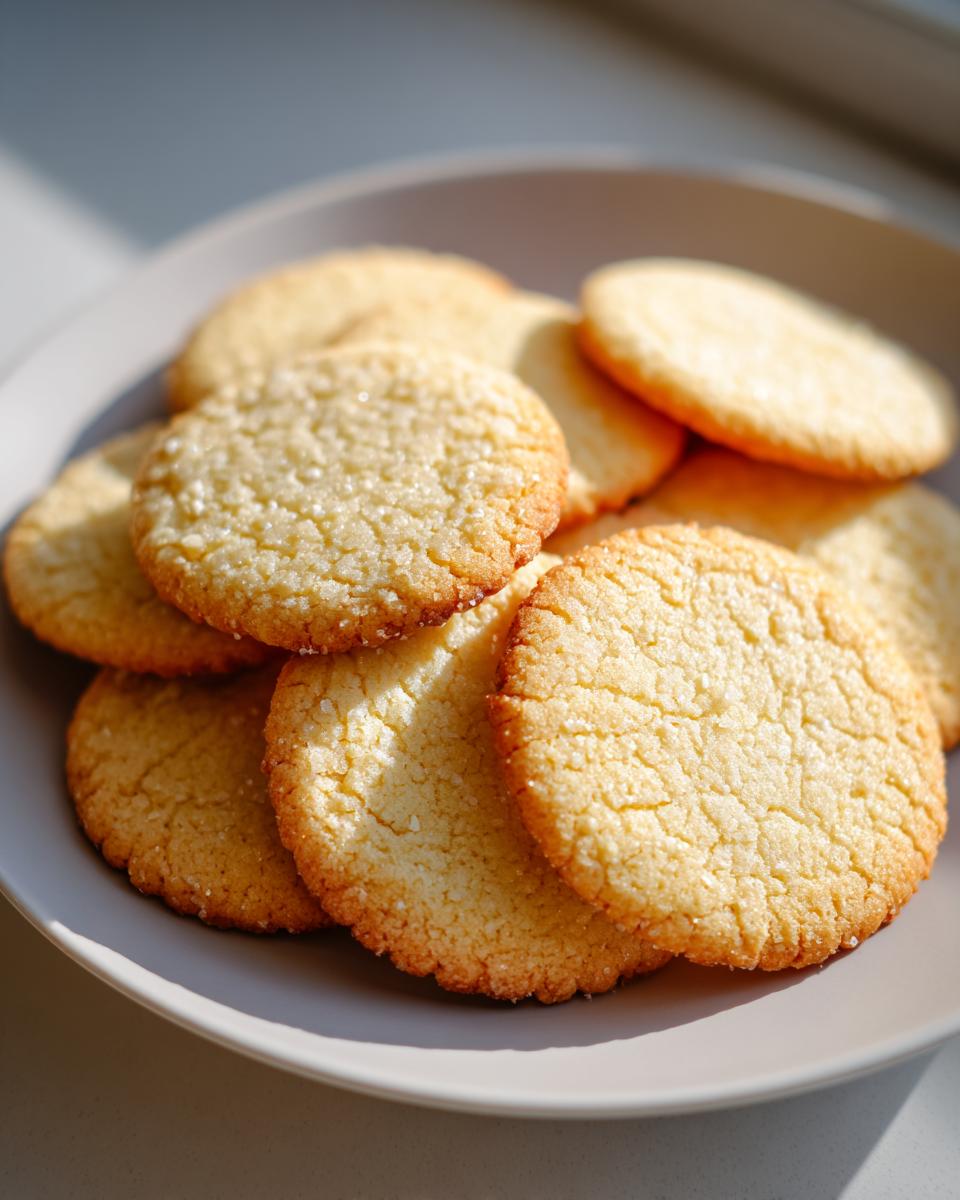
I’m not kidding when I call this **Best Sugar Cookie Recipe** the ultimate one. I spent ages testing batches that spread into thin puddles or crumbled the second I picked them up. Not this one! This recipe delivers those thick, **Thick Bakery Style Cookies** you crave—soft and chewy on the inside but sturdy enough for action.
- They’re wonderfully soft and stay that way for days.
- They roll out beautifully and maintain incredibly crisp edges, even after baking.
- It uses simple, real ingredients—no weird additives needed here!
If you love classic chocolate chip cookies as much as I do, you might want to check out our technique for those too! Classic Chocolate Chip Cookies are another family favorite!
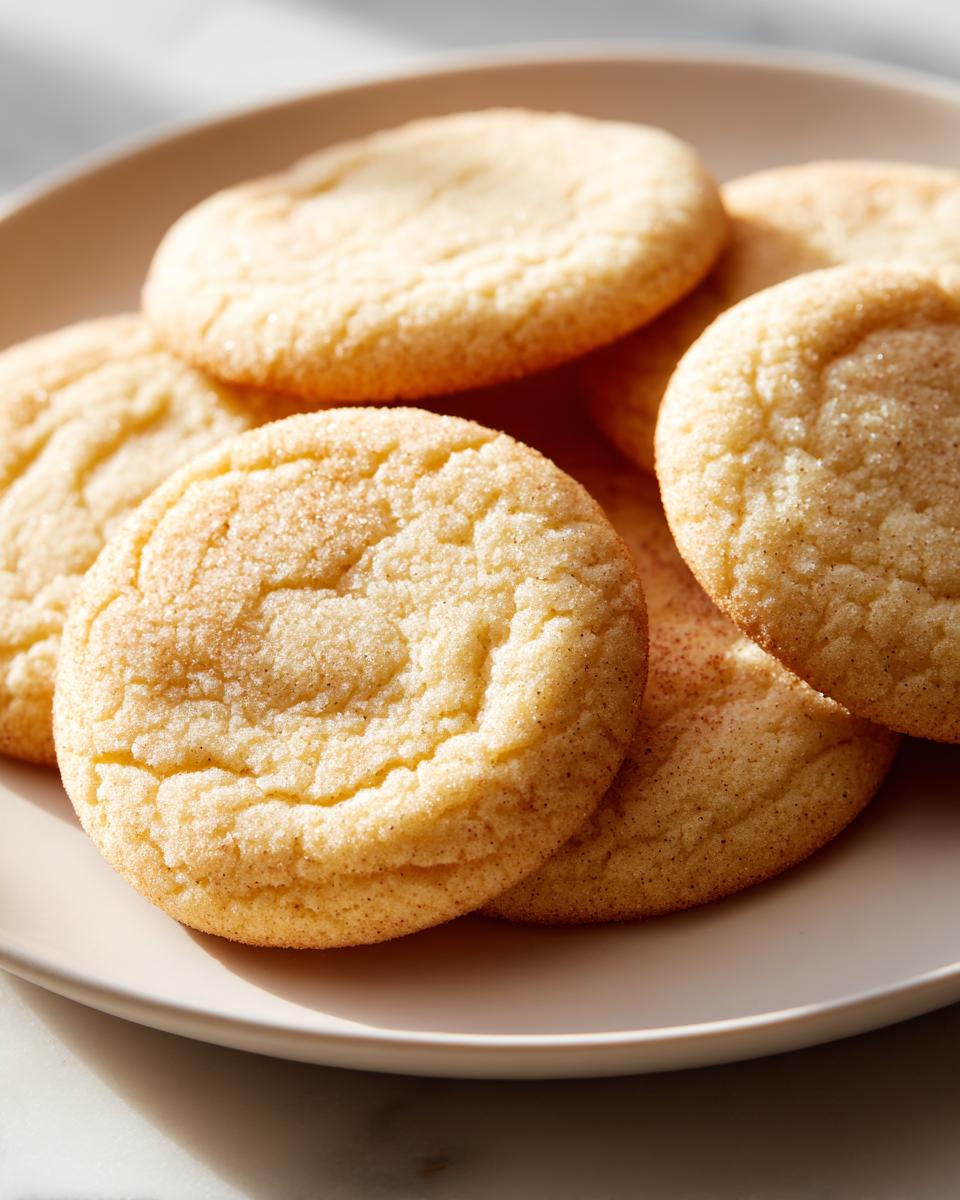
Achieving Soft Sugar Cookies Texture
The secret to that delicate, soft sugar cookies texture is a careful balance in the dough—specifically, slightly more flour than some recipes use, combined with pulling them out of the oven *just* before they look fully done. They finish setting up on the warm pan, guaranteeing chewiness!
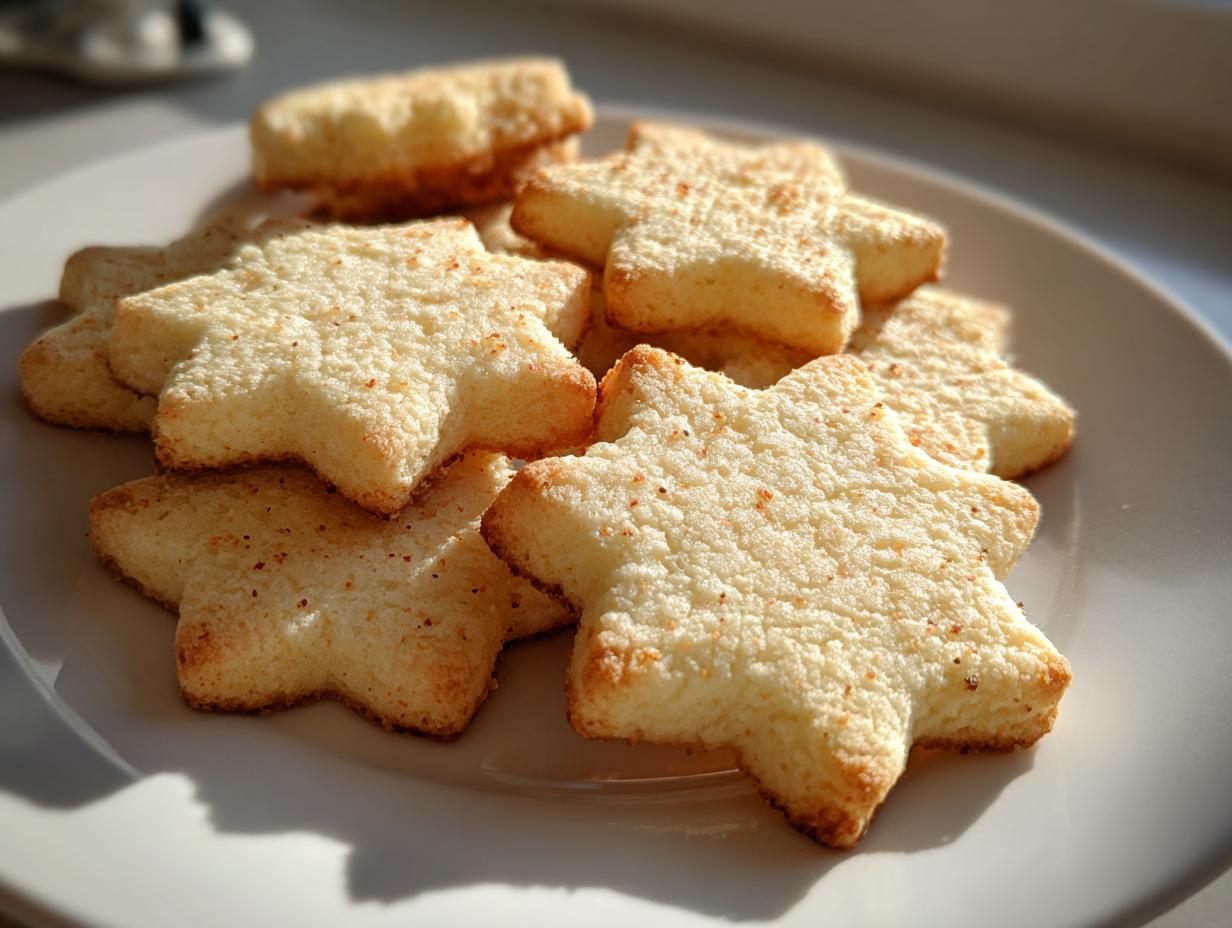
Perfect Cutout Sugar Cookies for Decorating
The reason these work so well for cutting shapes, especially for your **Holiday Sugar Cookies**, is that mandatory chill time I talked about. When the dough is cold, the butter stays firm. Firm butter means the shapes don’t melt and spread in the oven. You get that crisp, clean line every single time, making decorating way less frustrating!
Simple Ingredients for Classic Sugar Cookies
One of the reasons this is my go-to **Simple Ingredients Cookie Recipe** is because you probably have everything in your pantry right now! No complicated steps or specialized extracts needed to get that amazing buttery vanilla flavor. I always make sure my ingredients are at the right temperature before I start, which honestly saves so much hassle later on.
- 1 cup unsalted butter, softened (Make sure it’s actually soft, not melted!)
- 1 1/2 cups granulated sugar
- 2 large eggs (room temperature eggs mix in better, trust me)
- 1 teaspoon vanilla extract
- 4 cups all-purpose flour
- 1 teaspoon baking powder
- 1/2 teaspoon salt
Step-by-Step Guide to Easy Sugar Cookie Recipe Success
Following these steps ensures you get the very best results for this **Easy Sugar Cookie Recipe**. Honestly, cookie baking is all about timing, so pay attention to the chill time—it’s non-negotiable if you want those clean edges!
Mixing the Dough: Creaming and Combining
First up, grab that big bowl! You need to really cream that softened butter and the sugar together until it’s light and fluffy. Don’t rush this—we need air in there for texture! Then, beat in your eggs one by one, getting them fully incorporated, followed by the vanilla. In a separate bowl, whisk your dry stuff—flour, baking powder, and salt. Add the dry mixture to the wet stuff gradually, mixing on low speed only until it *just* comes together. Seriously, stop mixing right when the flour disappears. Overmixing builds gluten, and we want soft sugar cookies, not hockey pucks!
The Essential Chill Time for Roll Out Sugar Cookies
This is where the magic happens to create your **Recipe for Perfect Cookie Shapes**. Divide that dough into two disks, wrap them tight in plastic wrap, and hide them in the fridge for at least one hour. I know you want to skip this step—I’ve done it!—but trust me, the dough gets sticky, you have to add more flour, and then they spread. Chilling keeps the butter solid so your **Roll Out Sugar Cookies** keep their beautiful, sharp shapes when they hit the heat.
Baking and Cooling Your Sugar Cookies
Once chilled, preheat your oven to 350°F (175°C) and get those pans lined with parchment paper. Roll the dough out to about 1/4 inch thick. Here’s my secret for the chewiest cookies: look for the edges to just barely turn light gold, maybe at 8 minutes. If they look completely done, they might be a little crisp, which isn’t what we want! Let them sit on the hot pan for about five minutes to finish setting up before moving them to a wire rack—they are fragile when hot. If you enjoy other classic recipes, you might love our take on Pumpkin Snickerdoodle Cookies!
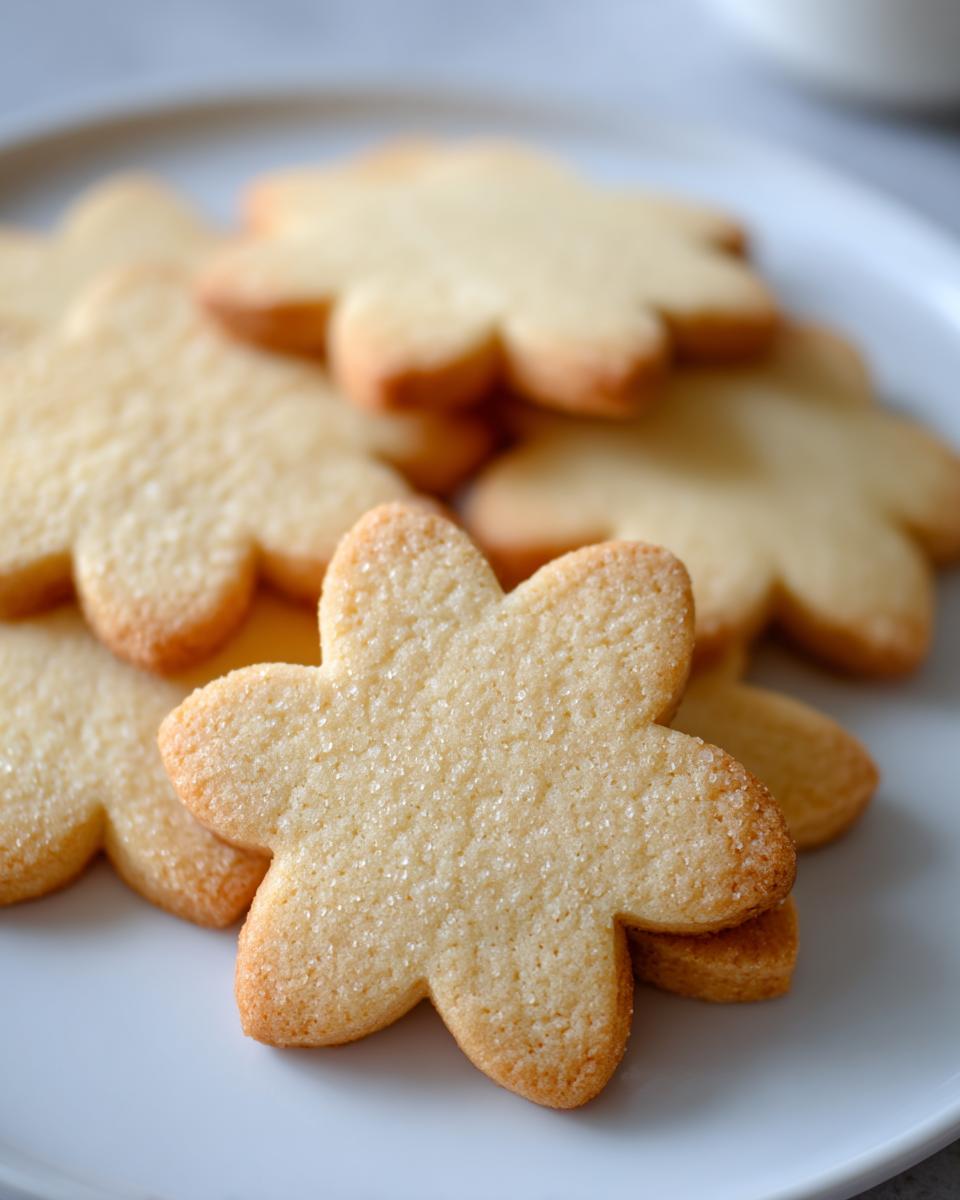
Tips for Perfect Cutout Sugar Cookies Every Time
When it comes to achieving that perfect **Recipe for Perfect Cookie Shapes**, a few little tricks really take these **Roll Out Sugar Cookies** from good to absolutely incredible. I learned these the hard way, which means you don’t have to!
- For the absolute sharpest edges, roll out your dough right on the parchment paper you plan to bake on. Then, put that whole sheet into the fridge for 10 minutes before cutting. It firms everything up perfectly!
- If you want a seriously thick, almost bakery-level cookie, don’t roll the dough thinner than 3/8 inch.
- I have tried to skip the chill time before, thinking I was smart, and ended up with sad, puffy cloud cookies that totally lost their star shapes. Don’t do it! Chilling is your best friend for clean cuts.
If you’re looking for another chewy cookie hit, check out my absolute favorite Chewy Chocolate Chip Cookies recipe!
Variations on Classic Sugar Cookies
While this basic recipe for **sugar cookies** delivers that pure, buttery vanilla goodness we all love, it’s also a fantastic canvas for some fun **Festive Cookie Baking** experiments! You don’t have to stop at just simple shapes and white icing, though that’s always perfection in my book.
Want a slightly different flavor profile? Try swapping out some of that vanilla extract for almond extract. Just a quarter teaspoon goes a long way and gives the cookies a really classic holiday taste, especially wonderful if you’re making them for Christmas. You could also try adding some fine citrus zest—lemon or orange works great—into the butter and sugar when you cream them together. That bright little zing cuts through the richness perfectly.
And speaking of toppings, what about adding something other than icing? Before you chill the dough, try rolling the exterior of the dough disks in fun things! You can use colored sugar, coarse turbinado sugar for crunch, or even finely crushed peppermint candies. It’s an easy way to amp up the look without wrestling with royal icing consistency later. If you’re already making holiday bread, you might want to grab my recipe for Pumpkin Banana Bread—it’s a great bake for the cooler months!
Serving Suggestions for Your Buttery Vanilla Cookies
Once these **Buttery Vanilla Cookies** are completely cool—and I mean *completely* cool, or the icing will melt right off—it’s time for the fun part! Since we made sure these are sturdy **Sugar Cookies for Decorating**, you have a fantastic base for whatever your creative heart desires. Don’t be intimidated by fancy icing; keeping it simple is usually the most delicious approach.
For a super easy, quick glaze, ditch the complicated royal icing and just mix up a slurry: powdered sugar, a splash of milk or water, and a tiny bit of vanilla. You want it thick enough to coat the back of a spoon but thin enough to spread easily with a butter knife. Dip the top of the cookie right into the bowl and let the excess drip off back in! If you’re feeling ambitious, sometimes I even use a little bit of my homemade Carrot Cake Cream Cheese Frosting if I want something super rich on my sugar cookies instead of a standard glaze.
If you are doing holiday shapes, sprinkles are your best friend. Place the sprinkles on your plate *before* you ice the cookies. That way, you can dip the wet icing right into the sprinkles for full coverage, rather than trying to delicately sprinkle them on top where half of them fall onto the counter. It saves time and makes every cookie look professionally done!
Storage & Reheating Instructions for Sugar Cookies
Okay, you’ve baked the perfect batch of **sugar cookies**, and now you need them to last, especially if you bake ahead for the holidays! The great news is that these hold up wonderfully compared to something delicate like a lemon bar. The key to maintaining that soft texture we worked so hard for is keeping the air locked out.
For baked cookies, store them in a single layer (if possible, or separated by parchment paper if you stack) in a completely airtight container at room temperature. If you stack them, put a sheet of wax or parchment paper between the layers. They stay fantastic like this for about four or five days. If you notice they are getting a little softer than you like after day three, a quick trip in a low oven (like 250°F for just three minutes) can crisp them up just a touch without drying them out.
Now, remember I mentioned the dough freezes well? That’s a lifesaver! Whether you’re making **sugar cookies** for a party next month or just prepping for a busy weekend, take those chilled dough disks, wrap them super tight in plastic wrap, then maybe even wrap them in foil for extra protection. Label them with the date—you can freeze the dough for up to three months. When you’re ready to bake, just thaw them in the fridge overnight, and then proceed with rolling and cutting as usual. You’ll be amazed how fresh they taste!
Frequently Asked Questions About Making Sugar Cookies
When you’re deep into baking perfection, sometimes questions pop up right when you need an answer fast! I’ve gathered some of the biggest ones I used to have when perfecting my own batch of **Holiday Sugar Cookies**.
Why did my sugar cookies spread so much?
Spreading is the nemesis of a good cutout cookie! This almost always happens for two reasons: either your butter was too soft—maybe even slightly melted—when you creamed it with the sugar, or you skipped chilling the dough entirely. If you try to use this dough as a **No Chill Cookie Dough**, the butter melts in the oven, and *poof*, you get thin, lacy cookies instead of thick, sturdy shapes. Make sure the dough is seriously cold before it hits the hot baking sheet!
Can I make these cookies thicker?
Absolutely! If you love that really substantial, almost cake-like bite that you see in the fancy bakeries, just adjust your rolling thickness. We rolled the dough to about 1/4 inch for the standard soft cookie, but rolling it out to 3/8 inch thickness will definitely give you those thicker, bakery-style results. You’ll probably get slightly fewer cookies overall, but they’ll be satisfyingly chunky. This is perfect for when you want something extra special for dessert!
What’s the trick to getting sharp, clean edges when cutting?
Sharp edges come from cold dough, period. Once you’ve rolled out your dough, before you even try to touch the cookie cutters, slide the whole sheet of dough (still on the parchment paper) back into the fridge for about ten minutes. This temporary chill firms up the surface right before you cut. When you press the cutter down, press straight down, don’t twist! Twisting breaks the seal between the dough and the cutter and causes those ragged edges when you lift it up. Save your twists for cinnamon rolls!
Can I use a No Chill Cookie Dough method for these?
I strongly advise against it for this specific recipe. While **No Chill Cookie Dough** recipes exist, they usually require a higher flour-to-fat ratio or different leavening agents to keep them from collapsing. This recipe is calibrated to be soft and chewy *after* chilling. If you skip the chill time, I can’t guarantee the shape or the lovely soft texture we’ve achieved here. If you are in a huge rush, try reading up on some Easy Holiday Baking Ideas for drop cookies instead!
Nutritional Estimates for These Sweet Treats Baking
Now, let’s talk numbers! Honestly, when I’m baking **sugar cookies** at home, I try not to stare too long at this section, but it’s important to know what’s in these delicious **Sweet Treats Baking** creations. Please remember, because this is a homemade recipe using typical pantry items, these are just estimates for one cookie, assuming an average yield of 3 dozen.
If you swap in different types of butter or sugar, the numbers will shift a tiny bit. But overall, this gives you a good baseline for enjoying these buttery treats without too much surprise!
- Serving Size: 1 cookie
- Calories: 150
- Sugar: 12g
- Fat: 7g (Saturated Fat: 4g)
- Carbohydrates: 20g
- Protein: 2g
- Sodium: 85mg
Enjoy them guilt-free! Baking is all about love and connection, not counting every single gram. That 4g of saturated fat? That’s from the real butter we used, and it’s what makes these the best sugar cookie recipe ever!
PrintThe Best Soft and Chewy Cutout Sugar Cookies
This recipe gives you soft, chewy sugar cookies that hold their shape perfectly for cutting and decorating. They use simple ingredients and deliver a classic buttery vanilla flavor.
- Prep Time: 25 min
- Cook Time: 10 min
- Total Time: 1 hour 35 min
- Yield: 3 dozen cookies 1x
- Category: Dessert
- Method: Baking
- Cuisine: American
- Diet: Vegetarian
Ingredients
- 1 cup unsalted butter, softened
- 1 1/2 cups granulated sugar
- 2 large eggs
- 1 teaspoon vanilla extract
- 4 cups all-purpose flour
- 1 teaspoon baking powder
- 1/2 teaspoon salt
Instructions
- In a large bowl, cream together the softened butter and granulated sugar until light and fluffy.
- Beat in the eggs one at a time, mixing well after each addition. Stir in the vanilla extract.
- In a separate bowl, whisk together the flour, baking powder, and salt.
- Gradually add the dry ingredients to the wet ingredients, mixing on low speed until just combined. Do not overmix.
- Divide the dough in half, flatten each half into a disk, wrap in plastic wrap, and chill in the refrigerator for at least 1 hour.
- Preheat your oven to 350°F (175°C). Line baking sheets with parchment paper.
- On a lightly floured surface, roll out one disk of dough to about 1/4 inch thickness. Use cookie cutters to cut out shapes.
- Place the cutouts onto the prepared baking sheets, leaving about 1 inch between cookies.
- Bake for 8 to 10 minutes, or until the edges are lightly golden. For soft cookies, err on the side of underbaking slightly.
- Let the cookies cool on the baking sheet for 5 minutes before transferring them to a wire rack to cool completely.
- Decorate with your favorite royal icing or sprinkles once fully cooled.
Notes
- For the best results when cutting shapes, chill the rolled-out dough on the baking sheet for 10 minutes before baking.
- If you prefer a thicker, bakery-style cookie, roll the dough to 3/8 inch thickness.
- This dough freezes well. Wrap chilled, unbaked cutouts tightly and freeze for up to 3 months.
Nutrition
- Serving Size: 1 cookie
- Calories: 150
- Sugar: 12g
- Sodium: 85mg
- Fat: 7g
- Saturated Fat: 4g
- Unsaturated Fat: 3g
- Trans Fat: 0g
- Carbohydrates: 20g
- Fiber: 0g
- Protein: 2g
- Cholesterol: 30mg