
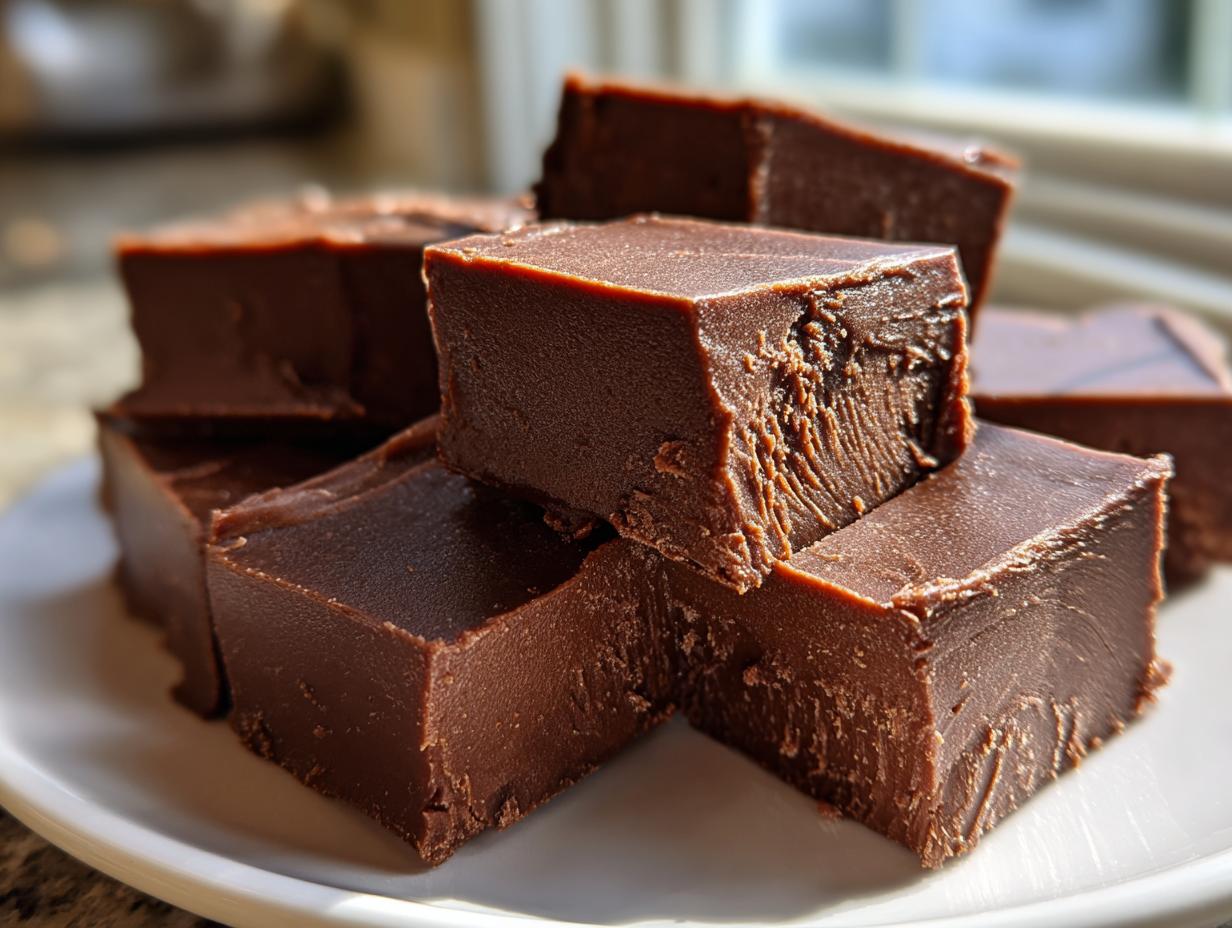
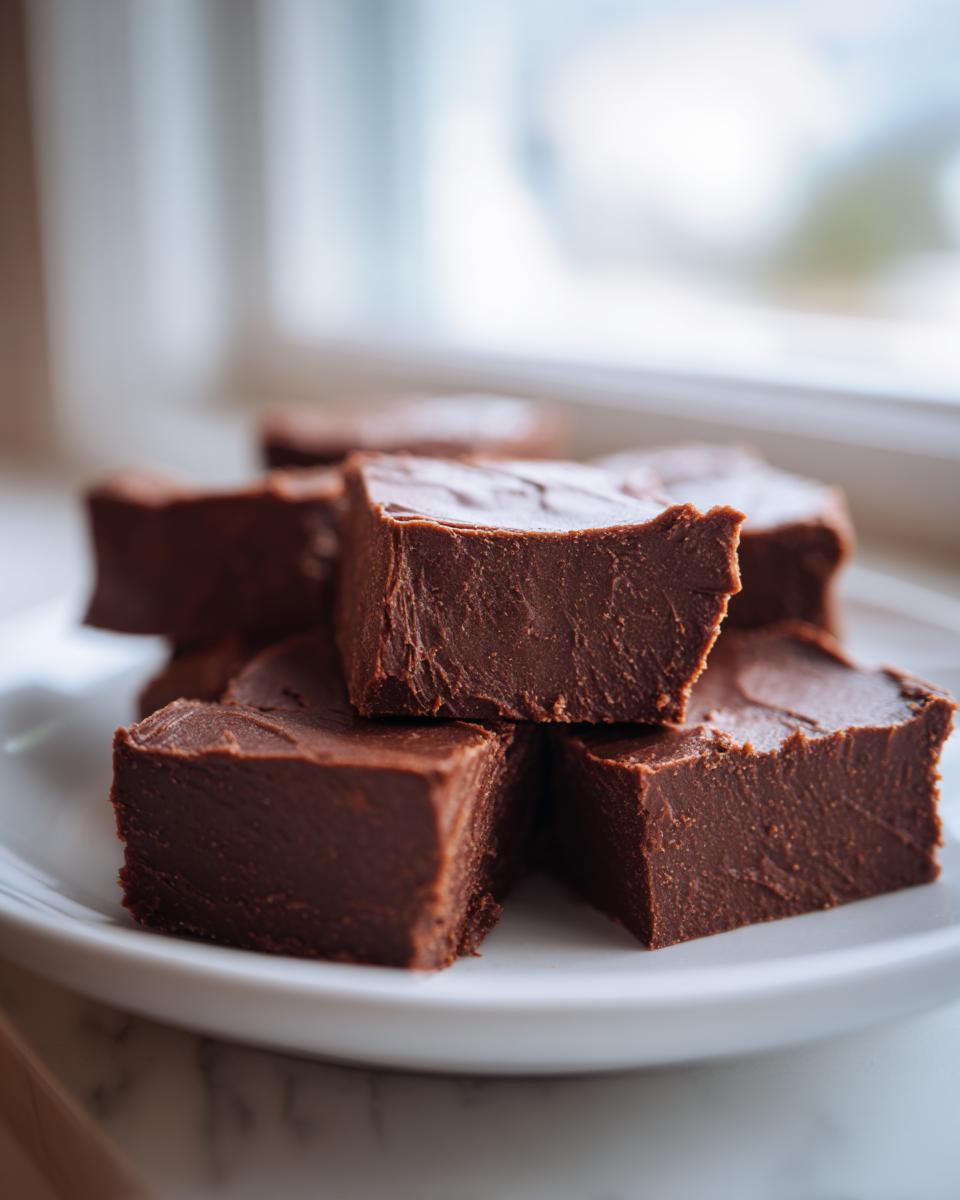
Are you staring down a serious, unstoppable sweet craving but dread the thought of making candy? Trust me, I get it! Sometimes you just need good, rich chocolate right now, not tomorrow. That’s why I’m finally sharing my absolute favorite secret weapon: the Best Ever Creamy 3-Ingredient Chocolate Fudge recipe. Forget messy stirring over a hot stove or worrying about sugar crystallization; this fudge is totally decadent and genuinely foolproof. Just three simple pantry items and a microwave! This recipe is a perfect representation of what I believe in here at MDLATDMM Recipes—that the best treats are often the simplest ones, made reliably every single time for folks like you who just want to bring some delicious dessert recipes to the table fast.
It’s quick, it’s creamy, and it sets up beautifully! You can see how this simple process connects to what Maddie Thompson champions—honest ingredients yielding maximum comfort.
- Why This 3 Ingredient Fudge Recipe is Foolproof
- Gathering Ingredients for Your Simple Fudge
- Step-by-Step Instructions for Microwave Fudge
- Tips for Making the Best Ever Fudge
- Variations on Classic Chocolate Fudge
- Storage and Serving Suggestions for Your Fudge
- Frequently Asked Questions About 3 Ingredient Fudge
- Nutritional Estimates for This Decadent Dessert Fudge
- Share Your Creamy Chocolate Fudge Creations
Why This 3 Ingredient Fudge Recipe is Foolproof
When you need something simple, you need something that won’t surprise you—and this fudge delivers every time! This Easy Fudge Recipe is truly a winner for busy weekends or last-minute gifts. It just can’t go wrong!
- Speed: Seriously, you are five minutes away from finished candy.
- Minimal Cleanup: No dirty pots or scrubbing sugar off the bottom of a pan.
- Consistency: It’s the ultimate Foolproof Fudge because the microwave heats so evenly.
Achieving Creamy Chocolate Fudge Texture
Traditional methods require constant temperature checking and beating out the air, which is stressful! But because we use sweetened condensed milk here, it acts as our stabilizer. It traps that beautiful moisture, giving you that irresistibly rich and decadent texture without all the fuss. It’s honestly magic how creamy this Creamy Chocolate Fudge gets just sitting in the fridge.
Gathering Ingredients for Your Simple Fudge
Okay, let’s talk about what you need, because the beauty of this recipe is how short the actual grocery list is! Seriously, only three things stand between you and the best fudge you’ve ever made at home. When you’re relying on just a few items, you want to make sure they are the right ones, right? This keeps it an amazing chocolate fudge recipe winner, and it builds that trust we all crave in a good recipe guide.
Here is exactly what my tried-and-true version calls for:
- 1 (14 ounce) can sweetened condensed milk
- 1 (12 ounce) package semi-sweet chocolate chips
- 1 teaspoon vanilla extract
That’s it! No flour, no butter outside of what’s in the chips, and no cooking required. Isn’t that incredible for such a Decadent Dessert?
Ingredient Notes and Substitutions for Perfect Fudge
Even with just three ingredients, a couple of little tweaks can change the final experience of your fudge! If you really want that deep, grown-up flavor—the kind that tastes like it took hours to make—I highly recommend swapping out the semi-sweet chips for dark chocolate chips. You get such a wonderfully rich flavor dimension from that.
Now, if you’re already thinking about other flavors because you love mixing things up, I’ve got a quick insider tip for you! The recipe base handles a flavor swap like a champ. If you want to bring in a Peanut Butter Fudge version, you can easily substitute 1 cup of creamy peanut butter for half of your chocolate chips. It melts down beautifully with the condensed milk. Just remember that using peanut butter will change the setting time slightly, but the result is pure nutty heaven!
Step-by-Step Instructions for Microwave Fudge
Getting this fudge made is probably the fastest I’ve ever seen a candy come together, but like any good recipe, you have to follow the flow! The bulk of the work is just getting your pan ready before we even touch the microwave. We want zero sticking drama later on, right? While you are waiting for the final set, you can check out Paula Deen’s quick version over at this site, but trust me, my three-ingredient method is unbeatable for consistency!
First things first: grab an 8×8 inch baking pan. You absolutely must line it with parchment paper. Make sure you leave a nice bit hanging over the sides—that’s your handle for lifting the finished candy out later. Give that parchment a little smudge of grease just to be extra safe.
Melting and Mixing the Creamy Chocolate Fudge Base
In a big, microwave-safe bowl, toss in your sweetened condensed milk and the chocolate chips. Now listen closely for the technique here! You don’t want scorched chocolate, so we are zapping this on *medium* power. Hit it for 30 seconds, pull it out, and stir it like you mean it. Repeat that process—30 seconds, stir, 30 seconds, stir—until it’s all smooth and shiny. It usually takes about a minute to two minutes total. Don’t rush this part, or you’ll end up with grainy fudge. When it looks like liquid velvet, stir in that vanilla extract really well.
Setting and Cutting Your Homemade Fudge
Pour that gorgeous, silky mix right into your prepared pan and use an offset spatula to spread it into an even layer. That’s it for the cooking part! Now comes the hard part: waiting. You need to pop this glorious pan into the refrigerator for a minimum of two hours. Don’t peek! Once it’s totally firm, use those handy parchment overhangs to lift the whole slab out onto a cutting board. Slice it into tiny squares—these are rich, so small is mighty! Enjoy your perfect quick dessert!
Tips for Making the Best Ever Fudge
Even though this is a Simple Fudge recipe, a couple of little chef checks will make sure it comes out looking professional and tasting divine. Remember, even simple treats benefit from a little attention to detail! This is how we ensure consistent results for your next batch of holiday candy.
First, let’s talk about chilling. Don’t try to speed this up too much by putting it in the freezer while it’s still warm from the microwave! If you rush the set, you can compromise that creamy texture we worked so hard to achieve, and your fudge might crumble when you try to cut it. Give it at least the full two hours in the fridge.
When it comes to storage, this type of condensed milk fudge loves the cold, especially if it’s humid where you live. Keep it in an airtight container in the refrigerator—it stays perfect for over a week! If you want to keep it even longer for gifting, wrap the whole slab tightly in plastic wrap before boxing it up; you can freeze it for nearly two months. When you pull it out, just let it warm up slightly on the counter before slicing. You can find more amazing dessert recipes here, but I stand by this one for sheer ease!
And lastly, remember that slight pull-away from the pan edge I mentioned? That’s your visual cue that the edges are set and ready. If you’re worried about the texture, check out the tips on achieving that old-timey perfection over at this traditional recipe site for some extra context!
Variations on Classic Chocolate Fudge
So, you’ve made the perfect basic batch of chocolate fudge and now you’re thinking, “What else can I do with this magic mixture?” I love that enthusiasm! Because this recipe uses such a stable, simple base—sweetened condensed milk and chocolate—it acts like the perfect canvas for other incredible sweet treats. You don’t have to stick to the classic chocolate flavor binder if you don’t want to!
My favorite trick, like I mentioned, is switching gears entirely if you have peanut butter on hand. That Peanut Butter Fudge variation is unbelievable. You just use one cup of creamy peanut butter and replace it with half of the chocolate chips. You absolutely have to try it—it gets so rich! You can find a great example of a dedicated recipe for it over at this site if you want even more tips on that flavor profile.
But wait, there’s more! If you want to dip into holiday candy territory without baking actual cookies, you can tailor this base to mimic other flavors. For instance, after you stir in the vanilla, try adding a teaspoon of peppermint extract instead for a fantastic Christmas fudge. Or, if you want something decadent and swirly—like that popular Marshmallow Swirl Fudge—you can save back about a quarter cup of the melted mixture, stir a little extra chocolate into the main batch, and then layer it all together before chilling.
If you’re crazy about pumpkin spice during the fall, you could even try folding in a tablespoon of pumpkin puree (make sure it’s well-drained!) along with the vanilla for a seasonal twist. That’s a slightly more advanced move, but this base handles it well. For more fun flavor mixing ideas that aren’t fudge but use similar easy bases, check out my recipe for Pumpkin Dip with Cool Whip—it’s a no-fuss way to get great seasonal flavor!
It’s so fun to see how far you can stretch just three ingredients when you learn the core structure of a great fudge recipe!
Storage and Serving Suggestions for Your Fudge
So, you’ve got this incredible, creamy slab of homemade candy that you barely managed to keep your hands off while it was chilling. Now what? We need to make sure your decadent dessert stays perfect until you’ve shared it (or, let’s be honest, until you’ve eaten it all).
Since this is our simple microwave fudge, the best place for it to hang out is definitely the refrigerator. It keeps it firm and ready to go. You can store it in an airtight container, and I’ve found it stays absolutely fantastic for about a week to ten days. If you try to keep it on the counter, especially if your kitchen is warm, it tends to get just a little soft around the edges, and nobody wants soft fudge when they are expecting a bite!
When it comes to serving, a little goes a very long way—these squares are serious business. I always slice mine into tiny, one-inch pieces. They look adorable on a platter, especially beside a holiday cookie assortment, and they prevent you from accidentally eating half the pan in one sitting! They are such a great quick dessert because you can literally pull them out of the fridge five minutes before company arrives.
I love pairing a small, rich square with a strong cup of black coffee. The bitterness of the coffee cuts right through the sweetness of the condensed milk, and it’s the most satisfying mid-afternoon treat. They also travel really well for potlucks if you keep them chilled until the last minute. Just layer them between sheets of parchment paper in a sealed container, and they’ll stay perfect until the party starts!
Frequently Asked Questions About 3 Ingredient Fudge
You’ve got all the basics down, but maybe you’re still wondering about storage or how to make this work in a different kitchen setup. That’s totally fair! When you’re making something this easy, sometimes the questions are about how *simple* it can really be. Here are the things I always hear when people try this Simple Fudge for the first time, especially if they are new to making No Bake Treats.
Can I make this fudge without a microwave?
Oh, absolutely! Not everyone has a microwave they love, or maybe you just prefer the slow, gentle heat of the stovetop, which some bakers swear by for chocolate. If you don’t have a microwave, you can easily make this using a double boiler setup. Just place a heat-safe bowl over a saucepan that has an inch or two of simmering water—make sure the bottom of the bowl doesn’t touch the water!
You heat the milk and chips gently in the bowl over that low simmer, stirring constantly until everything is smooth and glossy. It takes a little longer, maybe 5 to 7 minutes instead of 2, but the result is just as creamy and delicious. It’s a wonderful alternative for making foolproof fudge!
How long does this simple fudge stay fresh?
Because this recipe relies heavily on the sweetened condensed milk and the chocolate fats—and zero egg products or high-moisture additions like fruit—it lasts quite well. If you keep it sealed up tight in the refrigerator, you can count on it being perfectly fresh and firm for at least ten days, sometimes even two weeks! If you want to make a huge batch for the holidays and forget about it now, you can definitely freeze it for up to two months. Just wrap it super tight first! For more ideas on making holiday candy last, I always look at the guides over at Lauren’s Latest.
If you’ve managed to keep any leftovers after your first day of baking, you can quickly whip up some other quick desserts while you wait for the next batch to set!
Nutritional Estimates for This Decadent Dessert Fudge
I know, I know. When you are making something this purely wonderful and decadent, the last thing you probably *want* to think about is the nutrition label! But just like I believe in being clear about ingredients, I think it’s good to have a ballpark idea of what’s in these delightful squares. This helps keep us honest when we are reaching for the second piece, right? Remember, making your own fudge means you know exactly what went into it, which is always better than mystery ingredients!
The breakdown below is based strictly on the recipe—the three ingredients we used and the total yield of 36 small squares. Please take these figures as a good estimate, because the exact type of chocolate chip you use (milk vs. dark) can change the final numbers just a little bit. If you are looking for more generally balanced meals during the week, check out some of my healthy lunch recipes!
- Serving Size: 1 square
- Calories: 130
- Sugar: 18g
- Sodium: 30mg
- Fat: 6g
- Saturated Fat: 4g
- Unsaturated Fat: 2g
- Trans Fat: 0g
- Carbohydrates: 19g
- Fiber: 0g
- Protein: 2g
- Cholesterol: 10mg
See? Not too scary for a treat that tastes this amazing! It makes perfect sense why this is such a popular quick dessert when you need that satisfying sugar rush without a huge commitment.
Share Your Creamy Chocolate Fudge Creations
That’s it, folks! You now have the simplest, sure-fire method for making what I truly believe is the Best Ever Creamy Chocolate Fudge. It’s hard to beat a recipe where the hardest part is deciding on the perfect square size!
I absolutely love reading about your kitchen adventures! Did you try the dark chocolate swap? Maybe you went for the full Peanut Butter Fudge transformation? Don’t keep all that success to yourself! Please jump down to the comments below and let me know how your batch turned out.
I want to see your pictures! Snap a photo of your finished, glossy squares and share them on social media, tagging me so I can see your amazing results. It truly makes my day to see this reliable fudge recipe making its way onto your tables for holiday candy or just because!
If you have any final questions about the process, or maybe you want to suggest another brilliant flavor variation, drop those in the contact form linked here: Let’s chat about baking! If you’re still craving creamy texture but want to see another fun take on swirls and rich chocolate, check out these ideas for Marshmallow Swirl Fudge. Happy baking, and enjoy every rich bite!
PrintBest Ever Creamy 3-Ingredient Chocolate Fudge
Make rich, creamy chocolate fudge easily with only three ingredients. This foolproof recipe delivers decadent homemade fudge perfect for quick desserts or holiday candy.
- Prep Time: 5 min
- Cook Time: 2 min
- Total Time: 127 min
- Yield: 36 small squares 1x
- Category: Dessert
- Method: Microwave
- Cuisine: American
- Diet: Vegetarian
Ingredients
- 1 (14 ounce) can sweetened condensed milk
- 1 (12 ounce) package semi-sweet chocolate chips
- 1 teaspoon vanilla extract
Instructions
- Line an 8×8 inch baking pan with parchment paper, leaving an overhang for easy removal. Lightly grease the paper.
- In a microwave-safe bowl, combine the sweetened condensed milk and chocolate chips.
- Microwave on medium power in 30-second intervals, stirring well after each interval, until the mixture is completely smooth and melted. This usually takes 1 to 2 minutes total.
- Stir in the vanilla extract until fully combined.
- Pour the fudge mixture into the prepared pan and spread evenly.
- Refrigerate for at least 2 hours, or until firm.
- Lift the fudge out of the pan using the parchment overhang. Cut into small squares before serving.
Notes
- For a richer flavor, use dark chocolate chips instead of semi-sweet.
- If you prefer a peanut butter fudge variation, substitute 1 cup of creamy peanut butter for half of the chocolate chips.
- This recipe is a quick dessert and sets up fast, making it ideal for last-minute holiday candy needs.
Nutrition
- Serving Size: 1 square
- Calories: 130
- Sugar: 18g
- Sodium: 30mg
- Fat: 6g
- Saturated Fat: 4g
- Unsaturated Fat: 2g
- Trans Fat: 0g
- Carbohydrates: 19g
- Fiber: 0g
- Protein: 2g
- Cholesterol: 10mg