
Oh my goodness, do I have a treat for you today! Imagine this: pure caramel bliss, silky smooth and just begging to be scooped up. Yep, we’re talking about my absolute favorite no-bake caramel cream. As Maddie always says, the kitchen should be a sanctuary, and this dessert is exactly that – a little piece of heaven you can whip up without even turning on the oven! It’s perfect for those moments when you need a little comfort, like when I used to crave my grandma’s cooking after a long day in the city. This recipe is so easy, so decadent, and honestly, it’s practically magic. Get ready to impress yourself (and everyone lucky enough to snag a spoonful!).
- Why You'll Love This No-Bake Caramel Cream
- Gather Your Ingredients for No-Bake Caramel Cream
- Simple Steps to Make Your No-Bake Caramel Cream
- Tips for the Perfect No-Bake Caramel Cream
- Serving and Garnishing Your No-Bake Caramel Cream
- Make-Ahead and Storage for This Caramel Dessert
- Frequently Asked Questions About No-Bake Caramel Cream
- Estimated Nutritional Information
- Share Your No-Bake Caramel Cream Creations!
Why You’ll Love This No-Bake Caramel Cream
Seriously, what’s not to adore about this dreamy caramel dessert? It’s like a little hug in a cup! Here’s why it’s become my go-to, especially when I need something special without all the fuss:
- Super Simple: You don’t need to be a pastry chef for this one. If you can stir and whip, you’re golden!
- Crazy Fast: Most of the time is just the fridge doing its thing. The active prep? A breeze!
- Pure Indulgence: That rich, creamy caramel flavor? It’s seriously decadent. You’d never guess it’s so easy.
- Party Perfection: Whip these up ahead of time and have gorgeous caramel cream cups ready to go for guests. They always disappear fast!
- Versatile Sweetness: It’s a fantastic base – add different toppings or even a pinch of sea salt for a salty-sweet kick. So good!
Gather Your Ingredients for No-Bake Caramel Cream
Alright, let’s get our ducks in a row! The beauty of this simple caramel cream is that you probably have most of this hiding in your pantry already. Trust me, these humble ingredients come together to make something truly special. Here’s what you’ll need:
- 1 cup heavy cream, nice and chilled – this is key for whipping up perfectly!
- 1/2 cup granulated sugar – for that sweet caramel base.
- 1/4 cup butter – using good quality butter really makes a difference here.
- 1/4 cup milk – just a little to get things started.
- 1 teaspoon vanilla extract – don’t skip this, it adds such a lovely warmth!
- 1/4 teaspoon salt – to balance out all that sweetness.
- 1/4 cup powdered sugar – for sweetening the whipped cream.
- 1 tablespoon cornstarch (optional) – this is your secret weapon if you want a thicker, more pudding-like set. It’s totally up to you!
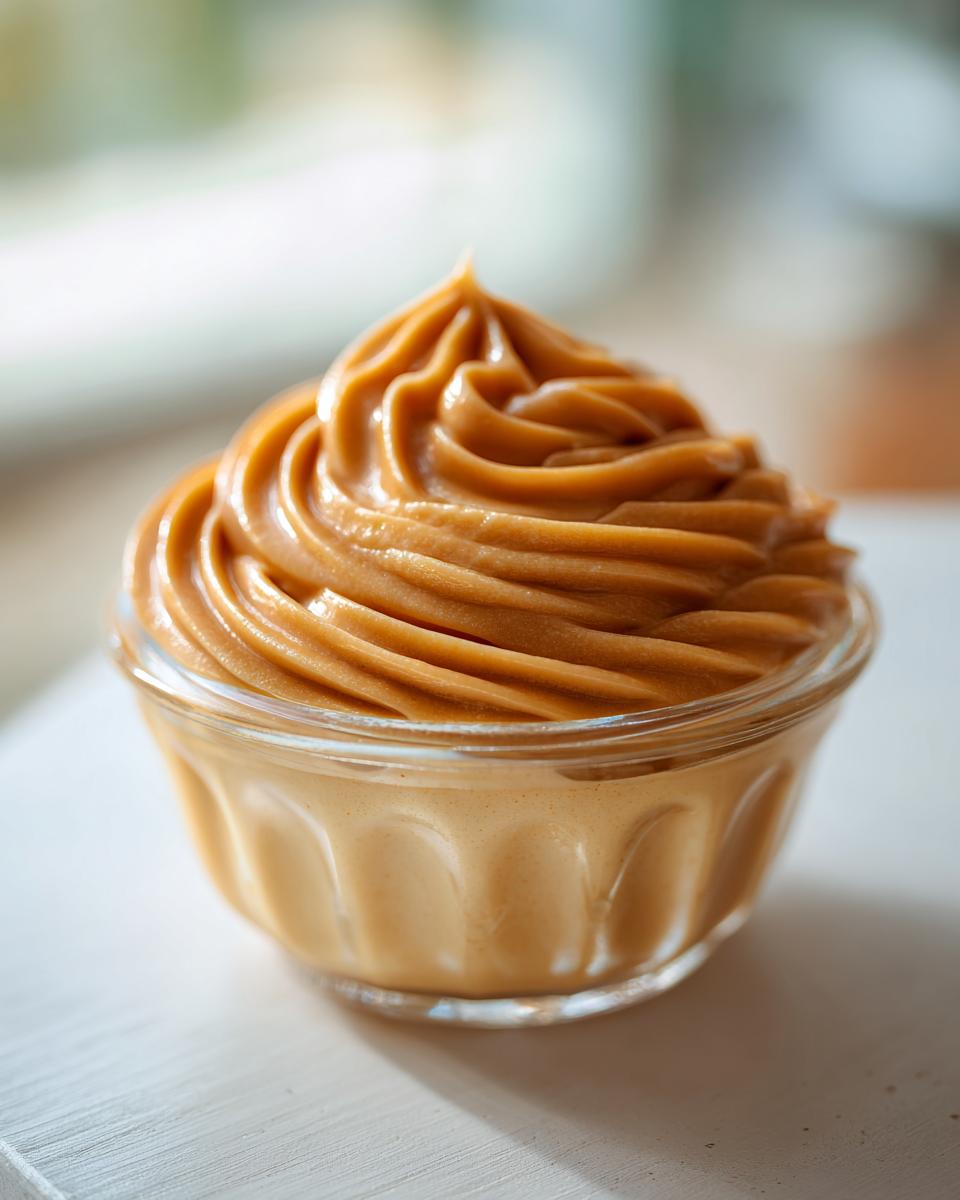
Simple Steps to Make Your No-Bake Caramel Cream
Alright, ready to make some magic happen? This part is where it all comes together, and trust me, it’s surprisingly easy. It’s kind of like how Maddie talks about finding sanctuary in the kitchen – this is your sweet escape! You can even think of this as a simpler cousin to our pecan cream pie, or even the lemon cream-cheese dump cake, just way less assembly required!
Making the Caramel Base
First things first, let’s get that lovely caramel going. Grab a medium saucepan and toss in your granulated sugar, butter, and milk. We’re going to cook this over medium heat, just stirring it around until the butter melts and all that sugar dissolves. Now, we need to bring it to a boil and let it bubble away for about 5 minutes. Keep stirring it a bit so it doesn’t get too crazy. Once it’s done its thing, pull it off the heat and stir in that vanilla extract and salt. Give it a little stir, and then we let this glorious caramel mixture cool down just a touch. You don’t want it piping hot when it meets the cream, okay? Think of it like letting your carrot cake cream cheese frosting come to room temp before you slather it on – patience is an ingredient!
Whipping the Cream and Combining
While that caramel is cooling, let’s tackle the cream! In a separate, nice, clean bowl, get your chilled heavy cream going. Whip it up until it starts forming soft peaks. You know, when you lift the whisk and it kind of holds its shape but slumps over a bit? Perfect. Now, gradually add in that powdered sugar and keep whipping until you get stiff peaks – that means when you lift the whisk, it stands straight up! If you decided to use that cornstarch trick for a firmer set, now’s the time to whisk it into the slightly cooled caramel mixture. Gently, and I mean gently, fold that cooled caramel into your beautifully whipped cream. We want to combine it, but not overmix, so be tender with it!
Chilling and Setting Your No-Bake Caramel Cream
Now for the patient part! Spoon or pour this luscious mixture into your individual serving cups or a single dessert dish (whatever your heart desires!). Pop it into the refrigerator and let it chill for at least 4 hours. This is when the real enchantment happens – it’ll firm up into that dreamy, creamy texture we’re after.
Tips for the Perfect No-Bake Caramel Cream
Okay, so you’ve bravely jumped into making this delightful no-bake caramel dessert, and you want it to be *fabulous*, right? I get it! Maddie always says cooking should be a joy, not a chore, and that includes making sure our desserts turn out just right. Here are a few little secrets and tricks I’ve picked up along the way to make sure your caramel cream is absolutely heavenly. These tips are like the secret handshake for making the best caramel cream cups!
Ingredient Quality Matters for Caramel Cream
Listen, you can have the best recipe in the world, but if you skimp on your ingredients, it just won’t sing. For this chilled caramel dessert, using good quality butter and fresh, cold heavy cream makes a HUGE difference. You can really taste the difference that quality makes in a simple recipe like this. It’s kind of like how using the right butter for whipped shortbread cookies makes them extra melt-in-your-mouth!
Achieving the Ideal Caramel Flavor
Want that deep, rich caramel flavor? Try swapping out the granulated sugar for dark brown sugar in the caramel base. It adds this amazing molasses note! And a little pinch of flaky sea salt on top after serving? Divine! Just remember to keep an eye on that caramel; it can go from perfect golden brown to burnt in a flash. Patience and stirring are your best friends here!
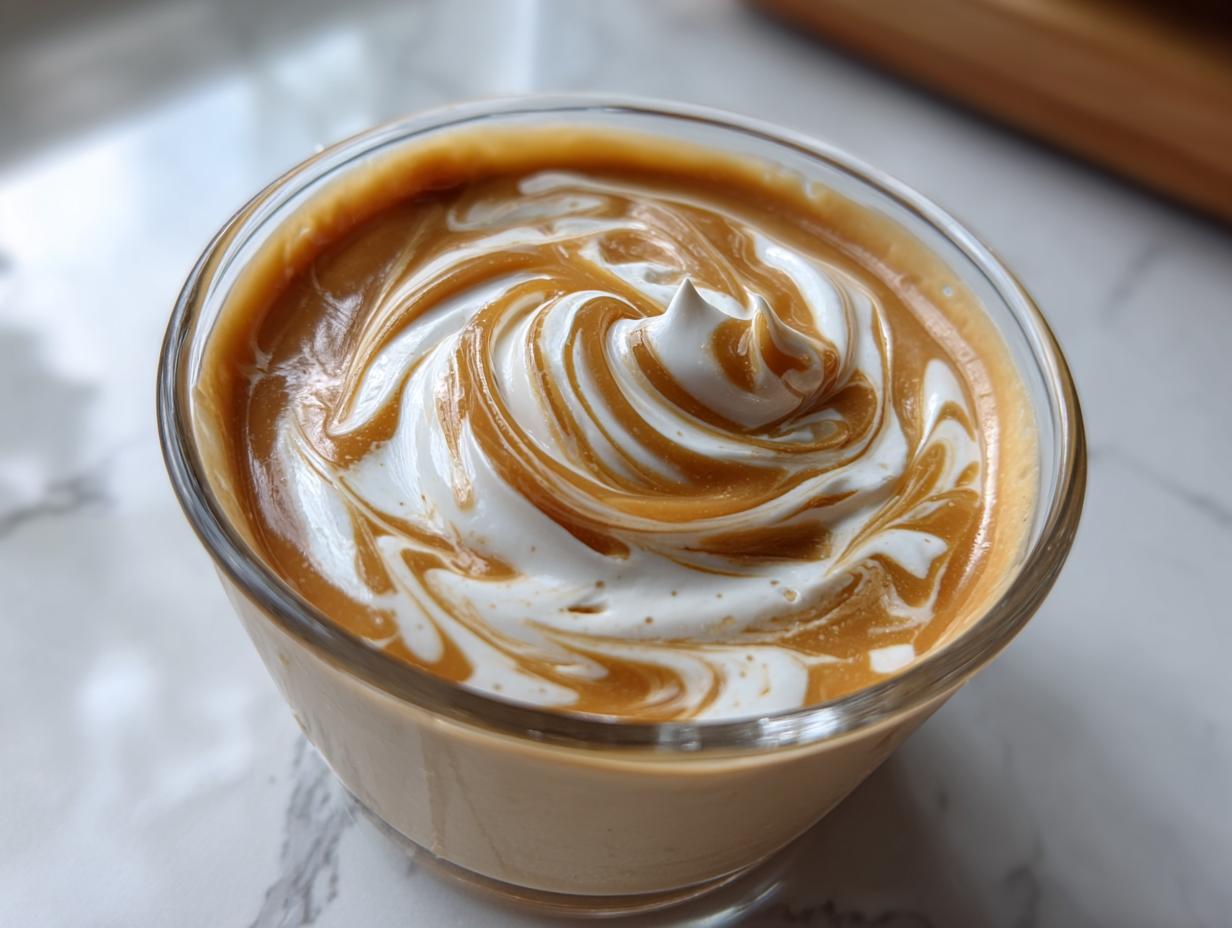
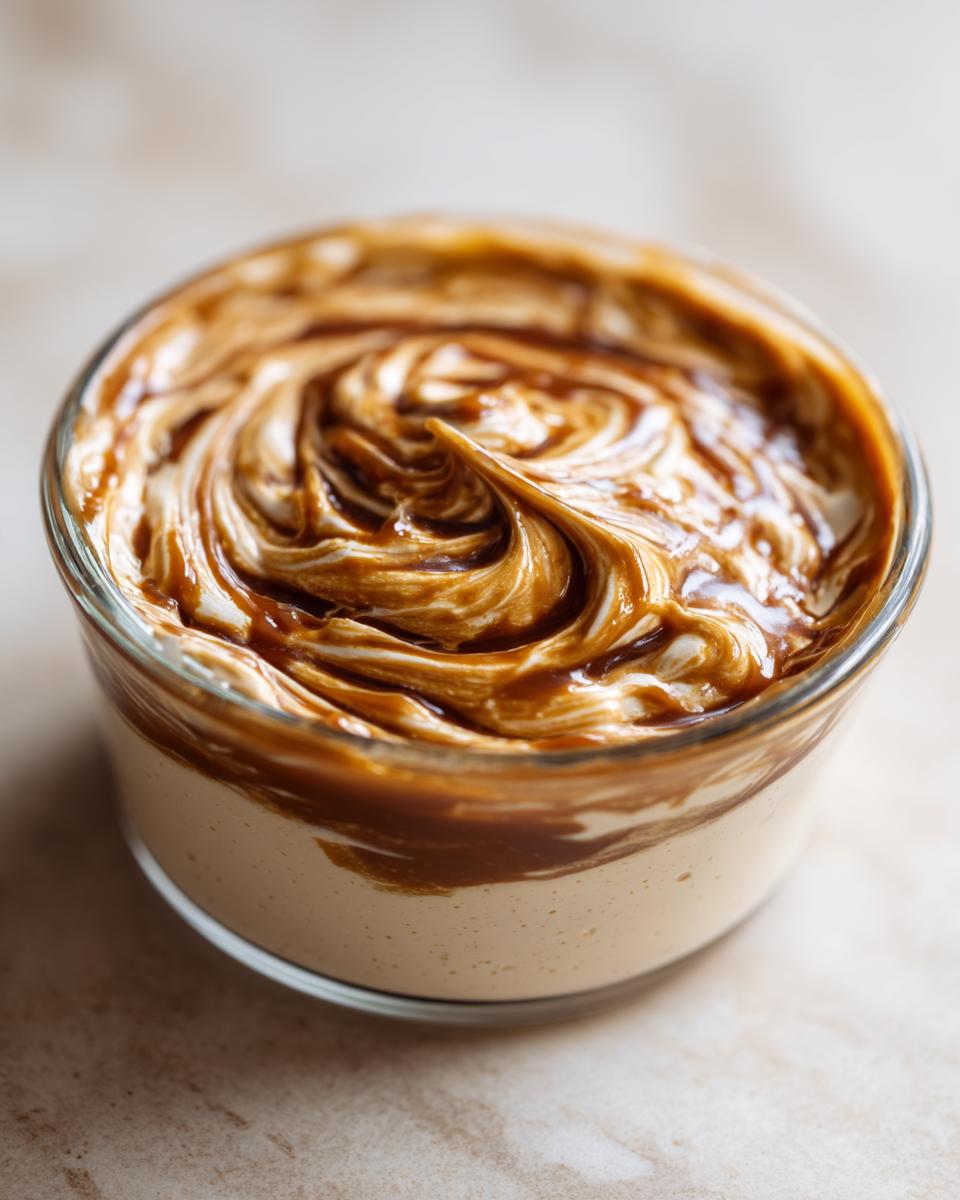
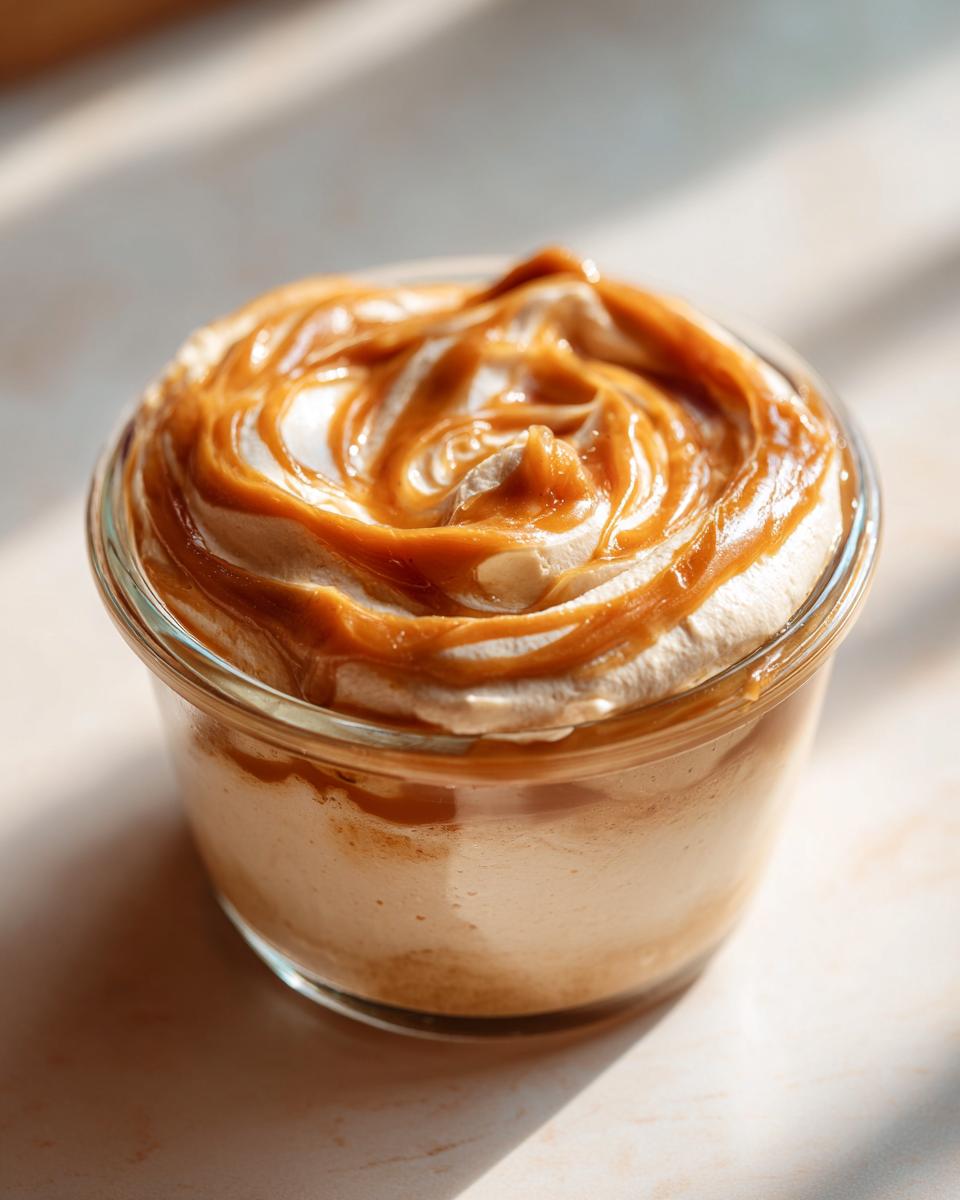
Serving and Garnishing Your No-Bake Caramel Cream
Okay, so your beautiful no-bake caramel cream is all chilled and set – now for the fun part! This is where you can really make it shine, especially if you’re serving these as party desserts no oven required. My favorite way to do it is in cute little cups, like parfait glasses or even tiny jars. It just makes them feel extra special, like a little grab-and-go treat!
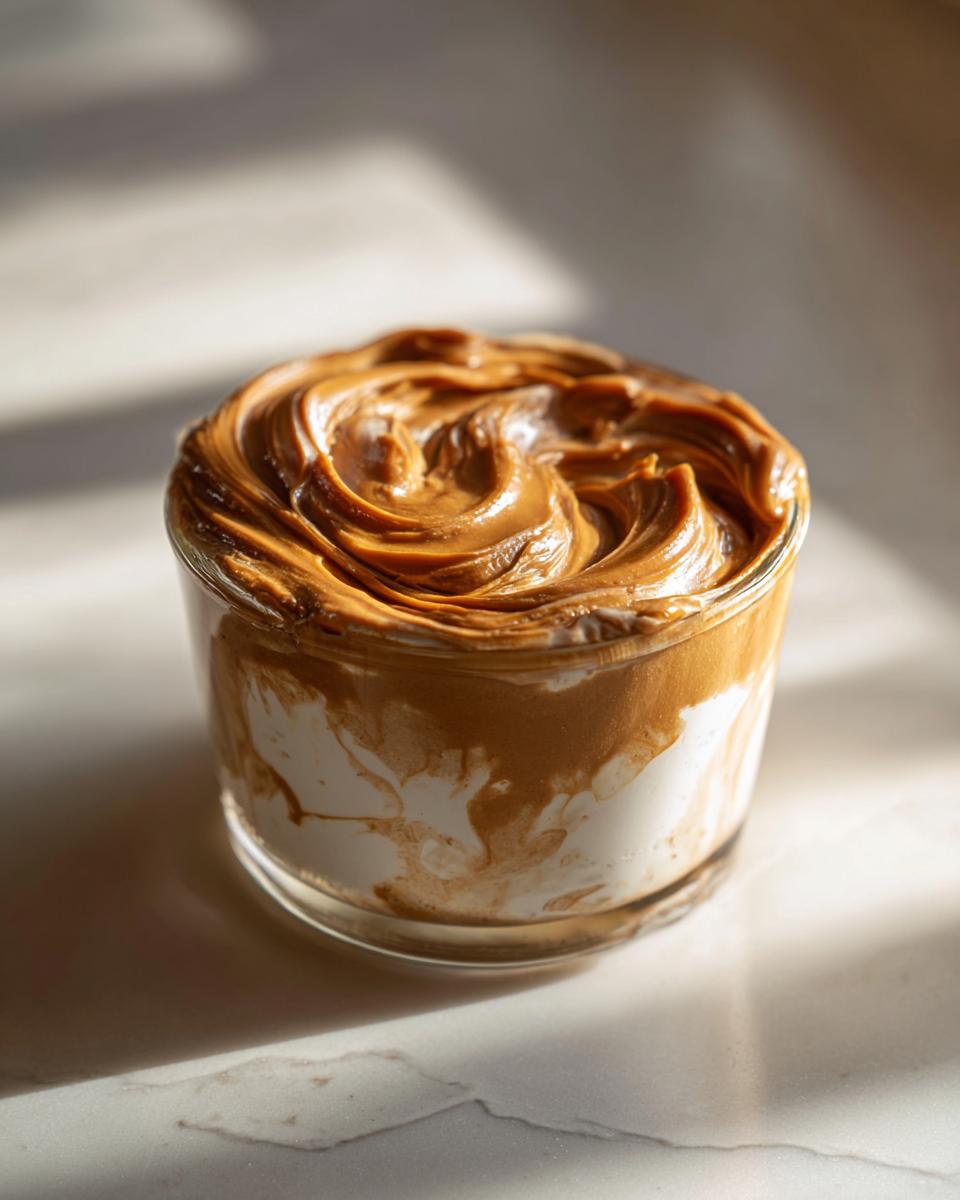
You absolutely can’t go wrong with a dollop of fluffy whipped cream topping. Just make sure it’s nice and fresh! For that extra caramel punch, drizzle a little extra caramel sauce over the top – go for store-bought if you’re short on time, or whip up a quick homemade one if you’re feeling ambitious. And for a bit of texture and crunch, how about some crushed toffee bits or even some delicate chocolate shavings? These little touches are like the cherry on top, reminiscent of how a good butter makes all the difference in something like our whipped shortbread cookies!
Make-Ahead and Storage for This Caramel Dessert
Part of why I adore this no-bake caramel cream so much? It’s a total make-ahead champ! You can totally whip this up a day or two before your party or craving hits. Just pour it into your serving cups or dish, cover it up tight with plastic wrap (I usually press it right onto the surface to keep a skin from forming), and pop it in the fridge. It stays wonderfully fresh for about 2 days. Honestly, it might even taste *better* the next day as all those yummy flavors really get to know each other!
Frequently Asked Questions About No-Bake Caramel Cream
Got questions about this dreamy dessert? I’ve got you covered! It’s pretty straightforward, but sometimes little things pop up.
Can I use a different type of sugar for the caramel base?
You sure can! While granulated sugar is what the recipe calls for, you can absolutely use dark brown sugar for an even richer, more molasses-y caramel flavor. Just keep in mind it might make the final dessert a little darker in color. White sugar would work too, but you’ll miss out on some of that deep caramel complexity.
How do I make this caramel dessert firmer?
If you like your no-bake caramel dessert a bit more like a firm pudding, the trick is that optional cornstarch! Just whisk about a tablespoon of cornstarch into the caramel mixture after you take it off the heat, but before you let it cool completely. It helps it set up a bit thicker. Also, make sure your heavy cream is really cold when you whip it – that makes a huge difference in how well it holds its shape!
Can I freeze this no-bake caramel cream?
Oh, good question! While you *can* freeze it, I don’t usually recommend it for this particular dessert. Freezing and thawing can sometimes mess with the creamy texture, making it a little grainy or watery. It’s best enjoyed fresh from the fridge. Think of it like our no-bake pumpkin cheesecake – it’s just so much better chilled!
What are some other great make-ahead dessert ideas?
If you love making desserts ahead, you are my kind of person! Besides this caramel cream, I’m also a huge fan of things like no-bake protein bars or little no-bake oatmeal cookies. Anything that can hang out in the fridge or freezer until party time is a winner in my book!
Estimated Nutritional Information
Let’s talk numbers! While this no-bake caramel cream is a dream for your taste buds, it’s good to have an idea of what’s in each serving. Keep in mind these are just estimates, and they can tweak a little depending on the exact brands you use or if you add extra garnishes. This info is based on the recipe making about 4 servings.
- Serving Size: About 1 cup
- Calories: Around 350
- Fat: Roughly 20g (that’s the creamy goodness speaking!)
- Protein: About 3g
- Carbohydrates: Approximately 40g
- Sugar: Around 45g (it is caramel, after all!)
Share Your No-Bake Caramel Cream Creations!
Alright, now that you’ve hopefully made this incredible no-bake caramel cream and fallen head-over-heels for it like I have, I’d LOVE to hear all about it! Did you try it? Did you add your own special twist? Drop a comment below and let me know how it turned out! If you’re feeling extra inspired, share a picture on social media and tag us – I can’t wait to see your delicious creations! You can also reach out via the contact page if you have any more questions or just want to share your baking adventures!
PrintNo-Bake Caramel Cream Dessert
A simple, creamy caramel dessert that requires no baking and sets in the refrigerator. Perfect for make-ahead treats and parties.
- Prep Time: 15 min
- Cook Time: 10 min
- Total Time: 4 hr 25 min
- Yield: 4 servings 1x
- Category: Dessert
- Method: No-Bake
- Cuisine: American
- Diet: Vegetarian
Ingredients
- 1 cup heavy cream
- 1/2 cup granulated sugar
- 1/4 cup butter
- 1/4 cup milk
- 1 teaspoon vanilla extract
- 1/4 teaspoon salt
- 1/4 cup powdered sugar
- 1 tablespoon cornstarch (optional, for thicker set)
Instructions
- In a saucepan, combine granulated sugar, butter, and milk. Cook over medium heat, stirring constantly, until the butter is melted and the sugar is dissolved.
- Bring the mixture to a boil and cook for 5 minutes, stirring occasionally.
- Remove from heat and stir in vanilla extract and salt. Let the caramel cool slightly.
- In a separate bowl, whip the heavy cream until soft peaks form. Gradually add the powdered sugar and continue whipping until stiff peaks form.
- If using cornstarch for a firmer set, whisk it into the cooled caramel mixture before proceeding.
- Gently fold the cooled caramel mixture into the whipped cream until just combined. Be careful not to overmix.
- Pour the mixture into individual serving cups or a single dessert dish.
- Refrigerate for at least 4 hours, or until firm.
- Garnish with whipped cream, caramel sauce, or chocolate shavings before serving.
Notes
- For a richer caramel flavor, you can use a dark brown sugar instead of granulated sugar.
- Ensure the caramel mixture is cooled before folding it into the whipped cream to prevent the cream from melting.
- The cornstarch is optional but recommended if you want a firmer pudding-like consistency.
- This dessert can be made up to 2 days in advance.
Nutrition
- Serving Size: 1 cup
- Calories: 350
- Sugar: 45g
- Sodium: 150mg
- Fat: 20g
- Saturated Fat: 12g
- Unsaturated Fat: 8g
- Trans Fat: 0g
- Carbohydrates: 40g
- Fiber: 0g
- Protein: 3g
- Cholesterol: 60mg