
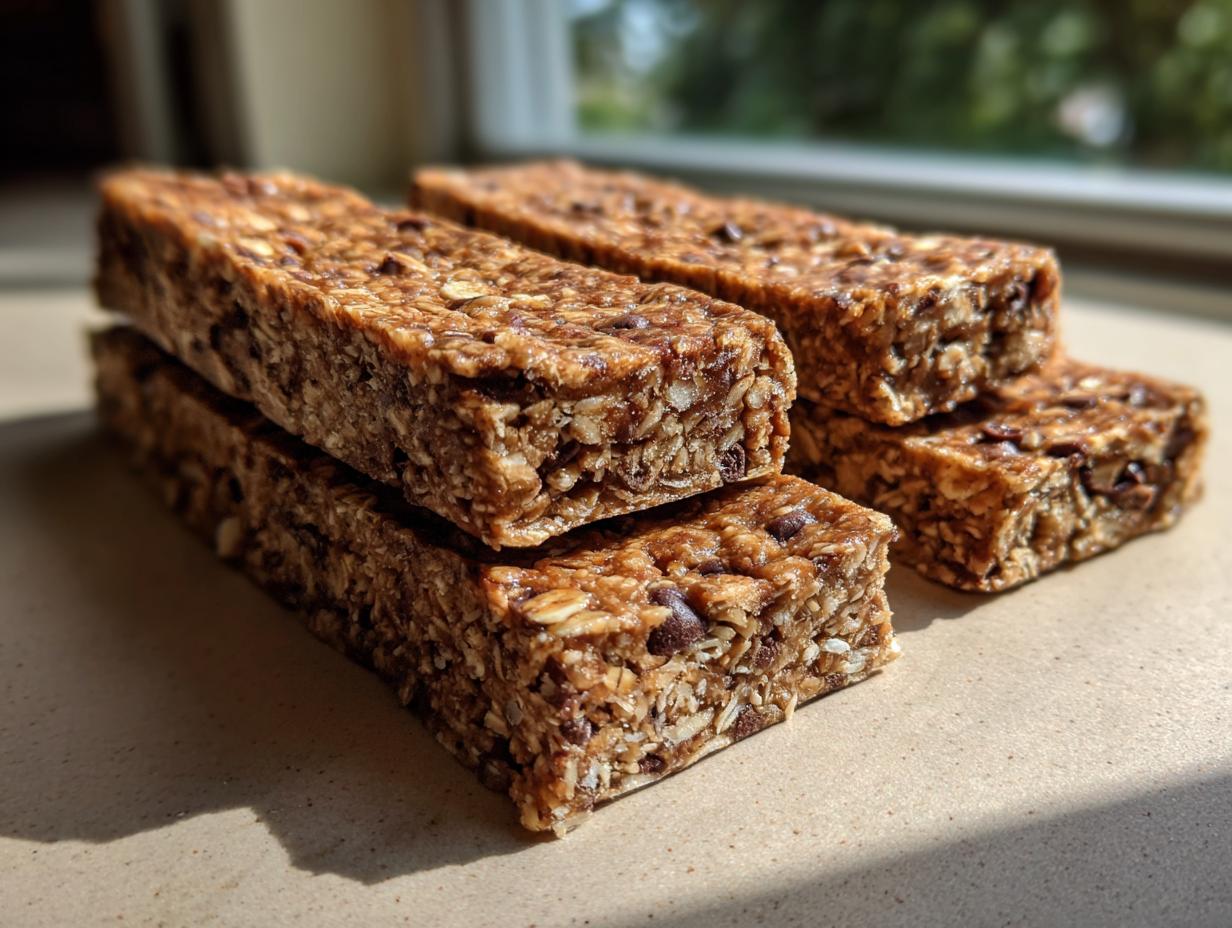
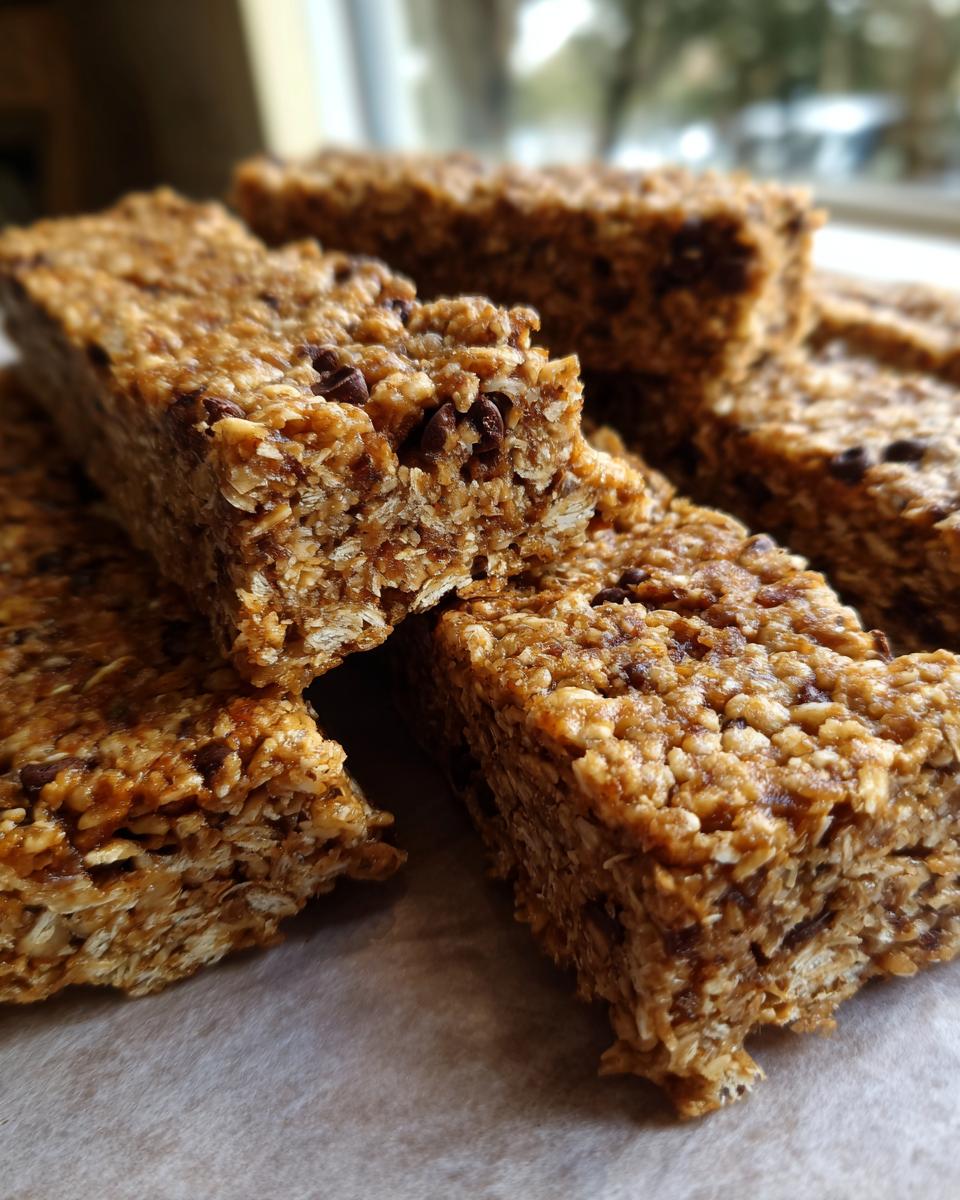
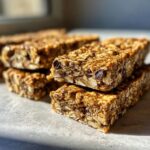
Life’s too short for complicated snacks, right? That’s why I’m so excited about these ridiculously easy no-bake protein bars. Seriously, they come together in about 15 minutes, no oven required! It’s all about wholesome ingredients you probably already have, mixed up and ready to go for those busy days when you need a quick energy boost. Think of them as little bites of pure, simple joy, just like Maddie always talks about – a way to bridge that gap between our packed schedules and the need for something truly satisfying. You can totally tweak them to your liking, too, making them your own perfect little powerhouse snack. They’re just so reliable and delicious, you’ll wonder how you ever lived without them!
- Why You'll Love These No-Bake Protein Bars
- Ingredients for Your Perfect Protein Bars
- My Method for Quick & Easy Protein Bars
- Tips for Perfect Protein Bars Every Time
- Customizing Your Protein Bars
- Storage and Make-Ahead for Meal Prep Snacks
- Nutritional Information for These Protein Bars
- Frequently Asked Questions About Protein Bars
- Share Your Delicious Creations
Why You’ll Love These No-Bake Protein Bars
You’re going to be obsessed with these protein bars, trust me! They’re:
- Super Speedy: Ready in just 15 minutes – perfect for when you’re on the go!
- Seriously Easy: No baking involved, which means less mess AND less fuss.
- Wholesome & Clean: Made with simple ingredients you can feel good about.
- Totally Customizable: Mix in your favorites – chocolate, fruit, nuts, you name it!
- Your New Best Friend for Meal Prep: Grab-and-go fuel for busy days and post-workout recovery.
Ingredients for Your Perfect Protein Bars
Alright, let’s talk about what goes into these amazing little powerhouses! It’s all pretty straightforward, and you can totally swap things around, but here’s what I usually use to get that perfect texture and flavor:
- 1 cup rolled oats: These are the backbone, giving your bars that hearty chew. Make sure they’re good old-fashioned rolled oats, not instant ones!
- 1/2 cup protein powder: Whey, plant-based, chocolate, vanilla – pick your fave! It’s what makes these bars so satisfying.
- 1/4 cup nut butter: Peanut butter is classic, but almond or cashew butter work beautifully too. Just make sure it’s natural with minimal added sugar.
- 1/4 cup honey or maple syrup: This is our binder and sweetener. Maple syrup gives it a lovely subtle flavor.
- 2 tablespoons milk: Dairy or any non-dairy milk you prefer (almond, oat, soy) will work. It just helps bring everything together.
- 1 teaspoon vanilla extract: A little vanilla goes a long way for flavor!
- Optional mix-ins: This is where you get to play! Think mini chocolate chips, chopped nuts, shredded coconut flakes, or dried cranberries. About 1/4 to 1/2 cup total is usually perfect.
My Method for Quick & Easy Protein Bars
Making these protein bars is honestly one of the easiest ways to get a delicious, healthy snack ready in a flash. You don’t need a degree in baking, and you definitely don’t need to turn on the oven! It’s all about mixing and chilling. Here’s my go-to way to whip them up – similar to how we make our high-protein overnight oats, it’s all about simple assembly!
Combining the Base Ingredients
First things first, grab a big bowl! Toss in your rolled oats and protein powder. Then, add in that creamy nut butter, your honey or maple syrup, the milk, and that little splash of vanilla extract. Give it all a good stir until everything is just combined into a wonderfully sticky, dough-like consistency. If it feels *too* thick and crumbly, just add another tiny bit of milk, a teaspoon at a time, until it comes together perfectly. You want it to be workable, not dry!
Adding Your Favorite Mix-Ins
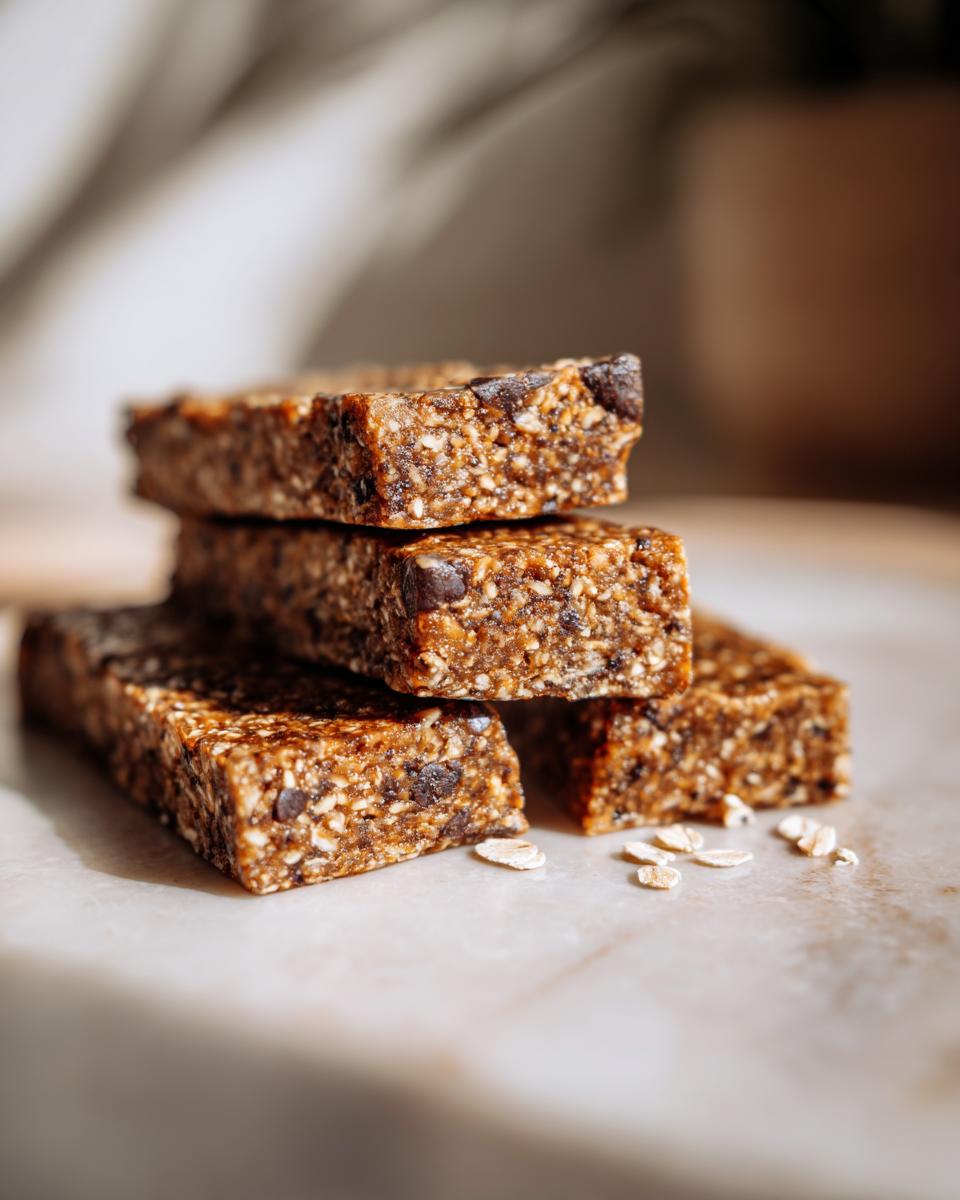
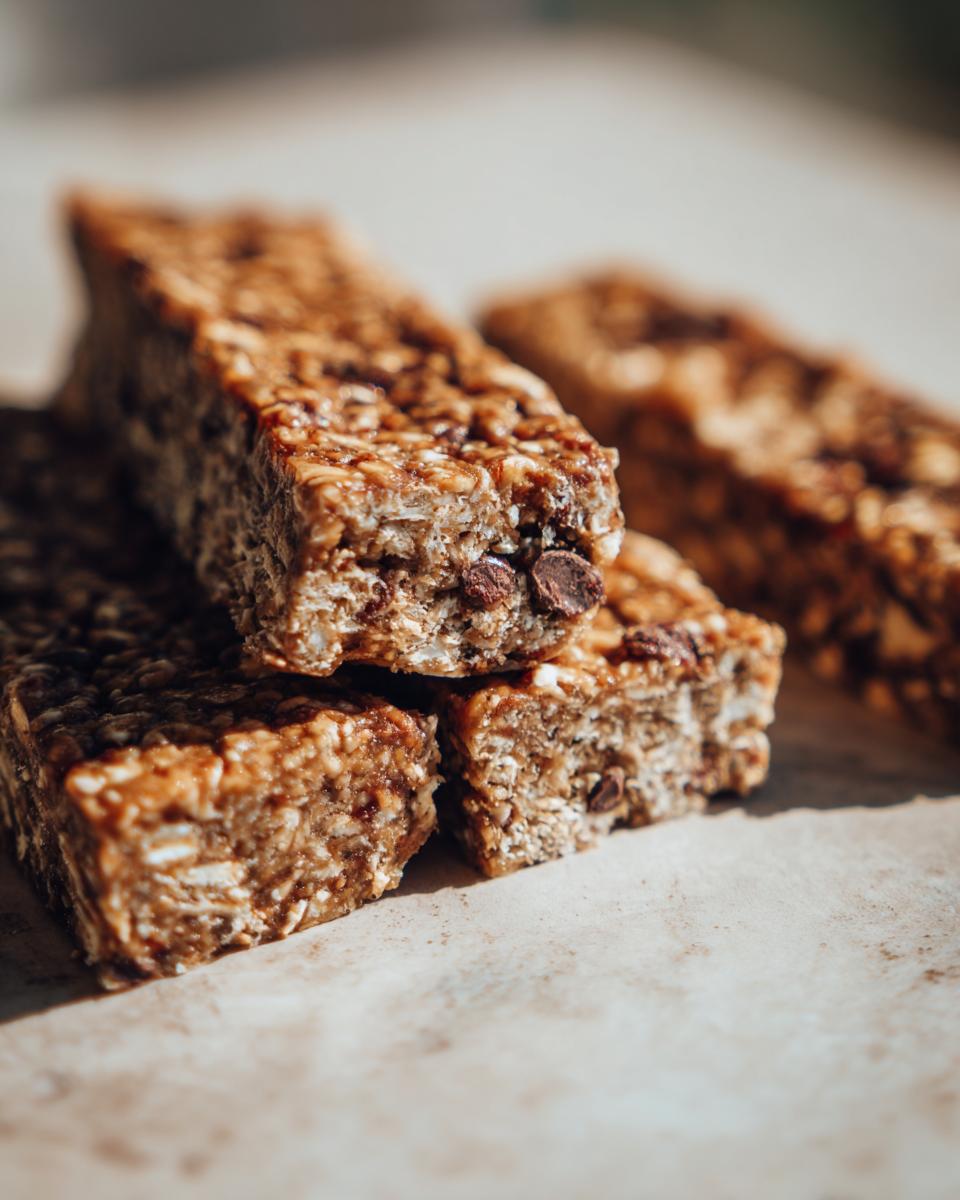
Now for the fun part – personalizing! Gently fold in whatever goodies you’re craving. Mini chocolate chips are always a winner, but chopped nuts, dried fruits like cranberries or dates, or even a sprinkle of cinnamon are fantastic too. Just make sure you don’t go overboard; you still want the bars to hold their shape!
Shaping and Chilling Your Protein Bars
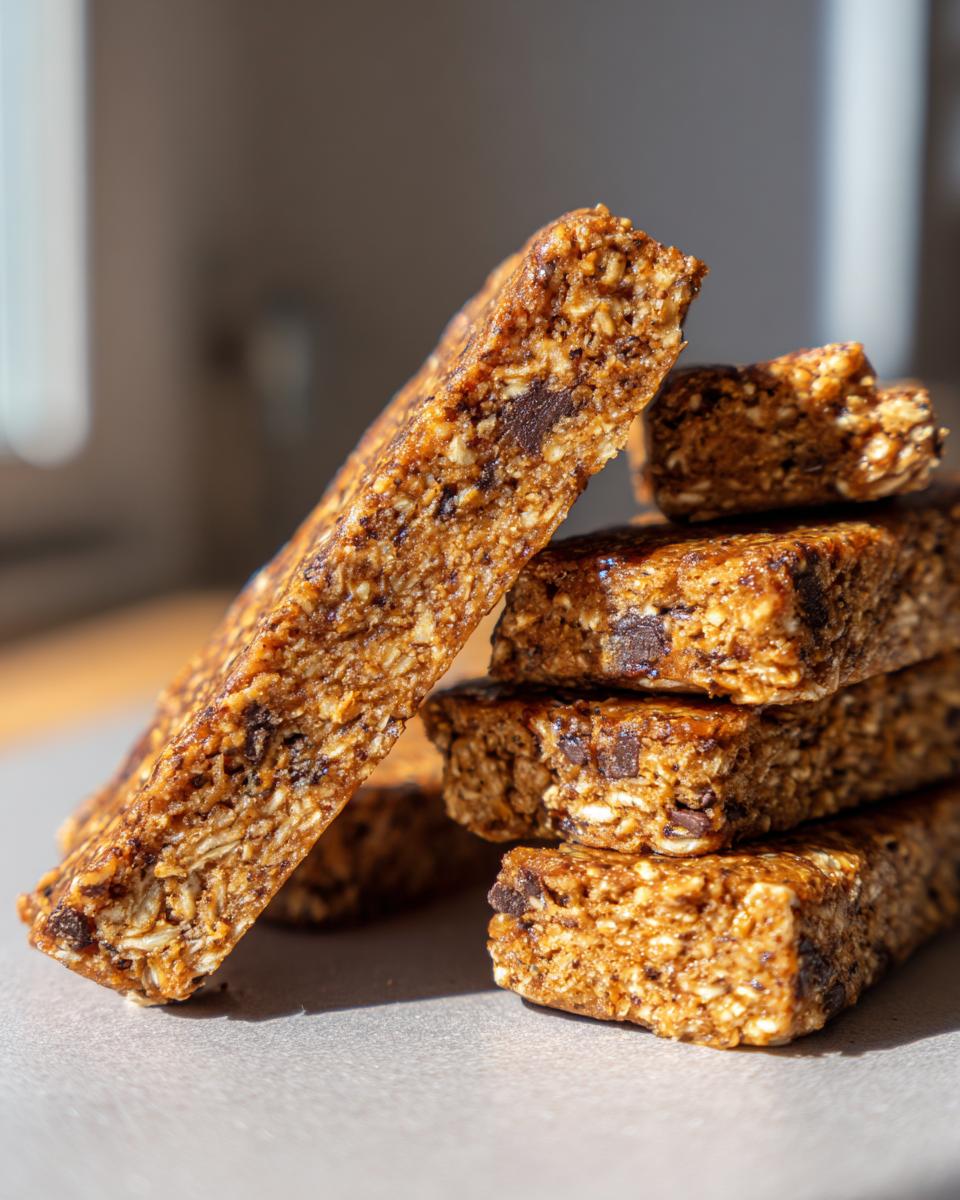
Line an 8×8 inch baking dish with parchment paper – this is a lifesaver for getting the bars out cleanly. Spoon all that delicious mixture into the dish. Now, get your hands a little sticky and press the mixture down really, really firmly and evenly into the pan. This is key for bars that hold together! Once it’s packed down smooth, pop the whole dish into the fridge for at least 30 minutes. This chilling time is super important because it lets everything firm up so you can cut them nicely. Don’t skip this step!
Tips for Perfect Protein Bars Every Time
Okay, let’s make sure these protein bars turn out absolutely perfect for you! I’ve learned a few tricks over the years, especially when I’m trying to get that just-right texture – almost like my favorite banana nut muffins or that chewy homemade granola. Here are my top tips!
Choosing the Right Protein Powder
The type of protein powder you use can make a pretty big difference. Whey protein tends to be a bit smoother and mixes in easily, but plant-based powders are fantastic too! Just be aware that some plant-based ones can be a little grittier or absorb liquid differently. If your mix feels too dry, you might need a touch more milk or liquid binder. Taste-test your powder first – a great-tasting powder makes for a great bar!
Achieving the Ideal Consistency
This is probably the MOST important part for bars that don’t fall apart! You’re looking for a mixture that’s sticky enough to hold together when pressed, but not so wet that it’s mushy. If it feels too dry and crumbly, add liquid (milk, sweetener, or even a tiny bit more nut butter) *one teaspoon* at a time. If it feels too wet and gloopy, add a little more oats or protein powder, about a tablespoon at a time. Remember, humidity can play a role too, so don’t be afraid to make small adjustments!
Customizing Your Protein Bars
Okay, this is where we can really have some fun and make these bars totally your own! You know how much I love a recipe where you can just throw in whatever you have on hand. Beyond the classic chocolate chips or dried fruit, think about adding some pumpkin seeds, sunflower seeds, a sprinkle of chia seeds, or some unsweetened coconut flakes for extra texture. A little pinch of cinnamon or nutmeg can add a lovely warmth, too!
Gluten-Free Protein Bars
Want to make sure these are totally gluten-free? It’s super simple! Just double-check that your rolled oats are certified gluten-free, and make sure your protein powder doesn’t have any gluten ingredients added. That’s pretty much it – easy peasy!
Flavor Variations for Your Protein Bars
Oh, the possibilities! Want a chocolatey kick? Stir in a tablespoon or two of cocoa powder with your dry ingredients. If you’re feeling spicy, cinnamon or a pinch of ginger works wonders. You can even do a combo – imagine a peanut butter and chocolate chip version or an almond butter bar with cranberries. The sky’s the limit for delicious combinations!
Storage and Make-Ahead for Meal Prep Snacks
These protein bars are total rockstars when it comes to making your life easier! Because they’re no-bake, they’re perfect for getting ahead of the game. Just store them in an airtight container in the refrigerator. They’ll stay nice and fresh for about a week, making them ideal meal prep snacks that you can just grab and go whenever you need a little something. Seriously, having these little guys ready to go makes busy mornings and post-workout refueling a total breeze!
Nutritional Information for These Protein Bars
Just so you know, the exact nutritional info can change a *little* depending on the specific ingredients you use — like the kind of protein powder or nut butter! But, a typical bar made with these ingredients usually comes in around: Calories: 150, Fat: 7g, Protein: 8g, Carbohydrates: 15g, Fiber: 2g, and Sugar: 8g per serving. It’s a great balance for a healthy snack!
Frequently Asked Questions About Protein Bars
Got questions about these awesome protein bars? I’ve got you covered! People always ask me about switching things up, and honestly, that’s the beauty of these. They’re super forgiving and easy to adapt, almost like my protein ice cream is adaptable!
Can I substitute the nut butter in these protein bars?
Absolutely! Peanut, almond, cashew, even sunflower seed butter – they all work wonderfully. Just make sure it’s a natural variety with minimal added sugar. Different nut butters might give a slightly different texture or flavor, but they’ll all help bind everything together.
How long do no-bake protein bars last?
For the best texture and freshness, store these bars in an airtight container in the refrigerator. They’ll stay delicious for about a week! The cold really helps them keep their shape and that lovely chewy texture, just like a good protein mug cake would benefit from sitting a bit.
Are these protein bars suitable for post-workout?
Totally! These are fantastic post-workout fuel. They’ve got a good dose of protein from the powder and some carbs from the oats and sweetener to help with muscle recovery. They’re quick, easy, and give you that much-needed boost after a tough session!
Share Your Delicious Creations
I just *love* seeing what you all come up with in your own kitchens! Did you try a fun new mix-in, or maybe a flavor combo that just blew you away? I’d be so thrilled if you’d leave a comment below to let me know how your bars turned out, or even give the recipe a star rating! And if you share your creations on social media, please tag me – I can’t wait to see your amazing protein bar masterpieces!
PrintNo-Bake Protein Bars
Quick and easy no-bake protein bars made with oats, nut butter, and protein powder. Customizable with your favorite mix-ins for a healthy, grab-and-go snack.
- Prep Time: 15 min
- Cook Time: 0 min
- Total Time: 15 min
- Yield: 12 bars 1x
- Category: Snacks
- Method: No-Bake
- Cuisine: American
- Diet: Vegetarian
Ingredients
- 1 cup rolled oats
- 1/2 cup protein powder (whey or plant-based)
- 1/4 cup nut butter (peanut, almond, or cashew)
- 1/4 cup honey or maple syrup
- 2 tablespoons milk (dairy or non-dairy)
- 1 teaspoon vanilla extract
- Optional mix-ins: chocolate chips, dried fruit, nuts
Instructions
- In a large bowl, combine rolled oats and protein powder.
- Add nut butter, honey or maple syrup, milk, and vanilla extract.
- Stir until well combined. If the mixture is too dry, add a little more milk, one teaspoon at a time.
- Fold in any desired mix-ins.
- Press the mixture evenly into an 8×8 inch baking dish lined with parchment paper.
- Refrigerate for at least 30 minutes, or until firm.
- Cut into bars and store in an airtight container in the refrigerator.
Notes
- For gluten-free bars, ensure your oats and protein powder are certified gluten-free.
- These bars are best stored in the refrigerator for up to one week.
- Adjust sweetness to your preference by adding more or less honey or maple syrup.
Nutrition
- Serving Size: 1 bar
- Calories: 150
- Sugar: 8g
- Sodium: 50mg
- Fat: 7g
- Saturated Fat: 1g
- Unsaturated Fat: 6g
- Trans Fat: 0g
- Carbohydrates: 15g
- Fiber: 2g
- Protein: 8g
- Cholesterol: 0mg