
You know those days when you’re just craving something sweet and decadent, but you also don’t want to totally derail your healthy eating goals? Yeah, me too! It used to be a constant battle until I discovered this amazing, super simple protein ice cream. Seriously, it’s one of those healthy ice cream hacks that actually tastes like the real deal! This isn’t just any frozen treat; it’s a delicious, 4-ingredient, blender-made dream that packs a serious protein punch. It reminds me so much of why I started MDLATDMM Recipes in the first place – finding comfort and joy in simple, accessible homemade food, just like the meals my grandma used to make.
- Why You'll Love This Protein Ice Cream
- The Magic of Cottage Cheese Ice Cream
- Ingredients for Your High-Protein Dessert
- How to Make Perfect Protein Ice Cream
- Flavor Variations for Your Protein Ice Cream
- Tips for the Best Cottage Cheese Ice Cream
- Serving and Storing Your High Protein Dessert
- Frequently Asked Questions About Protein Ice Cream
- Nutrition Snapshot
- Share Your Viral Protein Treat Creation!
Why You’ll Love This Protein Ice Cream
Honestly, making this protein ice cream is just so darn satisfying! It’s a total game-changer for satisfying those sweet cravings without any guilt.
- Super Easy & Fast: It only takes a few minutes to blend, and then it’s just waiting for it to freeze. So simple!
- Packed with Protein: This healthy ice cream hack is a fantastic high-protein dessert, perfect for post-workout or just when you need a little extra boost.
- Incredibly Creamy: You won’t believe it’s made with cottage cheese! It’s seriously so smooth and delicious.
- Customizable Flavors: You can totally make it your own with all sorts of fun mix-ins and flavors.
The Magic of Cottage Cheese Ice Cream
Okay, so the absolute SECRET weapon here – the thing that makes this protein ice cream so incredibly amazing and a total viral protein treat – is actually cottage cheese! I know, I know, it might sound a little weird for ice cream, but trust me on this. Cottage cheese is a miracle ingredient for a few reasons. First, it’s packed with protein, which is exactly what we want in a healthy dessert, right? Plus, when you blend it up *really* well, it gets this unbelievably creamy, smooth texture that’s just perfect for ice cream. It kind of reminds me of when I first started using it for a savory dish – I was so surprised by how versatile it was! I love to use it for a creamy base for lasagna or even in quick egg cups. It totally changed my outlook on how I could incorporate it into different recipes.
Ingredients for Your High-Protein Dessert
Alright, let’s get down to business! You only need a handful of things to make this delicious protein ice cream happen. The best part? You probably already have most of them in your kitchen!
- 2 cups full-fat cottage cheese: Trust me, full-fat gives you the creamiest texture!
- 1/4 cup sweetener: I love using maple syrup for that yummy flavor, but honey or even a sugar-free alternative works perfectly too.
- 1 teaspoon vanilla extract: This just kicks up the flavor beautifully.
- 1/2 cup milk: You can use regular dairy milk or any non-dairy milk you prefer, like almond or oat milk.
How to Make Perfect Protein Ice Cream
Okay, so making this protein ice cream is honestly ridiculously easy! It’s one of those recipes where you basically just throw everything in a blender and let it do the work. But, there are a couple of little tricks I’ve learned that make all the difference between a decent frozen treat and a truly spectacular bowl of pure joy. You want that super smooth texture, right? That’s where the magic of a good blender ice cream really shines. We’re not aiming for icy chunks here, we want pure, creamy bliss! It’s a great way to get a healthy boost, almost like having a quick power-up snack, just like how my high-protein waffles are perfect for mornings.
Blending for Creaminess
This is probably the most important step to get your protein ice cream just right. Make sure your cottage cheese is pretty well-blended. I like to start on a lower speed and then bump it up. Don’t be afraid to stop and scrape down the sides a few times – you want to make sure absolutely *everything* gets incorporated. You’re looking for something that’s totally smooth, like a thick liquid. If there are any little cottage cheese curds left, you’ll have them in your ice cream, and nobody wants that! A good, powerful blender really helps here.
Freezing Your Protein Ice Cream
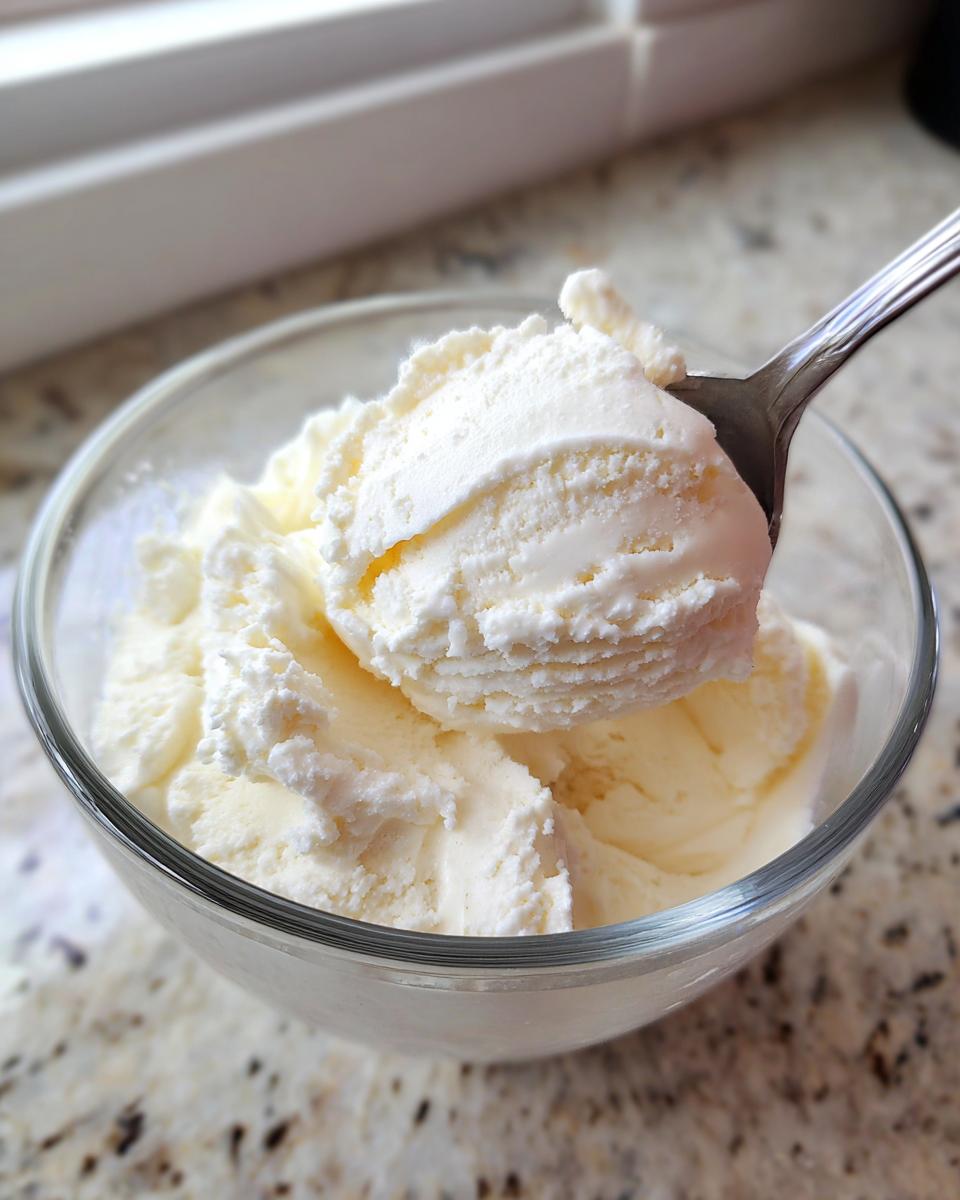
Once it’s all blended and smooth, pour that luscious mixture into a freezer-safe container. I usually use a loaf pan because it’s easy to scoop from, but any airtight container will work just fine. Now comes the hardest part: waiting! We need to let it freeze for at least 4 to 6 hours, or until it’s firm enough to scoop. If you try to scoop it too early, it’ll just be melty and sad. For the smoothest texture, try to break up any ice crystals that might form on top by giving it a quick stir halfway through the freezing time. It’s worth the wait, promise!

Flavor Variations for Your Protein Ice Cream
Okay, so the base recipe for this protein ice cream is fantastic on its own, but let me tell you, the fun *really* starts when you begin playing with flavors! It’s so easy to customize, and honestly, that’s half the joy of it. I’ve tried so many combinations, and they all turn out amazing. One of my absolute favorites? I love adding some mashed ripe banana and a pinch of cinnamon – it tastes just like a healthy banana bread ice cream! It reminds me of all the cozy baking I used to do, like whipping up an apple crumble or a cherry crisp. You can also swirl in some melted dark chocolate or fold in some mini chocolate chips after you blend it up – pure heaven! We even have a recipe for an easy apple pie dump cake that uses similar comforting flavors. Don’t forget to experiment with extracts, too; a little almond or even peppermint extract can completely transform your protein ice cream.
Tips for the Best Cottage Cheese Ice Cream
Making truly amazing cottage cheese ice cream is totally doable, and I’ve picked up a few tricks along the way that really make a difference. The biggest thing? Don’t skimp on the full-fat cottage cheese! I know, you might want to go lighter, but trust me, the full-fat version is what gives you that luxuriously creamy texture we’re going for. Anything less and you risk it being a bit too icy or not quite as rich. Also, don’t be afraid to taste and adjust the sweetener. Everyone’s sweetness preference is different, especially when you’re trying to keep the sugar lower. I’ve found that tweaking it slightly before freezing makes all the difference!
One common issue is getting it too icy. If you find your cottage cheese ice cream is a little harder than you’d like after freezing, don’t worry! Just let it sit on the counter for about 5-10 minutes before scooping. This little bit of softening time works wonders. It’s kind of like how our microwave brownie needs a moment to set up perfectly before it’s ready to enjoy.

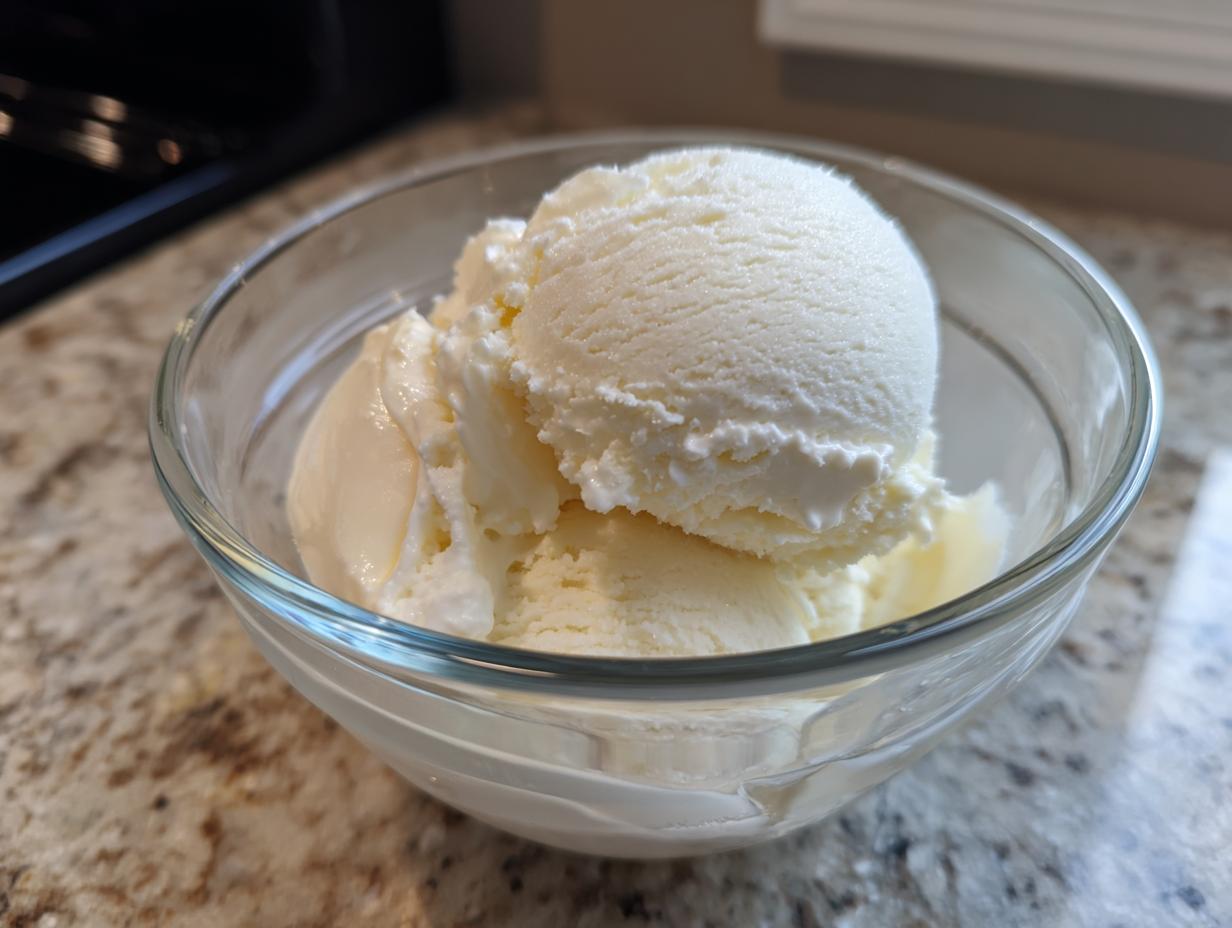
Serving and Storing Your High Protein Dessert
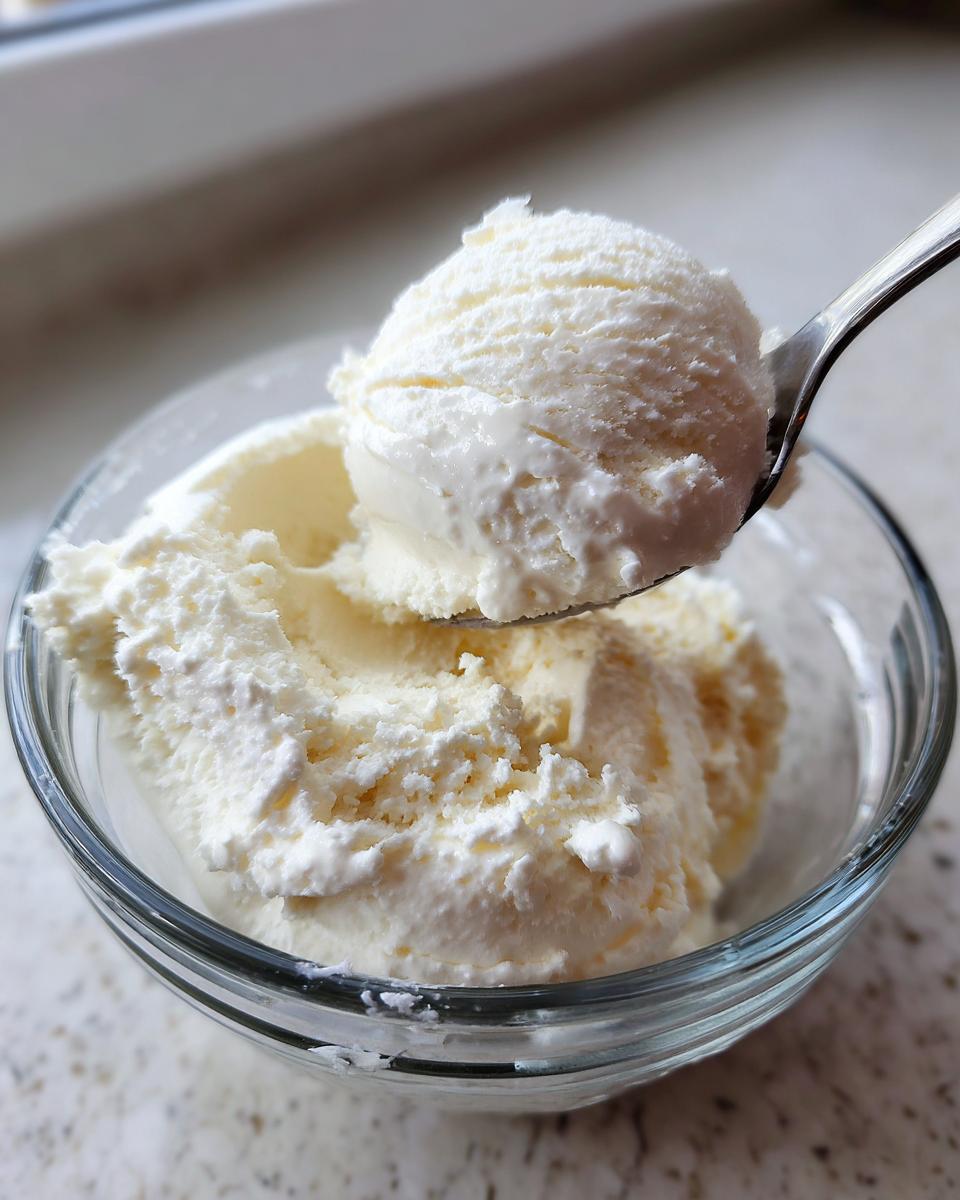
Once your protein ice cream is nice and firm, scoop it up and enjoy! It’s fantastic on its own, but you can also add fresh berries or a sprinkle of nuts for extra texture. If you end up with any leftovers (if you’re lucky!), just pop the lid back on your freezer-safe container. For the best texture when you’re ready for another scoop, let it sit out on the counter for about 5 to 10 minutes before digging in. This little trick makes it scoopable again, almost like magic! It’s a great way to have a delicious, ready-to-go treat, just like how our peanut butter cookies are always a hit.
Frequently Asked Questions About Protein Ice Cream
Got questions about making this incredible protein ice cream? I totally get it! It’s such a game-changer. Here are a few things people often ask:
Can I use low-fat cottage cheese?
You *can*, but I really recommend using full-fat cottage cheese for the best, creamiest results. Low-fat can sometimes make your healthy ice cream hack a bit icier and less rich. It’s worth the extra bit of fat for that decadent texture!
How can I make it sweeter?
Great question! Sweetness is totally personal. If you find it’s not sweet enough after blending, just add a little more sweetener – another tablespoon of maple syrup, honey, or your favorite alternative. Blend again for a few seconds to mix it through. Tasting and adjusting is key for your perfect low sugar ice cream.
Can I add protein powder?
Oh, absolutely! If you want to boost the protein even further, feel free to add a scoop of your favorite protein powder. Just be aware that some protein powders can change the texture slightly, so you might need to add a tiny bit more milk to keep it smooth. It’s a great way to customize your protein ice cream, kind of like how we do with our high-protein cookie dough balls.
What if my blender isn’t super powerful?
No worries if you don’t have a super-duper high-powered blender! Just take your time. Blend in batches if you need to, and make sure you stop and scrape down the sides frequently. You might just have to blend a little longer to get that silky smooth consistency for your blender ice cream. Patience is key!
Nutrition Snapshot
Just so you know, the nutritional info can really change depending on what you use, but here’s a general idea per serving (about 1 cup): it’s roughly 150 calories, a whopping 20g of protein, about 5g of fat, 15g of carbs, and around 10g of sugar. Pretty fantastic for a dessert, right?
Share Your Viral Protein Treat Creation!
I just LOVE seeing what you all create in your kitchens! If you whip up this protein ice cream, please, please share it! Tag me on social media or leave a comment below with your flavor creations. I can’t wait to see your amazing viral protein treat photos!
PrintHigh-Protein Cottage Cheese Ice Cream

A simple, 4-ingredient blender ice cream recipe that delivers a creamy, high-protein dessert. This healthy ice cream hack is perfect for a quick, satisfying treat.
- Prep Time: 10 min
- Cook Time: 0 min
- Total Time: 6 hours 10 min
- Yield: 4 servings 1x
- Category: Dessert
- Method: Blender
- Cuisine: American
- Diet: Low Sugar
Ingredients
- 2 cups cottage cheese
- 1/4 cup sweetener (e.g., maple syrup, honey, or sugar-free alternative)
- 1 teaspoon vanilla extract
- 1/2 cup milk (dairy or non-dairy)
Instructions
- Combine cottage cheese, sweetener, vanilla extract, and milk in a blender.
- Blend until completely smooth and creamy, scraping down the sides as needed.
- Pour the mixture into a freezer-safe container.
- Freeze for at least 4-6 hours, or until firm.
- Scoop and enjoy your high-protein dessert.
Notes
- For a thicker texture, reduce the amount of milk.
- Add mix-ins like chocolate chips, fruit, or nuts after blending and before freezing.
- Experiment with different flavor extracts like almond or peppermint.
- For a richer flavor, use full-fat cottage cheese.
Nutrition
- Serving Size: 1 cup
- Calories: 150
- Sugar: 10
- Sodium: 300
- Fat: 5
- Saturated Fat: 3
- Unsaturated Fat: 2
- Trans Fat: 0
- Carbohydrates: 15
- Fiber: 0
- Protein: 20
- Cholesterol: 20