

You know those mornings? When you just desperately need that warm, comforting flavor of a coffee shop pastry, but you’re still in your pajamas? I totally get it. That craving for a really good, buttery, flaky chocolate chip scone used to send me running out the door, but not anymore! I spent way too long chasing that perfect texture—you know, the one that crumbles just right without being dry. That’s why I’m sharing my Bakery-Style Flaky Chocolate Chip Scones recipe with you today. Trust me, these come together surprisingly fast, less than 40 minutes total, and I promise these are reliable. If they work for me in my tiny real-world kitchen, they will absolutely work for you, because my promise here at MDLATDMM is to give you recipes that actually work, every single time. If you’re looking for more quick breakfast ideas after mastering these, be sure to check out my guide on easy breakfast ideas!
- Why This is the Best Chocolate Chip Scones Recipe You Will Make
- Gathering Ingredients for Buttery Scones
- Step-by-Step Instructions: How to Make Scones Perfectly
- Tips for the Best Chocolate Chip Scones Texture
- Serving Suggestions for Your Chocolate Chip Scones
- Storage and Reheating Homemade Scones
- Frequently Asked Questions About Making Chocolate Chip Scones
- Nutritional Estimate for Your Chocolate Chip Baked Goods
- Share Your Chocolate Chip Scones Creations
Why This is the Best Chocolate Chip Scones Recipe You Will Make
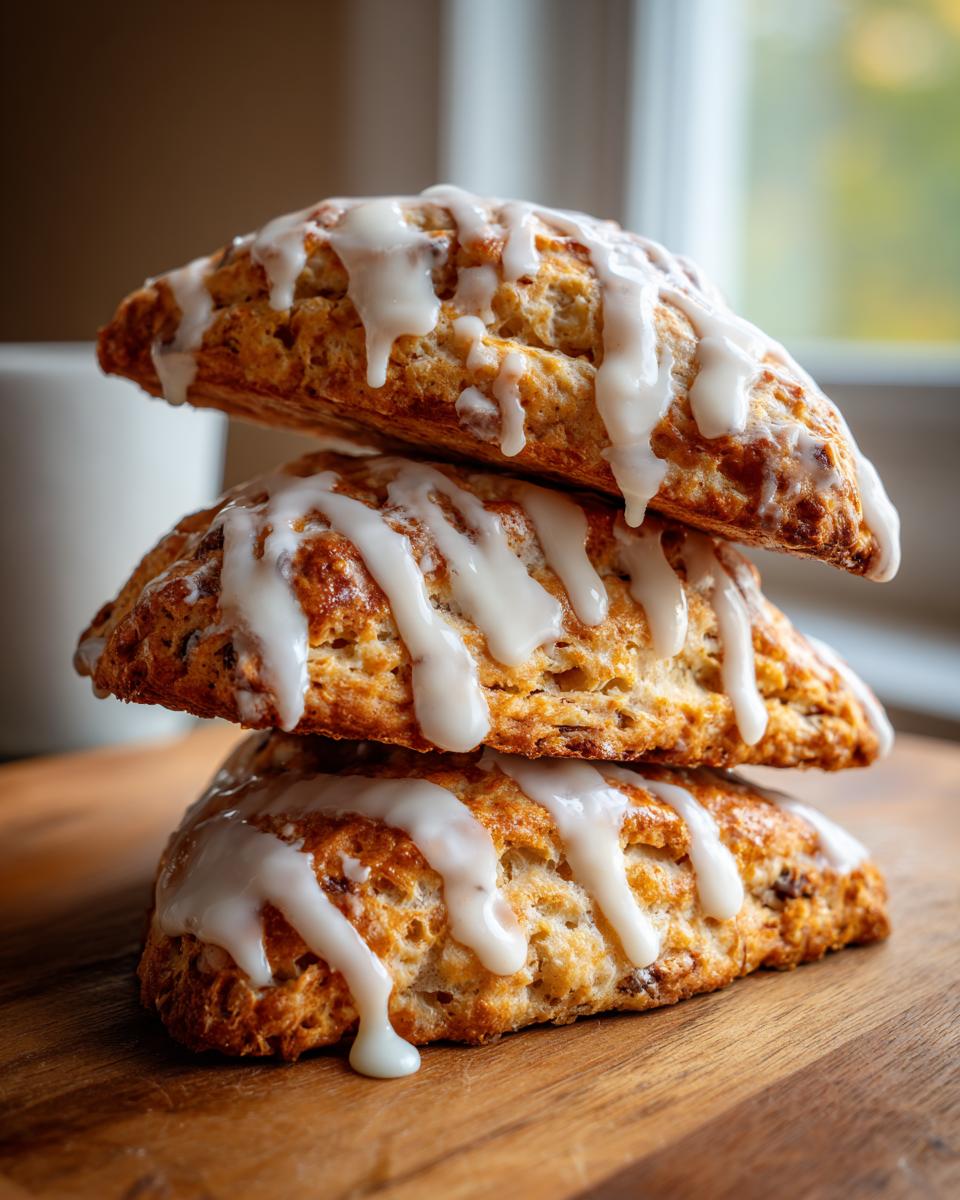
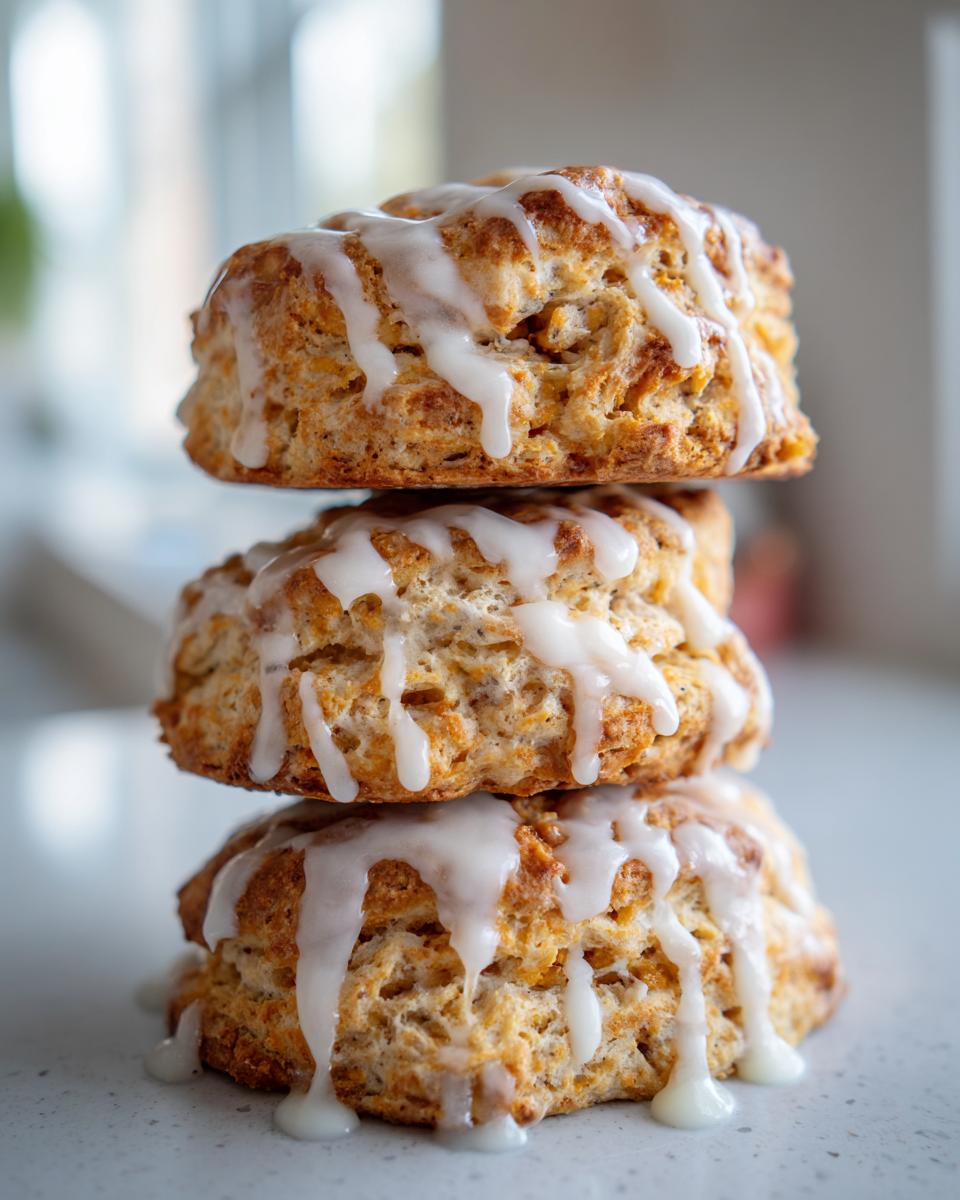
Okay, listen up, because I’m going to tell you why you can toss out every other scone recipe you’ve tried. These aren’t those dry, hockey-puck things you sometimes get stuck with! We are talking about genuinely tender scones recipe quality here—buttery, soft on the inside, and that beautiful golden crunch on top. They truly deliver that flaky breakfast pastry vibe you usually only find in real bakeries.
If you need motivation, here’s what makes this particular batch of chocolate chip scones my absolute go-to:
- They give you that incredible, light, shattered texture that signals real flakiness.
- They feel fancy enough for guests but are honestly ready faster than most muffins!
- The vanilla glaze option? It just takes them over the top, turning them into an easy baking dessert item if you’re feeling decadent.
I’m dedicated to making sure you succeed, which is why I’ve broken down exactly how we get there. If you’re also looking for faster meals on busy nights, I’ve got some great ideas over at my quick weeknight dinners guide, but for now, let’s focus on these beauties!
Flaky Texture Secrets for Perfect Chocolate Chip Scones
It all comes down to temperature and not fussing with the dough! We use ice-cold butter, and when we mix it into the flour, we want it to stay in those little pea-sized pieces. Those cold butter pockets steam in the oven, creating all the flaky layers. Seriously, treat that butter gently!
Quick Prep Time for Easy Scone Recipe Success
The best part? We are talking 15 minutes of prep and about 18 minutes in the oven. That means you can have fresh, warm, bakery-style scones ready to eat in about 33 minutes flat. It’s a quick scone recipe that doesn’t cut any corners on flavor, which is why I know you’re going to love this!
Gathering Ingredients for Buttery Scones
Alright, now that you know these buttery scones are going to be the star of your morning, let’s get organized! Making things easier on yourself later means having everything measured out before you even turn the oven on. Seriously, this is the secret to keeping things fast and enjoying the process. Don’t substitute on temperature, though—we need everything cold for those gorgeous flaky layers we talked about, which is why I specified cold heavy cream. Here are the bits and bobs you’ll need for about 8 perfect homemade scones.
Dry Ingredients for Your **Chocolate Chip Scones**
- 2 1/4 cups all-purpose flour (Make sure it’s properly fluffed up!)
- 1/2 cup granulated sugar
- 1 tablespoon baking powder
- 1/2 teaspoon salt
Wet Ingredients and Chocolate for **Homemade Scones**
- 1/2 cup (1 stick) unsalted butter, cut into small pieces (And please, keep it COLD!)
- 1 cup semi-sweet chocolate chips (I like using chunks, but chips work great too!)
- 3/4 cup cold heavy cream or buttermilk (Buttermilk gives a nice little tang, but heavy cream works beautifully too.)
Optional Vanilla Glaze Components
If you want that extra sweet shop touch, grab these items. If you’re keeping it simple, just dust with maybe a pinch of sugar instead!
- 1 cup powdered sugar
- 2 tablespoons milk or cream
- 1/2 teaspoon vanilla extract
Also, don’t forget your egg wash ingredients—1 large egg beaten, and about 1 tablespoon of coarse sugar for sprinkling right before baking!
Step-by-Step Instructions: How to Make Scones Perfectly
This is the part where the magic happens, but remember what I always say: speed and gentleness are your best friends when making chocolate chip scones. We are racing against the clock to keep that butter cold, otherwise, we won’t get those signature flaky layers. Don’t worry about perfectly smooth dough here; shaggy is good! If you follow these steps closely, you’re going to have bakery-quality results. When you are ready to see the final dessert ideas for these treats, swing by my guide on delicious dessert recipes!
Preparing the Dough for Flaky Chocolate Chip Scones
First things first: crank that oven up to 400°F (200°C) and make sure you’ve got parchment paper ready on your baking sheet. Now, in a big bowl, whisk together that flour, the sugar, baking powder, and salt until everything looks perfectly uniform. Next, toss in your COLD butter pieces. This is critical! You need to cut that butter in with a pastry blender or even your very clean fingertips until the mix looks like rough crumbs, but you should still see some slightly bigger, pea-sized chunks of butter floating around. Those chunks are going to make your scones spectacular!
Shaping and Topping Your Bakery Style Scones at Home
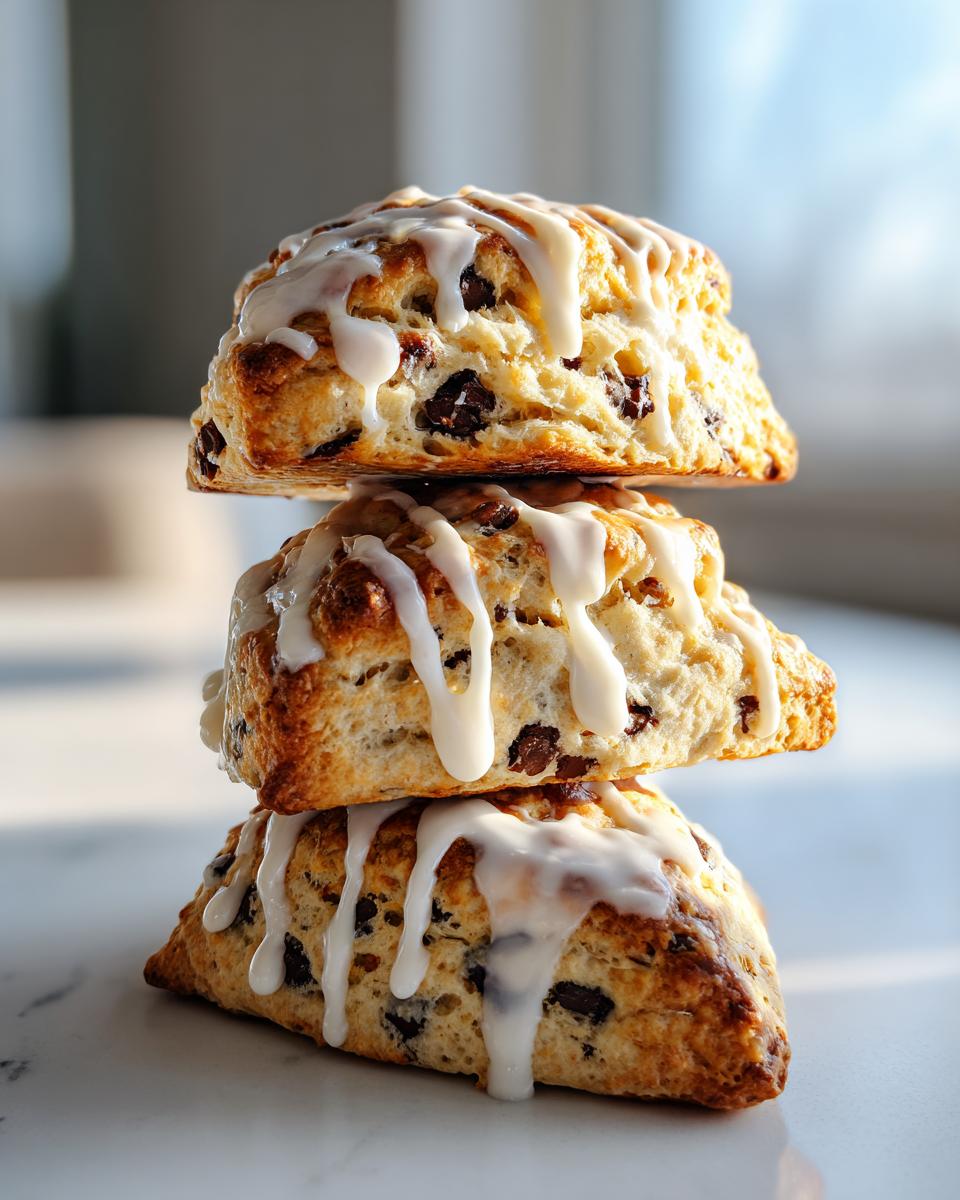
Once the butter is cut in, gently stir in all those gorgeous chocolate chips. Don’t overthink it! Now, pour in that cold heavy cream or buttermilk and just use a fork to mix until the dough *barely* holds together. It should look messy, I mean shaggy. Turn it out onto a lightly floured spot and pat it gently—and I mean gently—into a circle or rectangle about 3/4-inch thick. You only want to knead it like four times, seriously! Cut it into 8 wedges and spread them out on your prepared sheet. For that beautiful golden finish, brush the tops with your beaten egg wash and sprinkle liberally with coarse sugar. That sugar gives the best little crunch, which elevates these to true homemade scones status.
Baking and Glazing Scones with Vanilla Glaze
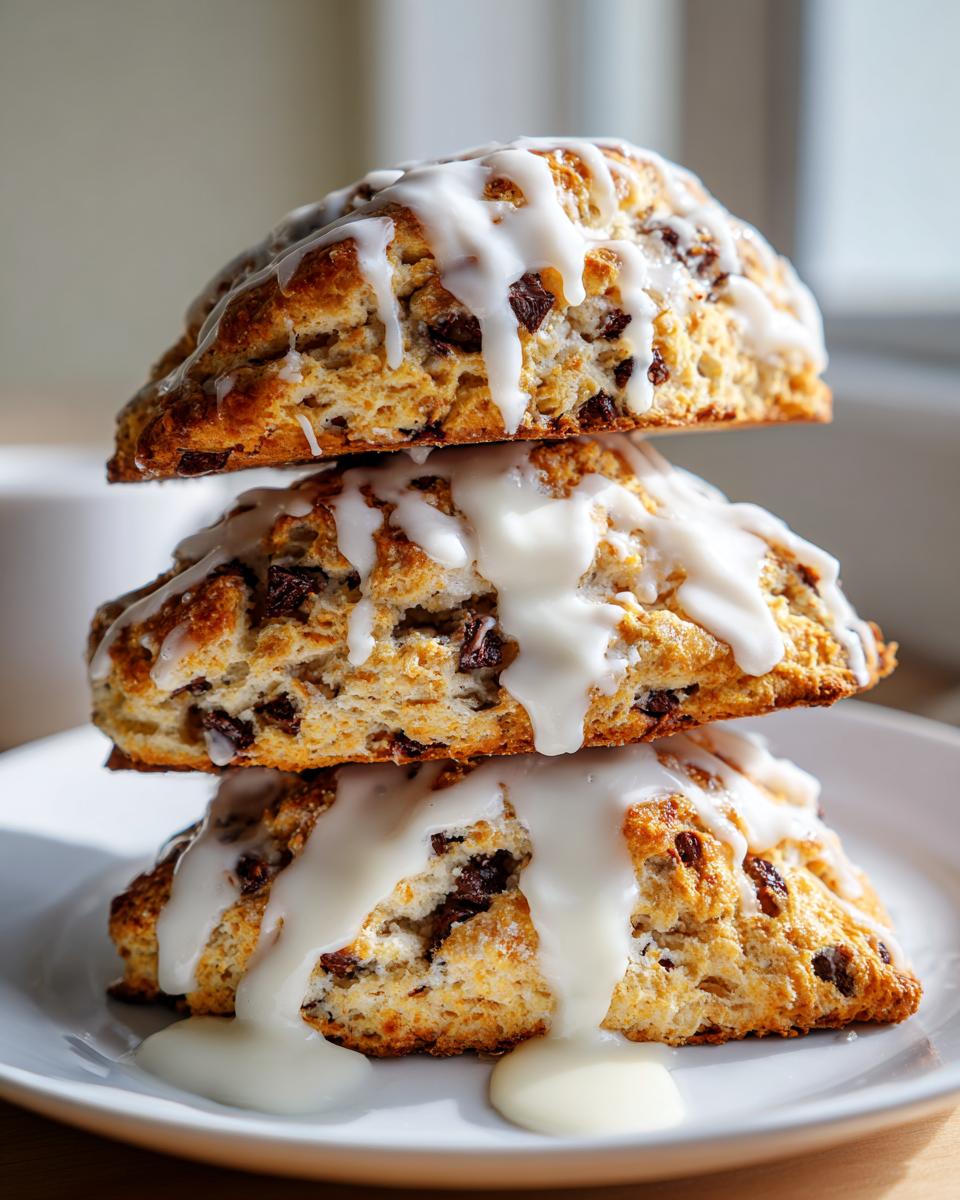
Pop those beauties into the oven for 15 to 18 minutes. Keep an eye on them; they are done when they turn golden brown on top. While they cool down just a touch, let’s make that optional vanilla glaze. Whisk together that powdered sugar with 2 tablespoons of milk and your vanilla until it’s smooth. If it looks too thick, add just a tiny splash more milk until it drizzles nicely. Drizzle that sweet glaze over the scones when they are warm—not piping hot, or the glaze just melts right off—but definitely still warm for the best experience. Or, if you’re feeling minimalist, skip the glaze entirely and just serve them with butter!
Tips for the Best Chocolate Chip Scones Texture
Getting that perfect, almost melt in your mouth scones quality isn’t just about the recipe; it’s about respecting the ingredients! I know sometimes things look better in the recipe card than they turn out in real life, so here are my personal keys to making sure these chocolate chip scones stay tender and beautifully flaky every single time. If you want to dive deeper into other soft and chewy favorites, you should check out my guide on classic chocolate chip cookies soft and chewy!
Ingredient Temperature: The Key to Tender Scones
You absolutely must use ice-cold butter and cream. I mean, borderline frozen is actually okay for the butter! If your butter gets warm while you’re rubbing it into the flour—even just from the heat of your hands—it melts instead of staying in pockets. When it melts, those pockets can’t create steam, and steam is what pushes the layers apart to make them flaky. Cold ingredients equal a tender, light result.
Handling the Dough Gently
This is the number one mistake people make! Once you add the liquid, you mix only until it barely comes together—it should look shaggy and messy. If you start kneading it like bread dough for too long, you’re developing gluten. Gluten builds structure, and for a flaky breakfast pastry, we want structure, sure, but we don’t want toughness! Just a couple of light folds on the counter is all you need before cutting them. Resist the urge to smooth it out!
Serving Suggestions for Your Chocolate Chip Scones
These chocolate chip scones are so versatile! They aren’t just for a rushed weekday breakfast, you know. They seriously shine when presented as part of a perfect weekend spread. Think of them as the ultimate brunch baking idea. I adore serving them slightly warm with a dollop of good quality butter, or maybe some clotted cream if I’m feeling fancy.
But honestly, they are one of the best scones for tea time you could ever make. Just have them ready alongside a strong cup of coffee or black tea, and watch them disappear immediately. If you need more cozy morning inspiration after these, pop over to my easy breakfast ideas list!
Storage and Reheating Homemade Scones
Even the best batch of chocolate chip scones doesn’t last long around here, but if you somehow manage to have leftovers—which I highly doubt, but we can dream—you want to store them correctly so they don’t get stale overnight. Keeping them fresh is actually pretty simple, provided you let them cool completely before sealing.
For short-term storage, just place your cooled scones in an airtight container. If you plan on eating them within two days, room temperature is totally fine. Try not to stack them too tightly or they might sag a bit, especially if you used the vanilla glaze!
If you need to keep them longer, wrap them well (I like plastic wrap first, then foil) and pop them in the fridge. They’ll last maybe four or five days that way, though I usually prefer freezing them if I know they’ll go past day three.
Restoring That Fresh-Baked Glory
This is the key step to bring those homemade scones back to their flaky, tender glory. Never eat them cold from the fridge; they firm up too much! You want to reheat them gently so the butter inside softens again.
I recommend wrapping a scone loosely in a damp paper towel—just enough to keep it from drying out—and popping it in the microwave for just 10 to 15 seconds. If you have a toaster oven, that’s even better! A quick 3 minutes at 350°F (175°C) will crisp up the edges beautifully without drying out the middle. They’ll taste like they just came out of the oven, trust me!
Freezing Your Baked Scones
If you made a huge batch because, well, you’re me and you can’t stop baking, freezing is your friend. Make sure they are totally cool. Wrap each scone individually so they don’t stick together, then place them all in a freezer-safe bag. They stay perfect for about two months. When you want one, just pull it out while it’s still frozen and follow the reheating instructions! It’s the perfect solution for a fast breakfast recipe ready on demand.
Frequently Asked Questions About Making Chocolate Chip Scones
I get so many questions about these beauties once people start baking them! It’s normal when you’re trying to nail that perfect tender scones recipe the first time around. Don’t worry if you have a few questions; that’s what I’m here for! Here are the things I hear most often regarding the process of making these incredible chocolate chip scones.
Can I use frozen butter in this easy scone recipe?
Oh, absolutely! In fact, I sometimes think frozen butter works even better than just refrigerated butter because it gives you more time before it warms up during mixing. If your butter is rock solid, don’t try to cut it into cubes—just grate it straight onto your dry ingredients! Grating it means you get those perfect, small, frozen shreds incorporated right away, and that ensures you end up with those ultra-flaky layers we are aiming for in this easy scone recipe.
What is the best chocolate to use for copycat coffee shop scones?
If you want that true copycat coffee shop scones experience, you’ve got to think about texture! Yes, semi-sweet chocolate chips are super convenient, and I use them often, but if you want those glorious, melty puddles of chocolate, grab a good quality chocolate bar—something around 60% cocoa solids—and chop it up yourself. The chunks tend to melt more dramatically than standard chips, giving you those pockets of rich chocolate that just scream luxury. It’s a little extra work, but worth it for the ultimate experience!
Can I make these chocolate chip scones ahead of time?
Yes, you totally can! I love prepping the dough the night before when I have more time. You follow all the steps right up until you cut them into wedges. At that point, place the cut scones onto your parchment-lined baking sheet and cover the whole thing tightly with plastic wrap. Stick it in the fridge overnight. They stay super cold and firm, which is perfect. In the morning, just pull them right out and go straight to the egg wash and baking steps. They might need about 2 extra minutes in the oven, but you’ll still get fantastic results!
Nutritional Estimate for Your Chocolate Chip Baked Goods
Now, I know you aren’t making these chocolate chip scones because you’re looking for a low-calorie snack—they are buttery treats, after all! But, since I always believe in full transparency in my kitchen, I wanted to give you a general idea of what these wonderful chocolate chip baked goods pack per serving. While these numbers are based on the specific recipe amounts and are just an estimate, they should give you a good ballpark figure for planning your meals, especially if you’re looking for healthier ideas later on. If you’re looking for ways to incorporate more balanced meals into your routine, take a peek at my healthy lunch recipes!
Here is the nutritional breakdown for one scone (based on 8 servings):
- Serving Size: 1 scone
- Calories: 350
- Fat: 18g (with 11g of that being saturated fat—hello, butter!)
- Carbohydrates: 42g
- Sugar: 18g (mostly from the chips and the optional glaze)
- Protein: 4g
- Fiber: 1g
- Sodium: 250mg
- Cholesterol: 55mg
Please remember these are just estimates, guys! If you skip the vanilla glaze, your sugar content will dip down a bit, and if you use low-fat milk instead of heavy cream, the fat will change too. So, consider this a starting point for enjoying the best buttery scones you’ll ever make!
Share Your Chocolate Chip Scones Creations
Well, that’s it! You’ve officially mastered the art of making the best chocolate chip scones right in your own kitchen. I am so proud of you for taking the plunge into making these flaky, buttery treats. Honestly, seeing your results is what keeps me going in the kitchen every day. I just know you nailed that perfect tender texture!
Now that you’ve got your hands dusted with flour and probably a few stray chocolate chips, I would absolutely love to hear all about it. Did you go for the simple dusting or did you drown them in that sweet vanilla glaze? How did your family react to having real bakery style scones at home?
Don’t be shy! Head down to the comments section below and leave me a rating—even just a few stars tells me this recipe was a win for you. If you ran into any little hiccups, let me know there too! I read every single comment, and I’m always happy to help troubleshoot if something didn’t go exactly to plan. And if you’re looking to connect even more, you can always reach out via my contact page!
Happy baking, and I can’t wait to see you succeed with these sweet breakfast treats!
PrintBakery-Style Flaky Chocolate Chip Scones with Vanilla Glaze
Make buttery, tender chocolate chip scones that taste like they came from a coffee shop. This easy recipe comes together fast, giving you flaky breakfast pastries perfect for brunch or a sweet treat.
- Prep Time: 15 min
- Cook Time: 18 min
- Total Time: 33 min
- Yield: 8 servings 1x
- Category: Breakfast
- Method: Baking
- Cuisine: American
- Diet: Vegetarian
Ingredients
- 2 1/4 cups all-purpose flour
- 1/2 cup granulated sugar
- 1 tablespoon baking powder
- 1/2 teaspoon salt
- 1/2 cup (1 stick) cold unsalted butter, cut into small pieces
- 1 cup semi-sweet chocolate chips
- 3/4 cup cold heavy cream or buttermilk
- 1 large egg, beaten (for egg wash)
- 1 tablespoon coarse sugar (for sprinkling)
- 1 cup powdered sugar (for glaze)
- 2 tablespoons milk or cream (for glaze)
- 1/2 teaspoon vanilla extract (for glaze)
Instructions
- Preheat your oven to 400°F (200°C). Line a baking sheet with parchment paper.
- In a large bowl, whisk together the flour, 1/2 cup granulated sugar, baking powder, and salt. This ensures your dry ingredients are evenly mixed.
- Add the cold, cubed butter to the flour mixture. Use a pastry blender or your fingertips to cut the butter into the flour until the mixture resembles coarse crumbs with some pea-sized pieces of butter remaining. Keeping the butter cold is key for flaky scones.
- Stir in the chocolate chips until they distribute throughout the flour and butter mixture.
- Pour in the cold heavy cream or buttermilk. Use a fork to gently mix until the dough just comes together. Do not overmix; the dough will look shaggy.
- Turn the dough out onto a lightly floured surface. Gently knead it 3 or 4 times until it holds together. Pat the dough into a 3/4-inch thick circle or rectangle.
- Cut the dough into 8 equal wedges or use a round cutter. Place the scones onto the prepared baking sheet, leaving about 1 inch between them.
- Brush the tops of the scones lightly with the beaten egg wash and sprinkle with coarse sugar for a slight crunch.
- Bake for 15 to 18 minutes, or until the tops are golden brown.
- While the scones cool slightly, prepare the glaze: Whisk together the powdered sugar, 2 tablespoons milk, and vanilla extract until smooth. Add more milk if you prefer a thinner glaze.
- Drizzle the vanilla glaze over the warm or cooled scones. Serve immediately for the best texture.
Notes
- For the flakiest results, make sure your butter and cream are very cold before mixing.
- If you prefer taller scones, you can gently fold the dough a few times on the counter before cutting into wedges.
- You can substitute buttermilk with regular milk mixed with 1/2 teaspoon of lemon juice, letting it sit for 5 minutes.
Nutrition
- Serving Size: 1 scone
- Calories: 350
- Sugar: 18g
- Sodium: 250mg
- Fat: 18g
- Saturated Fat: 11g
- Unsaturated Fat: 7g
- Trans Fat: 0g
- Carbohydrates: 42g
- Fiber: 1g
- Protein: 4g
- Cholesterol: 55mg