
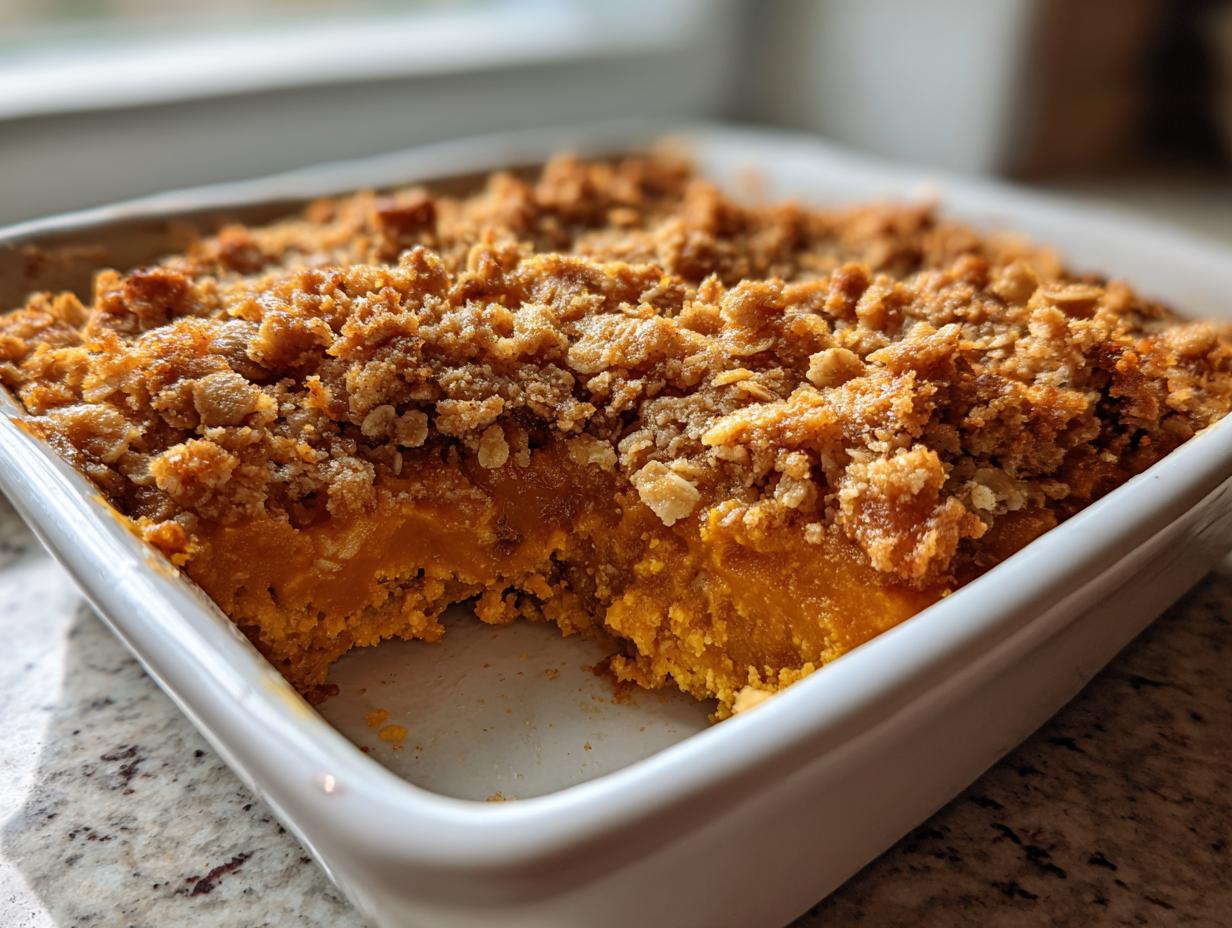
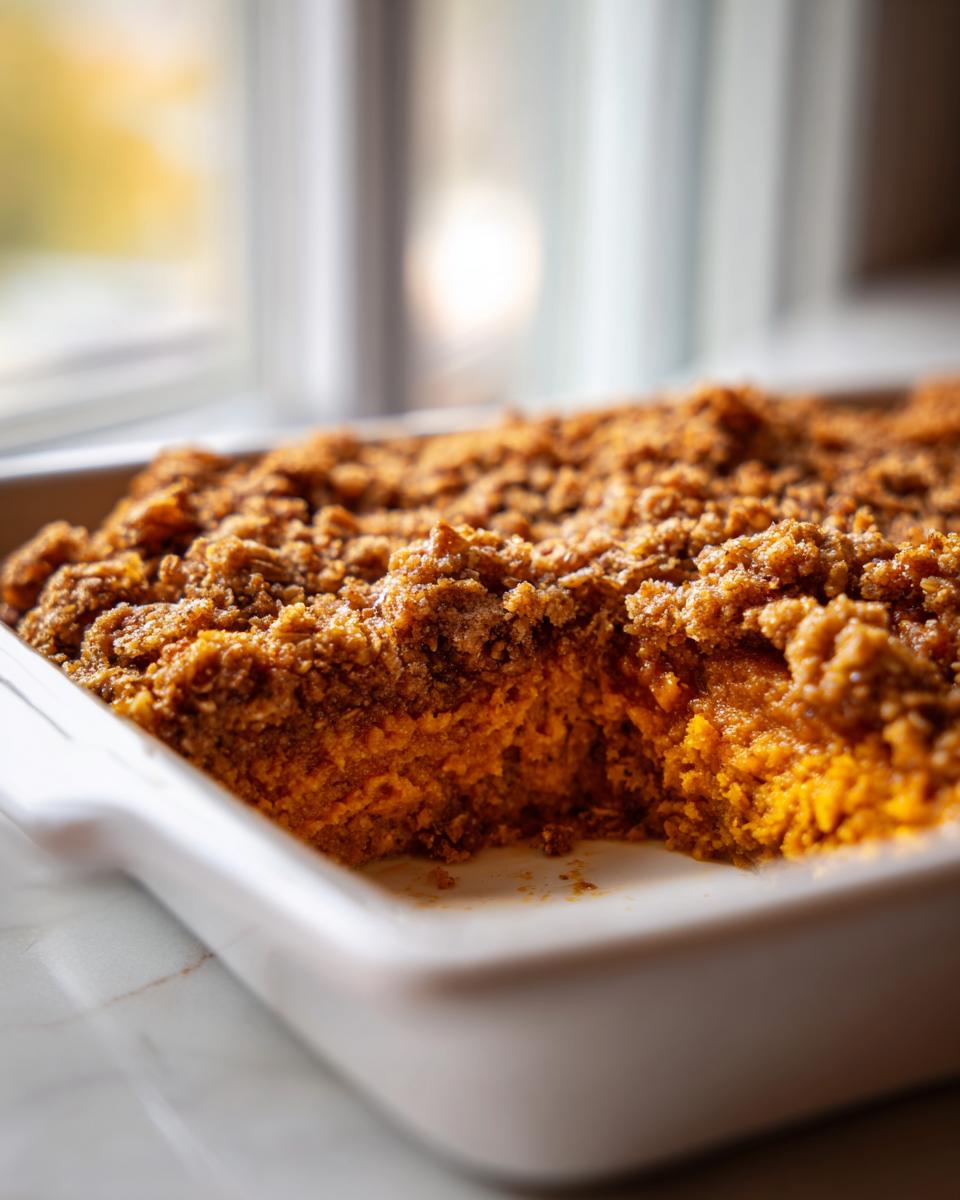
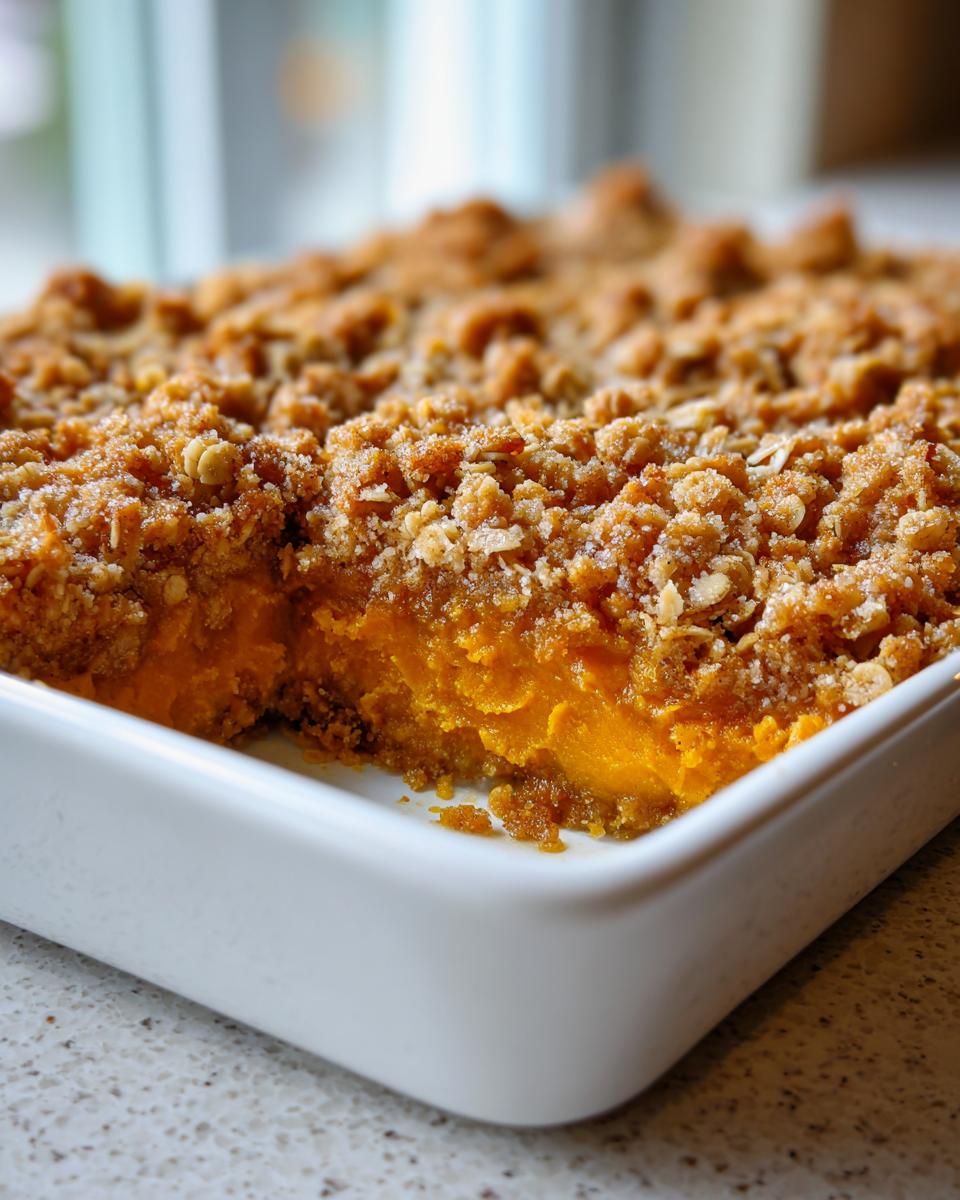
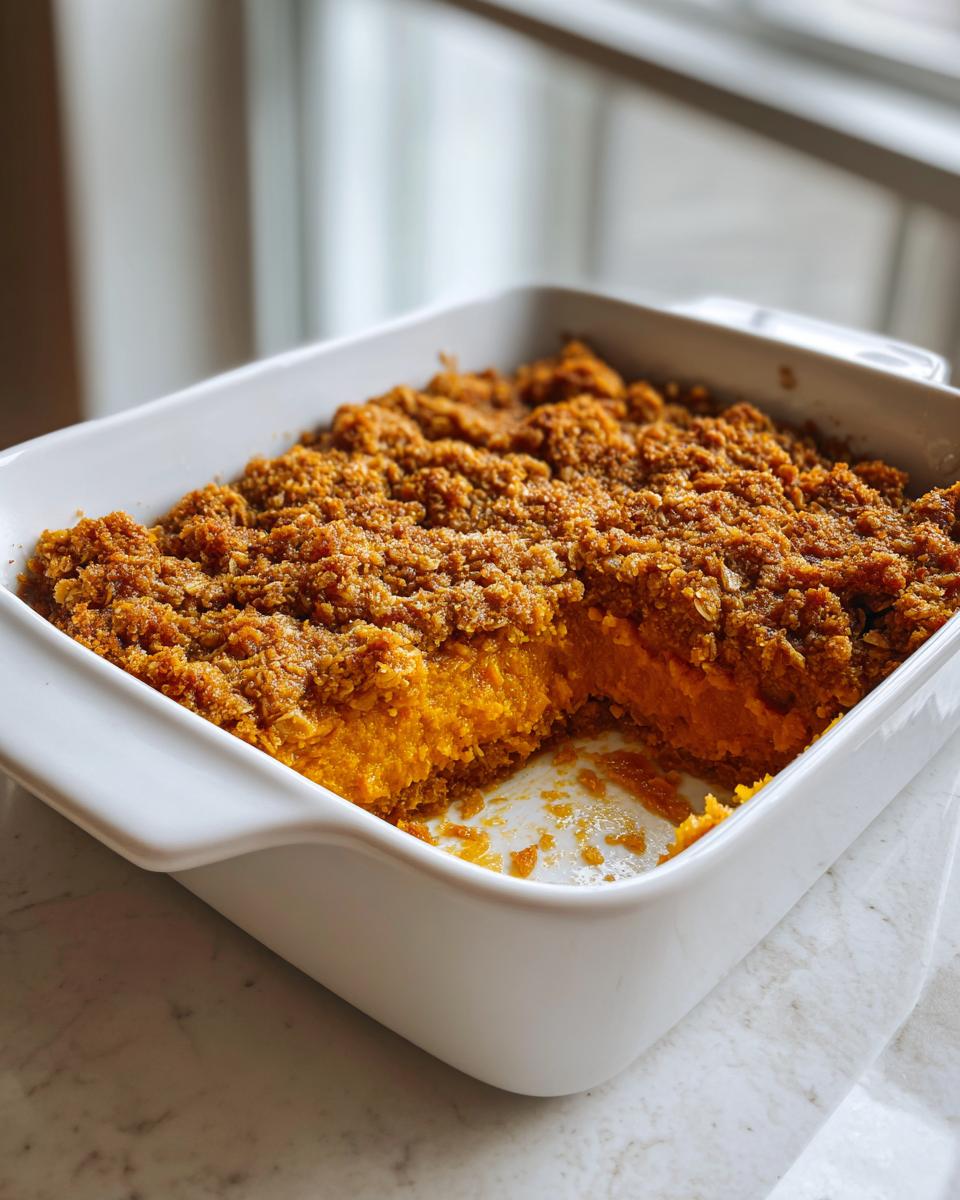
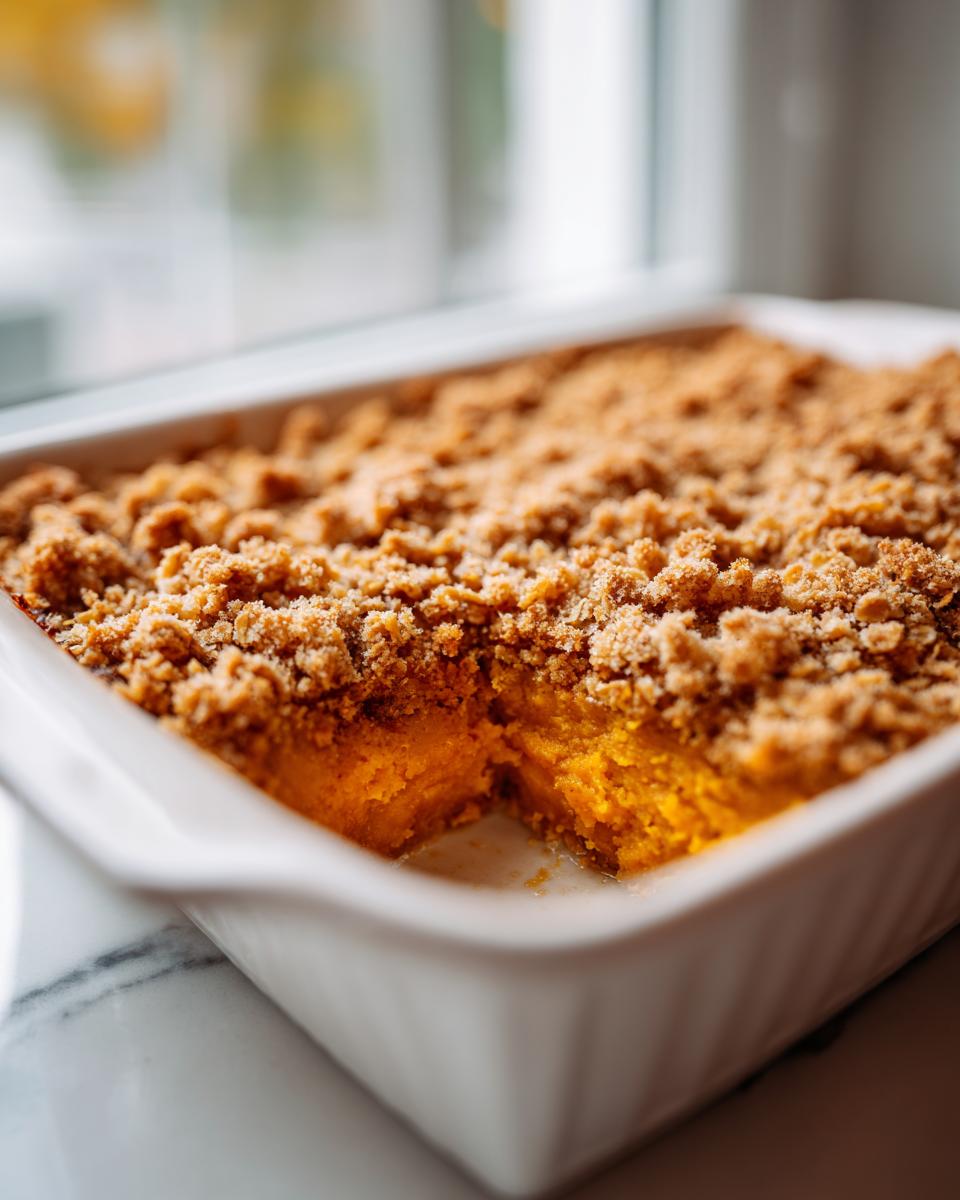
When the air finally gets that crisp snap, my heart immediately turns toward the oven. Forget battling with finicky pie dough; I want pure, unadulterated pumpkin spice comfort without the fuss. That’s why this pumpkin crisp recipe is one of the most frequently requested things from my kitchen. It’s everything you adore about classic pumpkin pie—that smooth, spiced custard—but topped with a thick, buttery, crunchy oat crumble. It’s the easiest way to deliver that cozy autumn treat everyone craves for gatherings. Here at MDLATDMM, we believe the best meals are simple and reliable, and this no-fuss dessert proves you don’t need complicated steps to create something truly memorable for your family.
- Why This Pumpkin Crisp Recipe Beats Pie Every Time
- Gathering Ingredients for Your Perfect Pumpkin Crisp
- Step-by-Step Instructions for the Easiest Pumpkin Crisp
- Tips for Achieving the Best Pumpkin Crisp Texture
- Serving Suggestions for Your Warm Spiced Pumpkin Dessert
- Storage and Reheating for Your Homemade Pumpkin Crumble
- Frequently Asked Questions About This Pumpkin Crisp Recipe
- Estimated Nutritional Data for This Seasonal Dessert Recipes
- Share Your Best Autumn Baking Creations
Why This Pumpkin Crisp Recipe Beats Pie Every Time
Honestly, if I have to roll out pie dough on Thanksgiving morning, I might just pack up my apron! This pumpkin crisp is my secret weapon for feeling festive without the frantic energy. It delivers all those wonderful fall flavors but cuts major corners where it counts. It’s fast, ridiculously easy, and the texture contrast is just unbeatable.
- No crust to worry about! It’s a perfect no crust pumpkin pie alternative when you’re short on kitchen time.
- It bakes faster than a traditional pie, meaning dessert is ready sooner.
- The topping crisps up beautifully while the filling stays wonderfully soft.
The Ultimate Comfort Food Dessert Experience
When you pull this out of the oven, the smell of cinnamon and clove just takes over the house. It is the definition of a comfort food dessert. You get that smooth, almost silken pumpkin layer right up against that crunchy, buttery oat topping. Honestly, you get two desserts in one bite!
If you love simple, reliable recipes that taste like you spent hours on them, you should definitely check out my collection of delicious dessert recipes.
Gathering Ingredients for Your Perfect Pumpkin Crisp
Okay, let’s talk about what goes into this magic—the filling and the incredible, crunchy topping. This Pumpkin Crisp Recipe is excellent because it relies on pantry staples, which is exactly what I love about simple fall baking ideas. You’ll need full commitment on the ingredients, so grab your measuring cups!
For the filling, make sure you grab one 15-ounce can of pure pumpkin puree—and I mean puree, not that pre-sweetened pumpkin pie filling, please! We want two large eggs, condensed milk for that creamy sweetness, and all those warm spices like vanilla and salt.
Then comes the topping, which is basically a buttery oat crumble dream. It needs one cup of all-purpose flour, one cup of rolled oats, and three-quarters cup of packed light brown sugar. Don’t forget that crucial half-stick of cold unsalted butter, cut into small pieces. Oh, and if you love a little extra texture, half a cup of chopped pecans is totally optional, but they bake up so nicely!
If you’re looking for other wonderful ways to use up that pumpkin spice goodness, you have to check out my pumpkin banana bread recipe—it’s a guaranteed hit.
Notes on Key Components and Substitutions
Listen to Maddie on this: the most important thing is using pure pumpkin puree, not the pie mix. The pie mix already has sugar and spices, and it will throw off the balance of our condensed milk and spices, yuck! We need that pure, earthy pumpkin flavor.
Also, the recipe calls for pecans in the topping, but please don’t stress if you don’t have any or if someone has an allergy. You can absolutely substitute them one-for-one with walnuts, or you can just leave them out entirely. The topping is still fantastic and incredibly buttery without any nuts at all. See? This is why this is such an easy fall dessert!
Step-by-Step Instructions for the Easiest Pumpkin Crisp
This is where the magic happens, and trust me, it comes together so quickly you’ll wonder why you ever worried about making a traditional pie! First things first, fire up that oven to 350 degrees Fahrenheit. Get a 9-inch pie dish—or an 8×8 if you prefer a slightly thicker result—and just grease it real quick. No fancy lining needed for this easy fall dessert!
If you need more simple, non-fussy inspiration, you can always browse my easy fall desserts collection.
Creating the Creamy Pumpkin Filling Base
Grab a medium bowl. We’re whisking everything for the filling here until it’s totally smooth—no lumps allowed! That means whisking the pumpkin puree, the sweetened condensed milk until it gets nice and velvety, the two eggs, your pumpkin pie spice, that little bit of vanilla, and the salt. Once you’ve whisked it until you can’t see any streaks, just pour that wonderful mixture evenly into your greased dish. That’s it for the bottom layer!
Assembling the Buttery Oat Topping Recipes
Now for the best part: the crunch! In a separate bowl, we combine the dry stuff first: flour, rolled oats, and brown sugar. This is the part that requires feeling, not just watching. Take your cold butter pieces and start using your fingertips—or maybe a pastry blender if you have one—to cut that butter into the dry mix. You’re looking for coarse crumbs. I mean it, don’t overmix it until it looks like paste! We want that beautiful, uneven texture. If you’re using pecans, toss them in now, but don’t press anything down when you sprinkle the topping evenly over the pumpkin. If pressing it down, you lose that lovely crumbly texture that makes a great pumpkin crisp!
Bake it for about 45 to 55 minutes. Remember, the center will still jiggle a little bit when you take it out, but it sets up as it cools! See how simple that was?
Tips for Achieving the Best Pumpkin Crisp Texture
You might think just mixing and baking is the whole story, but getting that perfect texture in your pumpkin crisp—silky filling, shatteringly crisp topping—requires respecting the cooling time. Oven temperature stability really matters here because the filling is essentially a soft custard. Make sure your oven is fully preheated before you slide that dish in!
Now, here’s my personal kitchen disaster story that taught me this lesson the hard way. The first time I made this, I rushed it straight to the table because everyone was starving. Big mistake! The center looked kind of soupy, and it just collapsed when I scooped it. It tasted fine, but presentation-wise, it was a mess. I realized the truth: you absolutely must let this cool for at least 30 minutes on a wire rack.
That resting period is non-negotiable! It lets the eggs set up properly so the filling firms up just right. After that 30 minutes, it’s ready to go. It’s still warm, but it holds its shape beautifully. It’s easier to serve and looks so much nicer for your fall gatherings. For more tips on getting those perfect textures, you can look at how I make my homemade granola recipe—the principles of keeping ingredients distinct are similar!
And don’t forget, if you need other baking inspiration, check out the lovely tips on crisp recipes over at Lemon Tree Dwelling!
Serving Suggestions for Your Warm Spiced Pumpkin Dessert
This warm spiced pumpkin dessert is begging for something chilly on top, isn’t it? Classic vanilla ice cream is always the perfect partner; the temperature contrast is just heavenly. My mom always insists on a big dollop of homemade whipped cream, which is so light and airy against the heavy crumble, too.
But if you really want to lean into the indulgence, you simply must try drizzling it with salted caramel sauce. If you want to make your own unbelievable sauce that complements those warm spices perfectly, you should see my recipe for caramel apple sauce! It takes minutes, and it elevates this simple crisp to restaurant quality. Truly, any way you serve it, just make sure you have a spoon ready.
Storage and Reheating for Your Homemade Pumpkin Crumble
Don’t even worry if you have leftovers—which, let’s be honest, usually doesn’t happen with this pumpkin crisp, but just in case—it stores beautifully! Once it’s totally cooled down, cover your dish tightly with plastic wrap or an aluminum lid. It keeps really well in the fridge for about three to four days. The topping might soften up a tiny bit overnight, but that just means it blends into the creamy filling more!
When you’re ready for round two, I prefer reheating individual slices in the microwave for about 30 seconds—that gets it warm fast. For a crowd, though, use the oven at 325 degrees Fahrenheit until it’s warmed through, maybe 15 minutes. Makes a wonderful afternoon snack! If you’re storing other holiday treats, my tips on keeping dips fresh, like in my pumpkin dip recipe, apply here too!
Frequently Asked Questions About This Pumpkin Crisp Recipe
It’s always exciting when you guys start making my recipes! When you’re preparing this pumpkin crisp, you might have a few questions pop up, just like I did when I was first figuring out the best way to make it reliable for big groups. Don’t worry, I’ve jotted down the questions I get asked the most about this fantastic fall baking project.
Can I make the topping ahead of time?
Yes, absolutely! This is a lifesaver, especially if you’re using this as a Thanksgiving pumpkin dessert. You can mix all your dry topping ingredients—the flour, oats, and brown sugar—together in a sealed container and keep it on the counter days ahead of time. The trick is the butter: keep the cold, cubed butter separate in the fridge. Right before you are ready to bake, just cut the cold butter into the dry mix just like the recipe says, and you’re good to go!
Is this a good Thanksgiving Pumpkin Dessert if I am short on time?
It is, hands down, one of the best options for easy holiday baking! Honestly, the prep time for this pumpkin crisp is under 20 minutes total, and you don’t have to worry about chilling dough or crimping edges. You mix the filling, sprinkle the crumble on top, and pop it in the oven. It’s fantastic!
If you love experimenting with autumn flavors in different treats, you should take a peek at my pumpkin snickerdoodle cookies—they hit that same sweet spot!
Estimated Nutritional Data for This Seasonal Dessert Recipes
I always like to keep things real around here, so please remember these numbers are just my best estimates for one serving of this cozy autumn treat based on standard ingredients. I’ve seen some sites get way too complicated with nutrition breakdowns, but I just stick to the basics so you know what you’re dealing with. This calculation is for one slice of the pumpkin crisp.
- Serving Size: 1 serving
- Calories: 450
- Fat: 24g
- Carbohydrates: 55g
- Protein: 8g
- Sugar: 35g
It’s a rich one, for sure, thanks to that buttery crumb topping, but oh my goodness, it’s worth every single bite!
Share Your Best Autumn Baking Creations
I truly cannot wait to hear what you think of this pumpkin crisp! Baking is so much more fun when we share our results. Please come back and leave a star rating and a comment telling me how it turned out for your family gathering. Did you serve it with ice cream or whipped toppings?
If you made this and took a picture, tag me! Seeing your creations makes all the testing worthwhile. For more ideas you can put together fast during a busy week, take a look at my suggestions for quick weeknight dinners. And if you try this recipe, maybe hop over and see what others are saying about the original over at Recipes by Rita!
PrintThe Best Easy Pumpkin Crisp with Buttery Cinnamon Oat Topping
This Pumpkin Crisp recipe delivers all the creamy, spiced flavor of pumpkin pie without the fuss of a traditional crust. It features a smooth pumpkin filling topped with a crunchy, buttery oat crumble, making it the ultimate comfort food dessert for fall gatherings.
- Prep Time: 15 min
- Cook Time: 50 min
- Total Time: 65 min
- Yield: 6 servings 1x
- Category: Dessert
- Method: Baking
- Cuisine: American
- Diet: Vegetarian
Ingredients
- 1 (15 ounce) can pumpkin puree (not pumpkin pie filling)
- 1 (14 ounce) can sweetened condensed milk
- 2 large eggs
- 2 teaspoons pumpkin pie spice
- 1 teaspoon vanilla extract
- 1/4 teaspoon salt
- 1 cup all-purpose flour
- 1 cup rolled oats
- 3/4 cup packed light brown sugar
- 1/2 cup (1 stick) cold unsalted butter, cut into small pieces
- 1/2 cup chopped pecans (optional)
Instructions
- Preheat your oven to 350 degrees Fahrenheit. Lightly grease a 9-inch pie dish or an 8×8 inch baking dish.
- Prepare the filling: In a medium bowl, whisk together the pumpkin puree, sweetened condensed milk, eggs, pumpkin pie spice, vanilla extract, and salt until completely smooth. Pour this mixture evenly into your prepared baking dish.
- Prepare the topping: In a separate bowl, combine the flour, rolled oats, and brown sugar. Use your fingers or a pastry blender to cut in the cold butter until the mixture resembles coarse crumbs. If using, stir in the chopped pecans.
- Sprinkle the oat topping evenly over the pumpkin filling. Do not press the topping down.
- Bake for 45 to 55 minutes, or until the topping is golden brown and the filling is mostly set (a slight jiggle in the center is acceptable).
- Let the pumpkin crisp cool on a wire rack for at least 30 minutes before serving. This allows the filling to firm up.
- Serve warm with a scoop of vanilla ice cream or whipped cream for the best autumn treat.
Notes
- For an extra crunchy topping, use quick-cooking oats instead of old-fashioned rolled oats.
- If you do not have pecans, you can substitute them with an equal amount of walnuts or omit them entirely.
- This recipe is a great no crust pumpkin pie alternative for easy holiday baking.
Nutrition
- Serving Size: 1 serving
- Calories: 450
- Sugar: 35
- Sodium: 250
- Fat: 24
- Saturated Fat: 14
- Unsaturated Fat: 10
- Trans Fat: 0
- Carbohydrates: 55
- Fiber: 3
- Protein: 8
- Cholesterol: 75