
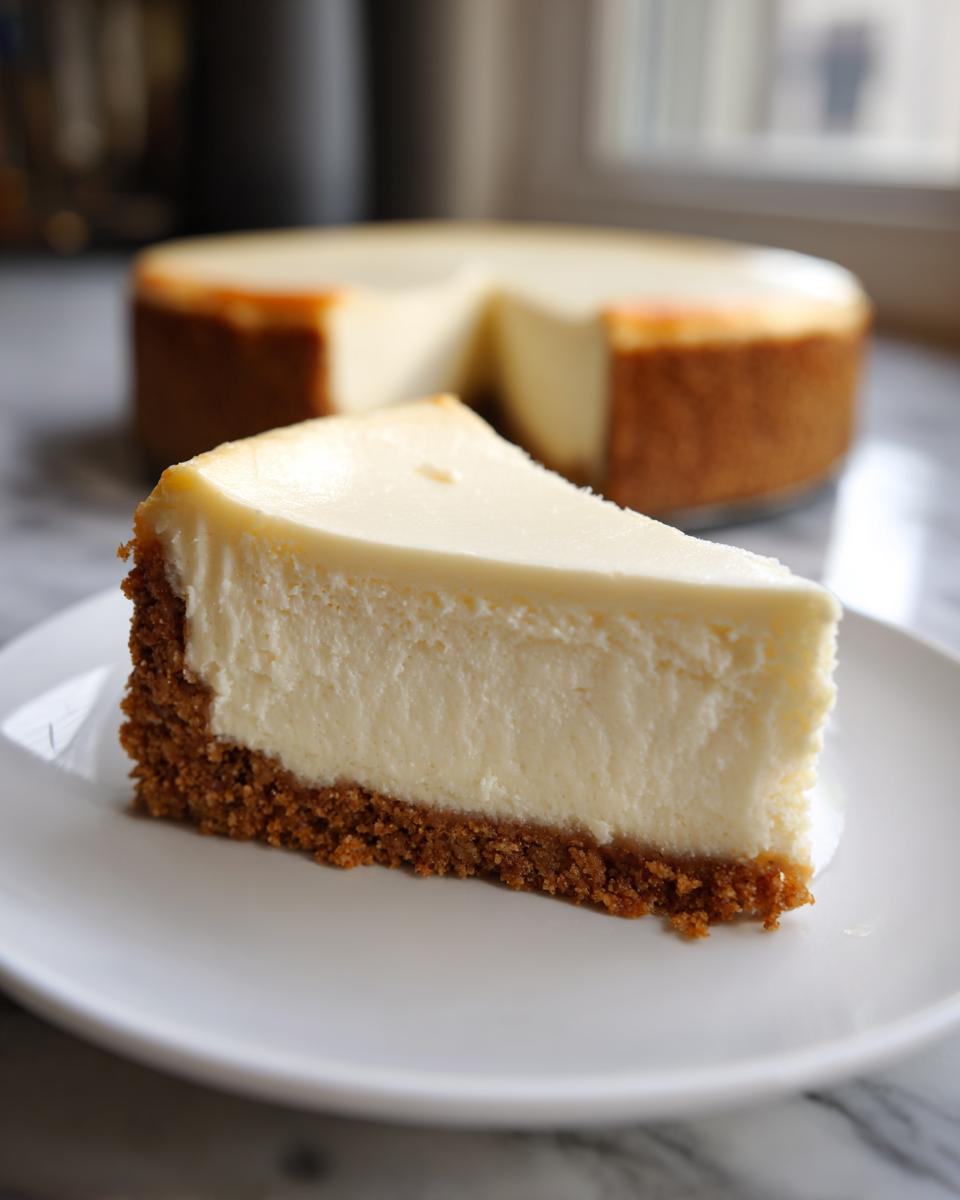
There are cravings, and then there is the deep, soul-satisfying need for a truly perfect slice of **New York cheesecake**. You know the one I mean—it’s tall, it’s unbelievably rich, and it melts against your tongue without that dreaded little crack on top. When I first started MDLATDMM Recipes, I knew this dessert had to be one of the first classics I nailed. It took me weeks of testing ingredient ratios and water bath depths, but trust me, dedication pays off!
I’m Maddie, and this isn’t just any recipe; it’s my promise to bring you that thick, utterly decadent texture you can only get from an authentic New York style dessert, made right here at home. Forget dry, crumbly imposters. We are going for dense, creamy perfection that will make you feel like you’re sitting in a little cafe downtown.
If you want to bake something truly special for a celebration or just because you deserve it, stick with me. Everything you need to master the technique is laid out simply below. You can check out more of my favorite delicious dessert recipes once you’ve mastered this one!
- Why This Is The Best New York Cheesecake Recipe You Will Ever Make
- Gathering Ingredients for Your Classic New York Cheesecake Recipe
- Step-by-Step Instructions for the Best Baked Cheesecake Recipe
- Cooling: The Secret to a Flawless New York Cheesecake
- Tips for Making Homemade Cheesecake From Scratch Success
- Serving Suggestions for Your Authentic New York Style Dessert
- Storage and Reheating Instructions for Your New York Cheesecake
- Frequently Asked Questions About Making New York Cheesecake
- Sharing Your Ultimate Decadent Cheesecake Creations
Why This Is The Best New York Cheesecake Recipe You Will Ever Make
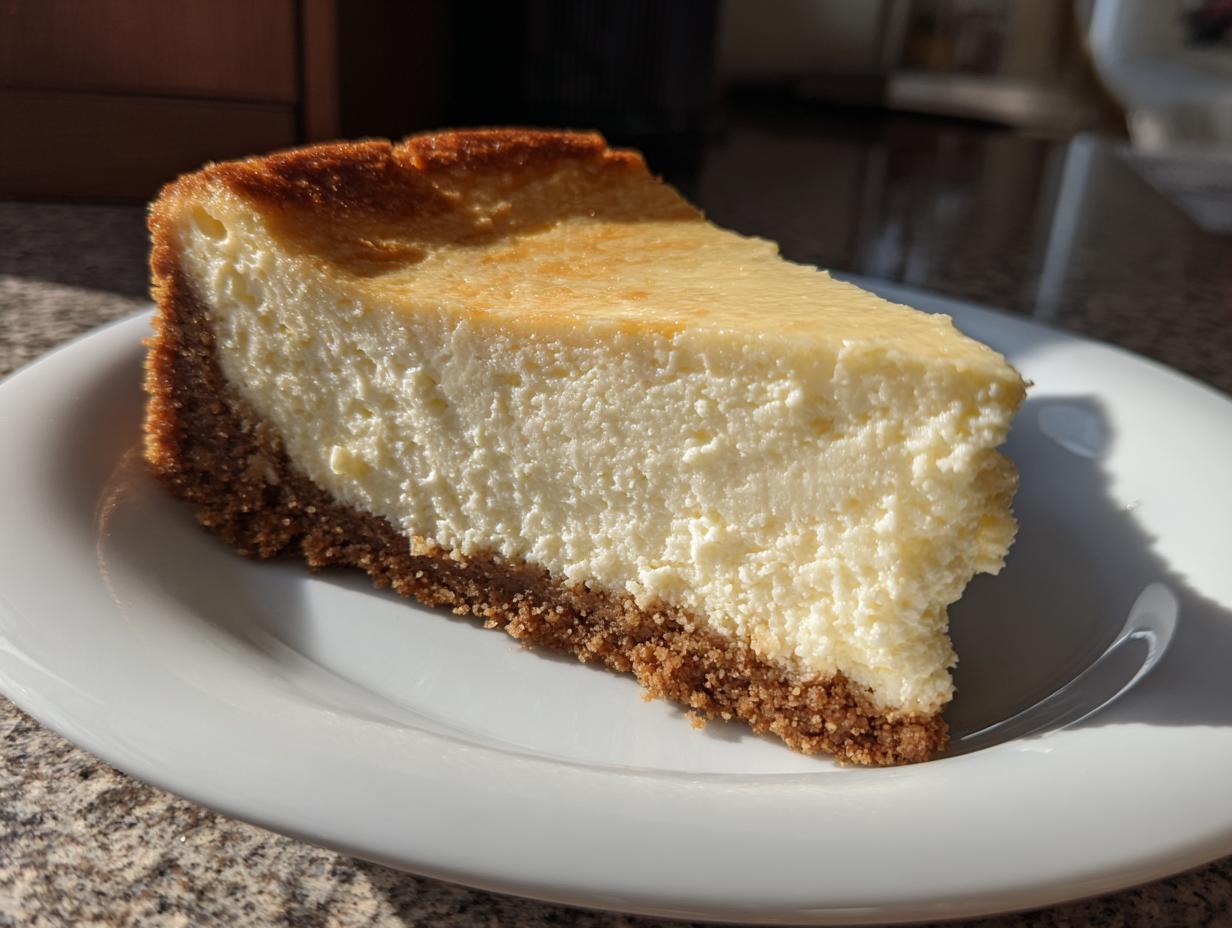
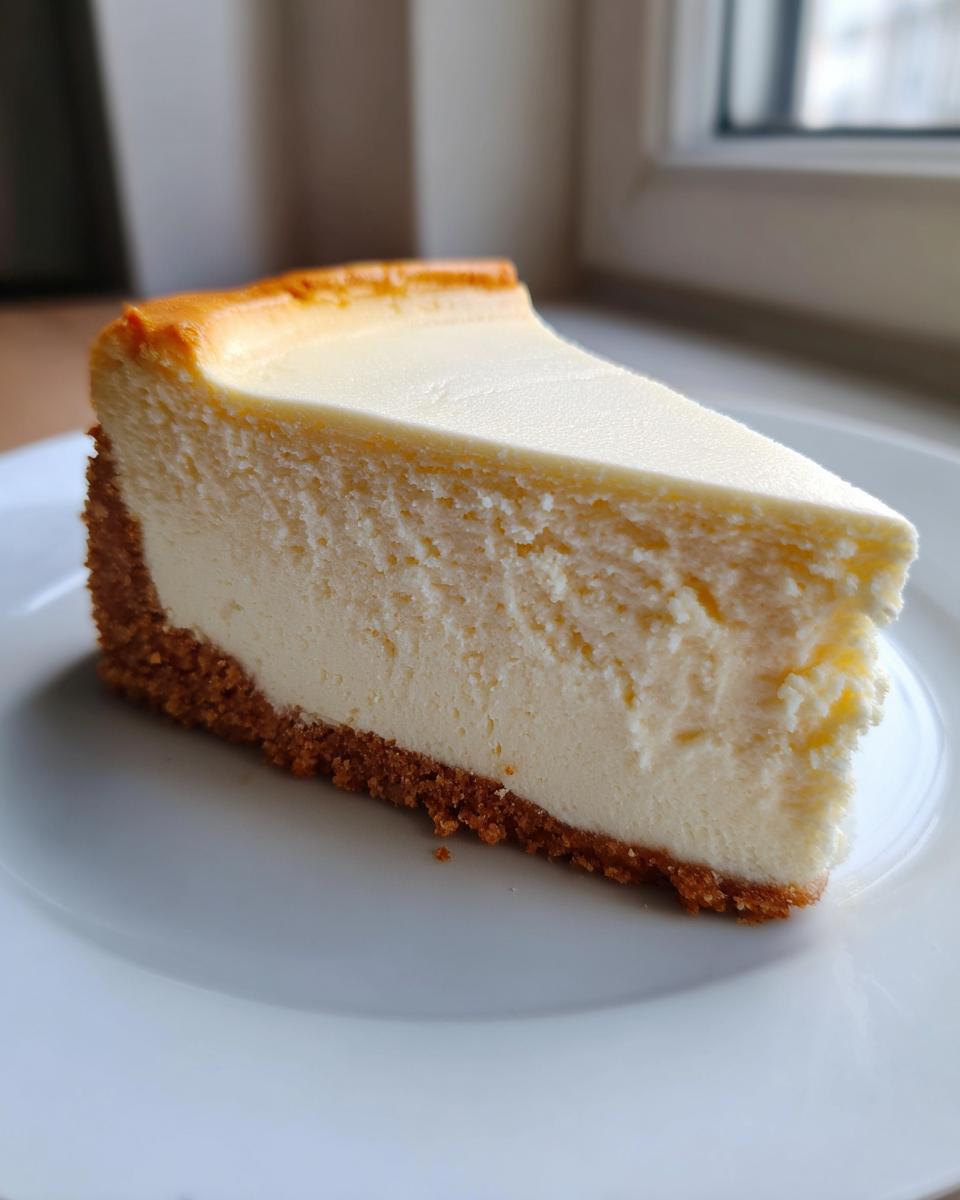
Okay, I know everyone claims they have the best recipe for new york cheesecake, but mine focuses on two non-negotiable things: density and absolute smoothness. We aren’t messing around with light, airy fillings here. We want that tall and creamy cheesecake structure that feels completely satisfying in just one slice.
The absolute secret, the thing I almost gave up on until I finally got it right, is the water bath. Seriously, don’t skip it! That steam is what guarantees that velvety smooth cheesecake filling and keeps that dreaded surface crack away. It’s a tiny bit of effort, but it’s the difference between a good cheesecake and the one you dream about later.
When you use this method, you are setting yourself up for success every single time. If you want to see what others have said about achieving that perfect height, check out some deep dives on tall and creamy new york cheesecake techniques.
Achieving That Signature Rich Dense Cheesecake Texture
The texture is all down to how you handle the ingredients. First, you must use full-fat cream cheese—seriously, no light stuff; it ruins the signature density! Second, everything has to be room temperature, I mean room temperature. Cold ingredients just glob up, and you end up over-mixing trying to fix it.
Mixing is the final key player. We mix just until combined, especially once those eggs go in. Overmixing beats air into the batter, and that expanding air is what causes the cake to puff up and then suddenly collapse and crack! Keep it smooth, keep it slow, and you’ll get that rich dense cheesecake consistency I adore. For more on achieving creamy results, I talk a bit about my mixing philosophy when I dive into chewy chocolate chip cookies—it’s the same principle!
Gathering Ingredients for Your Classic New York Cheesecake Recipe
Alright, let’s talk about what goes into this gorgeous cake! When you’re aiming for that flawless, velvety smooth cheesecake filling, the ingredients you use—and especially their temperature—are non-negotiable. Don’t even think about pulling the cream cheese out of the fridge five minutes before you start mixing! Everything needs time to relax and warm up properly so we don’t end up with lumps.
If you have all of the following lined up, you’re ready to go. Remember, this is a classic New York Cheesecake recipe; we are keeping it true to that rich, simple flavor.
Crust Components for Your Graham Cracker Crust Cheesecake
- 1 1/2 cups graham cracker crumbs
- 1/4 cup granulated sugar (for crust)
- 6 tablespoons unsalted butter, melted
Mix these handful of items together until they feel like damp sand. Press it down firmly into your springform pan so it holds together beautifully when we slice it later!
The Creamy Filling for Your New York Cheesecake
- 4 (8 ounce) packages full-fat cream cheese, softened to room temperature
- 1 1/2 cups granulated sugar (for filling)
- 1/4 cup all-purpose flour
- 1 teaspoon vanilla extract
- 1/4 teaspoon salt
- 4 large eggs, room temperature
- 1/2 cup sour cream, room temperature
See? We need that full-fat stuff! It’s the backbone of that incredible density. And yes, the eggs and sour cream need to be relaxed and ready to blend smoothly. It makes a HUGE difference.
Step-by-Step Instructions for the Best Baked Cheesecake Recipe
Here we go! This is where the magic happens, and I promise you, if you follow these steps carefully, you’ll feel like you’ve unlocked a secret talent. This isn’t just about dumping things in a bowl; it’s about building that beautiful, velvety smooth cheesecake filling layer by layer. I learned early on that rushing the steps makes the whole thing fall apart, but taking your time results in this amazing, authentic New York style dessert.
Don’t panic about the water bath; it seems fussy, but it’s truly the key to the best baked cheesecake recipe. You can find more great instruction tips when you look up advice on making New York Style Cheesecake, but trust me, my method works like a charm.
Prepping the Crust and Setting Up the Oven
First things first, crank that oven up to 350 degrees F. Slap your graham cracker mixture into the springform pan and press it down hard. Pop that crust in for 10 minutes to set up. Once it’s done, pull it out, and crucially, turn that oven temperature down to 325 degrees F. We need gentle heat for the filling!
Creating the Velvety Smooth Cheesecake Filling
This is my big moment of honesty: In a huge bowl, beat that softened cream cheese until it looks like silk—no specks, no bumps! Scrape down the bowl a couple of times while you do this. Once it’s perfect, slowly add the sugar, flour, vanilla, and salt, mixing just until they disappear. My number one rule: Add the eggs in one at a time, mixing on the absolute lowest speed until the yolk vanishes. Once the sour cream is in, stop mixing! If you overmix here, you’re building up air bubbles that will cause cracks later. We want rich and dense, not light and fluffy!
Mastering the No Crack Cheesecake Technique (Water Bath)
Now for the shield! Wrap the outside of your springform pan really, really well with heavy-duty foil—two layers around the bottom and sides, just in case. You don’t want any water getting into that crust! This wrapped pan needs to sit inside a big roasting pan. After you pour your gorgeous filling in, carefully pour some hot water into the roasting pan until it comes about halfway up the sides of your cheesecake pan. That steam floating around the oven keeps the cheesecake baking evenly, which prevents shrinkage and those awful surface cracks. This gentle environment is what makes this an easy New York cheesecake instruction to follow successfully.
When the time is up, you’ll bake it for about 60 to 75 minutes, check for that slight wobble in the middle, and then we move on to the cooling trick. For more simple baking guides, feel free to look at my easy cornbread recipe posts!
Cooling: The Secret to a Flawless New York Cheesecake
Okay, listen up, because this next part is probably more important than the actual baking time. If you take your beautiful, rich, dense cheesecake out of the 325-degree oven and put it right onto the cool counter, it’s going to crack. Guaranteed heartbreak! We are making an ultimate decadent cheesecake here, and we need to treat it gently as it finishes its journey.
The way to avoid that horrible fractured surface is slow temperature transition. It’s the ultimate no crack cheesecake technique! Once that bake time is up—you know, when the edges are set but the center still has that little wiggle—turn the oven off. Don’t touch that thermostat!
This step is where I always remind myself to slow down. You have to leave the cheesecake inside the cooling oven for a whole hour with the door propped open about two inches. I usually stick a wooden spoon in the door to keep it just slightly ajar. This slow, gentle relaxation lets the interior temperature drop without shocking the filling.
After that hour? Take it out of the water bath and carefully peel off that foil wrap. Let it sit on a wire rack on the counter to cool completely. I know, I know, the urge to slice it is powerful, but you absolutely must wait. For the best flavor and texture—that signature creamy melt—it needs a long nap in the fridge. I always say minimum six hours, but if you bake it the day before you plan to serve it, you’ll have the most spectacular, classic New York Cheesecake recipe result possible. It firms up perfectly overnight, just like my favorite pumpkin banana bread.
I read a great piece once about the importance of this slow cooling that really stuck with me—you can find some of those old-school secrets about baking without cracks at this old blog post. It just proves that sometimes the oldest ways are the best for getting that perfect texture!
Tips for Making Homemade Cheesecake From Scratch Success
Now that you’ve mastered the bake and the cooling ritual, let’s talk about making sure this is truly a guaranteed success every time you make this homemade cheesecake from scratch. I have definitely learned a few things the hard way! I once tried to rush this recipe for a last-minute get-together, and you guessed it—I pulled the cream cheese out five minutes early. The filling was lumpy, and honestly, it was the saddest excuse for a cheesecake I’ve ever seen. Never again!
My rule is this: if you can’t dedicate the time for proper prep, just wait until you can. It’s worth the wait to get that perfect slice. When you’re ready, here’s what you need to remember to make sure your cake shines!
Ingredient Temperature Matters for Tall and Creamy Cheesecake
This tip honestly deserves bold, flashing lights! If your cream cheese is cold, or worse yet, if your eggs are chilled, you are fighting a losing battle. Cold ingredients refuse to blend properly in the mixer. You end up scraping the sides for five minutes trying to smooth out lumps that never quite disappear. And when you finally add the eggs, those colder spots cause micro-curdling. So, always let that cream cheese and those sour cream and eggs sit out on the counter for at least an hour, maybe two, before you even think about turning the mixer on.
Why You Must Use Full-Fat Cream Cheese
People sometimes look at the ingredient list and think, “Maybe I can swap this for the lighter version to save calories.” Please don’t! The high fat content in the cream cheese is what gives you that signature, ultra-rich, dense quality that screams new york cheesecake. Anything less, and you’re just getting a sweet, somewhat grainy pie. We are aiming for luxury here, so save the light cream cheese for your morning bagel spread!
For more foundational knowledge on perfecting dairy in your baking, check out my notes on making the best cream cheese frosting—the rules about temperature and quality are the same!
Serving Suggestions for Your Authentic New York Style Dessert
This new york cheesecake is already so rich and decadent, so I try to keep the toppings simple. You don’t want to mask that beautifully creamy texture we worked so hard to achieve! For me, the best presentation is letting the cake shine on its own, maybe just a light dusting of powdered sugar, like an elegant blanket of snow.
But if you absolutely need a little something extra, think light fruit accents. A simple sauce made from fresh berries works wonders. I love using a homemade blueberry jam recipe—just warming it up slightly so it drizzles beautifully across the top when serving. It adds just the right pop of tartness against that deep sweetness.
If you’re looking for more ideas on pairing desserts for parties, I shared a few thoughts over on my post about making the best baked cheesecake recipe. But honestly, this cake is perfect just as it is!
Storage and Reheating Instructions for Your New York Cheesecake
Now that you’ve waited what feels like a million years for this masterpiece to get cold—and I hope you waited overnight for that best flavor—we need to make sure we store it right. Keeping this new york cheesecake perfect requires a little care because it’s so delicate and rich. You don’t want it sucking up any funky smells from the fridge!
Once it’s fully chilled, the best way to store it is to carefully cover the top. I usually use plastic wrap, but put a small piece of parchment or wax paper between the plastic wrap and the cheesecake surface first. This stops the plastic from sticking to that beautiful, smooth top. It’ll keep wonderfully in the refrigerator for a good four or five days, maybe longer. It tastes amazing straight from the fridge, too.
When it comes to reheating? Don’t even think about it! This is a dessert that needs to stay cold. Putting cheesecake in the microwave or oven will just melt the structure; the cream cheese will separate, and you’ll lose all that perfect density we worked so hard for. Just pull out the slice you want about 20 minutes before serving so it takes the chill off slightly. That’s all the warming up it needs!
If you need some good make-ahead dessert ideas that behave better than cheesecake when stored, you have to look at my tips for pecan cream pie—that one travels like a dream!
Frequently Asked Questions About Making New York Cheesecake
I totally get it—baking a perfect new york cheesecake can feel intimidating. It’s a showstopper dessert, and nobody wants to mess up something this good, especially after all that waiting! I’ve tried just about every shortcut out there, and trust me, some steps you just can’t skip if you want that signature texture. Over on my lemon cream cheese dump cake post, I discuss how shortcuts can sometimes backfire, and it’s the same story here!
Can I skip the water bath when making this classic New York Cheesecake recipe?
Oh, honey, if you want that classic, velvety smooth cheesecake filling, the answer is a firm no. I know wrapping up the springform pan in foil seems like an extra hassle, but that water bath works like humidity control for your oven. It keeps the air moist and the temperature consistent around the cake, which stops the edges from baking too fast while the middle is still jiggly. Without it, you are begging for a crack. It’s the secret weapon for that perfect finish.
How long does the rich dense cheesecake need to chill?
You’ve done the hard part—baking, slow cooling—but now comes the hard part for your patience: chilling! You absolutely must chill it for a minimum of six hours after it fully cools on the counter. Six hours is the bare minimum, though. I strongly, strongly recommend chilling it overnight, at least 10 hours if you can swing it. That’s when the flavors truly meld, and the cake structure goes from merely set to that incredible, rich dense cheesecake texture we are aiming for.
What is the best way to get the cheesecake out of the pan?
This part always makes me nervous, even now! After it’s fully chilled, don’t just try to yank the side off the springform pan. Go run your thinnest kitchen knife under very hot water for about 30 seconds, dry it quickly, and then run that hot blade gently all the way around the inside edge of the pan. You’ll see the cheesecake physically pull away from the metal just a little bit. You might need to repeat that hot-knife trick once or twice. Then, release that springform side. It should glide right off, leaving you with a beautiful, unblemished side!
Sharing Your Ultimate Decadent Cheesecake Creations
Whew! You actually did it! You followed all the rules, you managed the water bath, and you resisted the urge to cut into it early. Now you have this incredibly ultimate decadent cheesecake sitting there, gorgeous and creamy. I honestly can’t wait to see the results of your hard work!
That’s the best part of baking from scratch—sharing that moment when you cut the first slice. I really want to know how it turned out for you. Did you manage that perfect, clean slice? Was the texture as rich and dense as you hoped? Please feel free to leave a rating right down below the recipe card and let me know your thoughts.
And if you took pictures of your finished new york cheesecake—and you absolutely should have!—tag me on social media! Seeing your beautiful bakes is what keeps me inspired in the kitchen every single day. If you want to check out some of my other favorite sweet treats that are just as rewarding to bake, take a peek at my chewy chocolate chip cookies recipe. Happy baking, everyone!
PrintThe Best Classic, Creamy New York Cheesecake with Graham Cracker Crust
Make the ultimate rich, dense, and velvety smooth New York Cheesecake from scratch. This recipe uses a water bath technique to guarantee a perfect, crack-free finish every time you bake this classic dessert.
- Prep Time: 30 min
- Cook Time: 75 min
- Total Time: 9 hours 45 min
- Yield: 12 servings 1x
- Category: Dessert
- Method: Baking
- Cuisine: American
- Diet: Vegetarian
Ingredients
- 1 1/2 cups graham cracker crumbs
- 1/4 cup granulated sugar (for crust)
- 6 tablespoons unsalted butter, melted
- 4 (8 ounce) packages full-fat cream cheese, softened to room temperature
- 1 1/2 cups granulated sugar (for filling)
- 1/4 cup all-purpose flour
- 1 teaspoon vanilla extract
- 1/4 teaspoon salt
- 4 large eggs, room temperature
- 1/2 cup sour cream, room temperature
Instructions
- Prepare the crust: Preheat your oven to 350 degrees F (175 degrees C). In a medium bowl, combine the graham cracker crumbs, 1/4 cup sugar, and melted butter. Press the mixture firmly into the bottom of a 9-inch springform pan. Bake for 10 minutes. Remove from the oven and let it cool while you prepare the filling. Reduce the oven temperature to 325 degrees F (160 degrees C).
- Prepare the water bath: Wrap the outside bottom and sides of the springform pan tightly with heavy-duty aluminum foil to prevent water from seeping in. Place the wrapped pan inside a larger roasting pan.
- Make the filling: In a large bowl, use an electric mixer to beat the softened cream cheese until it is completely smooth and lump-free. Scrape down the sides of the bowl often.
- Gradually beat in the 1 1/2 cups of sugar, flour, vanilla extract, and salt until just combined. Do not overmix.
- Add the eggs one at a time, mixing on low speed after each addition until the yolk disappears into the batter. Mix in the sour cream last, mixing only until smooth.
- Pour the filling over the cooled crust in the springform pan.
- Carefully pour hot water into the roasting pan, surrounding the springform pan, until the water reaches about halfway up the sides of the springform pan. This is your water bath.
- Bake for 60 to 75 minutes. The edges should look set, but the center 2 inches should still have a slight jiggle when gently nudged.
- Turn off the oven, but leave the cheesecake inside with the oven door propped open slightly (about 2 inches) for 1 hour. This slow cooling prevents cracking.
- Remove the cheesecake from the water bath and foil. Let it cool completely on a wire rack at room temperature.
- Chill the cheesecake in the refrigerator for at least 6 hours, or preferably overnight, before serving. Run a thin knife around the edge before releasing the springform side.
Notes
- Use room temperature ingredients for the filling; this prevents lumps and ensures a smooth, velvety texture.
- Do not substitute the full-fat cream cheese; the high fat content is necessary for the authentic rich and dense New York style.
- The water bath (bain-marie) is the secret to achieving a creamy, no-crack cheesecake. Do not skip this step.
Nutrition
- Serving Size: 1 slice
- Calories: 450
- Sugar: 35g
- Sodium: 350mg
- Fat: 30g
- Saturated Fat: 18g
- Unsaturated Fat: 12g
- Trans Fat: 0.5g
- Carbohydrates: 40g
- Fiber: 1g
- Protein: 8g
- Cholesterol: 120mg