
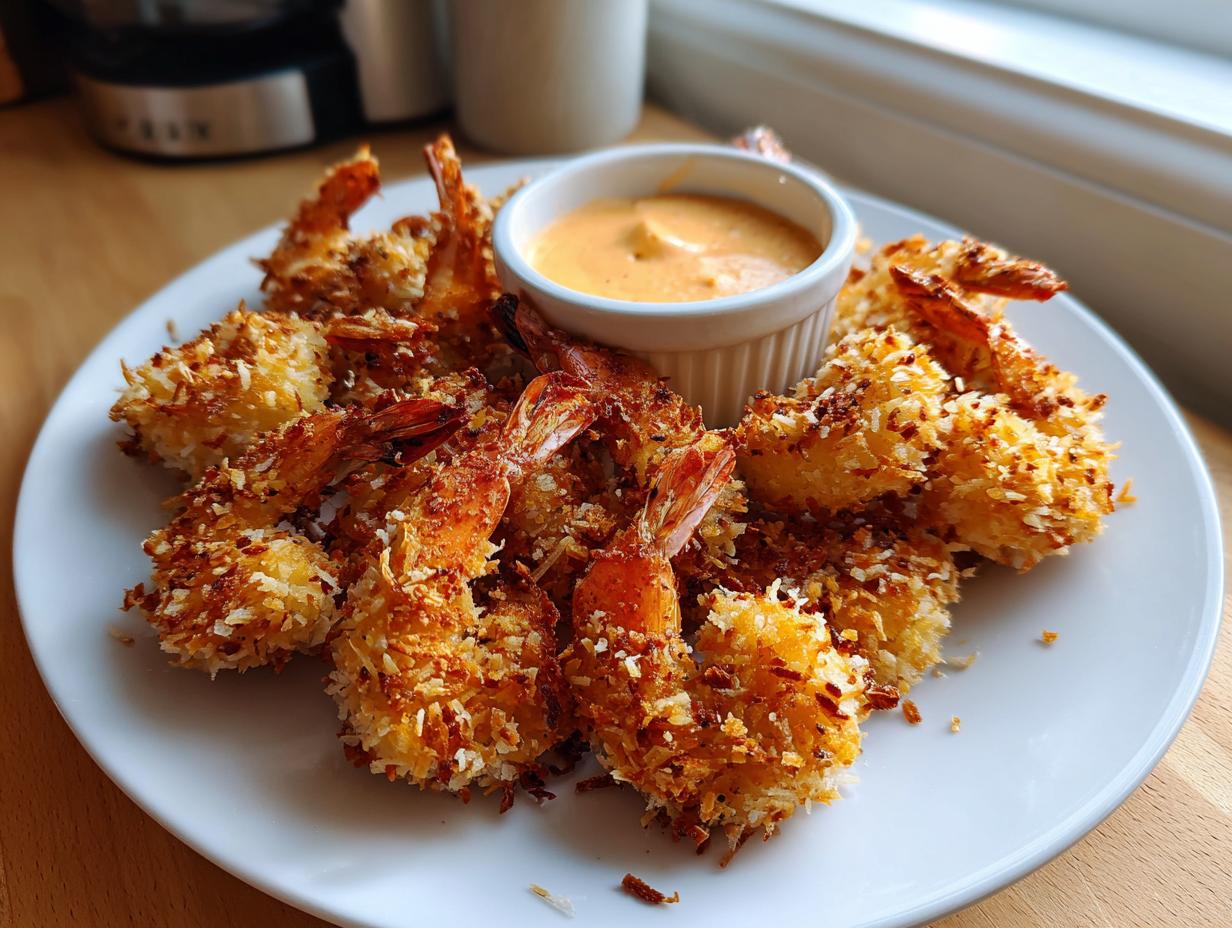
Oh my gosh, you know that moment when you’re just dreaming of those perfectly crunchy, sweet, tropical bites you get at a nice seafood place? I swear, I used to think getting that amazing crunch was impossible without drowning the shrimp in oil. But I am here to tell you, my friends, that’s just not true anymore! I spent ages tinkering in the kitchen because I truly believe that phenomenal appetizers shouldn’t require a trip to the fryer. This coconut shrimp recipe—the one I worked so hard to nail down—guarantees that restaurant-style crispiness using nothing but your oven! As Maddie Thompson, I promise you reliability; every pinch and splash in this guide is tested so you can finally bring the Best Coconut Shrimp Ever to your own table.
- Why This Baked Coconut Shrimp Recipe Delivers The Best Crispy Coconut Shrimp
- Ingredients for Your Ultimate Crispy Coconut Shrimp Recipe
- How to Prepare the Best Coconut Shrimp Recipe Step-by-Step
- Expert Tips for Perfect Coconut Shrimp With Dipping Sauce
- Cooking Method Variations: Baked Coconut Shrimp Recipe vs. Air Fryer Coconut Shrimp
- Serving Suggestions for Your Tropical Shrimp Recipe
- Storage and Reheating for Leftover Coconut Shrimp Recipe
- Frequently Asked Questions About Making Coconut Shrimp
- Nutritional Information Estimate for This Coconut Shrimp Recipe
- Share Your Best Coconut Shrimp Ever Experience
Why This Baked Coconut Shrimp Recipe Delivers The Best Crispy Coconut Shrimp
This isn’t just another soggy shrimp recipe masquerading as healthy. I’m telling you, this Baked Coconut Shrimp Recipe is the real deal when it comes to crunch! It hits all the right notes: easy prep, less mess, and amazing flavor. If you thought you needed a deep fryer for perfect results, stick with me—this totally changes the game. If you love shrimp done right, you should also check out my recipe for baked garlic parmesan shrimp!
- It’s the perfect Healthy Fried Shrimp Alternative!
- You get that satisfying, golden bite every single time.
- It feels fancy but comes together ridiculously fast.
Achieving Maximum Crunch Without Deep Frying
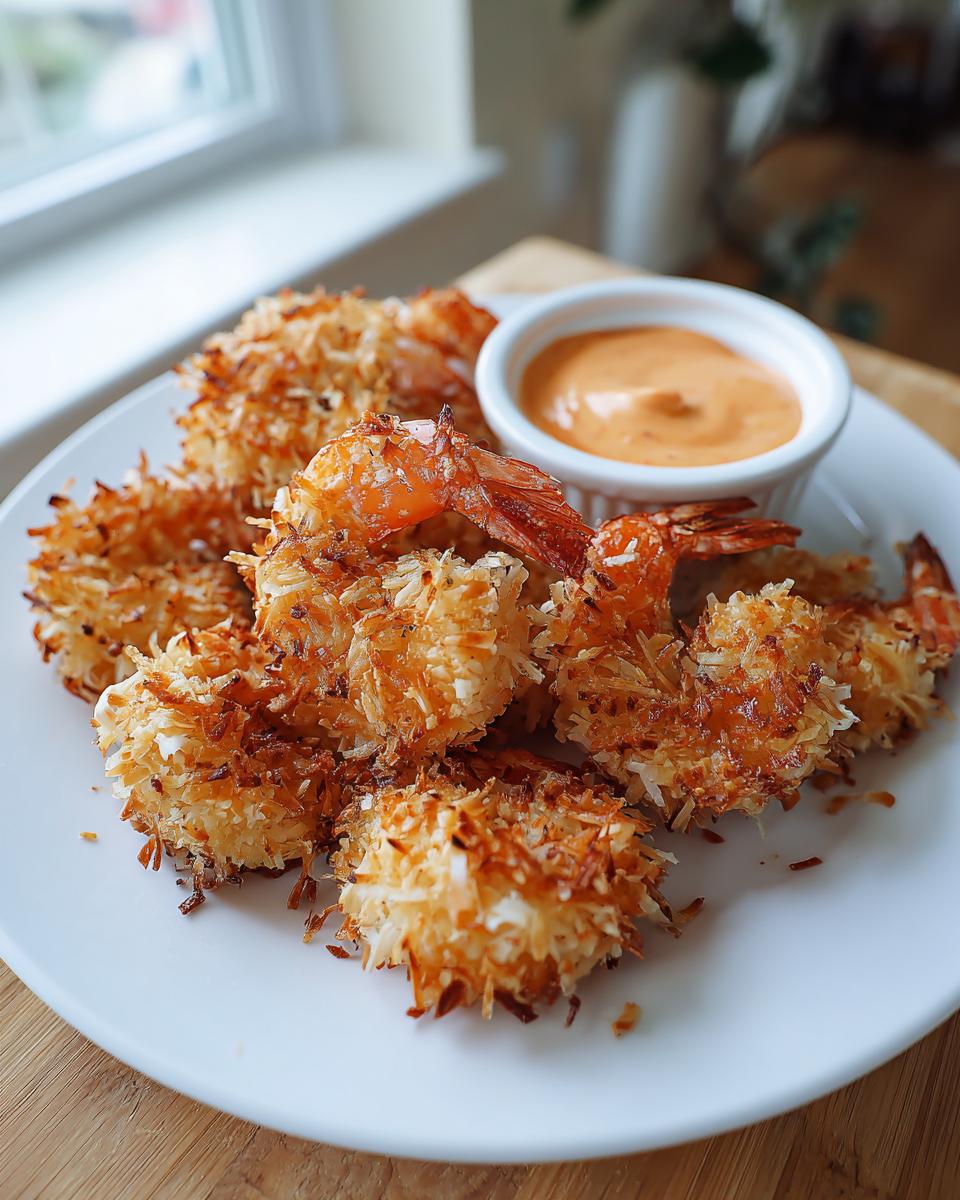
The magic is in the coating combo! We’re using Panko breadcrumbs mixed right into the shredded coconut—that alone creates texture heaven. Then, we hit it with a generous spray of cooking oil. High heat in the oven does the rest, making these the Crispy Coconut Shrimp everyone raves about without submerging them in fat. It’s a technique I saw shared over at Kitchen With Sara, and trust me, it works!
Ready Fast: Perfect for Quick Seafood Dinner Nights
Seriously, you can whip this up faster than ordering takeout. With only about 15 minutes of prep and 12 minutes in the oven, this coconut shrimp recipe is a complete Quick Seafood Dinner solution. That total time under 30 minutes is music to my ears after a long workday!
Ingredients for Your Ultimate Crispy Coconut Shrimp Recipe
Okay, gathering your supplies is where the trustworthiness of this coconut shrimp recipe truly begins. I’ve listed out everything you need below, broken down into the coating components and the dipping sauce. Make sure you have everything ready to go for that breading station, because once you start, you won’t want to stop! If you’re looking for other great crusting ideas, check out my recipe for coconut-crusted fish!
For the Panko Crusted Shrimp
We need three shallow dishes ready for action! Along with one pound of large shrimp, make sure those guys are peeled and deveined. For the coating blend, you’ll need flour seasoned simply with salt and pepper, two eggs beaten lightly, and then the star mixture: a cup of sweet shredded coconut mixed with a cup of Panko breadcrumbs. Don’t forget a little cooking spray for the sheets!
For the Sweet Chili Dipping Sauce
This sauce is what takes us from good to great, hands down. It’s such an easy appetizer upgrade! All you need for this perfect Sweet Chili Dipping Sauce is half a cup of mayonnaise, a quarter cup of sweet chili sauce, and just a little teaspoon of fresh lime juice whisked together. It’s creamy, sweet, and perfectly tangy.
How to Prepare the Best Coconut Shrimp Recipe Step-by-Step
Now for the fun part! Making this coconut shrimp recipe is all about prepping your assembly line correctly. If you get this breading station right, you’ve already won the battle against soggy coatings. Since we are baking these beauties, we need efficiency! I try to get the oven heating up right away so we’re moving fast.
Setting Up Your Breading Station and Prep Work
First things first: Preheat your oven to 400°F (200°C) and line a baking sheet with parchment paper. Then, give that paper a good shot of cooking spray! Next, set up three dishes side-by-side. Dish one gets your seasoned flour. Dish two holds your whisked eggs. And dish three is where you’ll mix your Panko and coconut. But before you touch anything? Pat your shrimp *completely* dry with paper towels. Seriously, this is huge for crispiness; moisture is the enemy!
Coating Technique for Crispy Coconut Shrimp
You want an even coat on every piece of Crispy Coconut Shrimp. Dredge each dry shrimp first in the flour, making sure to shake off the excess—we don’t want clumps. Next, dunk it right into the egg wash, letting the extra drip off. Finally, press it firmly into that coconut-Panko mix. You need to press hard enough so the coating really adheres! I always picture it like giving the shrimp a firm hug so the crust stays put during baking. If you need more sauce ideas, check out the great combo options over at Daisy Recipe.
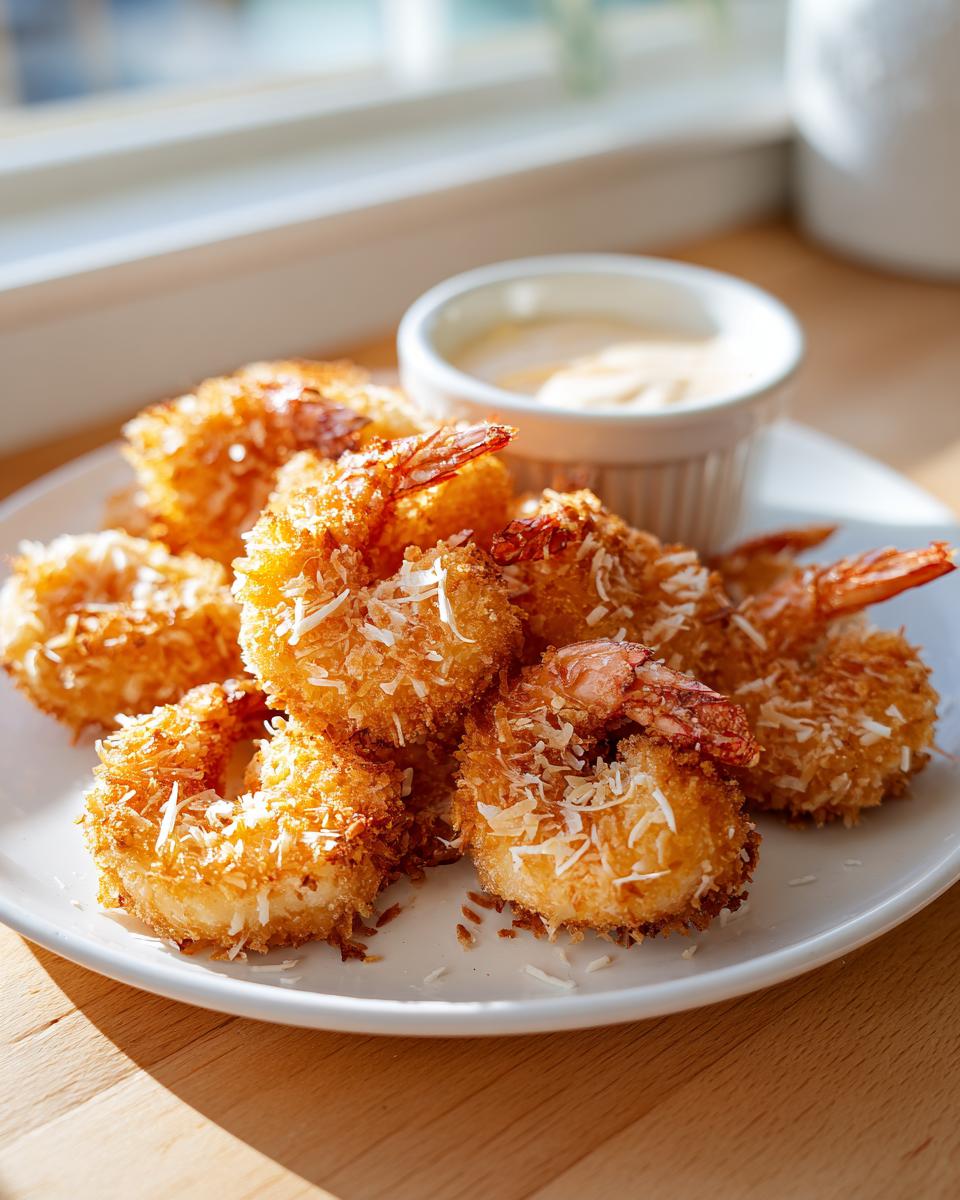
Baking Instructions and Making the Dipping Sauce
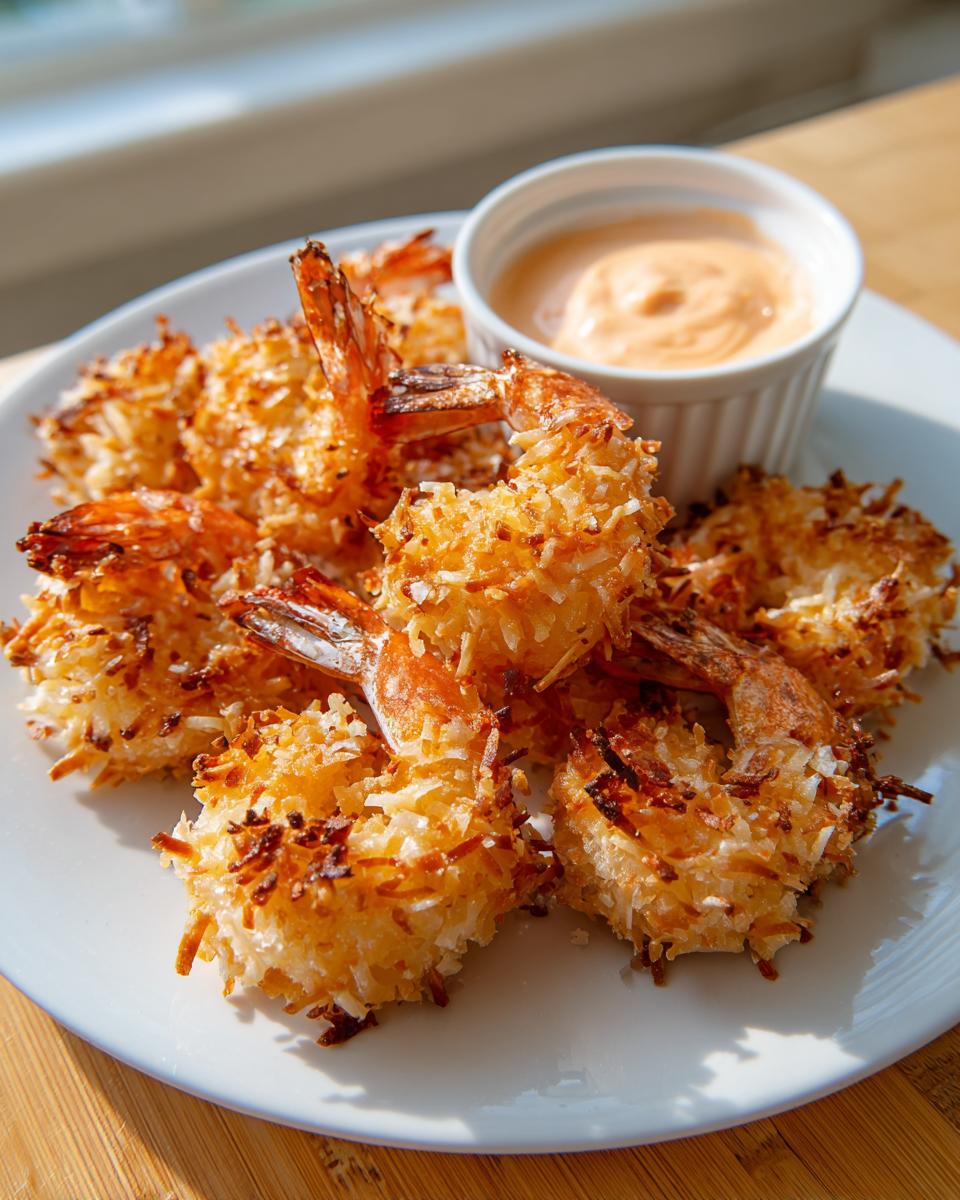
Arrange your gorgeous, coated shrimp on the prepared baking sheet in a single layer—don’t let them touch! Then, you have to spray the tops generously with your cooking spray; this mimics the effect of oil frying and makes them golden. Bake them for about 10 to 12 minutes total, and make sure you flip them halfway through! While those go in, grab a small bowl and quickly whisk together the mayo, chili sauce, and lime juice for your dipping sauce. When they come out, they’ll be pink, gorgeous, and ready to eat right away, making this a fantastic option for quick weeknight dinners!
Expert Tips for Perfect Coconut Shrimp With Dipping Sauce
I’ve given you the basics for this amazing coconut shrimp recipe, but if you want to consistently nail that restaurant-level flavor and texture every single time, you need a couple of extra tricks up your sleeve. I learned these little secrets after way too many batches that ended up flatter than I hoped. Trust me, these tips separate the good shrimp from the Best Coconut Shrimp Ever.
The Secret to a Non-Soggy Coating
We talked about drying the shrimp, but let’s double down on that. I mean *bone dry*. Use paper towels until you think you can’t possibly dry them anymore—then, do it one more time! Here is my favorite pro move: after you coat the shrimp completely in that delicious Panko and coconut mix, put the whole tray into the refrigerator for about 15 minutes before they go into the oven. This step solidifies the coating to the shrimp. It’s a tiny bit of patience, but it stops the coating from wanting to jump ship when it hits the heat. It’s key for that great, crackly texture.
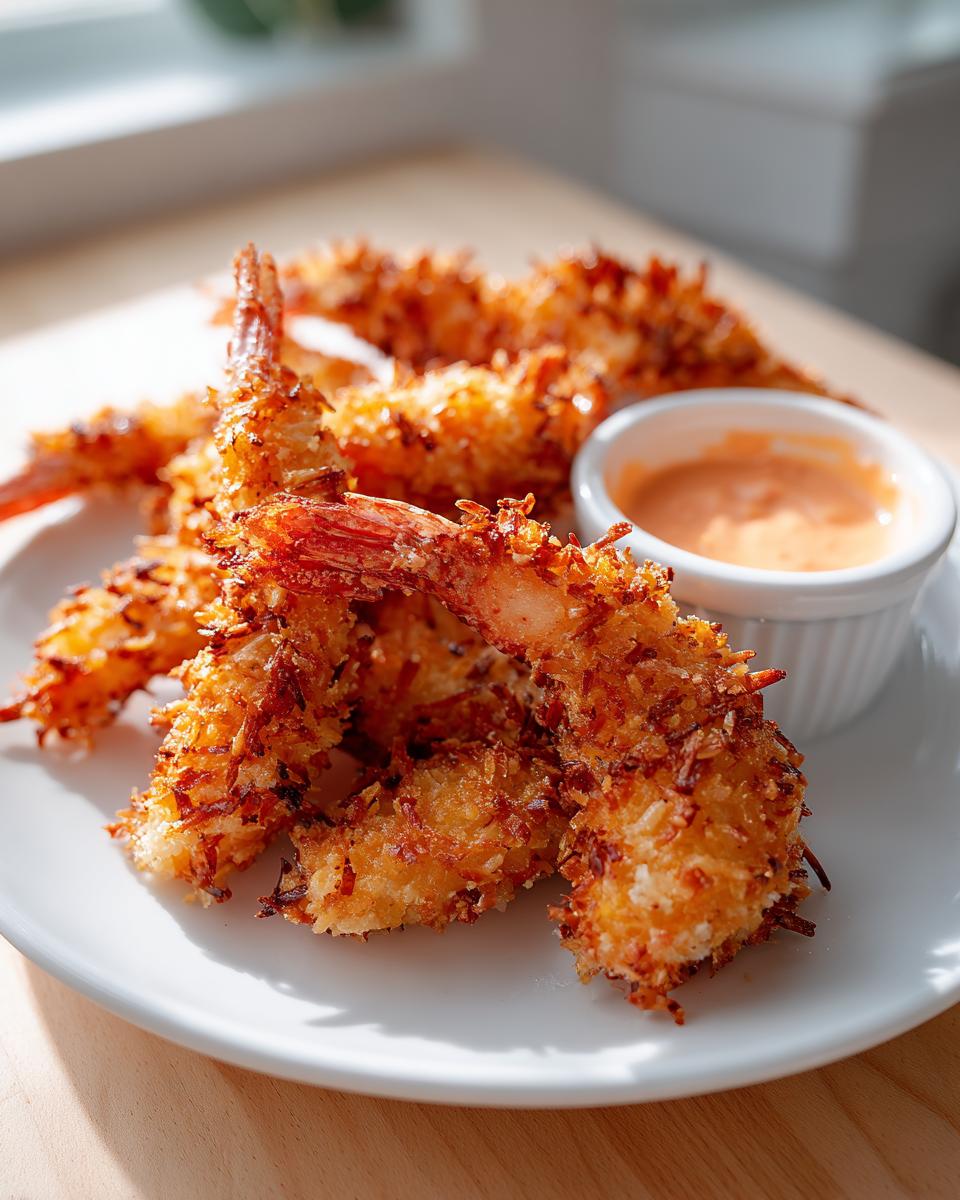
Making a Restaurant Style Coconut Shrimp Texture
If you just use plain breadcrumbs, you’re missing out! What makes this an incredible Restaurant Style Coconut Shrimp is the combination of the fine Panko and the sweetened coconut flakes. The Panko gives you that jagged, ultra-crispy surface—it absorbs heat so much better than standard breadcrumbs, which tend to just absorb grease or stay soft. That sweet coconut? It toasts beautifully in the oven, giving you that tropical sweetness that balances the savory shrimp. I noticed a few folks online, like over at Spaceships and Laser Beams, really highlight using the sweetened variety, and it really does make a difference for that classic flavor profile.
Cooking Method Variations: Baked Coconut Shrimp Recipe vs. Air Fryer Coconut Shrimp
I know, I know! Sometimes you just don’t want to warm up the whole oven, or maybe you’re just absolutely obsessed with that air fryer you just bought and want to use it for everything! That’s fine, because this coconut shrimp recipe is super versatile. While I stand by my oven method because it cooks a large batch evenly, the air fryer is amazing for smaller quantities or when you need that crunch factor with zero thought.
Quick Air Fryer Coconut Shrimp Instructions
If you’re going the air fryer route, you’re going to want to adjust things slightly. Set your basket temperature to about 375°F. Remember, the air fryer cooks faster because the heat is so direct! You won’t need to spray as heavily as you do for baking, but definitely give the coated shrimp a light misting. Pop them in a single layer—we don’t want any overcrowding, or they steam instead of crisping up! Cook them for about 8 to 10 minutes total, flipping them halfway through so they get golden brown on both sides. It’s honestly such a great, easy method for a Healthy Fried Shrimp Alternative. For more air fryer fun, you should totally check out how I make my air fryer chicken wings crispy!
The key difference is time and airflow. The oven method gives you that gentle, even bake over a larger surface area, which is why I prefer it for parties. But for a small snack that needs to be ready ASAP? The air fryer coconut shrimp wins every time. You get that satisfying crunch with just a kiss of oil.
Serving Suggestions for Your Tropical Shrimp Recipe
So you’ve made the coconut shrimp recipe, and it’s perfectly crispy and golden brown—now what do you serve it with? This dish is so versatile! It shines as a fantastic appetizer, of course, but it’s also hearty enough to become a really fun, light main course. When I serve this, I like to stick to bright, fresh pairings that complement that sweet coconut flavor without weighing down the meal. It helps turn this snack into a proper Quick Seafood Dinner!
Pairing with Rice or Salad
If you’re serving this as a main dish, you absolutely have to try it over rice. Nothing goes better with that tropical vibe than something like coconut rice! It keeps the theme going beautifully and soaks up any little crumbs that fall off. If you’re looking for a starch pairing that’s a little less heavy, try making my Mediterranean Lemon Rice—the citrus cuts through the sweetness of the coconut so nicely! For something lighter, a simple, crisp green salad with a ginger vinaigrette makes the whole thing feel fresher and less heavy.
And listen, don’t forget the crunch! Even with your main course, adding a side slaw—maybe one with a little cabbage and carrot—helps keep that textural contrast going. You deserve that crunch in every bite!
Storage and Reheating for Leftover Coconut Shrimp Recipe
Even the Best Coconut Shrimp Ever sometimes comes with extras, right? The biggest challenge with any delicious breaded item, and I mean ANY breaded item, is reheating it without turning that beautiful crunch into a soggy disappointment. It’s such a common failure point for leftover coatings! My secret for handling leftovers of this amazing coconut shrimp recipe is to avoid the microwave at all costs. I know it’s tempting for speed, but it steams the crust, and nobody wants that sad result.
If you’ve stored your shrimp in an airtight container in the fridge—and make sure they are completely cooled down before you seal them up—you have about three good days to enjoy them again. The goal when reheating is to dry out that crust again, bringing back that crispiness we worked so hard to achieve in the first place.
The Best Way to Reheat for Crispy Results
Hands down, you need dry heat. If you have an oven handy, preheat it to about 375°F (190°C). Lay your leftover shrimp out on a clean, dry baking sheet—no oil needed this time, just let them warm up. Toss them in for about 5 to 7 minutes. Keep an eye on them! You just want to heat them through until that Panko starts sounding crunchy again when you tap it. This method brings back about 90% of that fresh-out-of-the-oven perfection.
Using the Air Fryer for a Quick Second Crunch
If you’ve got an air fryer, that’s even better for reheating! It’s basically a tiny, super-efficient convection oven. Set one of those leftovers in the basket at 350°F for just about 4 minutes. Shake the basket halfway through so both sides get a quick blast of dry heat. This quick hit of hot air is fantastic for crisping up any moisture that crept in during storage. It’s faster than preheating the whole oven and works like a charm!
Frequently Asked Questions About Making Coconut Shrimp
I know you might still have a few lurking questions popping up! It’s totally normal when you’re breaking a recipe out of its comfort zone, like baking instead of frying. I’ve gathered up the ones I get asked the most about this coconut shrimp recipe so we can troubleshoot everything right here. If you need more appetizer inspiration, you should check out my post about other easy shrimp appetizers too!
Can I substitute the Panko breadcrumbs in this coconut shrimp recipe?
Oh, you *can*, but honestly, I really advise against it if you want that signature crunch! Panko breadcrumbs are shaved differently than regular Italian-style breadcrumbs, and Panko creates those beautiful, sharp air pockets that bake up crispy. If you use regular breadcrumbs, you will end up with a more dense, softer coating, and it won’t have that wonderful texture that makes this Crispy Coconut Shrimp special. Stick with Panko for the crunch factor we’re aiming for!
What other dipping sauces work well with this recipe?
While I swear by the Sweet Chili Mayo we made, sometimes you want something different! If you like things on the spicier side, a little drizzle of sriracha mixed into the mayo wakes everything up. But my absolute favorite alternative for cutting through the sweetness of the coating is a homemade spicy mango salsa. You just dice up some fresh mango, a little red onion, cilantro, and a squeeze of lime juice, maybe adding a diced jalapeño if you’re feeling brave. The fruity acidity is divine with the baked shrimp! For more sauce inspiration, check out Natasha’s Kitchen for dipping ideas here.
Can I use frozen shrimp for this Easy Shrimp Appetizer?
Yes, you absolutely can use frozen shrimp for this Easy Shrimp Appetizer, but the success of the whole dish hinges on one crucial thing: drying them out! You must thaw them completely first—I usually do this in the fridge overnight. Once thawed, lay them out on paper towels, cover them with more towels, and gently press out every single drop of moisture they might have retained during freezing. If they are damp when you start breading, that coating you worked so hard on will just turn mushy in the oven. Get them dry, dry, dry!
Nutritional Information Estimate for This Coconut Shrimp Recipe
I always get questions about the nutrition, and while I’m not a certified nutritionist—I’m just a home cook sharing what works in my kitchen!—I want to give you a general idea of what’s in a serving of these shrimp. Since we are baking them, they are certainly a lighter choice than deep-fried versions, which is a big win for a Quick Seafood Dinner!
Please remember these numbers are just estimates based on the ingredient breakdown from the recipe. If you use a lot more cooking spray or a different brand of mayonnaise for your dip, things might shift a little. But this gives you a good baseline for tracking your meals.
- Serving Size: 5 shrimp
- Calories: 350
- Fat: 18g (of which 9g is Saturated Fat)
- Carbohydrates: 28g
- Fiber: 2g
- Protein: 20g
- Sugar: 12g
- Sodium: 450mg
See? Twenty grams of protein in just five pieces! That’s why I love serving these up for a weeknight meal; it’s satisfying without being too heavy. Enjoy knowing you’re eating something delicious *and* relatively balanced!
Share Your Best Coconut Shrimp Ever Experience
I truly hope you give this coconut shrimp recipe a try! Honestly, serving a plate of these crispy, golden shrimp—especially with that incredible Sweet Chili Dipping Sauce—is one of the biggest joys I get out of cooking for people. It’s honestly the Best Coconut Shrimp Ever when baked this way, and I can’t wait for you to experience that perfectly crunchy texture we talked about.
Once you bring this Easy Shrimp Appetizer to your next gathering, or even just make it for a casual Friday night, please, please let me know how it goes! Did you stick strictly to the baked method, or did you sneak them into the air fryer? Did you try adding an extra pinch of cayenne to the flour for a little kick? Drop all your thoughts, your ratings, and any little twists you came up with down in the comments section below. Your feedback truly helps me keep testing and refining these heritage recipes for all of us home cooks!
If you tried this recipe and loved it, don’t forget to save it for later! And if you ever have questions about the process or need to reach out directly for specific troubleshooting, you can always get in touch with me through the contact page. Happy cooking, dear friends!
PrintThe Ultimate Crispy Baked Coconut Shrimp with Sweet Chili Mayo Dip
Make restaurant-style coconut shrimp at home. This recipe delivers perfectly crispy, sweet, and savory shrimp using a baked method, paired with a simple sweet chili mayo dipping sauce. It is quick enough for a weeknight dinner or perfect as an appetizer.
- Prep Time: 15 min
- Cook Time: 12 min
- Total Time: 27 min
- Yield: 4 servings 1x
- Category: Appetizer
- Method: Baking
- Cuisine: American/Tropical
- Diet: Vegetarian
Ingredients
- 1 lb large shrimp, peeled and deveined
- 1 cup all-purpose flour
- 2 large eggs, lightly beaten
- 1 cup Panko breadcrumbs
- 1 cup sweetened shredded coconut
- 1 teaspoon salt
- 1/2 teaspoon black pepper
- Cooking spray
- For the Sweet Chili Mayo Dip:
- 1/2 cup mayonnaise
- 1/4 cup sweet chili sauce
- 1 teaspoon lime juice
Instructions
- Preheat your oven to 400°F (200°C). Line a baking sheet with parchment paper and lightly coat it with cooking spray.
- Set up a standard breading station with three shallow dishes. Place the flour seasoned with salt and pepper in the first dish. Whisk the eggs in the second dish. In the third dish, combine the Panko breadcrumbs and shredded coconut.
- Pat the shrimp completely dry with paper towels. This step helps the coating stick and become crispy.
- Dredge each shrimp first in the flour mixture, shaking off any excess.
- Dip the floured shrimp into the beaten egg, allowing excess to drip off.
- Finally, press the shrimp firmly into the Panko and coconut mixture, ensuring an even, thick coating.
- Place the coated shrimp on the prepared baking sheet in a single layer. Spray the tops generously with cooking spray to promote browning.
- Bake for 10 to 12 minutes, flipping halfway through, until the shrimp are pink and the coating is golden brown and crispy.
- While the shrimp bake, prepare the dipping sauce. In a small bowl, whisk together the mayonnaise, sweet chili sauce, and lime juice until smooth.
- Serve the crispy baked coconut shrimp immediately with the sweet chili mayo dip.
Notes
- For the crispiest texture, ensure your shrimp are very dry before breading.
- If you prefer frying, heat 1 inch of oil to 350°F (175°C) and fry the shrimp in batches for 2-3 minutes until golden.
- This recipe makes a great healthy fried shrimp alternative.
Nutrition
- Serving Size: 5 shrimp
- Calories: 350
- Sugar: 12
- Sodium: 450
- Fat: 18
- Saturated Fat: 9
- Unsaturated Fat: 9
- Trans Fat: 0
- Carbohydrates: 28
- Fiber: 2
- Protein: 20
- Cholesterol: 150