
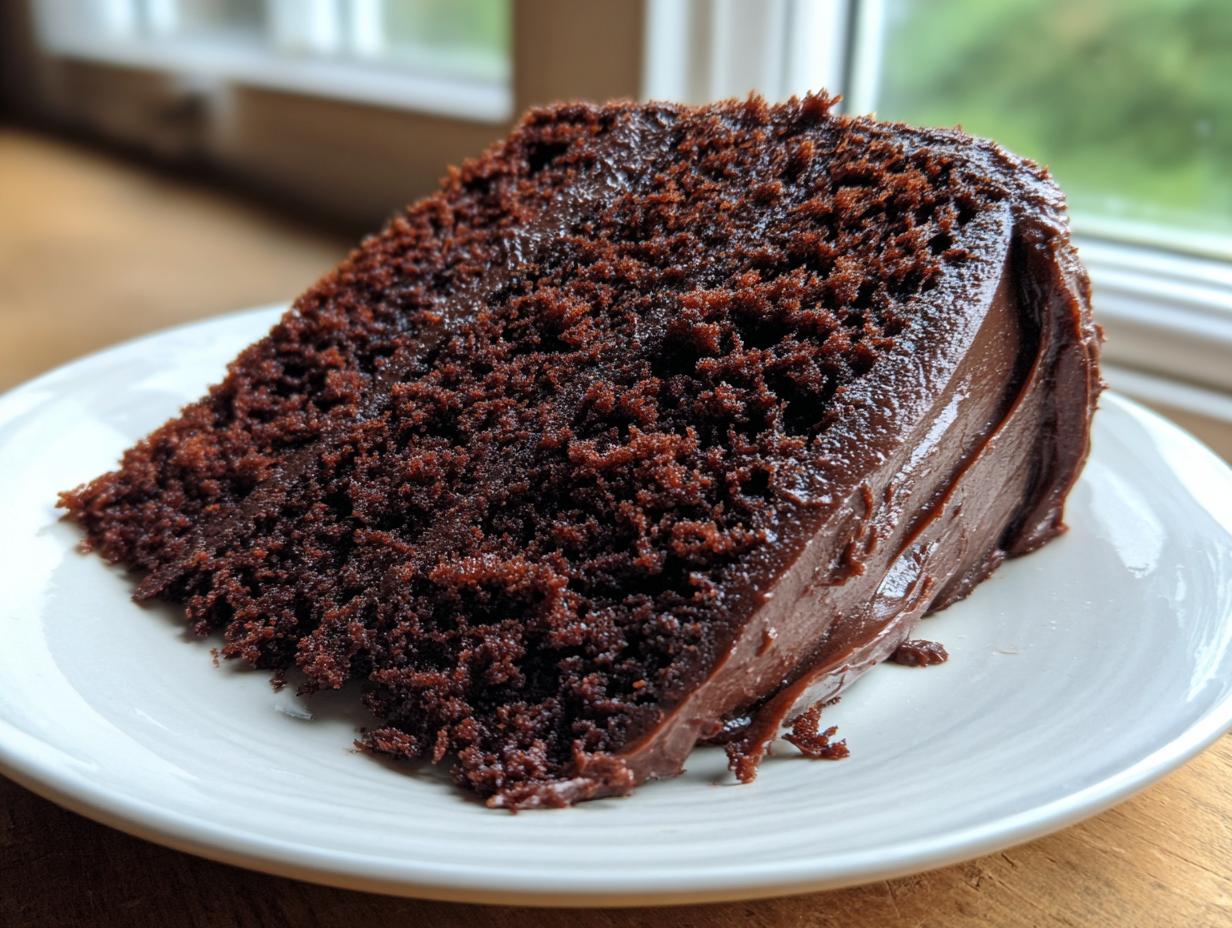
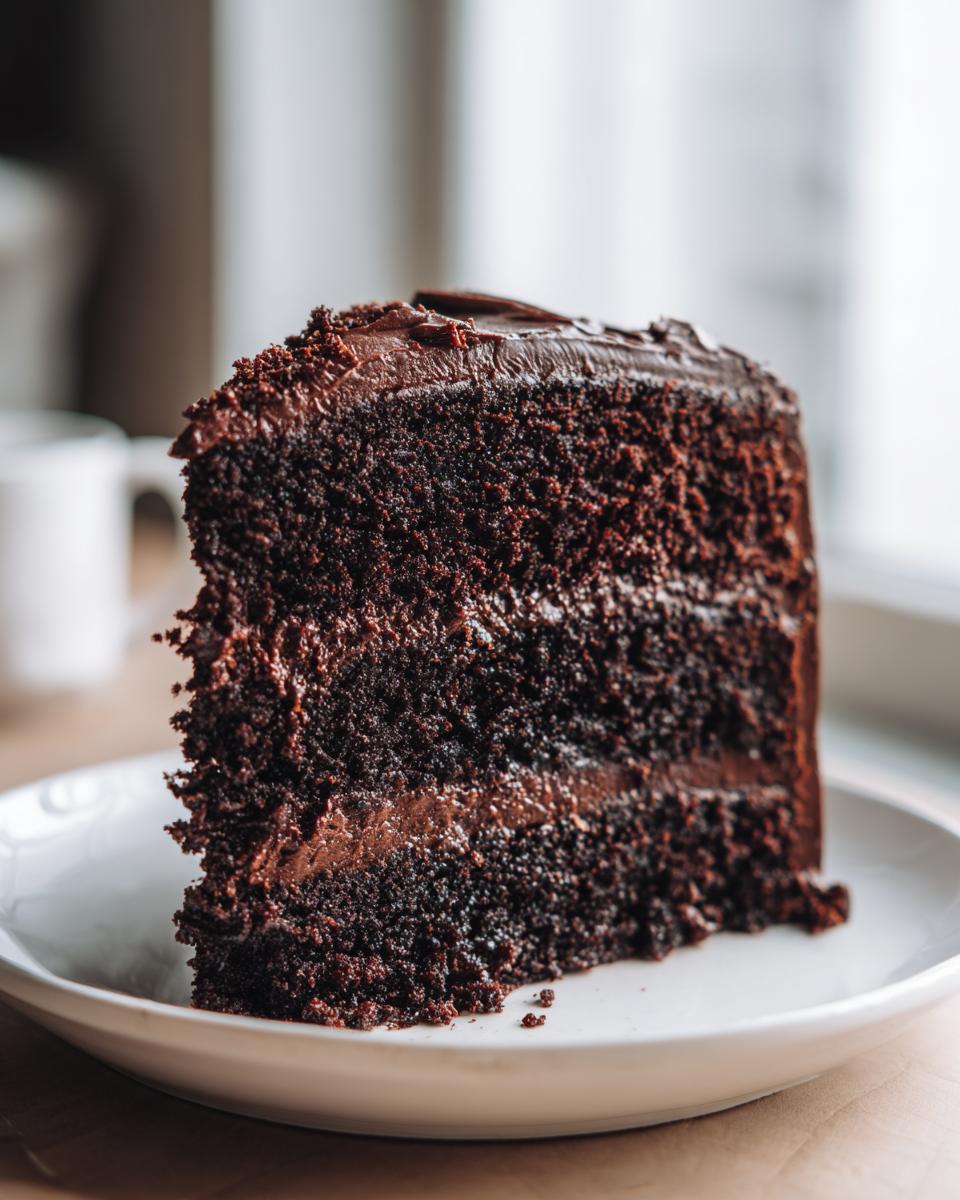
I know you’ve been searching everywhere! We all have that one specific craving: a chocolate cake that isn’t dry, isn’t fussy, and tastes overwhelmingly like pure, decadent chocolate heaven. Finding the perfect **chocolate cake recipe** felt like chasing a ghost until now. That’s why, here at MDLATDMM, I’ve put years of family testing into this one recipe. This isn’t just another bake; this is the ultimate moist, easy homemade chocolate cake that I developed to be totally foolproof. You can trust that the steps here work, every single time.
- Why This is the Best Homemade Chocolate Cake Recipe
- Gathering Ingredients for Your Easy Chocolate Cake Recipe
- Step-by-Step Instructions for This Fudgy Chocolate Cake From Scratch
- Mastering the Simple Chocolate Cake Frosting
- Tips for Success with Your Chocolate Cake for Beginners
- Variations on the Classic Chocolate Desserts: Devil's Food Cake Recipe
- Storage and Reheating Instructions for Your Moist Birthday Cake Recipe
- Frequently Asked Questions About This Chocolate Cake Recipe
- Nutritional Estimates for This Decadent Chocolate Dessert
Why This is the Best Homemade Chocolate Cake Recipe
I get it; you need reliability when you’re craving something rich. Lots of recipes promise the world, but this one actually delivers every time. It’s quickly earned its spot as my go-to! This isn’t some fussy German chocolate affair, this is straightforward baking that packs a serious punch. It’s easy enough for a Tuesday night but special enough for a big party.
- It’s incredibly forgiving! If you don’t mix perfectly, the hot liquid stage saves you from dry crumbs every time.
- The flavor profile is intensely fudgy—we are talking deep, dark cocoa goodness, not just sweet cake.
- It comes together in one primary bowl before the liquid goes in, meaning way less cleanup for you.
- It’s the perfect foundation for any topping, whether you need a classic buttercream or a gooey ganache.
If you are looking for more amazing sweets once you nail this, you can always check out my full collection of decadent bakes here: more incredible dessert recipes.
Achieving That Perfect Moist Chocolate Cake Texture
The secret weapon here isn’t just the cocoa; it’s the liquids we use! Buttermilk sounds fancy, but it does a few wonderful things. It tenderizes the flour proteins, which keeps the crumb incredibly soft rather than tough. Then we have the hot coffee. Don’t panic, your cake won’t taste like a mocha! The heat blooms the cocoa powder, literally unlocking its deepest flavor potential. This interaction between the acidic buttermilk and the hot coffee creates the signature rich cocoa cake texture that stays moist for days.
Gathering Ingredients for Your Easy Chocolate Cake Recipe
Okay, let’s talk about what you need! I purposefully designed this so you probably have most of this stuff lurking in your pantry already. You don’t need fancy extracts or specialty flours for this bake. We’re sticking to the basics for the **easy chocolate cake recipe**!
- Dry Mix: Flour, sugar, salt, baking soda, baking powder, and that crucial unsweetened cocoa powder.
- Wet Ingredients: Eggs, oil, vanilla, and buttermilk—buttermilk is non-negotiable for the tenderness we want!
- The Magic Liquid: One full cup of hot brewed coffee. Seriously, don’t skip the hot part!
Grab your measuring cups, and let’s get these simple ingredients ready. It’s going to be so fast!
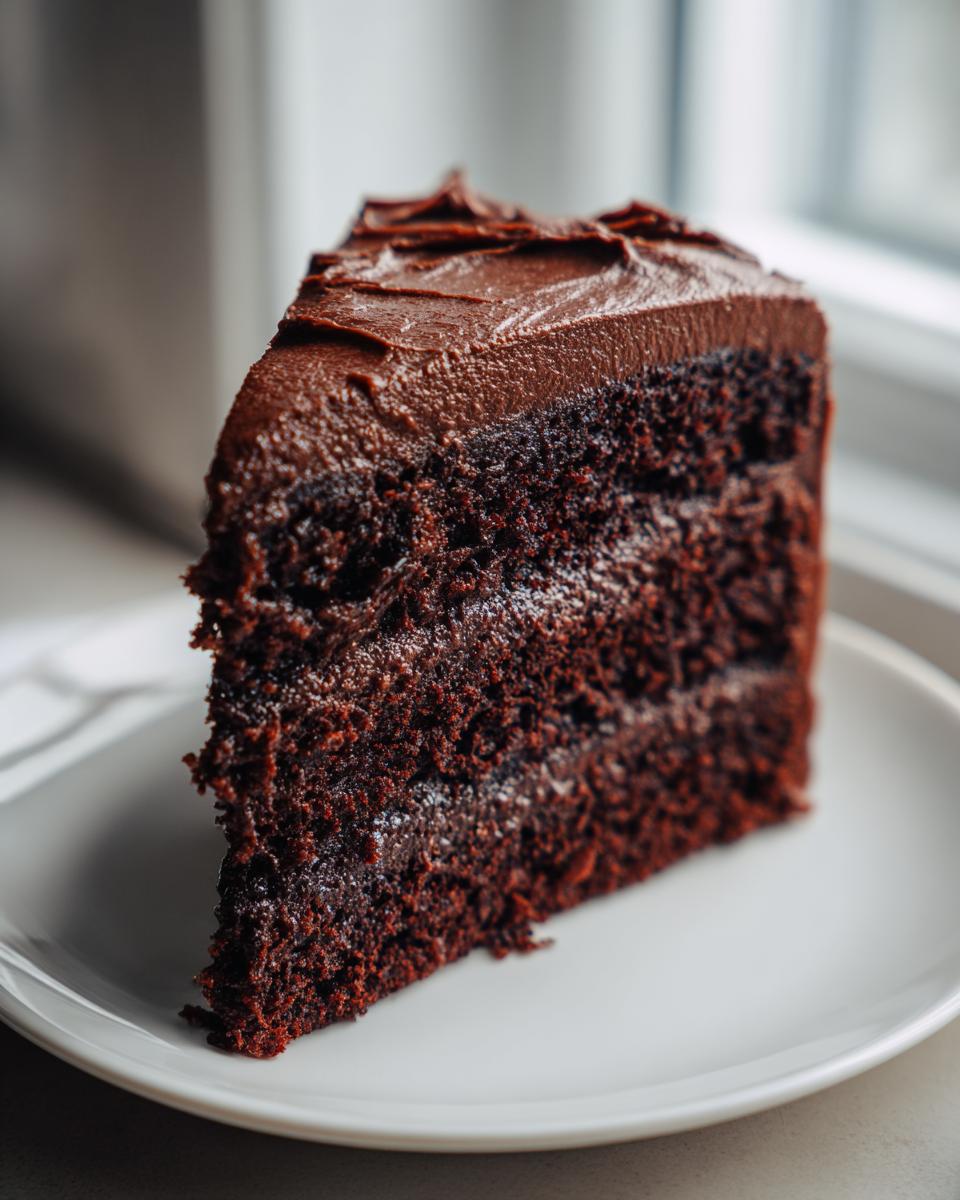
Step-by-Step Instructions for This Fudgy Chocolate Cake From Scratch
Now for the fun part—actually baking! Trust me, this process is incredibly straightforward. We aren’t beating things for ages; we’re mixing just enough to get that beautiful, fudgy chocolate cake from scratch texture. Since we need two nice, even layers for a proper celebration cake, start by setting your oven to 350°F (175°C). Make sure you grease and flour those two 9-inch pans—or line the bottoms with parchment paper if you’re nervous about sticking. Nobody wants a broken layer!
Mixing the Dry and Wet Components of the Rich Cocoa Cake
First things first: grab a big bowl and whisk together all your dry stuff. I mean everything—the flour, sugar, cocoa powder, leaveners (soda and powder), and salt. Whisk it really well so everything is evenly distributed. That’s important so you don’t end up with pockets of baking soda, yuck.
Next, add in your eggs, the buttermilk, the oil, and the vanilla. Turn your mixer on medium speed and just beat it for two full minutes. It’ll look thick and maybe a little strange, but hang in there. Then, the grand finale before baking: carefully pour in that cup of hot coffee or water while mixing on low. As soon as it’s integrated, stop! Seriously, stop mixing. The batter will look super thin, almost watery, but that’s exactly what you want for this **rich cocoa cake**. That thinness is our humidity insurance!
Baking Times and Testing for the Chocolate Layer Cake Tutorial
Once the batter is thin, divide it evenly between those two prepared pans. Pop them into your preheated oven. The timing runs about 30 to 35 minutes, but you know how ovens are—they lie! The only true test is the wooden pick inserted right into the center. If it comes out clean, or maybe with a few moist crumbs clinging on, you’re golden. If it’s wet batter, give it five more minutes.
When they look done, move them to a cooling rack, but don’t rush removing them from the pans yet! Let them sit there for about 10 minutes. This lets the structure set up before you try inverting them for the final cool down. We’re keeping those layers intact for a gorgeous **chocolate layer cake tutorial** finish!
If you’re prepping for an epic frosting session later, don’t forget to check out my top dessert inspiration!
Mastering the Simple Chocolate Cake Frosting
Now that we have this unbelievably moist cake base, we need something on top that matches its greatness! Since the recipe just says to frost it with your favorite, I want to give you my secrets for a stunning **simple chocolate cake frosting** that rivals any bakery. You don’t need a fancy professional recipe here; we just need smoothness and shine!
When I make a simple chocolate buttercream, my biggest tip for getting that professional, glossy finish that looks like it took hours is temperature control. You absolutely must make sure your butter is softened perfectly—not melted! If it gets too warm when you cream it with the powdered sugar, you’ll end up with greasy streaks.
If you really want something breathtakingly smooth and slightly tangy that pairs perfectly with this rich cocoa, consider hopping over to my recipe for cream cheese frosting. It’s surprisingly easy to make, and the slight tang cuts through the deep chocolate flavor beautifully. You can find the foolproof steps right here: the best cream cheese frosting tutorial. Whether you whip up a quick American buttercream or try that cream cheese version, remember to let those cake layers cool completely first. Trust me, warm cake meets frosting equals a chocolate soup disaster!
Tips for Success with Your Chocolate Cake for Beginners
Starting out with a rich chocolate cake can feel intimidating, but honestly, this recipe is designed to hold your hand through the process. You want that “wow” factor without the stress, right? I’ve gathered the absolute must-dos that turned my initial attempts into this fantastic **chocolate cake recipe**.
First up: the hot liquid! Remember I mentioned the coffee trick? Even if you aren’t a coffee drinker, use it! It’s basically like adding a secret blast of pure chocolate flavor. If a whole cup seems like too much, you can use hot water, but you’ll lose some of that intense richness. Don’t worry about brewing a fresh pot; instant coffee dissolved in hot water works perfectly fine in a pinch. I’ve definitely done that myself!
My next big tip is about mixing, which is crucial for beginners. When you add that hot coffee, mix on low speed until it’s *just* combined. I mean it! Stop immediately before you think you should stop. Batter is supposed to be thin here, and over-mixing develops gluten, turning your fudgy dream into something dense and tough. It’s counterintuitive because every other recipe tells you to beat things vigorously, but for this one, gentle is better.
Also, since we are making layers, measuring your batter is key. If you eyeball it, one layer will dome higher than the other, which causes a tilting tower later! If you have a kitchen scale, use it! Divide the total weight of the batter by two for perfect, even layers. Even a great **chocolate cake recipe** collapses if the layers aren’t level.
If you’re doubting yourself after this bake, check out this resource for other no-fail recipes online; sometimes seeing someone else walk through it again helps boost confidence: Lily’s No Fail Chocolate Cake. And remember, if you love baking, my guide to chewy chocolate chip cookies is another one that relies on a simple, reliable method!
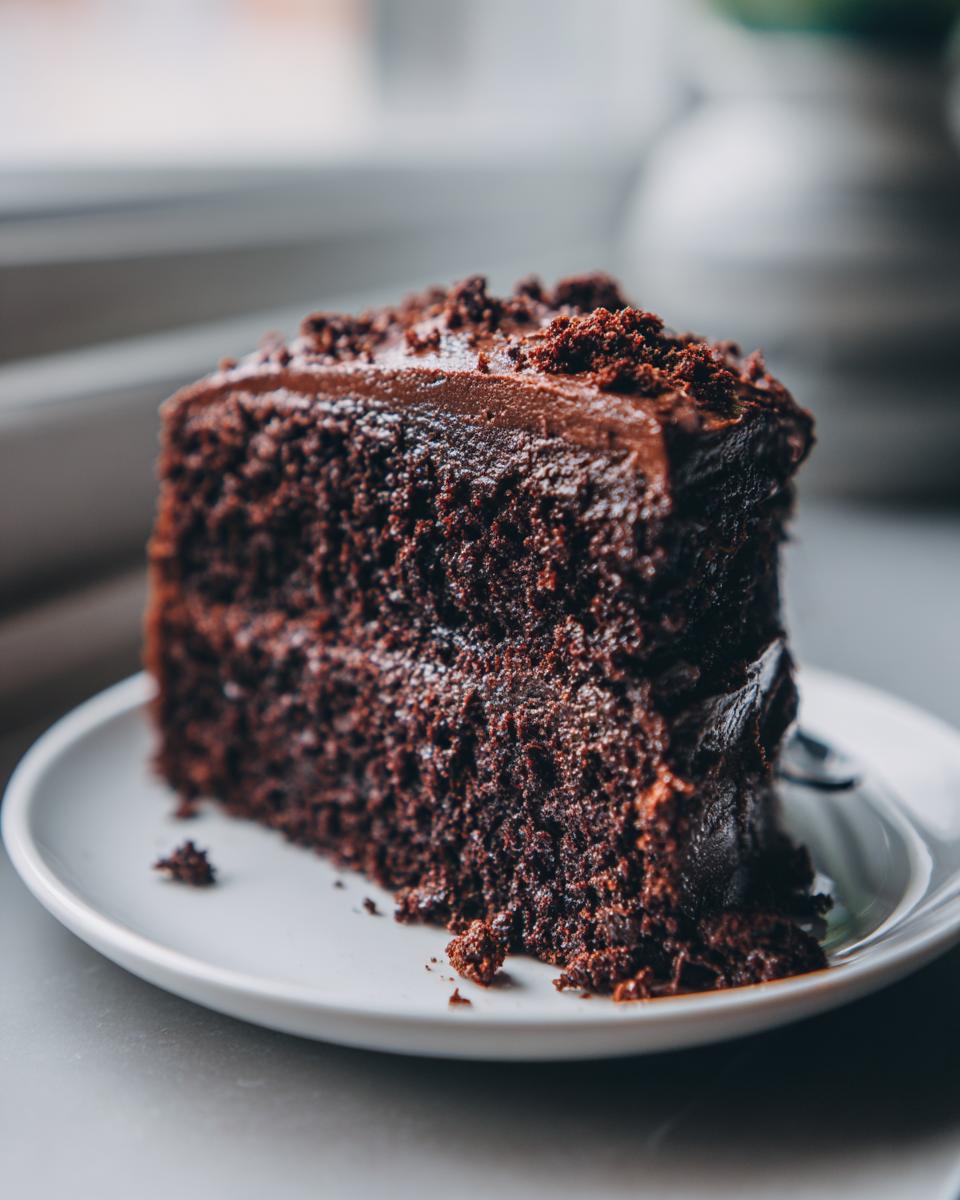
Variations on the Classic Chocolate Desserts: Devil’s Food Cake Recipe
So, you’ve mastered the Ultimate Moist Cake, but maybe you want to push that decadence just a little further? I love playing with flavor profiles in this base **chocolate cake recipe**. It’s so sturdy and flavorful that it handles fantastic makeovers!
The most common question I get is about turning this into a true **Devil’s food cake recipe**. The key difference there, traditionally, is just dialling up the intensity and richness. You can lean into that dark, almost black color by swapping out half of your unsweetened cocoa powder for Dutch-processed cocoa if you happen to have it. That gives a smoother, less acidic chocolate note which is really nice.
Another trick I use when I want that truly intense, almost brooding chocolate flavor is incorporating coffee grounds or espresso powder. Don’t use brewed coffee this time—just straight powder! Add about a teaspoon of instant espresso powder along with your dry ingredients. It doesn’t taste like espresso, I promise; it just coaxes the existing chocolate flavor to sing louder. It makes this an absolute showstopper when you’re aiming for a seriously **decadent chocolate dessert**.
If you are looking for a spiced variation next time around, maybe save this recipe and try my rich gingerbread cake recipe when the season shifts. That one is magic when the cool weather hits! Check out that recipe here. But for now, stick with the coffee trick for an amazing instant upgrade to this already fantastic cake!
If you’re curious how some of my friends approach the Devil’s Food style, check out this one that uses a really interesting technique: a deeply moist devils food version.
Storage and Reheating Instructions for Your Moist Birthday Cake Recipe
The worst thing you can do after making such a perfect cake is ruin it during storage! This **moist birthday cake recipe** is wonderful because it holds onto its moisture for days, but you still need to treat it right. If you aren’t serving it immediately, you’ll want to let it cool completely—and I mean *completely*—before you even think about wrapping it. Any residual heat traps steam, which turns into soggy spots, and we absolutely cannot have that.
If you’re just keeping it on the counter for a day or two (maybe it’s frosted with a simple ganache or not at all), wrap the whole thing tightly in plastic wrap first, and then maybe foil over that. An airtight container works even better if you have one big enough!
If you need to keep it for longer, say toward the end of the week, the fridge is the way to go. Make sure it’s covered, though! Cakes can dry out shockingly fast in the fridge because of the dry air. When you pull it out to serve, this is important: let it sit on the counter for at least an hour. Cold cake tastes dull, and the frosting gets hard. Bringing it back to room temperature lets those fats soften up again, making it taste like it was just baked fresh!
If you baked the layers separately and need them frozen for later, wrap each cooled layer tightly in plastic wrap, then wrap them again in aluminum foil. They keep beautifully this way for up to three months. When you’re ready to thaw, just move the whole package to the fridge overnight. Easy peasy!
Frequently Asked Questions About This Chocolate Cake Recipe
I know you’ll have a couple of questions once you start gathering ingredients, so I wanted to put together a quick spot to answer the things I get asked about the most concerning this **chocolate cake recipe**. No question is silly when we’re talking about achieving serious chocolate satisfaction!
Can I substitute buttermilk in this chocolate cake recipe?
This is the big one! While buttermilk is honestly the key to that tender crumb we talked about, I get it—sometimes you just don’t have it, or you didn’t have time to run to the store. If you’re in a pinch for this **easy chocolate cake recipe**, you can totally make your own substitute! Just take one cup of regular milk—whole milk is best, but 2% works too—and stir in one tablespoon of white vinegar or lemon juice. Let it sit on the counter for about five to ten minutes. It’ll curdle a bit, and voilà, you’ve got homemade buttermilk!
It won’t give you the exact same tenderizing power as the real deal, but it works in a pinch to keep your cake from being too dense. It’s a lifesaver when you’re aiming for a **rich cocoa cake** on short notice.
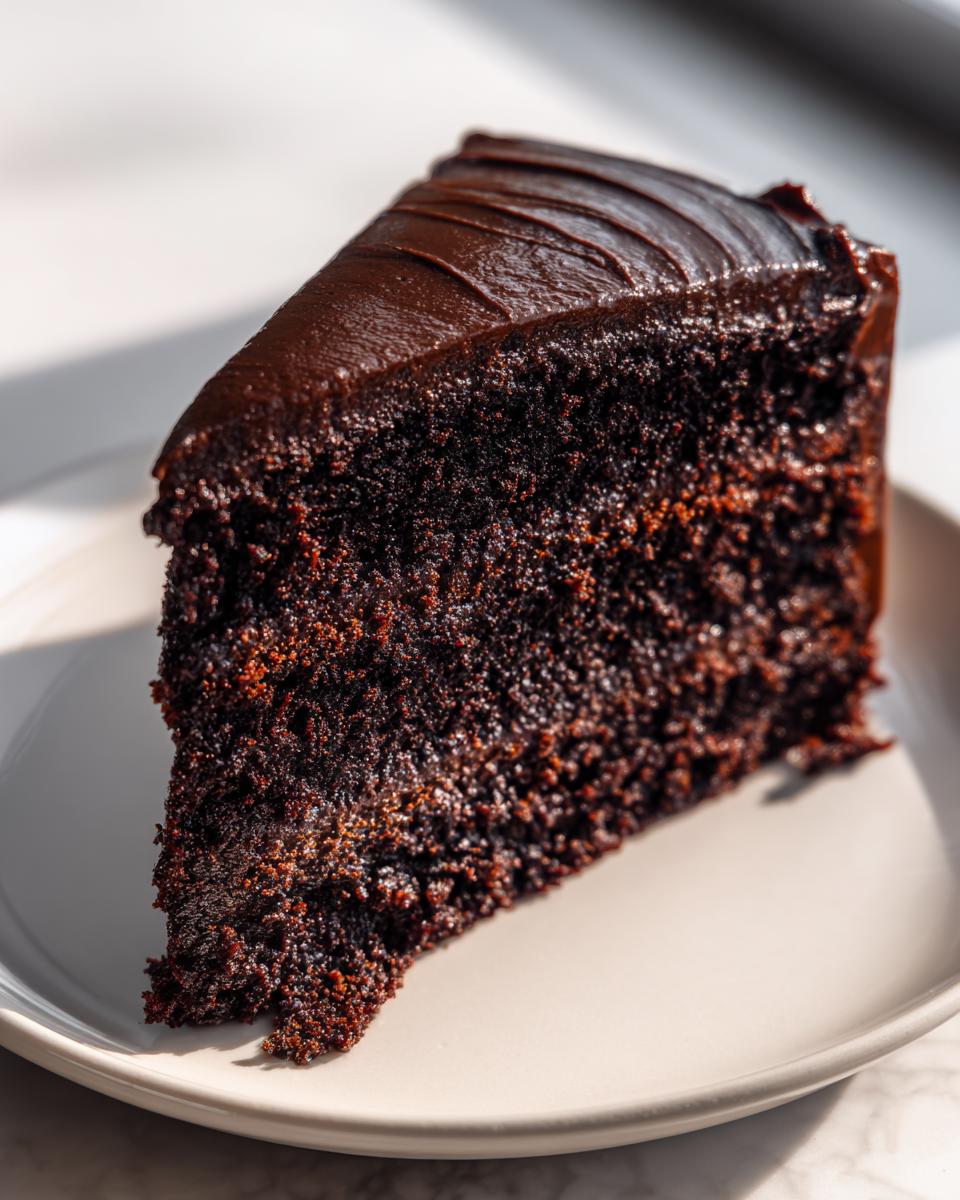
What makes this cake a great choice for a moist birthday cake recipe?
If you’re baking for a celebration, you need guaranteed results, and that’s why this shines as a **moist birthday cake recipe**. The biggest reason is the liquid combination: the buttermilk tenderizes the proteins, and the hot coffee “blooms” the cocoa. This means you get incredibly deep flavor *and* a crumb that stays wonderfully soft and fudgy for days. Unlike cakes that start drying out the second they cool, this one holds its own, even under a heavy layer of frosting. It bakes up sturdy enough to stack for layers but melts in your mouth when you cut a slice!
If you’re looking to make sure all your dessert efforts are worth it, you can find all my favorite companions and additions to the baking process over here on my delicious dessert recipes page!
Nutritional Estimates for This Decadent Chocolate Dessert
I always want to be upfront about what goes into these amazing treats. When we talk about a **decadent chocolate dessert**, we know it’s not exactly salad food, right? But it’s good to have a general idea of what you’re working with!
The breakdown below is based on the recipe yielding 12 generous slices. Remember, these numbers are estimates! The brand of cocoa powder you use, the specific type of oil, or how thick you make your frosting layer can definitely shift these figures around. But as a reliable baseline for this homemade cake, here’s what you can expect:
- Serving Size: 1 slice
- Calories: 350
- Sugar: 35g
- Fat: 18g (Only 4g Saturated Fat, which is pretty good for how rich it is!)
- Carbohydrates: 45g
- Protein: 5g
- Sodium: 250mg
It’s designed to be rich and satisfying, so enjoy every single bite! We bake these recipes for joy, not for tracking macros, but knowing the basics helps keep things balanced when you go back for that second piece!
PrintUltimate Moist Chocolate Cake Recipe From Scratch
This is the best homemade chocolate cake recipe for achieving a rich, moist, and fudgy texture. It uses simple ingredients and straightforward steps, making it perfect for beginners or your next birthday celebration.
- Prep Time: 20 min
- Cook Time: 35 min
- Total Time: 55 min
- Yield: 12 servings 1x
- Category: Dessert
- Method: Baking
- Cuisine: American
- Diet: Vegetarian
Ingredients
- 1 3/4 cups all-purpose flour
- 1 3/4 cups granulated sugar
- 3/4 cup unsweetened cocoa powder
- 1 1/2 teaspoons baking soda
- 1 1/2 teaspoons baking powder
- 1 teaspoon salt
- 2 large eggs
- 1 cup buttermilk
- 1/2 cup vegetable oil
- 2 teaspoons vanilla extract
- 1 cup hot brewed coffee (or hot water)
Instructions
- Preheat your oven to 350°F (175°C). Grease and flour two 9-inch round cake pans or line them with parchment paper.
- In a large bowl, whisk together the flour, sugar, cocoa powder, baking soda, baking powder, and salt.
- Add the eggs, buttermilk, oil, and vanilla extract to the dry ingredients. Beat with an electric mixer on medium speed for two minutes.
- Carefully pour the hot coffee (or water) into the batter and mix on low speed until just combined. The batter will be thin.
- Divide the batter evenly between the prepared cake pans.
- Bake for 30 to 35 minutes, or until a wooden pick inserted into the center comes out clean.
- Let the cakes cool in the pans for 10 minutes before inverting them onto a wire rack to cool completely.
- Frost with your favorite chocolate frosting once fully cooled.
Notes
- Using hot coffee deepens the chocolate flavor without making the cake taste like coffee. This is the secret to a rich cocoa cake.
- For a layer cake tutorial feel, ensure your layers are completely cool before frosting to prevent the frosting from melting.
- This recipe works well for a simple chocolate sheet cake if you prefer not to layer.
Nutrition
- Serving Size: 1 slice
- Calories: 350
- Sugar: 35g
- Sodium: 250mg
- Fat: 18g
- Saturated Fat: 4g
- Unsaturated Fat: 14g
- Trans Fat: 0g
- Carbohydrates: 45g
- Fiber: 2g
- Protein: 5g
- Cholesterol: 45mg