
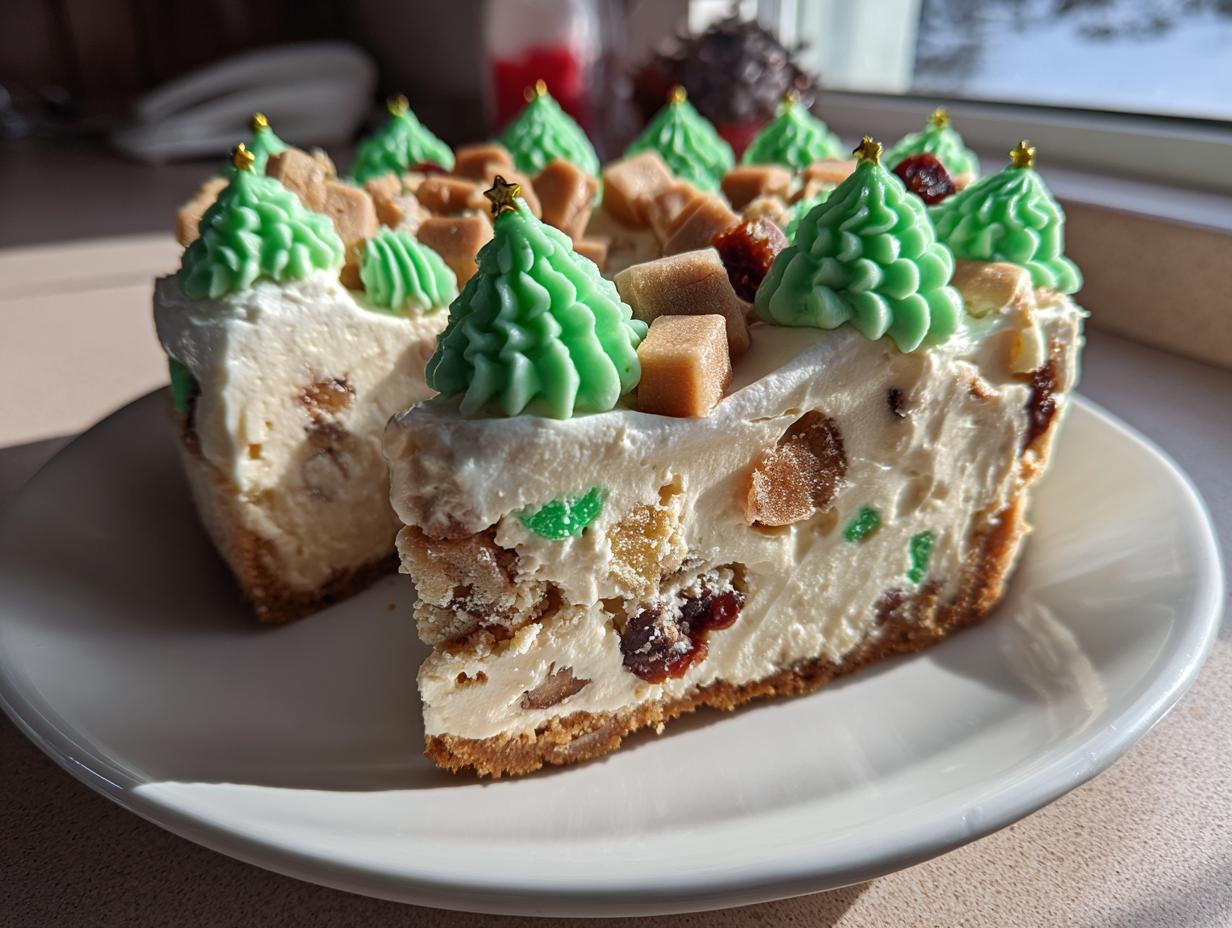
There is nothing quite like the smell of sugar and nostalgia hitting you during the holidays, right? It pulls me right back to those Midwest winters where every dessert felt like a tiny, edible gift. I’m Maddie, and here at MDLATDMM Recipes, my whole goal is making sure those comforting, unforgettable tastes translate perfectly to your modern kitchen, no guesswork involved. If you’re looking for that show-stopping centerpiece that screams Christmas cheer, you have to try this christmas tree cheesecake. We’re taking inspiration from those beloved little snack cakes—yes, the Little Debbie trees—and turning them into the creamiest, most crowd-pleasing holiday dessert you can imagine. Trust me, this recipe is heritage made simple.
- Why This Little Debbie Christmas Tree Cheesecake Recipe is Your Holiday Must-Make
- Gathering Ingredients for Your Christmas Tree Cheesecake
- Step-by-Step Instructions for the Creamy Christmas Tree Cheesecake Recipe
- Tips for Success When Making Your Christmas Tree Cheesecake
- Make-Ahead and Storage for Your Holiday Cheesecake Ideas
- Serving Suggestions for This Showstopper Christmas Dessert
- Frequently Asked Questions About the Christmas Tree Cheesecake
- Estimated Nutritional Data for This Creamy Holiday Cheesecake
- Share Your Festive Baking Creations
Why This Little Debbie Christmas Tree Cheesecake Recipe is Your Holiday Must-Make
Listen, I know Christmastime is busy. Between fighting the crowds and wrapping presents, who has time for fussy techniques? That’s why I absolutely adore this take on the christmas tree cheesecake. It’s designed to be the ultimate shortcut to holiday magic!
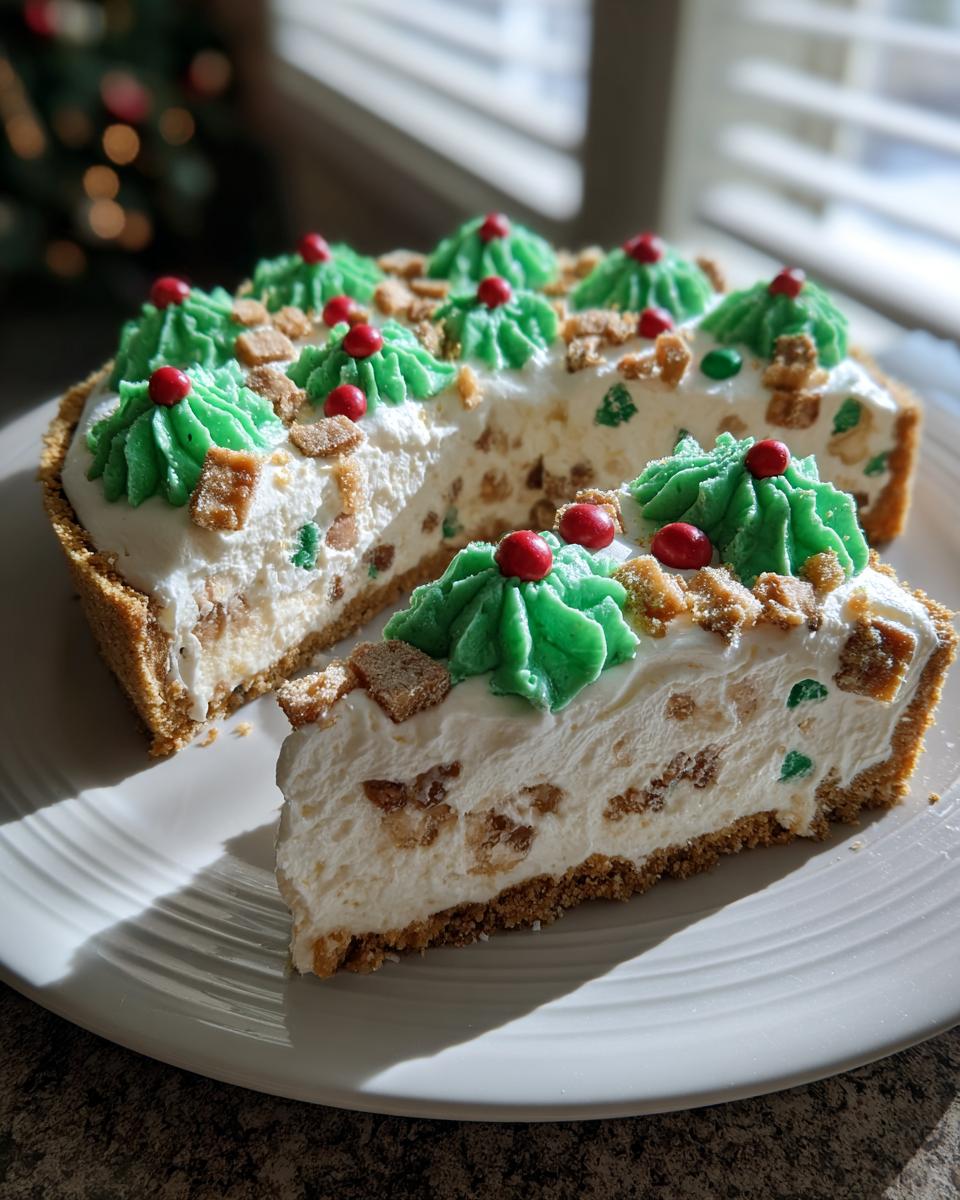
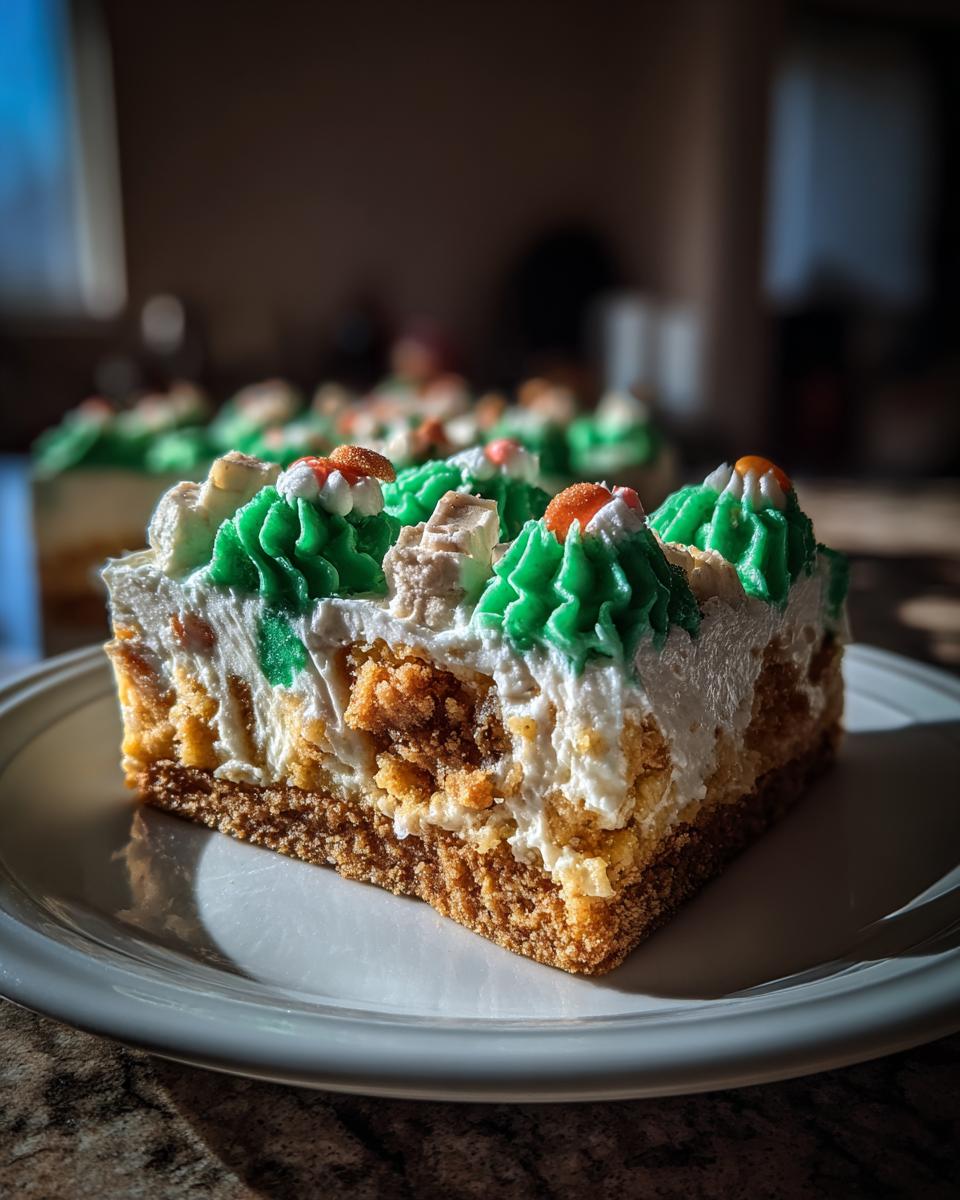
This dessert hits every single spot: it’s deeply nostalgic because of those Little Debbie cakes baked right inside, and honestly, the way it looks on the table? It’s a total showstopper dessert, hands down. Plus, it’s secretly an easy Christmas dessert!
- It’s visually stunning without needing professional piping skills.
- It uses ingredients you probably already have on hand—or are easy to grab!
- The creamy texture is instantly satisfying.
- It’s made ahead, freeing up time on Christmas day.
When I brought this to my office party last year, people went wild asking if it was store-bought high-end bakery stuff. Nope! Just grandma’s spirit of making something beautiful without fuss. If you love my pumpkin bars recipe, you’ll appreciate how this cheesecake delivers big flavor with minimal stress.
Gathering Ingredients for Your Christmas Tree Cheesecake
Okay, let’s get down to the good stuff: the shopping list! Since this is such a nostalgic bake, having the right components—especially those little snack cakes—is essential. We’re keeping the list tight so you aren’t running all over crazy town during the holidays. This recipe is designed around simplicity and maximum impact. It’s amazing how few core ingredients we need to make such a spectacular cream cheese dessert, isn’t it?
Here is what you’ll need to round up for the baked version of our christmas tree cheesecake:
- For the Crust: 180 grams of graham cracker crumbs (about 1 ½ cups packed) and 85 grams (or 6 tablespoons) of unsalted butter, melted.
- For the Filling: Let’s get 675 grams (three standard blocks) of cream cheese, make sure it’s nice and soft! Then, 100 grams of granulated sugar, 1 teaspoon of vanilla extract, and 2 large eggs.
- The Star Player: One package (that’s usually 12 cakes) of Little Debbie Christmas Tree Cakes. You won’t need the decorations on them, just the cake and the soft coating—give them a rough chop before tossing them in!
- For Decoration: You’ll need 1 cup of powdered sugar, 1/2 cup of heavy cream for whipping up that green topping, a few drops of green food coloring, assorted small candies (think tiny ones for ornaments!), and some holiday sprinkles.
Ingredient Notes and Substitutions for Your Christmas Tree Cheesecake
I get asked a lot about swapping things out, which is totally normal when you’re planning around holiday menus. The Little Debbie Cakes are key for that real flavor punch, but if you absolutely can’t find them, you could use chunks of a very soft, high-quality vanilla snack cake with white frosting, but honestly, the Christmas Tree Cakes are where the magic lives!
Now, about the eggs. If you are stressed about baking, or if you prefer a truly no-bake holiday treat, you can ditch the eggs entirely! Just follow the note at the end of the recipe instructions—you’ll substitute by adding an extra cup of cold heavy cream to the cream cheese mixture to help it set up firm after chilling. That makes this recipe flexible for any baking mood!
Always double-check that cream cheese is at room temperature; cold cream cheese fights the sugar, and nobody wants lumpy cheesecake, right?
Step-by-Step Instructions for the Creamy Christmas Tree Cheesecake Recipe
Alright, now for the fun part! Putting this beautiful christmas tree cheesecake together is super straightforward once you break it down. I took the original steps and made sure everything is crystal clear so you don’t get any surprises when it comes out of the oven. Remember, patience during the chill time is just as important as the mixing! If you’re ready to see your lemon cream cheese dreams come true, grab your springform pan!
Preparing the Crust and Baking the Christmas Tree Cheesecake
First things first, get your oven warmed up to 325°F (or 160°C). You need a 9-inch springform pan ready—I always line the bottom with parchment paper, just in case things get sticky. For the crust, just mix up those graham cracker crumbs and your melted butter until it looks like wet sand. Press that mixture down firmly into the bottom of the pan.
Pop that crust into the oven for a quick 10 minutes just to set it nicely. When it comes out, don’t rush it! Let that crust cool down completely before you even think about adding the creamy layers. Seriously, cooling the crust prevents sogginess later.
Creating the Nostalgic Filling for Your Christmas Tree Cheesecake
Time to bring on the richness! Beat your softened cream cheese and sugar together until they look perfectly smooth—no lumps allowed! Now, add your vanilla extract, and then gently introduce those eggs, one at a time. Here’s my biggest tip, and please listen: only mix until *just* combined after each egg. If you overmix cheesecake batter, you whip in too much air, and that’s how you get cracks later on! Oops!
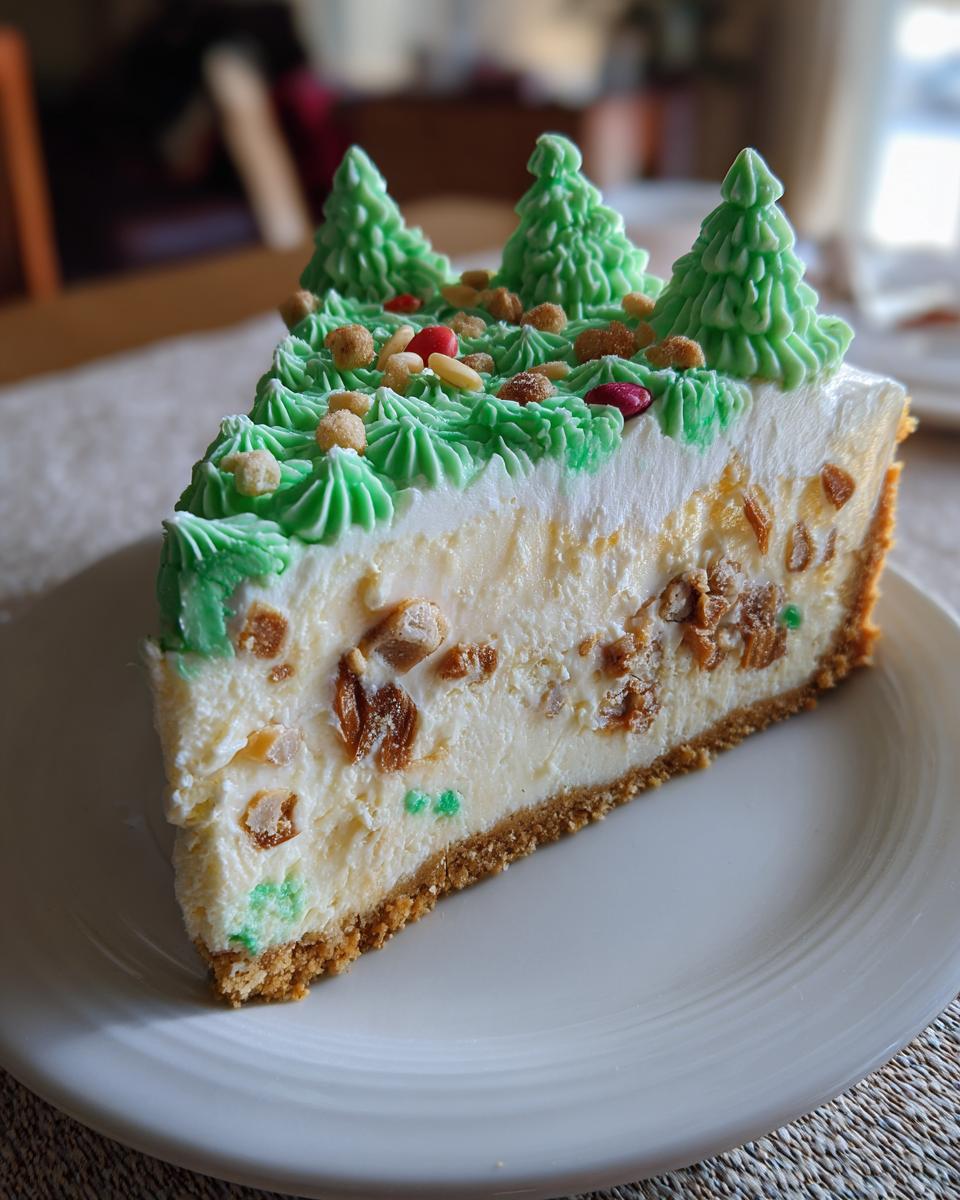
Once the eggs are incorporated, gently fold in those roughly chopped Little Debbie Christmas Tree Cakes. You want visible chunks in there for that surprise flavor burst. Pour that lovely filling right over your cooled crust.
Chilling and Decorating This Festive Cheesecake Centerpiece
Bake it for about 45 to 55 minutes. You’re looking for edges that look set, but the center should still have a tiny wobble when you gently nudge the pan. When it’s done, turn the oven OFF, crack the door open just a smidge, and let the cheesecake stay inside for a full hour. This slow cooling is non-negotiable—it’s the secret to avoiding those dreaded cracks!
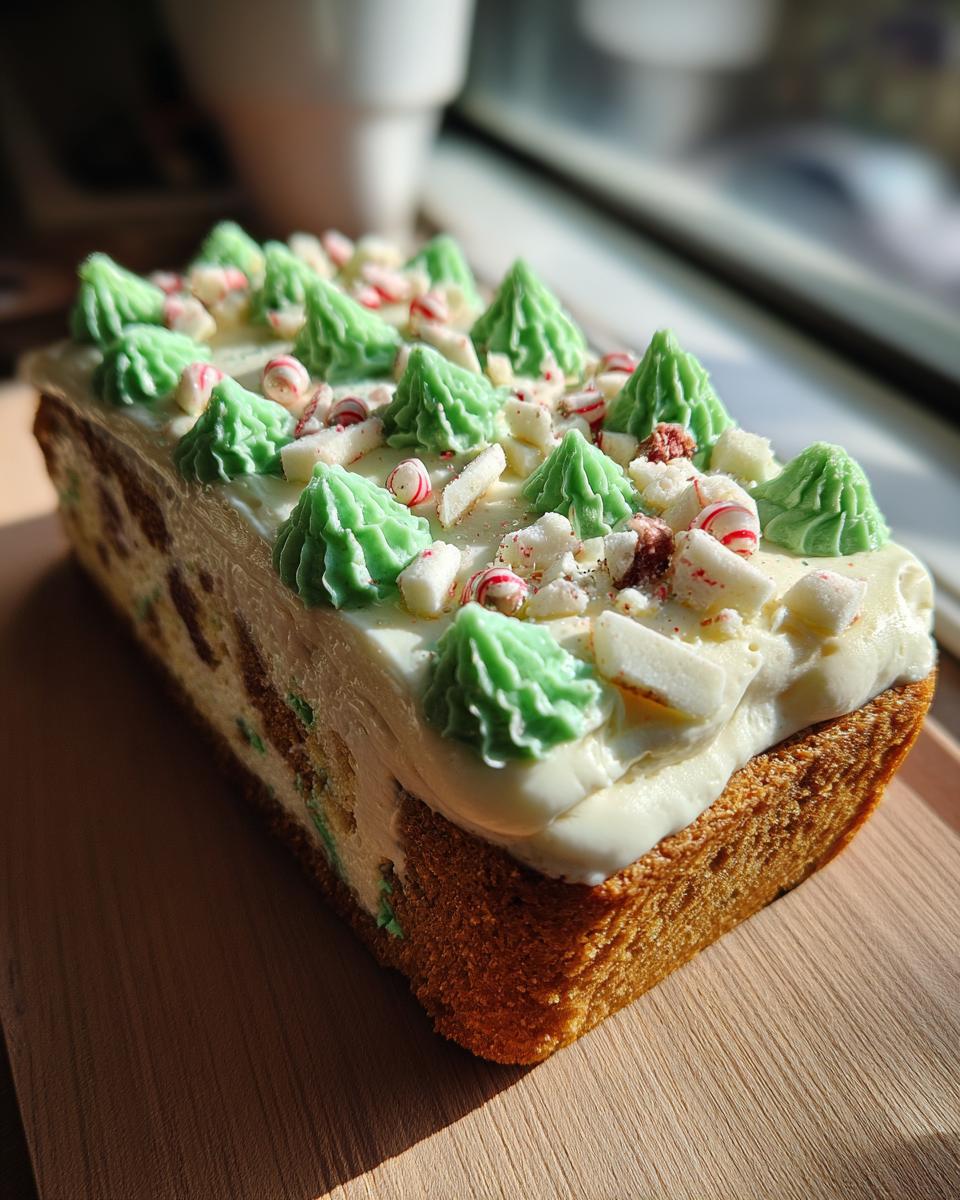
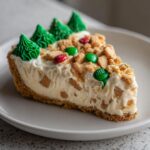
After the oven cool-down, let it come fully to room temperature, then cover it and chill it for at least six hours, but overnight is truly best for this festive cheesecake centerpiece. Once it’s cold, whip up that heavy cream and powdered sugar until stiff peaks form, adding just a touch of green food coloring. Then, spread or pipe that green frosting onto the top shaped like a delicious little tree, and decorate it with your tiny candies and sprinkles!
Tips for Success When Making Your Christmas Tree Cheesecake
Even with a straightforward recipe like this christmas tree cheesecake, a few little tricks will make the difference between great and unforgettable. Since we aren’t using a water bath here (because we are keeping things simple!), preventing cracks relies on careful temperature control. That slow cool-down in the turned-off oven is the most important thing, seriously!
When you mix your cheesecake batter, remember my earlier plea: don’t overbeat once those eggs are in. A few little lumps of cake bits are fine in the filling; mixing too much air in guarantees a sunken center later on.
For that decorative green topping, use gel food coloring instead of liquid drops if you can get your hands on it for decorating. Gel coloring gives you rich color without adding the extra moisture that liquid coloring might introduce to your whipped cream. A little bit goes a very long way!
Also, before trying to decorate, make absolutely sure that cheesecake is fully chilled. If it’s even slightly warm, your beautiful green whipped cream “branches” will melt right off. If you are planning ahead, you can always whip up the topping cream the day before and keep it covered in the fridge; it’s a great way to spread out the decorating work before your party! These little details are what make the difference between my chewy chocolate chip cookies and just okay cookies—it’s all in the final steps!
Make-Ahead and Storage for Your Holiday Cheesecake Ideas
One of the best parts about this christmas tree cheesecake is that it actually *wants* you to make it ahead of time! This isn’t one of those fussy desserts that falls apart if you look at it wrong the next day; it thrives on being chilled. This flexibility makes it fantastic for anyone planning ahead, especially if you are planning lots of pumpkin banana bread and other holiday spreads.
When it comes to storage, the decorated cheesecake honestly keeps really well. Once the green whipped cream topping is on, cover it loosely with plastic wrap—you don’t want the wrap touching the decorations, or you’ll ruin your beautiful tree shape! Keep the cheesecake in the main body of your refrigerator, not wedged into the door where the temperature fluctuates.
You can easily make this cheesecake un-decorated up to two days ahead of time. Once it’s fully chilled and set, cover it well and keep it cool. I usually wait until the morning of the party to apply the whipped cream topping and candy ornaments. This keeps the topping looking its freshest and fluffiest!
Now, can you freeze it? Yes, you absolutely can, but I’ve found freezing affects the beautifully piped whipped cream topping, so I highly recommend freezing it *before* you decorate. Wrap the plain, chilled cheesecake tightly in plastic wrap, and then cover that tightly in aluminum foil to prevent freezer burn. It should hold up great for about a month. When you want to serve it, just pop the foil-wrapped cake into the fridge overnight to thaw slowly. Do not rush thawing cheesecake at room temperature!
If you’re going the no-bake route, these hold up even better since there are no eggs to worry about! The structure is almost guaranteed to be perfect after 8 hours in the fridge.
Serving Suggestions for This Showstopper Christmas Dessert
So, you’ve created this gorgeous, creamy dream—our christmas tree cheesecake—and now the big question hits: what do I serve *with* it? We’ve put in all this work to make it the star of the table, so we don’t want to confuse folks with overpowering side dishes or beverages. When you’re planning your Holiday Cheesecake Ideas spread, think light, bright, or warm and cozy to balance that rich cream cheese.
For beverages, I always look for something that cuts through a bit of the richness but still feels festive. A steaming mug of spiced apple cider is pure perfection alongside this dessert. The tartness of the apple and the warmth of the cinnamon pair beautifully with the vanilla and cake bits inside the cheesecake. Skip anything too milky, which can feel heavy after such a rich dessert.
If you need a small side dish that seems lighter than more cake, stick to fresh fruit, but nothing too sweet. A simple platter of crisp green grapes, sliced pears, and maybe some bright red pomegranate seeds looks stunning next to your centerpiece and offers a refreshing palate cleanser between bites. These small touches really elevate your dessert course!
If you’re looking for a savory item to bridge the gap before dessert time, I always turn toward something that uses cranberries or rosemary to keep that holiday flavor profile running—my cranberry stuffing balls are always a huge hit before the sweets come out. The key is letting that cheesecake shine!
Frequently Asked Questions About the Christmas Tree Cheesecake
I always get so many questions after people try this recipe because it’s so fun and slightly unusual! I tried to cover everything in the main steps, but here are a few more easy fixes and answers to make sure your christmas tree cheesecake turns out perfectly celebratory for your party!
Can I make this Christmas Tree Cheesecake Recipe entirely no-bake?
Oh, absolutely, you can! That’s one of the best things about this recipe—it gives you options depending on how much time you have or if you want to skip the oven altogether for a truly No Bake Christmas Tree Dessert. If you are going no-bake, you just skip steps 1 through 6 entirely, which means no preheating and no cooling time in the oven!
Instead of using eggs in the filling, you incorporate that extra cup of cold heavy cream directly into the cream cheese mixture. You beat it until it gets nice and thick—think firm whipped cream consistency—before folding in those chopped Little Debbie pieces. Then, you pour it all into the crust and chill it for a solid 8 hours, or preferably overnight. It sets up beautifully firm and feels just as decadent!
What if I cannot find Little Debbie Christmas Tree Cakes for my cheesecake?
This is the million-dollar question around the holidays! Look, if you can find them, please use them. They bring that specific, slightly marzipan-y, vanilla flavor that makes this dessert so spot-on nostalgic. But hey, life happens, and sometimes stores sell out fast!
If you absolutely cannot track them down, you need a soft, somewhat dense vanilla cake component that has a white coating. You could try chopping up basic store-bought vanilla cupcakes that have thick white frosting, or even a simple vanilla pound cake that you frost yourself. Just make sure the component is relatively soft so it blends nicely into the creamy filling. It won’t be the *exact* same flavor profile as my famous christmas tree cheesecake, but it will still be a wonderfully rich, holiday-flavored cheesecake! For more easy holiday baking tips, check out my ideas for apple cinnamon muffins.
Estimated Nutritional Data for This Creamy Holiday Cheesecake
Now, before you decide this gorgeous christmas tree cheesecake is *too* indulgent for the holidays, let’s look at the numbers. I always want to be super transparent about what we are making in our kitchens here at MDLATDMM Recipes. That way, you know exactly what you are serving up to your family and friends. Remember, these figures are always estimates, based on standard ingredient measurements—so if you use extra cream cheese bricks or sneak a few extra Little Debbie cakes into the batter (which, who could blame you?), your numbers will shift a bit!
This data breakdown is calculated for one standard slice, based on the recipe yielding 12 servings. Take a look, and then let’s forget about it and enjoy the holiday spirit!
- Serving Size: 1 slice
- Calories: 450
- Total Fat: 28g (Saturated Fat: 17g)
- Cholesterol: 85mg
- Sodium: 350mg
- Total Carbohydrates: 48g (Fiber: 1g, Sugar: 45g)
- Protein: 7g
Just like when I make my savory bacon cheeseburger soup, I meticulously calculate these things based on standard retail products, but nutritional labels can vary slightly. We always encourage you to use high-quality ingredients, which can subtly change the final result. The important bit is that this recipe delivers maximum holiday joy, and that’s the most important metric anyway!
Share Your Festive Baking Creations
I truly hope you give this christmas tree cheesecake a try this season! Seeing your homemade holiday magic is the best reward for all my recipe testing. Home baking is all about sharing that love, so please don’t keep your masterpiece a secret!
Once you’ve let it chill and decorated it until it sparkles, snap a photo of your spectacular dessert centerpiece! I’d absolutely love to see how you chose to decorate your trees—did you go heavy on sprinkles, or did you stick to simple candies? Tag us on social media; it makes my day to see these classic flavors brought to life in your kitchen.
If you loved this recipe—or if you want to ask me about freezing times or best candy choices—don’t forget you can always reach out directly through my contact page. I’m here to help you troubleshoot or celebrate your successes!
Also, if you shared what you made on social media and tagged us, you might see your stunning **christmas tree cheesecake** featured in our community highlights! We’re always looking for inspiration for next year’s holiday plans. For even more visually stunning holiday sweets, check out some of the amazing ideas other home cooks have shared, like this incredible Christmas Tree Cheesecake Delight inspiration!
PrintLittle Debbie Christmas Tree Cheesecake: Showstopper Holiday Dessert
Create a festive centerpiece with this creamy Little Debbie Christmas Tree Cheesecake. This recipe incorporates the nostalgic snack cakes into a rich filling, making it an easy, show-stopping dessert for your holiday gatherings.
- Prep Time: 25 min
- Cook Time: 55 min
- Total Time: 7 hr 20 min
- Yield: 12 servings 1x
- Category: Dessert
- Method: Baking
- Cuisine: American
- Diet: Vegetarian
Ingredients
- 180 g graham cracker crumbs
- 85 g unsalted butter, melted
- 675 g cream cheese, softened
- 100 g granulated sugar
- 1 package (12 count) Little Debbie Christmas Tree Cakes, roughly chopped
- 1 teaspoon vanilla extract
- 2 large eggs
- 1 cup powdered sugar (for topping)
- 1/2 cup heavy cream (for topping)
- Green food coloring
- Assorted small candies (for ornament decoration)
- Holiday sprinkles
Instructions
- Preheat your oven to 325°F (160°C). Prepare a 9-inch springform pan by lining the bottom with parchment paper.
- Make the crust: Mix the graham cracker crumbs and melted butter until combined. Press the mixture firmly into the bottom of the prepared springform pan. Bake for 10 minutes. Let the crust cool completely.
- Prepare the filling: In a large bowl, beat the softened cream cheese and granulated sugar until smooth. Beat in the vanilla extract and eggs one at a time, mixing just until combined after each addition. Do not overmix.
- Gently fold in the roughly chopped Little Debbie Christmas Tree Cakes into the cream cheese mixture.
- Pour the filling over the cooled crust. Bake for 45 to 55 minutes, or until the edges are set and the center has a slight jiggle.
- Turn off the oven, crack the door open slightly, and let the cheesecake cool inside the oven for one hour. This prevents cracking.
- Remove the cheesecake from the oven and let it cool completely on a wire rack. Then, chill in the refrigerator for at least 6 hours, or preferably overnight.
- Prepare the topping: Beat the heavy cream and powdered sugar together until stiff peaks form. Add a few drops of green food coloring until you reach a festive green shade.
- Decorate the chilled cheesecake to look like a Christmas tree. Pipe or spread the green whipped cream over the top in a tree shape.
- Place the assorted small candies onto the green topping to resemble ornaments. Sprinkle with holiday sprinkles.
- Slice and serve this festive cheesecake centerpiece.
Notes
- If you prefer a no-bake holiday treat, you can skip the eggs and bake time. Instead, mix 1 cup of cold heavy cream into the cream cheese mixture until thick, then chill for 8 hours before decorating.
- For a truly show-stopping dessert, use a small amount of melted white chocolate to drizzle over the top before adding the green topping.
- You can use the whole Little Debbie Cakes to decorate the sides of the cheesecake for an extra visual element.
Nutrition
- Serving Size: 1 slice
- Calories: 450
- Sugar: 45g
- Sodium: 350mg
- Fat: 28g
- Saturated Fat: 17g
- Unsaturated Fat: 11g
- Trans Fat: 0.5g
- Carbohydrates: 48g
- Fiber: 1g
- Protein: 7g
- Cholesterol: 85mg