
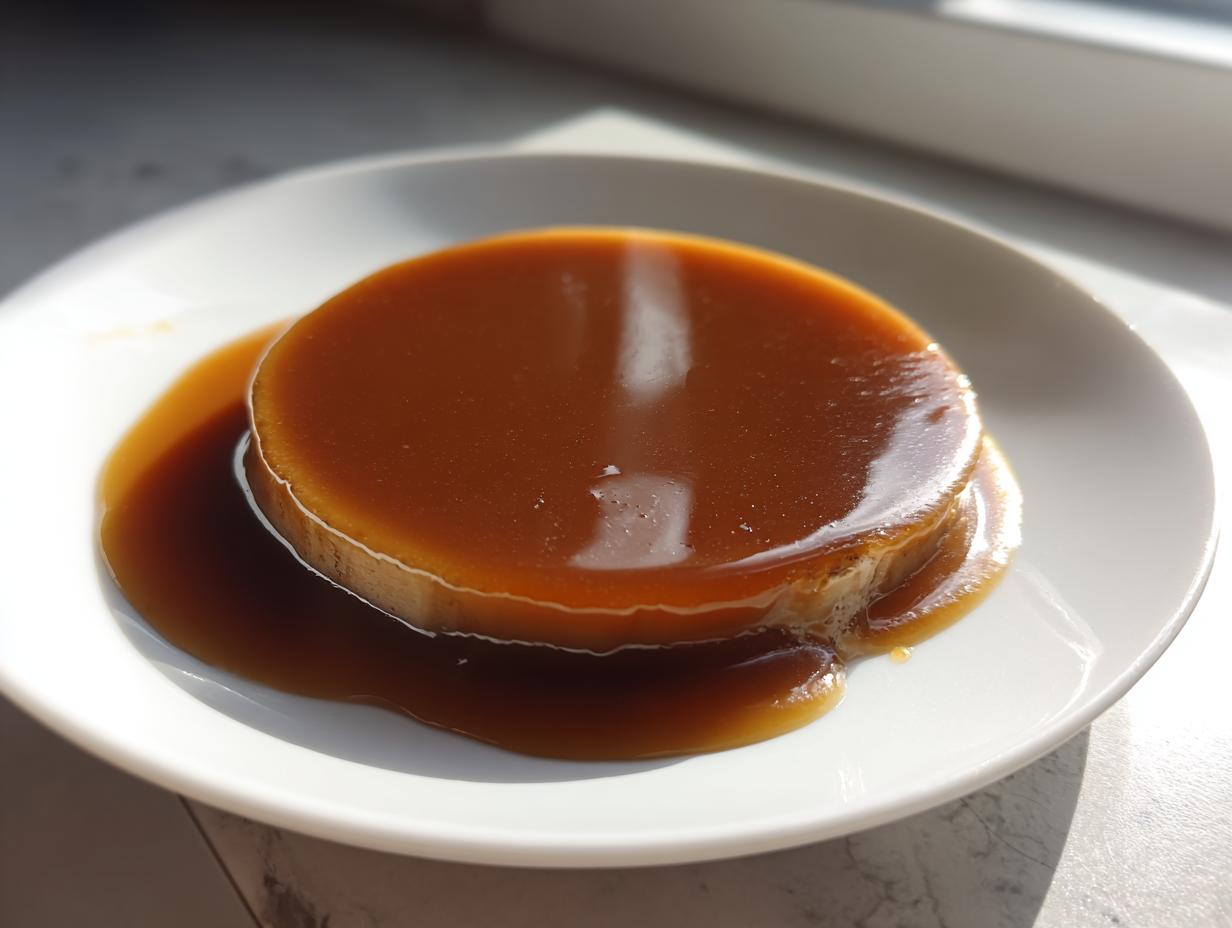
There is nothing—and I mean nothing—that screams holiday feast, cozy comfort, and home connection quite like a proper, flowing river of savory gravy. Seriously, are we even having Thanksgiving if the turkey isn’t swimming in that golden goodness? For years, I stressed about making the absolute best turkey gravy from scratch, always worried about lumps or running out before everyone got served. That’s why I developed this one. This is my Easy & Foolproof Make-Ahead Turkey Gravy: Rich Flavor with or Without Drippings recipe. It’s the recipe that brought me back to my roots, proving that the most essential comfort foods can be reliable, even when life is bananas. Trust me, this guarantees you a rich, smooth sauce every single time. If you need incredible sides to go with it, check out my favorite stuffing recipe!
- Why This Is the Best Turkey Gravy Recipe for Your Holiday Feast
- Gathering Ingredients for Your Homemade Turkey Gravy
- The Simple Steps to Making Perfect Turkey Gravy
- Expert Tips for Rich Savory Gravy Consistency
- Make Ahead Gravy: Storage and Reheating Your Turkey Gravy
- Serving Suggestions for Your Holiday Gravy
- Troubleshooting Common Turkey Gravy Issues
- Frequently Asked Questions About Turkey Gravy
- Final Thoughts on Your Holiday Feast Essentials
Why This Is the Best Turkey Gravy Recipe for Your Holiday Feast
I’ve tried every trick out there, and so many recipes fail when the pressure is on. This version—my official Best Turkey Gravy Recipe—is the one I rely on when the kitchen is pure chaos. It cuts through the stress because it’s designed to be fail-safe, giving you that deep, incredible flavor you expect from a holiday centerpiece.
What makes it a genuine keeper? It’s all about solving the big problems!
- It builds a Rich Savory Gravy base using a tried-and-true method that locks in flavor.
- We address the absolute worst enemy of any cook: dreaded lumps!
- You get total flexibility—it’s fantastic with pan drippings, but it saves your life if you don’t have enough fat.
Foolproof Gravy: Say Goodbye to Lumps
The secret to that silky, smooth texture is all about the roux. When you cook the butter and flour together first, you’re actually changing the starch molecules. This stabilizes everything before the liquid goes in, which basically means you can pour in the stock and whisk gently without worrying about getting clumps sticking to the bottom of the pan. It’s basic science, but it works like magic!
Make Ahead Turkey Gravy Flexibility
Listen, Thanksgiving day is already a marathon. This Make Ahead Gravy lets you get a huge piece of the puzzle done days before! You can pour it into a container, chill it, and the flavor actually seems to deepen overnight. When it’s time to eat, you just gently warm it up, maybe stir in a splash of warm broth if it tightens up a bit, and you’re golden. If you are prepping ahead, you might want to check out my recipe for stuffing balls to use some of that leftover flavor!
Gathering Ingredients for Your Homemade Turkey Gravy
Okay, before we even think about putting a pot on the stove, we need to talk about what goes into this magic pot. You see, the reason this recipe is so flexible is because it lets you choose your fat source! For the absolute richest, punch-you-in-the-face savory flavor, you need about four tablespoons of unsalted butter, but if you have room in your roasting pan, you should definitely reserve about a half cup of those glorious turkey drippings.
Now, I know sometimes we cook our turkey in a bag or maybe roast it differently, and you end up with, well, not much fat. That’s totally fine! If you don’t have enough drippings, you measure out that same half-cup of fat using reserved stock instead. This is how we turn this into a Turkey Stock Gravy that is just as dependable.
No matter which path you take, you’ll need an equal amount of all-purpose flour—four tablespoons again—to make our roux buddies. Then we need the liquid volume to fill out the sauce; I always recommend two full cups of good turkey stock, or if that’s tough to find, low-sodium chicken broth works wonderfully in a pinch. Finally, for seasoning, keep it simple: a quarter teaspoon of fresh black pepper, a half teaspoon of salt (taste first!), and if you’re like me and love a little bit of herbaceous background note, a little pinch of dried thyme. So simple, right? Once you have these set aside, maybe even ready next to the stove like I do when I prep my creamy mashed potatoes, you are ready to cook!
The Simple Steps to Making Perfect Turkey Gravy
Now we get to the fun part—turning those simple ingredients into the rich, luscious sauce every bite of your meal is begging for! This is fundamentally an Easy Gravy Recipe, and the key to keeping it foolproof is trusting the heat and your whisk. We are building flavor layer by layer, so don’t rush this stage. We want that beautiful river of turkey gravy flowing perfectly come dinner time!
Creating the Foundation: The Roux for Smooth Turkey Gravy
First things first: get your medium saucepan on medium heat, and drop in the butter. Once it’s melted and shimmering a little, whisk in your flour. This paste is called the roux, and it’s what thickens everything up later. You need to cook this mixture, stirring it around constantly, for just about one to two minutes. You’re not looking for a dark brown gravy here; we just want it to get smooth—so smooth, in fact, that it smells just a touch nutty. If you overcook the roux or let it brown too much, your final sauce will be darker and taste… well, a little dusty. Keep it light!
Incorporating Drippings or Stock for Turkey Gravy With or Without Drippings
This is where our flexibility comes in! If you reserved that gorgeous, flavorful fat from your turkey pan—that half cup of drippings—you whisk that right into your light roux until it disappears completely. If you’re doing the Turkey Gravy With or Without Drippings trick, this is when you whisk in that half-cup of stock you measured out instead of the fat. Once that initial fat/flour ratio is smooth, start adding the remaining two cups of stock, little by little. Whisk, whisk, whisk! Pouring it too fast is how you get little stubborn flavor bombs you have to strain out later. Keep whisking until everything is combined before you crank up the heat.
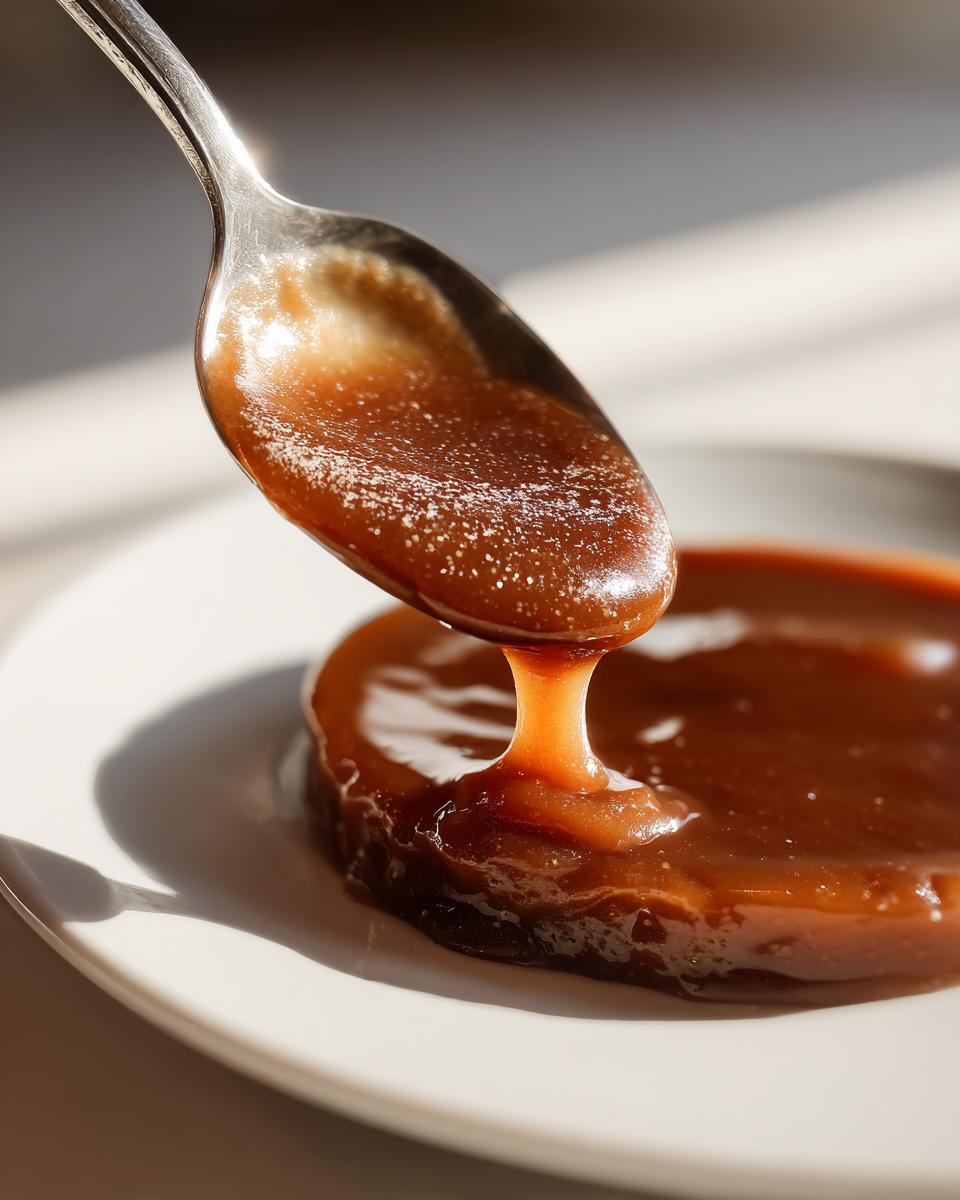
Once it’s all mixed, bring it to a simmer over low heat. Just let it bubble gently for about five to eight minutes, stirring often. It should coat the back of a spoon beautifully. If you want to see some great tips on timing this right on the holiday, check out what The Kitchn has to say about timing!
Expert Tips for Rich Savory Gravy Consistency
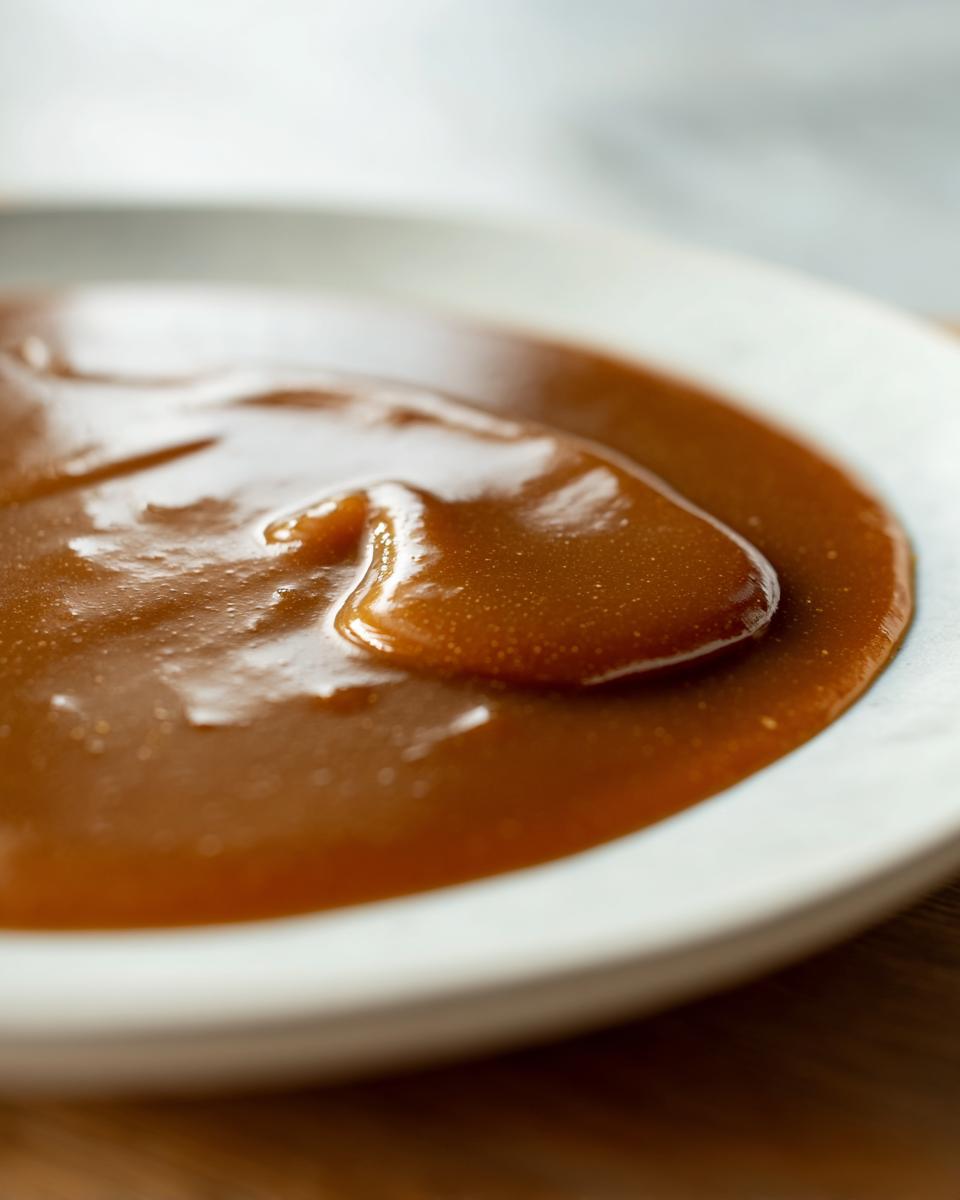
You followed the rules, you whisked patiently, and now you have gravy that looks good! But just because it’s thick doesn’t mean it’s *perfect*, right? Because we are aiming here for the Best Turkey Gravy Recipe, we have to talk finishing touches. My grandmother always said that the amount of seasoning is what separates a good sauce from a spectacular one. It needs to taste like the best part of the turkey drippings themselves.
After you simmer the gravy for those five to eight minutes, pull a spoon out and check the coating—that’s your visual cue for thickness. It should leave a clear, unbroken trail when you run your finger across the back of the spoon. If it’s too thin, don’t panic and dump in more flour! That just leads to a cloudy, gummy texture. Instead, let it simmer gently for another five minutes—heat is your friend for thickening!
Now for the flavor punch. Remember that initial salt and pepper we added? It’s probably too mild now that the volume has increased. Taste it! This is the moment to adjust for that Rich Savory Gravy profile. If you feel like it’s tasting a little flat, try adding a tiny dash—maybe a teaspoon—of Worcestershire sauce. It doesn’t taste like Worcestershire; it just boosts that deep, meaty savoriness that makes people ask for seconds. For notes on other flavors you can play with, I sometimes use ideas I pick up from recipes like my Beef and Broccoli dish for savory depth.
If you’ve managed to get a few sneaky lumps in there despite your best efforts, don’t worry! This is where being a confident cook comes in. You don’t throw it out. You just grab a fine-mesh sieve—the kind you use for sifting flour—and pour the gravy through it directly into a clean saucepan. Instant From Scratch Gravy perfection! It takes 30 seconds, and you save the entire batch. It’s about having solutions when things go slightly sideways in the kitchen, not abandoning the mission!
Make Ahead Gravy: Storage and Reheating Your Turkey Gravy
The absolute genius of this recipe, as you know, is that it’s totally built for your busy holiday schedule! Why wait until Thanksgiving morning to stress over a last-minute sauce when you can have this glorious Make Ahead Gravy sitting happy in the fridge? Getting this done ahead of time is a genuine game-changer; it frees you up to worry about more important things, like which wine pairs best with the cranberry sauce, or what movie to put on while the turkey rests.
The most important step here is cooling it down post-cooking. You’ve got to let that turkey gravy come completely to room temperature on the counter first. Trust me, shoving hot gravy straight into the fridge is just asking for trouble—and maybe a fridge fire? Not worth the risk! Once it’s cooled, transfer it into a tightly sealed, airtight container. You can store it safely in the refrigerator for up to three whole days. That means Wednesday night dinners are already planned, folks!
If you need to push it even further out, this freezes beautifully. I pop mine into small, freezer-safe Ziploc bags or containers, making sure there is a little room at the top—liquids expand when they freeze, so don’t fill it to the brim! This Classic Turkey Sauce can last up to two months in the deep freeze. Pair that with my pumpkin banana bread stash, and you are set for the whole season!
When it’s time to serve, this is critical for getting that amazing texture back: use low heat on the stovetop. Gently warm the gravy, stirring constantly. Because the starch tightens up when it chills, it will look like edible paste at first. Don’t dump in cold water! You need to whisk in a splash of *warm* turkey stock or even just hot water until you whisk it back into that perfect, flowing consistency you loved when you first made it. If you want more ideas on how to manage your timeline for the big day, check out the tips over at Buttery Our Biscuit!
Serving Suggestions for Your Holiday Gravy
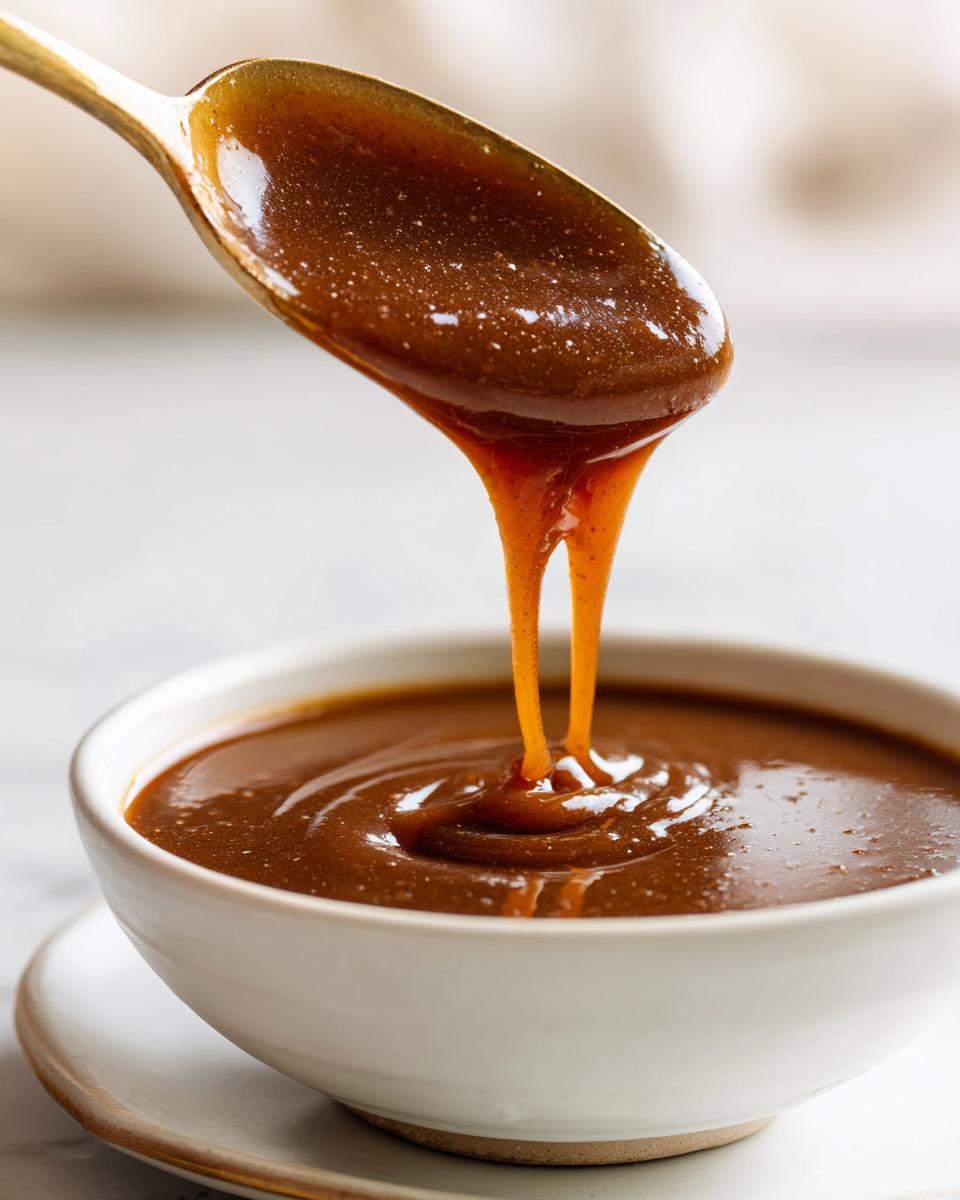
Okay, you’ve nailed the technique, your Holiday Gravy is smooth, rich, and sitting perfectly warm on the stove. Now, where are we pouring this masterpiece? This isn’t just a side sauce; it’s the delicious glue that holds the entire holiday plate together! You simply cannot have traditional Comfort Food Gravy just sitting there untouched.
My go-to pairing, naturally, is the mountain of mashed potatoes you just made. Don’t be shy—drench them! But don’t stop there. This gravy is also the perfect finishing touch for any stuffing you’ve made. If you went the casserole route, like my favorite Corn Casserole, a drizzle on top adds instant savory depth. And, of course, it’s non-negotiable over that perfect slice of holiday turkey!
Honestly, if it’s starchy or plain, give it some gravy love. It’s thick enough to pool nicely without running everywhere, which means it’s perfect for dipping biscuits or making sure your green bean casserole gets a little extra richness. Don’t let any of this beautiful sauce go to waste!
Troubleshooting Common Turkey Gravy Issues
Even with a foolproof gravy recipe, sometimes the kitchen gods decide to test you! Maybe you got distracted tasting the stuffing, or maybe your stock was saltier than you thought. Don’t sweat it for one second, because even the best holiday cooks run into little snags. The goal here is always to have a fix ready, so you can serve that perfect Comfort Food Gravy without anyone knowing you had a momentary panic!
Let’s talk about the three main issues I run into with my Homemade Turkey Gravy, and how to fix them fast.
Uh oh, It’s Too Thin!
This is the easiest fix, hands down. If you’ve brought your gravy to a simmer and it’s still running off the back of your spoon like water, you just need patience! Remember when we talked about the roux? Well, the starch needs heat and time to fully activate. Simply keep it simmering gently over low heat, stirring occasionally. If you need a quicker boost, you can make a little slurry: whisk one teaspoon of flour or cornstarch with two teaspoons of cold water or cold stock in a tiny bowl. Whisk that slurry right into the simmering gravy. Let it cook for another minute or two, and you’ll see it tighten right up. If you’re feeling like you need more ideas for quick fixes, sometimes I use similar thickening tricks in my Lasagna Soup!
Yikes, It Tastes Like the Ocean!
Salt is tricky, especially with store-bought broth or salty drippings. If you’ve added your salt and pepper and it tastes way too salty, don’t throw it out! The immediate fix is to dilute it slightly. Whisk in another half-cup of unsalted liquid—just plain water or unsalted chicken/turkey stock. This spreads out the saltiness. If you don’t have extra stock, one of my grandma’s old-school tricks was to float a peeled, raw potato into the gravy while it simmers for about 15 minutes; it absorbs some of the excess salt. Just remember to pull the potato out before serving!
My Gravy Has Lumps!
I told you the roux method was foolproof, but accidents happen, especially when you’re distracted by the oven timer! If you see those little flour clumps floating around, don’t keep whisking frantically—that just breaks them into smaller, harder-to-remove lumps. Instead, grab that fine-mesh sieve I mentioned earlier. Pour the entire batch of turkey gravy through it into a clean saucepan. Hold the sieve right over the lip of the new pan and use a rubber spatula to gently press the gravy through. The solids get caught, and you’re left with silky-smooth perfection. It’s the quickest rescue mission in the kitchen!
Frequently Asked Questions About Turkey Gravy
I know you might still have a few lingering doubts before serving up your beautiful holiday spread. Don’t worry a bit! When I first started relying on a make ahead gravy, I had a million questions too. It’s the most crucial element of the plate, so we need to make sure it’s rock solid. Here are the biggest questions I always get about making the perfect drizzle for the feast.
Can I make this turkey gravy entirely without drippings?
Yes, absolutely, and this is the real beauty of this recipe! When you follow the instructions for Turkey Gravy With or Without Drippings, you’re setting yourself up for success regardless of what happens in that roasting pan. If you don’t have that half-cup of rendered fat, you simply substitute it with an equal amount of high-quality stock—that becomes your gorgeous Turkey Stock Gravy. It won’t be quite as rich as using the drippings, but because we rely on a solid roux base, it is still incredibly flavorful and achieves that perfect smooth texture. If you’re in a real rush, this variation is what turns it into a truly Quick Turkey Gravy!
How long does homemade turkey gravy last in the fridge?
This is where that make-ahead magic really pays off! Once the gravy has cooled completely, store it in a tightly sealed container in the refrigerator. Properly stored, this Homemade Turkey Gravy will keep its flavor and texture brilliantly for up to three full days. That means you can make it Wednesday night, and it’ll be ready to reheat on Friday if you’re having leftovers! If you want to keep it even longer, freeze it, but if you’re serving it within three days, the fridge is perfect.
Also, if you’re looking for something fun to serve alongside all that savory richness, you must try my recipe for Chicken Broccoli Casserole; it’s another guaranteed crowd-pleaser!
Final Thoughts on Your Holiday Feast Essentials
We did it! We turned simple butter, flour, and broth into the backbone of your entire holiday table. As a home cook myself, I know the feeling—that wave of satisfaction when everything comes together perfectly, especially the one component everyone always worries about. This turkey gravy isn’t just a sauce; it’s the savory handshake between your turkey, your stuffing, and those perfectly fluffy potatoes we talked about.
Don’t let the process scare you off next year, either! Because this recipe is designed to be made ahead, you’ve bought yourself hours of peace for the big day. Now you get to relax a little bit, knowing you’ve mastered a piece of kitchen magic that tastes exactly like home.
I truly hope this recipe brings that warmth and connection to your table. If you made this Rich Savory Gravy and everyone cleared their plates, please let me know how it went! Leave me a rating below, or better yet, snap a picture and tag me on social media; I absolutely love seeing your successes. Happy cooking, and don’t forget to check out more of my family favorites over on my About Page!
PrintEasy & Foolproof Make-Ahead Turkey Gravy: Rich Flavor With or Without Drippings

Make rich, savory turkey gravy that stays smooth, even when prepared ahead of time. This foolproof recipe works perfectly using turkey drippings or substitute with stock for a delicious holiday staple.
- Prep Time: 10 min
- Cook Time: 15 min
- Total Time: 25 min
- Yield: About 2.5 cups 1x
- Category: Side Dish
- Method: Stovetop
- Cuisine: American
- Diet: Vegetarian
Ingredients
- 4 tablespoons unsalted butter
- 4 tablespoons all-purpose flour
- 1/2 cup reserved turkey drippings (or substitute with 1/2 cup extra turkey stock)
- 2 cups turkey stock or low-sodium chicken broth
- 1/2 teaspoon salt, or to taste
- 1/4 teaspoon black pepper, or to taste
- Pinch of dried thyme (optional)
Instructions
- If using drippings, collect 1/2 cup of fat from the roasting pan after cooking your turkey. If you do not have drippings, measure out 1/2 cup of turkey stock to use in place of the fat.
- In a medium saucepan, melt the butter over medium heat.
- Whisk in the flour to create a smooth paste, known as a roux. Cook the roux, stirring constantly, for 1 to 2 minutes until it smells slightly nutty. Do not let it brown.
- If using drippings: Carefully whisk the reserved turkey fat (drippings) into the roux until fully combined and smooth. If you are not using drippings, add the 1/2 cup of stock you measured out, whisking until smooth.
- Gradually whisk in the remaining 2 cups of turkey stock or broth, ensuring there are no lumps forming.
- Bring the mixture to a simmer, stirring frequently. Reduce the heat to low and continue to simmer for 5 to 8 minutes, or until the gravy thickens enough to coat the back of a spoon. This step is key for a smooth turkey gravy.
- Season with salt, pepper, and dried thyme, if using. Taste and adjust seasonings as needed.
- For make-ahead storage: Allow the gravy to cool completely before transferring it to an airtight container. Refrigerate for up to 3 days or freeze for up to 2 months.
- To reheat: Gently warm the gravy on the stovetop over low heat, whisking often. If the gravy is too thick after reheating, whisk in a splash of warm stock or water until you reach your desired consistency.
Notes
- For the richest flavor, use homemade turkey stock instead of store-bought broth.
- If you end up with lumps, strain the gravy through a fine-mesh sieve into a clean saucepan.
- This recipe is a great base; feel free to add a splash of heavy cream at the end for a richer texture, or a teaspoon of Worcestershire sauce for deeper savory notes.
Nutrition
- Serving Size: 1/4 cup
- Calories: 85
- Sugar: 0.5
- Sodium: 180
- Fat: 6
- Saturated Fat: 3.5
- Unsaturated Fat: 2.5
- Trans Fat: 0
- Carbohydrates: 5
- Fiber: 0.2
- Protein: 2
- Cholesterol: 10