

Oh, listen, we’ve all been there, right? The doorbell rings ten minutes before your guests are due, and you realize you have absolutely nothing ready to serve. In those moments, you need a miracle—or at least, a truly epic, last-minute appetizer that looks like you slaved away for hours. Well, trust me, I’ve got your back because this olive dip saves my life almost every single weekend. It’s genuinely ready in five minutes flat and requires zero cooking whatsoever. It brings all that savory Mediterranean goodness to the table without stressing me out. That’s what home cooking is all about: sharing joy, not scrambling!
- Why This Creamy Olive Dip is Your New Favorite Party Appetizer Ideas
- Gathering Ingredients for Your Ultimate Olive Dip
- Step-by-Step Instructions for the Best Olive Dip
- Expert Tips for Making a Superior Olive Dip
- Variations: Customizing Your Homemade Olive Spread
- Serving Suggestions for this Cold Olive Dip
- Storage and Make Ahead Dips Instructions for Your Olive Dip
- Frequently Asked Questions About Olive Dip
- Nutritional Snapshot of This Quick Snack
Why This Creamy Olive Dip is Your New Favorite Party Appetizer Ideas
If you follow me, you know I struggle sometimes to balance my work life with actually having people over. This easy olive dip recipe changed everything for me. When you need an impressive platter that doesn’t involve turning on the oven or waiting for anything to rise, this is the one. It’s the definition of simple entertaining recipes!
- It’s lightning fast: truly ready in under five minutes.
- It’s a no bake olive dip, meaning you use your food processor, not the stove.
- It tastes like you spent way more time on it than you actually did.
When an unexpected friend pops over on a Thursday night, this cold olive dip is what I whip up. It’s proof that we don’t need complicated recipes to show we care. I trust this method because all the core ingredients are reliable, high-quality staples that I always keep stocked.
Speed and Simplicity: The 5-Minute Olive Dip Promise
Five minutes. That’s the actual commitment here. You drain the olives, measure the rest, and hit the pulse button. Because it’s a no bake olive dip, there’s zero downtime waiting for preheating or cooling. Honestly, sometimes I make it while my guests are still parking!
If you’re looking for something similar for a different crowd, you should check out my recipe for creamy jalapeno popper dip—though that one definitely requires the oven!
Flavor Profile: More Than Just a Quick Olive Spread
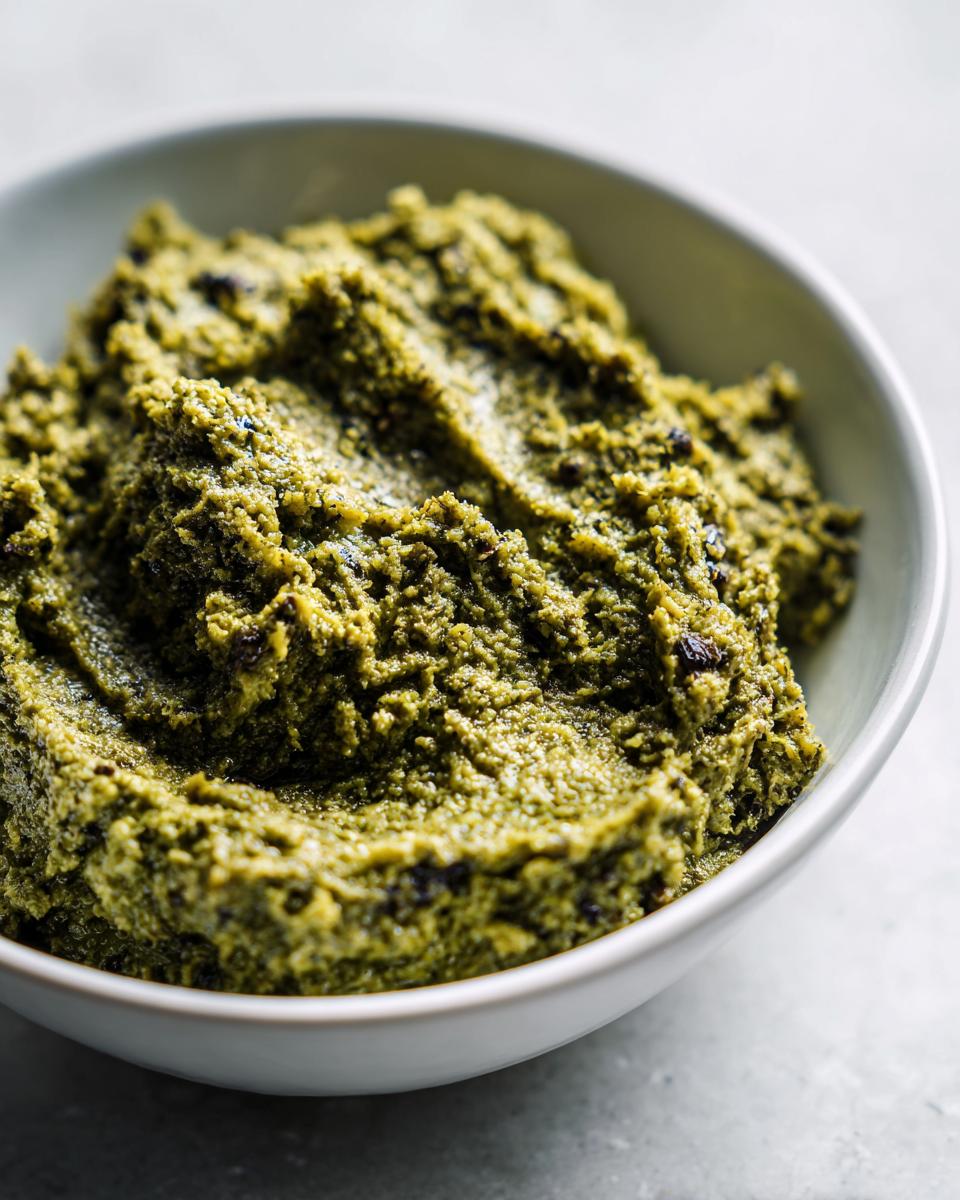
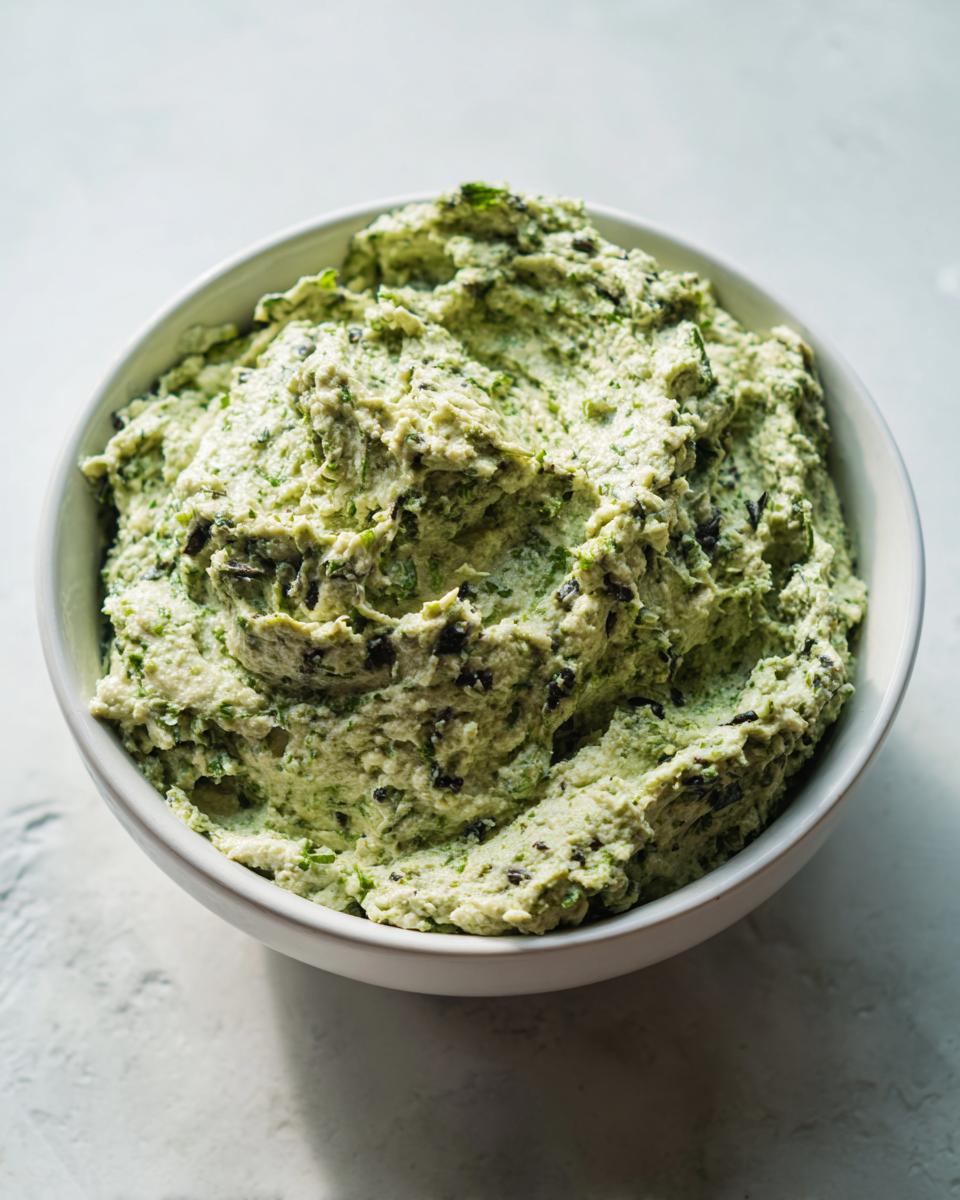
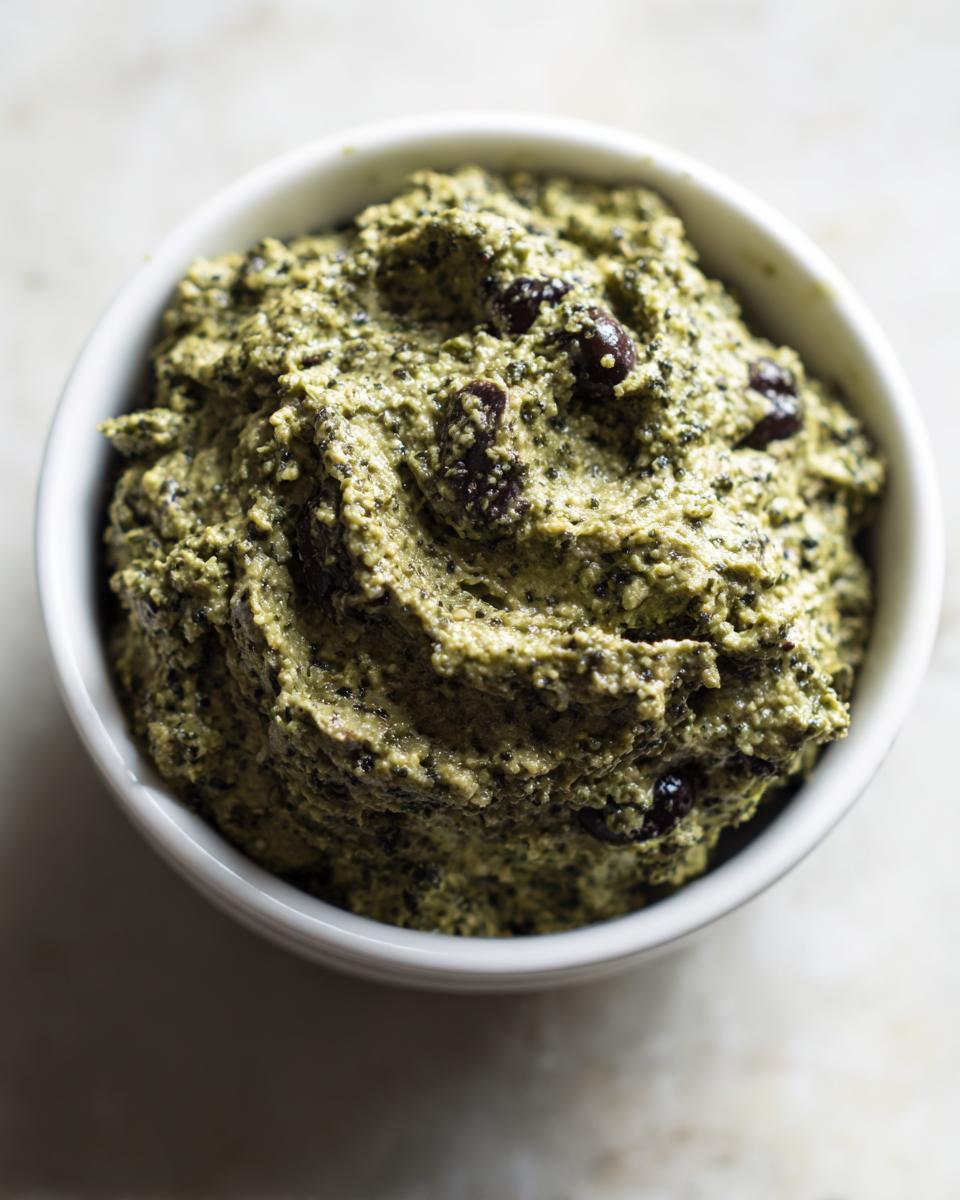
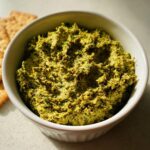
Don’t think “quick” means bland, though. Because we use both green and black olives, you get this fantastic balance. It’s savory, salty from the olives, and brightened up by the lemon juice. When it comes out of the processor, it’s beautifully textured—close to that whipped olive dip texture people love, but still a little chunky so you know it’s homemade.
The combination of salty olives and tangy cream cheese is divine. For more brilliant appetizer inspiration, I always look at what other bloggers are doing for parties; you can see a great example over here!
Gathering Ingredients for Your Ultimate Olive Dip
Okay, the beauty of this olive dip is that the ingredient list is short and sweet—no funny specialty items needed that you’ll only use once! I always make sure my ingredients are ready to go before I even pull out the food processor. That way, the five minutes I promised you are legit, just processing time.
Here’s what you need to grab out of your fridge and pantry:
- 1 cup pitted green olives, make sure they are well drained!
- 1 cup pitted black olives, also drained well.
- 4 ounces cream cheese, this absolutely has to be softened first—so take it out early!
- 1/4 cup mayonnaise for that perfect creaminess.
- 1 clove garlic, minced super fine.
- 1 tablespoon fresh lemon juice for a little zing.
- 1 teaspoon dried oregano—don’t skip the seasoning!
- A good crack of freshly ground black pepper.
See? So simple! Using good quality olives here really makes a difference in the final taste, so don’t skimp on the olives!
Step-by-Step Instructions for the Best Olive Dip
Now for the fun part—turning those simple ingredients into something amazing! Since this is our no bake olive dip, all the action happens in the food processor. I always weigh out what I’m doing here because getting the texture just right is what makes this a great creamy olive dip instead of just chopped olives dumped in a bowl.
If you don’t have a processor, don’t panic! You can still achieve this by finely chopping the olives manually and then using a sturdy fork to mash everything together until you get roughly the consistency we are aiming for. But if you have the appliance, let’s use it!
Processing the Creamy Olive Dip Base
First things first, make sure those olives are totally drained. Soggy olives mean a watery dip, and we don’t want that! Toss the green olives, black olives, softened cream cheese, mayonnaise, minced garlic, lemon juice, and that oregano right into the bowl of your food processor.
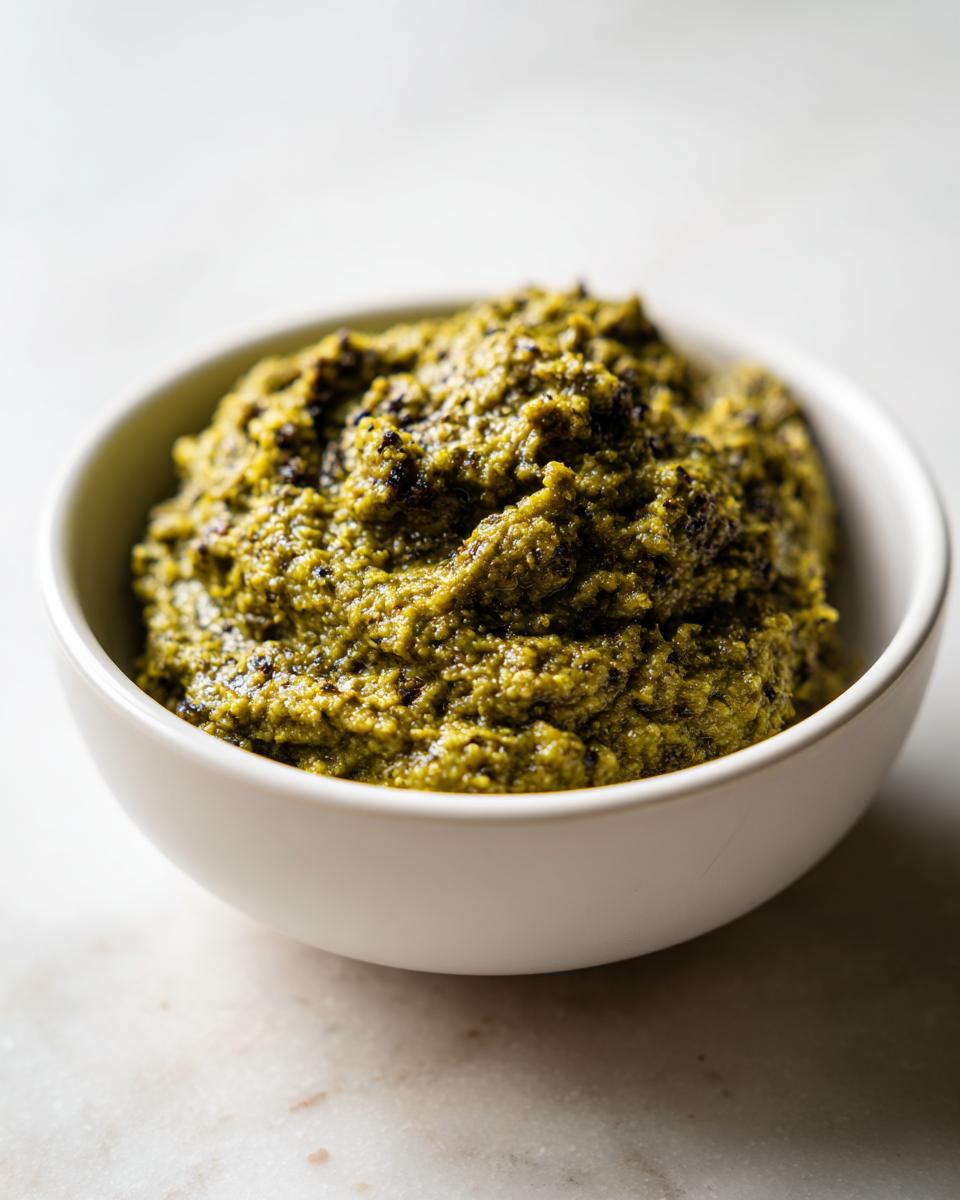
Now, this is the most important part for that slightly coarse, yet creamy result. Pulse the mixture, don’t just turn the machine on and walk away, okay? You want to pulse it maybe four or five times to start. We are aiming for a chunky, spreadable texture, not baby food! If you over-process, you lose the rustic charm that makes this the best olive dip. Stop, check the texture, and pulse again if you need a little more smoothness.
I love seeing those little flecks of green and black throughout. If you’re looking for guides on making other fresh dips, like my homemade tzatziki, the technique of pulsing is often key there, too!
Flavor Check and Chilling Time for Perfect Olive Dip
Once you’ve reached that beautiful, coarse texture, give it a quick taste test right off a spoon. This is where you add black pepper to your liking. Sometimes the olives are salty enough that you don’t need extra salt, but always taste first! This step moves us from basic ingredients to truly great savory dip recipes.
Next, you have to resist the urge to serve it immediately! Transfer the mixture into the bowl you plan to use for serving. Pop it into the fridge for at least 15 minutes. Why? Flavor melding! Those garlic and oregano notes need a little time to marry with the cream cheese base while it chills down. It’s essential for the best flavor experience.
If you are making this for a party or just want an extra boost of green olive flavor, definitely check out the inspiration over at Sweet Caramel Sunday’s green olive dip, but remember that for this recipe, we are using both colors!
Expert Tips for Making a Superior Olive Dip
I always say that developing savory dip recipes is all about respecting your ingredients. These little tips are what move this snack from ‘pretty good’ to ‘wait, can I have the recipe?’ It’s just kitchen wisdom I’ve picked up over the years when I’m trying to get the best flavor out of something so simple.
First, let’s talk olives again. Since they are the star, please use the best ones you can find—the ones that taste bright and not oily or mushy straight out of the jar. That makes a huge difference because this olive dip doesn’t hide anything!
And remember that alternative I mentioned if you don’t have a food processor? If you’re mashing by hand, push down hard with a fork onto the chopped olives against the side of the bowl; work slowly until the cream cheese starts to break down and incorporate the olive bits. It takes more muscle, but it gives you this amazing, rustic texture that’s fantastic for dipping. If you ever need another creamy base recipe, you might want to check out my homemade garlic aioli—the mixing principles are similar!
Variations: Customizing Your Homemade Olive Spread
You know, once you master the basic formula for this olive dip, you start seeing possibilities everywhere! It’s such a versatile base. People often ask me if they should stick strictly to black olives or only use green olives, but honestly, the mix is what gives you that perfect, balanced flavor profile. If you want to lean into the green olive flavor, go for it! You can easily pivot this recipe toward a specific direction just by adding in one or two extras.
Don’t be afraid to make this your own, especially if you’re planning on serving it for the third weekend in a row! Think of this as your foundational creamy olive dip recipe, ready for a personality upgrade.
Here are a few things I love tossing in when I want to mix up the flavor profile:
- For Brighter Flavor: Add 1/4 cup of chopped sun-dried tomatoes (the oil-packed ones are best here!) when you pulse the mix. It adds a lovely chewy texture and sweetness.
- For a Mediterranean Twist: Crumble in about 1/4 cup of good quality feta cheese along with the olives. It gives it a nice salty tang and makes it feel even more like a classic Mediterranean dip.
- Herb Swap: If you’re tired of oregano, swap it out for 1/2 teaspoon of dried thyme or a tablespoon of finely chopped fresh dill. Dill is amazing with these salty flavors!
If cheese sounds good but you want a baked experience—which is totally different from this cold spread—you might love looking at how they do a cheesy baked olive dip for heavier party fare. But for keeping things super simple and quick, these easy additions are perfect.
Another fun route is taking these principles and applying them to other speedy appetizers. If you are always looking for quick fixes for guests, I have a whole list of relish dip ideas that follow this same ‘dump and blend’ philosophy!
Serving Suggestions for this Cold Olive Dip
So, you have your gorgeous, creamy olive dip chilling happily in the fridge. What do you serve it with? Because this is such a versatile, savory flavor bomb, the pairing options feel endless! When I’m throwing together appetizer dips for parties, I try to offer a mix of textures—something crunchy, something soft, and something fresh.
This flavor profile—salty, tangy olive—just screams ‘dip!’ and goes beautifully with classics. Forget those boring chips; let’s elevate things just slightly for your next gathering or game day!
The Carb Companions: Bread and Crackers
You absolutely need a sturdy vessel for scooping! A delicate cracker will snap under the weight of this delicious spread, trust me. I always gravitate toward:
- Crusty Bread: Thick slices of a fresh baguette, maybe lightly toasted until golden brown. The slight warmth contrasts perfectly with the cold olive dip.
- Pita Chips: Grab the thick, sturdy ones, not the super thin, fragile kind. They hold up so well.
- Pretzels: Sticks or little twists offer a nice salty crunch that complements the olives perfectly.
Keeping it Fresh: Veggie Sticks for Easy Entertaining
If you’re looking for lighter options or need to offer something healthier alongside, vegetables are fantastic! They provide a nice, cool snap against the smooth texture of the dip. This is my go-to when I need some natural color on the appetizer table.
Try celery sticks, carrot coins, or sweet bell pepper strips cut into dipping shapes—they all work wonderfully with this quick olive spread. If you’re looking to round out your spread with something heartier, you can always pair this dip with some simple sliders, like my recipe for Hawaiian roll ham and cheese sliders!
Making it a Full Spread
If you’re serving this for game day dips or a bigger spread, don’t be afraid to garnish the serving bowl! A drizzle of high-quality olive oil right before serving makes it look instantly gourmet. You can also sprinkle on a tiny bit of smoked paprika for color or some crumbled parsley.
This easy appetizer really shines when you place it next to something tangy, like marinated artichoke hearts or some sharp cheese cubes. It instantly pulls your whole snack spread together!
Storage and Make Ahead Dips Instructions for Your Olive Dip
Look, sometimes you make a batch of olive dip because you know you’ll be snacking all weekend, or maybe you just overestimated how hungry people were! Don’t worry at all about leftovers; this dip actually gets a little better overnight, which is the dream, right? This recipe absolutely qualifies as one of those fantastic make ahead dips you can prepare when you have a spare ten minutes on Saturday morning, knowing your appetizer situation is covered for Sunday’s get-together.
When it comes to storage, the name of the game is keeping the air out so that gorgeous creaminess stays fresh. You’ll want to transfer any leftover dip into a small, airtight container. I find that if I press a layer of plastic wrap directly onto the surface of the dip before sealing the lid, it really helps prevent any weird skin from forming on top.
If you need to make this early for a party, I highly recommend preparing it start-to-finish, chilling it for that essential 15 minutes, and then storing it for up to 24 hours. When it’s time to serve, just pull it out of the fridge about 10 to 15 minutes beforehand.
Since this is a cold olive dip, reheating it isn’t really the way to go—it will break the texture because of the cream cheese and mayo base. We want it chilled or just slightly cool, never warm. If it feels too hard right out of the fridge, just let it sit on the counter for a few minutes while you arrange your crackers. It will soften up perfectly without getting oily!
Frequently Asked Questions About Olive Dip
When people see a recipe this fast, they always have questions, and I totally get it! I love sharing everything I know because that’s how we all build confidence in the kitchen. These few questions come up most often when folks are trying this creamy olive dip for the first time.
Is this olive dip recipe similar to tapenade?
That’s a great question because olives make you immediately think of tapenade, right? They are cousins, but not twins! Traditional tapenade is usually a much oilier, chunkier spread where the olives are almost pureed with capers and herbs. Our version here is an easy olive dip recipe because we use cream cheese and mayo as cream bases. We’re aiming for that delightful, thick, scoopable texture—a true cold olive dip, rather than the finely pureed, oil-heavy tapenade. If you want to compare the differences in detail, you can read all about it right here on the blog!
Can I make this olive dip ahead of time?
Yes, absolutely! This is one of my favorite make ahead dips. I find the flavor is actually best if you make it the day before serving. When prepping early, just make sure you give it a solid 15-minute chill right before you serve, or even let it sit for maybe 30 minutes on the counter if it’s been in the fridge overnight—we don’t want it rock hard when people reach for it!
Can I use jarred olives, or do they have to be fresh?
Please use jarred, pitted olives for this! When I talk about fresh ingredients, I mean fresh *produce*, but for the olives themselves, the oil- or brine-packed ones from a jar are exactly what you need. In fact, they are already cured and ready to go. Just make sure you drain them really, really well before they hit the food processor so your dip doesn’t end up watery. This is key for any quick olive spread to work correctly.
What if I don’t have a food processor for this savory dip recipe?
Don’t let a missing appliance stop you from having delicious party appetizer ideas! As I mentioned in the instructions, you can absolutely do this by hand. You need to finely chop your olives—I mean, as fine as you possibly can with a good sharp knife. Then, get a sturdy fork and mash them into the softened cream cheese in a bowl. It will take more elbow grease, but you’ll end up with a lovely, rustic texture. This might take you closer to 10 minutes total, but it’s still an incredible simple entertaining recipe!
How long does this olive dip stay good in the fridge?
Because it has cream cheese and mayo, this dip stays fresh and delicious for about four to five days stored properly in an airtight container. It’s fantastic for meal-prepping little snacks! If you are already looking for other speedy snacks once the olives are gone, check out this straightforward recipe collection for more fast ideas!
Nutritional Snapshot of This Quick Snack
I always try to be super upfront about what we’re putting into our bodies, even with something as fun and indulgent as this olive dip. Remember, these numbers I’m sharing are just estimates based on the exact recipe amounts I listed out earlier. If you swap out your full-fat cream cheese for light, or if your olives happen to be packed in a slightly different brine, those macros will shift a little bit. That’s just the reality of home cooking, right?
But generally speaking, this dip delivers big satisfaction in a small serving size. It’s great for when you need a savory snack that isn’t loaded down with heavy carbs. It’s definitely a treat, but a controllable one!
Here is a quick breakdown per 2-tablespoon serving size:
- Calories: Around 75 calories. Not bad for an appetizer!
- Fat: About 7 grams. Most of this is coming from the cream cheese and mayo base. Remember, there are 4 grams of unsaturated fat in there, which is the nice kind!
- Carbohydrates: Just around 2 grams. Very low carb here, which is a bonus for many of us.
- Protein: About 1 gram. It’s not a protein powerhouse, but combined with crackers or veggies, it helps keep you full.
Since we’re keeping things simple, I don’t have complex fiber or sugar counts, but the sugar here is naturally occurring or from the tiny bit of molasses in the ingredients we used. If you’re looking for healthier snack ideas that pack a bigger protein punch, you might want to check out my post on no-bake protein bars—a totally different vibe, but great for energy!
PrintUltimate 5-Minute Creamy Olive Dip (No Cooking Required)
Make this incredibly simple, cold olive dip in just five minutes. It uses few ingredients and requires no baking, making it the best appetizer for last-minute entertaining.
- Prep Time: 5 min
- Cook Time: 0 min
- Total Time: 5 min
- Yield: About 1.5 cups 1x
- Category: Appetizer
- Method: No Bake
- Cuisine: American
- Diet: Vegetarian
Ingredients
- 1 cup pitted green olives, drained
- 1 cup pitted black olives, drained
- 4 ounces cream cheese, softened
- 1/4 cup mayonnaise
- 1 clove garlic, minced
- 1 tablespoon fresh lemon juice
- 1 teaspoon dried oregano
- Freshly ground black pepper to taste
Instructions
- Place the drained green olives, black olives, softened cream cheese, mayonnaise, minced garlic, lemon juice, and oregano into the bowl of a food processor.
- Pulse the mixture several times until it forms a coarse, slightly chunky spread. Do not over-process; you want some texture remaining.
- Taste the dip and add black pepper as needed. If you prefer a smoother dip, process for a few more seconds.
- Transfer the creamy olive dip to a serving bowl.
- Chill for at least 15 minutes before serving to allow the flavors to meld.
- Serve this quick olive spread with crackers, vegetable sticks, or crusty bread for your next party appetizer.
Notes
- For a richer flavor, use high-quality olives. This dip is excellent for make ahead dips; prepare it up to one day in advance.
- If you do not have a food processor, you can finely chop the olives and mash them thoroughly with the cream cheese using a fork until combined.
- This recipe is naturally vegetarian and fits well into Mediterranean dip ideas.
Nutrition
- Serving Size: 2 tablespoons
- Calories: 75
- Sugar: 1
- Sodium: 250
- Fat: 7
- Saturated Fat: 3
- Unsaturated Fat: 4
- Trans Fat: 0
- Carbohydrates: 2
- Fiber: 0
- Protein: 1
- Cholesterol: 15