
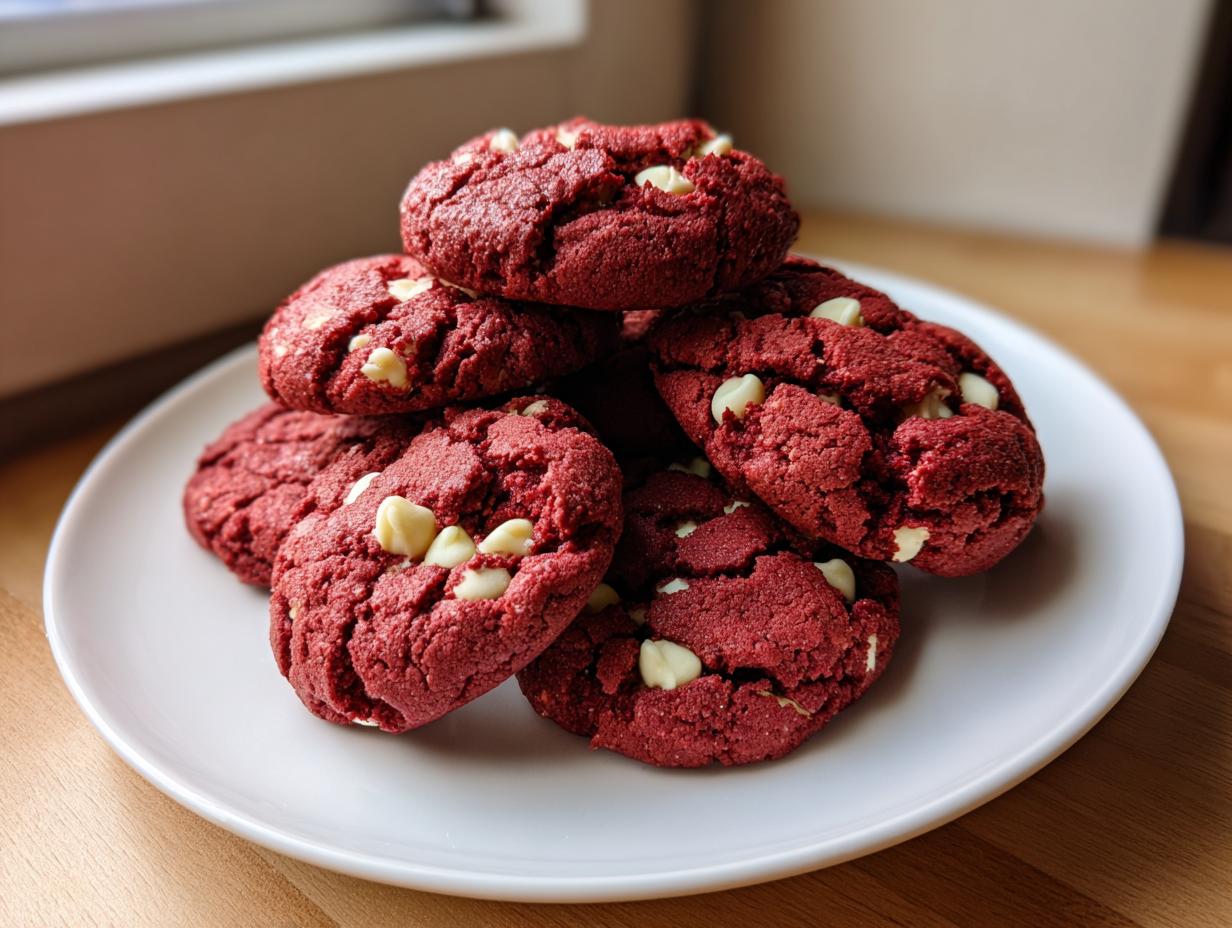
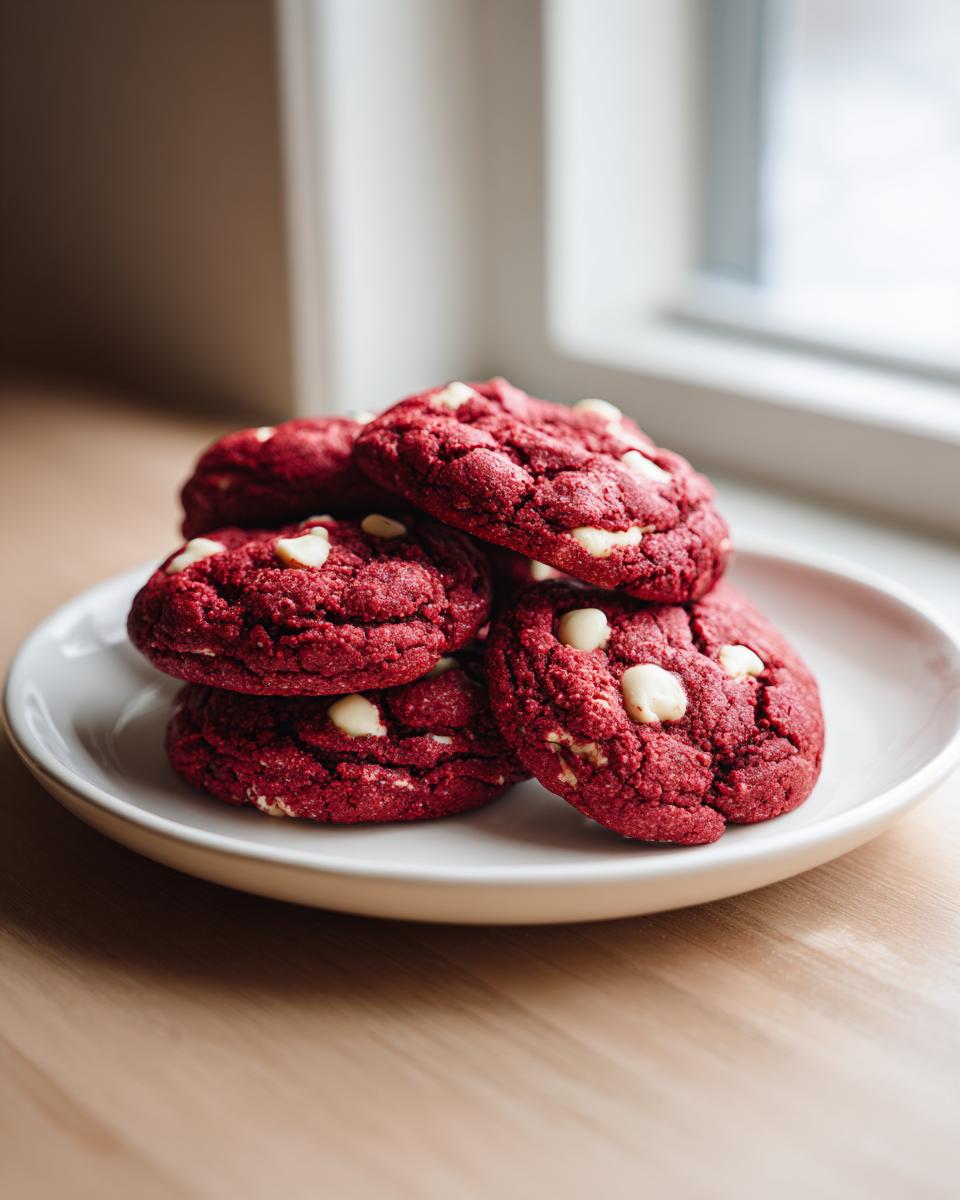
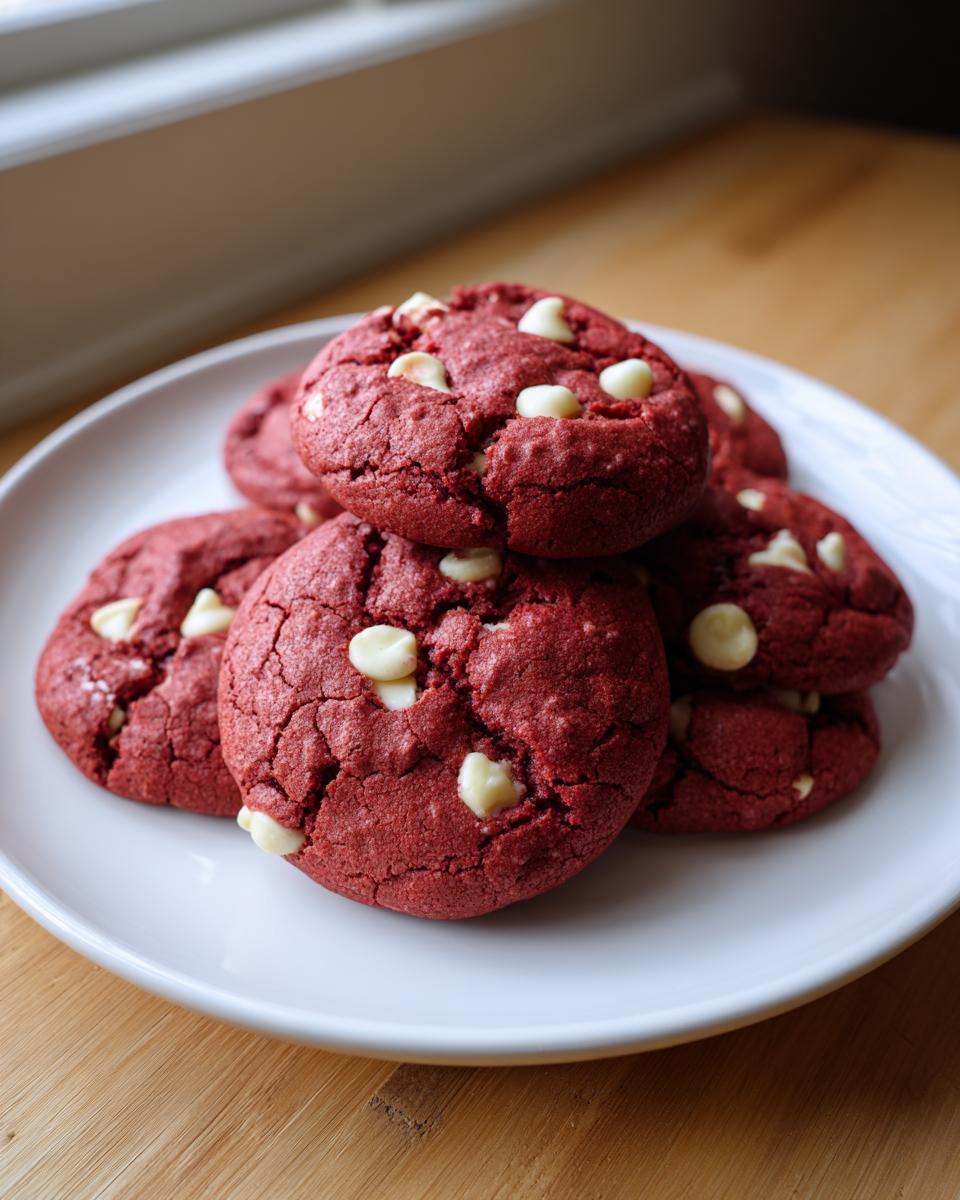
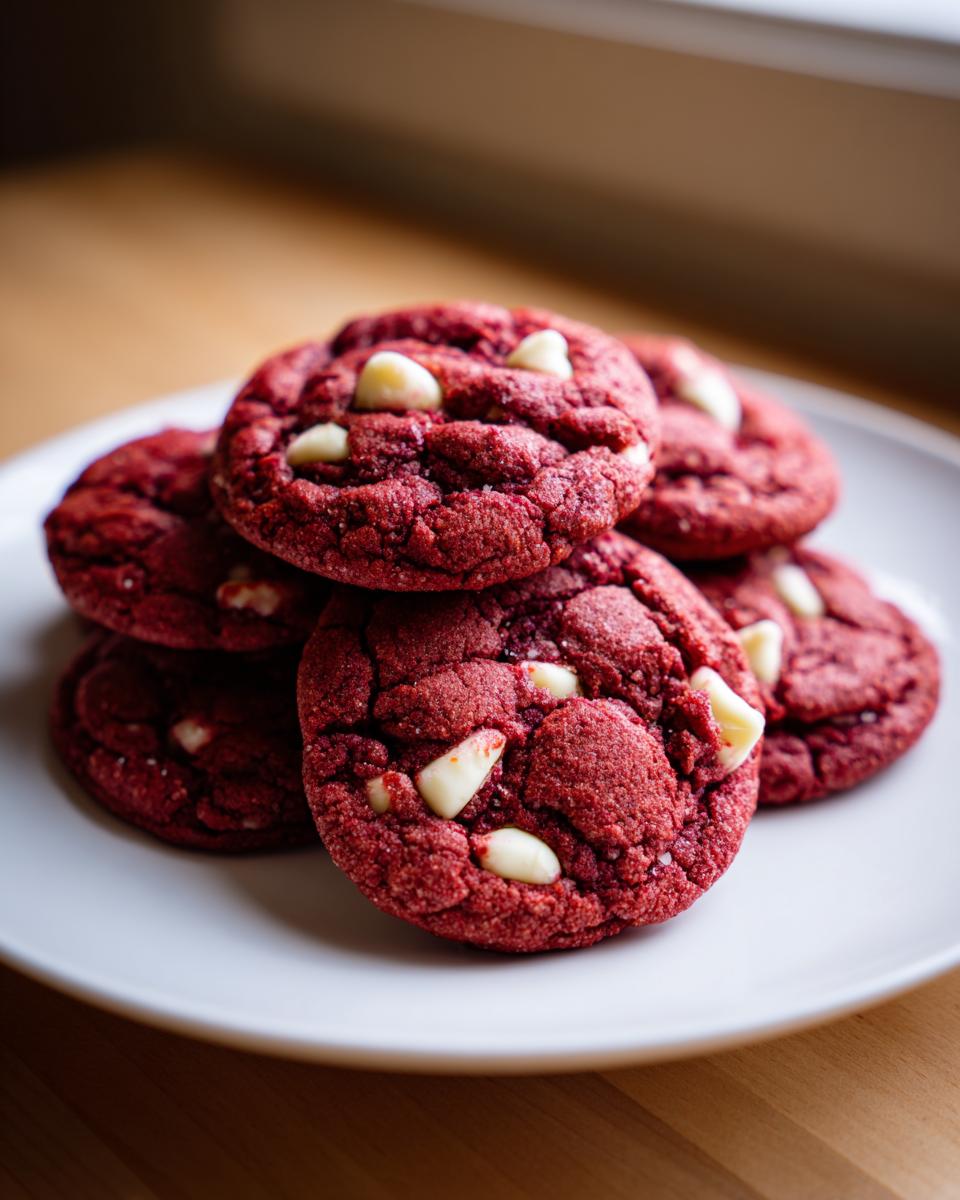
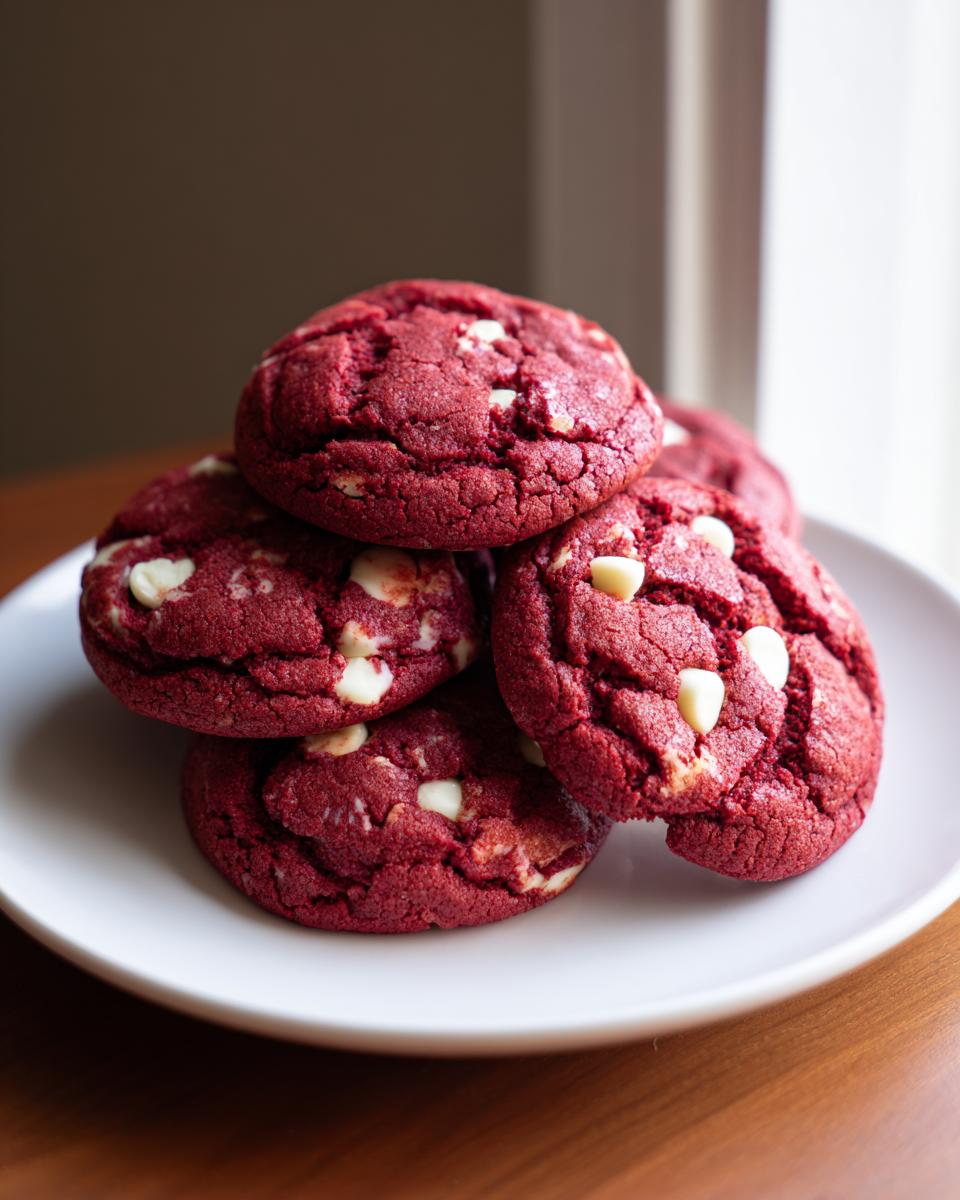
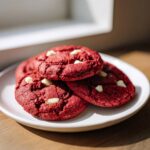
Honestly, nothing stops me in my tracks quite like seeing a tray full of vibrant red velvet cookies. They just scream “special occasion,” right? I’m Maddie, and while my heart belongs to the comfort of pot pie, I absolutely cannot resist taking that famous cake flavor and squishing it into cookie form. Finding the sweet spot for red velvet cookies can be tricky; you want that deep cocoa flavor, but boy, do you want them soft and chewy! This recipe, loaded with pools of melted white chocolate chips, is my go-to for making that classic holiday comfort flavor work perfectly in a modern, quick bake. Trust me, these are worth the vibrant red dough mess!
- Why This Soft and Chewy Red Velvet Cookies Recipe Works
- Gathering Ingredients for Your Red Velvet Cookies
- Step-by-Step Instructions for Perfect Red Velvet Cookies
- Tips for Making the Best Homemade Red Velvet Cookies
- Variations on Classic Red Velvet Cookies
- Making Frosted Red Velvet Cookies for Holidays
- Storage and Keeping Your Red Velvet Cookies Fresh
- Frequently Asked Questions About Red Velvet Cookies
- Estimated Nutritional Data for Red Velvet Cookies
Why This Soft and Chewy Red Velvet Cookies Recipe Works
I test a lot of recipes, and I keep coming back to this one because it nails the texture every single time. We aren’t going for cakey here; we are going for that ultimate soft, slightly dense bite that makes you reach for another. The secret to great red velvet cookies is that balancing act between the subtle cocoa and the tang. We get structure from softened butter—never melted, or they spread into pancakes—and a little bit of zing from the white vinegar.
If you want those deep, rich colors that truly look festive, you have to treat the coloring right. It’s all about building that flavor base so you get the true essence of red velvet without compromising on a wonderfully chewy finish.
Achieving the Perfect Soft Baked Red Velvet Cookies Texture
Listen, you’ve probably seen recipes online that call for melted butter, but that’s how you get flat, crispy edges! For these soft baked red velvet cookies, we need the butter to be perfectly softened—you know, when it gives just a little when you press it. That helps incorporate air when we cream it with the sugar, giving us lift and chewiness.
Also, color matters! If you want that deep crimson, don’t skimp on the quality of your coloring. I always insist on a good gel food coloring. It gives you that intense, gorgeous color without watering down the dough like the liquid drops do. A little bit of science mixed with a whole lot of love makes these cookies spectacular.
If you love figuring out the secrets behind the chewiest cookies, you might want to check out my favorite guide to chewy chocolate chip cookies—the creaming principles are the same!
Gathering Ingredients for Your Red Velvet Cookies
Okay, let’s talk about what you’ll need to pull these beauties together. Because this recipe is so straightforward, the quality of what you toss in really shines through! You’ll need your butter (softened, remember!), the flour, that good cocoa powder for depth, and of course, plenty of white chocolate chips. Seriously, don’t skimp on the chips—they melt into gorgeous little pools of sweetness against that deep red dough.
When you look at the list, you’ll see a couple of things that look a little unusual, like vinegar, but trust me, those are the secret agents making this recipe work! It really comes together fast, usually taking me less than 15 minutes to get it all mixed up before chilling.
Ingredient Notes and Substitutions for Red Velvet Cookies
I want to give you a heads-up on two key things before you start mixing. First, about that color: if you can grab a tube of gel food coloring rather than the liquid drops, please do! The gel packs way more pigment, so you get that beautiful, intense red color without adding extra liquid that could change the cookie texture. It’s such a game-changer for holiday baking!
Second, if you happen to be low on butter, or if you just really, really love that classic tangy note you get in red velvet cake? You have an option! You can substitute about a quarter-cup of that butter with four ounces of softened cream cheese. It adds a lovely, subtle tanginess, making your red velvet cookies taste even more like the cake version. It adds a little bit of extra trust factor when you know you can swap ingredients successfully!
Step-by-Step Instructions for Perfect Red Velvet Cookies
Alright, let’s get this dough mixed! This process is fast, but timing those steps is what keeps us from overmixing, which is the quickest way to sad, tough cookies. First things first, get your oven to 350°F (175°C) and line a couple of baking sheets with parchment paper. Trust me on the parchment; cleaning up sticky red dough is not my idea of fun!
Mixing Wet Ingredients for Rich Red Velvet Cookies
Start by creaming that softened butter and the sugar together until they look pale and fluffy—you’re whipping air into the foundation here. Next, beat in your egg, vanilla, and that tiny bit of white vinegar. That vinegar—it’s crucial! It doesn’t make the cookies taste sour, but it reacts with the soda and cocoa to give us that classic red velvet tang we are aiming for.
Now comes the fun part: the color! Dollop in your red food coloring until you hit that vibrant shade you love. Mix this wet batch thoroughly so the color is uniform. In a separate bowl, whisk your flour, cocoa, baking soda, and salt together well. Then, add the dry stuff to the wet stuff slowly on low speed, just until you see the flour streaks disappear. Immediately fold in those beautiful white chocolate chips. We want those chips just barely mixed in because we’re making red velvet cookies, not a dough hockey puck!
Baking and Cooling Your Chewy Red Velvet Cookies
Scoop rounded spoonfuls of the dough onto your prepared sheets, making sure to give them a good two inches of space to sprawl out a little bit. Once they are in the oven, keep a close eye on them. They generally take 9 to 11 minutes. You are looking for the edges to look set, but if the center still looks a little soft and puffy, you are golden—that guarantees those chewy red velvet cookies later!
The crucial cooling step: don’t rush them! Let them sit right there on the hot pan for a good five minutes. They need that little bit of residual heat to finish setting up without falling apart when you move them. After five minutes, slide your spatula underneath and transfer them gently to a wire rack to cool completely. If you want the famous pan-banging effect where the cookies get those lovely flat spots, you should check out how Sarah Kieffer handles that technique over at the vanilla bean blog!
Tips for Making the Best Homemade Red Velvet Cookies
I’ve been in the trenches with these vibrant doughs enough times to know what can go wrong, and I want to save you the headache! The absolute biggest issue people have with red velvet cookies is spreading until they look like flat, thin crackers. If your kitchen runs warm, or if you are making these during the summer months, you cannot skip chilling the dough.
Seriously, if you feel like the dough is looking a little too soft before scooping, pop the whole bowl into the fridge for about 30 minutes. That slight chill firms up the butter just enough so they hold their shape beautifully while baking. It’s a simple step, but it guarantees that perfectly thick, satisfying cookie!
Also, while we are talking about the best results, I always stress the importance of using good quality cocoa powder. It’s often overlooked, but using a higher-quality unsweetened cocoa powder really deepens that chocolate note, which is necessary to balance all that beautiful red color. For more thoughts on keeping your drop cookies chewy and thick, I wrote a whole piece about my favorite techniques for classic chocolate chip cookies that seriously applies here too!
Variations on Classic Red Velvet Cookies
While I think this white chocolate version is the ultimate comfort cookie, the world of red velvet cookies is huge, and I love seeing how people adapt the flavor! If you’re baking specifically for a holiday cookie exchange, you might want to try something a little different aesthetically. People constantly ask me about things like cheesecake-stuffed versions, which are definitely a showstopper and worth the extra effort if you have the time.
It is also so easy to pivot this recipe toward other popular styles. After all, great holiday cookie recipes deserve to be adaptable for any occasion, whether it’s Christmas or Valentine’s Day! If you’re looking for something less rich than a filled cookie, check out my tips on how I make pumpkin snickerdoodle cookies—the texture is totally different, but the approach to dough handling is similar.
Creating Red Velvet Crinkle Cookies
If you want that stunning, cracked look that makes cookies look instantly professional, you need to pivot to crinkles! For red velvet crinkle cookies, the main difference happens right before they bake. You divide that gorgeous red dough into balls and then you roll them liberally in powdered sugar until they are completely coated. As the cookie spreads in the oven, the bright red dough peeks out from under the white sugar, giving you that lovely contrast. For a fantastic base recipe to tinker with, Emma’s Cake Studio has a great approach to red velvet crinkle cookies!
Making Frosted Red Velvet Cookies for Holidays
You know, sometimes these cookies just aren’t special enough until they have that gorgeous, tangy topping, especially when you are making up frosted red velvet cookies for Valentine’s Day or Christmas trays. The inherent richness of the cocoa and the slight tang we build into the cookie dough pairs absolutely perfectly with a standard cream cheese frosting. Seriously, if you are going to frost them, you must use cream cheese frosting—powdered sugar icing just doesn’t have the right background flavor for this deep cocoa cookie.
I never mess around when it comes to that frosting, so I always rely on my tried-and-true recipe. If you check out my favorite carrot cake cream cheese frosting post, the base recipe is exactly what we need here. You just skip the cinnamon and nutmeg, maybe add just a splash of pure vanilla extract, and you’re golden. It spreads like a dream, and those frosted cookies look incredible piled high on any holiday platter!
Storage and Keeping Your Red Velvet Cookies Fresh
So you’ve made the most amazing batch of red velvet cookies, and now the hard part begins: letting them last longer than 24 hours! I totally get it. The goal here is maintaining that perfectly soft, chewy texture we worked so hard to achieve. You definitely don’t want them drying out, which happens fast if they are left sitting on the counter exposed to the air.
The key is containment. Once the cookies have completely cooled—and I mean fully cooled, not even a hint of warmth left—you need to seal them up tight. My go-to storage method is a sturdy, airtight container. Think good quality plastic containers with really tight-fitting lids, or even a good quality zip-top bag where you press out every bit of air you can.
Keep that container at room temperature, away from any direct sunlight or heat sources like the oven. When stored this way, these cookies are perfectly fine for about three to four days, and they stay beautifully soft the whole time. I’ve tried freezing extras, and the texture holds up surprisingly well if you wrap them tightly first! This step just builds so much reader trust when they know exactly how to protect their hard work.
Frequently Asked Questions About Red Velvet Cookies
I get so many great questions whenever I post this recipe, especially around the holidays when everyone is looking for new holiday cookie recipes! It’s always helpful to clear up the fiddly bits so your first batch turns out perfectly.
Can I make easy red velvet cookies using cake mix?
You absolutely can! I know some folks are looking for super easy red velvet cookies because life is busy. Boxed cake mix recipes are fast, there’s no denying that! However, I truly stand by these scratch ingredients because they give you a much superior, chewier texture and a far richer flavor base. If you try the cake mix versions, they often end up a bit more cakey, but for the ultimate cookie experience, stick with this recipe!
What makes these red velvet cookies taste like cake?
That distinct flavor—that slightly tangy cocoa profile that separates red velvet from a regular chocolate cookie—comes from two things working overtime! First, we use just a little bit of cocoa powder, which provides the chocolate base. Second, and this is the key, we add white vinegar along with baking soda. This little acidic kick mimics the slight tang you get in classic red velvet cake, especially when it’s made with buttermilk. It keeps our red velvet cookies smelling and tasting just like the real deal, only better because they are chewy!
If you are wondering why they aren’t bright red without the coloring, that’s normal! The cocoa powder actually neutralizes most of the red, which is why we have to add that gel coloring booster to make them truly festive!
Estimated Nutritional Data for Red Velvet Cookies
Now, I always hesitate a little bit when sharing numbers because, let’s be real, nobody eats a red velvet cookie because they are counting calories! These nutritional estimates are based on the recipe servings listed, but please know these are just ballpark figures. My kitchen scales aren’t calibrated for official testing, so consider these guides, not gospel!
We loaded these up with butter and white chocolate chips to make sure they were wonderfully chewy and decadent, so they do pack a bit of richness. If you cut them into smaller portions or skip the chips, those numbers will drop, naturally!
- Serving Size: 1 cookie (This recipe yields about 2 dozen.)
- Calories: Approximately 190 per cookie
- Total Fat: Around 11 grams
- Carbohydrates: About 22 grams
- Protein: Roughly 2 grams
Again, these are generous estimates meant to give you an idea of what you are working with. The real data point is how happy they make you when you take a bite!
PrintSoft and Chewy Red Velvet Cookies with White Chocolate
Make soft, chewy red velvet cookies loaded with white chocolate chips. This recipe delivers rich cocoa flavor and a tender texture perfect for holidays or any day.
- Prep Time: 15 min
- Cook Time: 11 min
- Total Time: 26 min
- Yield: About 2 dozen cookies 1x
- Category: Dessert
- Method: Baking
- Cuisine: American
- Diet: Vegetarian
Ingredients
- 1 cup (2 sticks) unsalted butter, softened
- 1 cup granulated sugar
- 1 large egg
- 1 teaspoon vanilla extract
- 1 teaspoon white vinegar
- 1 teaspoon red food coloring (gel preferred)
- 1 3/4 cups all-purpose flour
- 1/2 cup unsweetened cocoa powder
- 1 teaspoon baking soda
- 1/2 teaspoon salt
- 1 cup white chocolate chips
Instructions
- Preheat your oven to 350°F (175°C). Line baking sheets with parchment paper.
- In a large bowl, cream together the softened butter and granulated sugar until light and fluffy.
- Beat in the egg, vanilla extract, and white vinegar until combined.
- Add the red food coloring and mix until the dough reaches a uniform red color.
- In a separate medium bowl, whisk together the flour, cocoa powder, baking soda, and salt.
- Gradually add the dry ingredients to the wet ingredients, mixing on low speed until just combined. Do not overmix.
- Fold in the white chocolate chips.
- Scoop rounded tablespoons of dough onto the prepared baking sheets, leaving about 2 inches between each cookie.
- Bake for 9 to 11 minutes. The edges should be set, but the centers should still look slightly soft.
- Let the cookies cool on the baking sheet for 5 minutes before transferring them to a wire rack to cool completely.
Notes
- For the best color saturation, use gel food coloring instead of liquid drops.
- If you want a slight tang, substitute 1/4 cup of the butter with 4 ounces of softened cream cheese.
- Chill the dough for 30 minutes before scooping if your kitchen is warm; this helps prevent spreading.
Nutrition
- Serving Size: 1 cookie
- Calories: 190
- Sugar: 18
- Sodium: 110
- Fat: 11
- Saturated Fat: 7
- Unsaturated Fat: 4
- Trans Fat: 0
- Carbohydrates: 22
- Fiber: 1
- Protein: 2
- Cholesterol: 30