

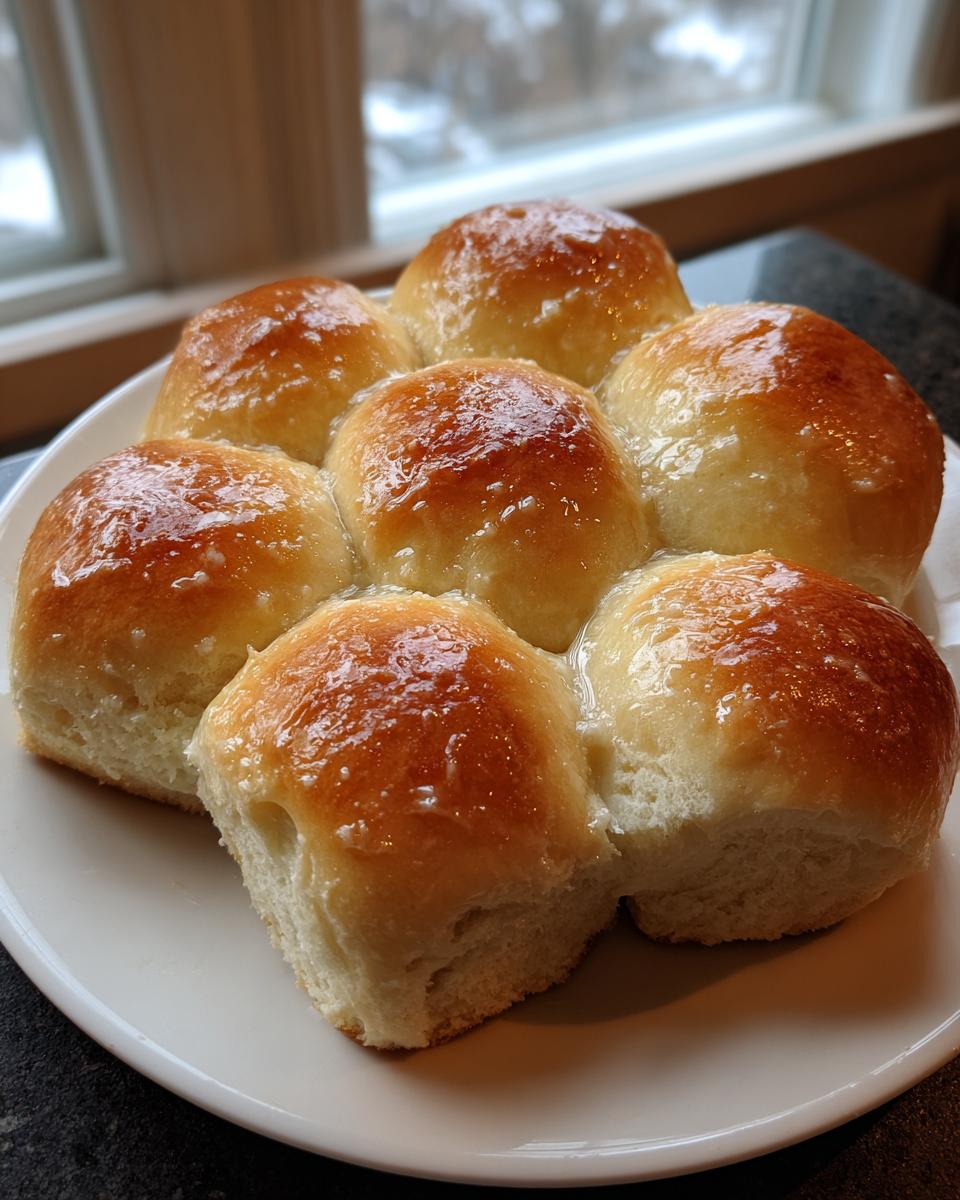
There is nothing quite like pulling a pan of hot bread out of the oven. That yeasty, comforting smell just instantly makes any meal feel special. I’m Maddie, and growing up, the absolute best part of any Sunday dinner in the Midwest was Mom setting down a basket of perfect, warm dinner rolls. They had to be fluffy, they had to be soft, and they absolutely had to be swimming in melted butter. Forget the sad, dry store-bought options; these are the legendary rolls you’ve been searching for—sometimes even popping up just like that famous copycat restaurant version!
For me, recreating this simple side dish has always been about finding that connection back home. When I nail the texture on these soft dinner rolls, it just brings the warmth of my grandmother’s kitchen right back to my countertop. Trust me, this easy dinner roll recipe is the bridge between where you are now and that perfect, comforting bite.

- Why These Are the Best Soft Dinner Rolls You Will Ever Make
- Ingredients for Perfect Buttery Dinner Rolls
- Step-by-Step Instructions for Easy Dinner Roll Recipe
- Tips for Making Copycat Texas Roadhouse Rolls
- Making Quick Dinner Rolls: The 30 Minute Rolls Recipe Option
- Ingredient Notes and Substitutions for Your Homemade Bread Recipe
- Serving Suggestions: The Best Dinner Sides
- Storage and Reheating Your Soft Dinner Rolls
- Frequently Asked Questions About Baking Dinner Rolls
- Share Your Homemade Rolls Experience
Why These Are the Best Soft Dinner Rolls You Will Ever Make
What sets these apart? It comes down to density and moisture. These aren’t light, airy dinner rolls that fall apart if you look at them funny; these are sturdy yet unbelievably soft. We are aiming for that iconic, slightly chewy exterior that gives way to the fluffiest homemade rolls center imaginable. The secret sauce, literally, comes from how much butter we use both *in* the dough and brushed heavily *on top* right when they come out of the oven. It guarantees incredible flavor in every single one of these buttery yeast rolls.
Achieving Peak Fluffiness in Your Homemade Rolls
If you want that ultimate fluffy result, pay close attention to Step 1—activating the yeast. That yeast has to be alive and happy! If your water is too hot, you’ll kill it; too cold, and nothing happens. You’re looking for that lovely foam on top; that foam means your yeast is ready to work hard creating those airy pockets in your dough. If you want to brush up on your yeast skills, I have a guide on proofing sourdough starter that covers the temperature sweet spot, which applies perfectly here!
Ingredients for Perfect Buttery Dinner Rolls
Okay, let’s talk about what goes into these amazing little pillows of delight. The ingredient list is so simple, which is why quality matters so much! We aren’t asking for anything fancy here, just basic pantry staples treated with respect. Remember, butter is our best friend for achieving those signature buttery yeast rolls. Pay close attention to the butter amounts, because we use it at three different stages!
Here is exactly what you’ll need to gather before you start mixing. I always lay everything out on the counter first—it saves me so much running around later.
- 1 cup warm water (make sure it’s between 105-115°F—use a kitchen thermometer if you aren’t sure!)
- 2 1/4 teaspoons active dry yeast
- 1/4 cup granulated sugar
- 1 teaspoon salt
- 1/4 cup unsalted butter, melted, *plus* 4 tablespoons reserved specifically for brushing later
- 1 large egg, lightly beaten
- 3 1/2 to 4 cups all-purpose flour (keep that extra half cup ready, but don’t dump it all in at once!)
- For topping: 4 tablespoons unsalted butter, melted (Yes, more delicious butter!)
If you’re curious about other simple staples that make a great side dish, like my easy cornbread recipe, you’ll notice the technique relies on a foundation of reliable basics, just like this bread does!
Step-by-Step Instructions for Easy Dinner Roll Recipe
Now for the fun part! This is where the transformation happens. We are making these unbelievably easy dinner roll recipe steps so clear you’ll never be intimidated by yeast again. Baking fresh bread from scratch is so rewarding, and these rolls come together surprisingly fast if you keep an eye on your rising times. I’ve included all the crucial timings below so you can get that perfect texture every time.
Activating the Yeast and Mixing the Dough
First things first: wake up that yeast! Pour your warm water—remember that 105°F to 115°F range?—into your bowl and sprinkle the yeast over the top. Give it five minutes without stirring. Seriously, just wait! When you come back, it should look foamy and smell a little sweet. That means it’s ready to get to work! Once foamy, stir in that sugar, salt, the *first* batch of melted butter (that 1/4 cup measure), and your beaten egg. Then, we gradually add the flour.
Kneading and First Rise for Dinner Rolls
Start mixing in the flour one cup at a time until the dough just barely comes together. Turn that shaggy mass out onto a lightly floured surface. Now, get your hands in there! You need to knead this dough for a solid 5 to 7 minutes. You’re looking for elastic—it shouldn’t be sticking to your hands much anymore. Lightly oil a clean bowl, pop the dough in, turn it around so it’s coated, cover it up, and find a warm spot. It needs an hour to an hour and a half to double in size. Don’t rush this part!
Shaping and Final Proofing
Once it’s doubled, gently punch all that air out—it’s therapeutic, honestly! Divide the dough into 12 equal chunks. I just pinch them off, make sure they are smooth little balls, and tuck them into a greased 9×13 pan. Make sure you leave a little gap between them; they need room to grow! Cover them loosely again and let them puff up for another 30 to 45 minutes. They should look puffy and crowd each other before they go into the oven.
Baking and The Essential Butter Finish
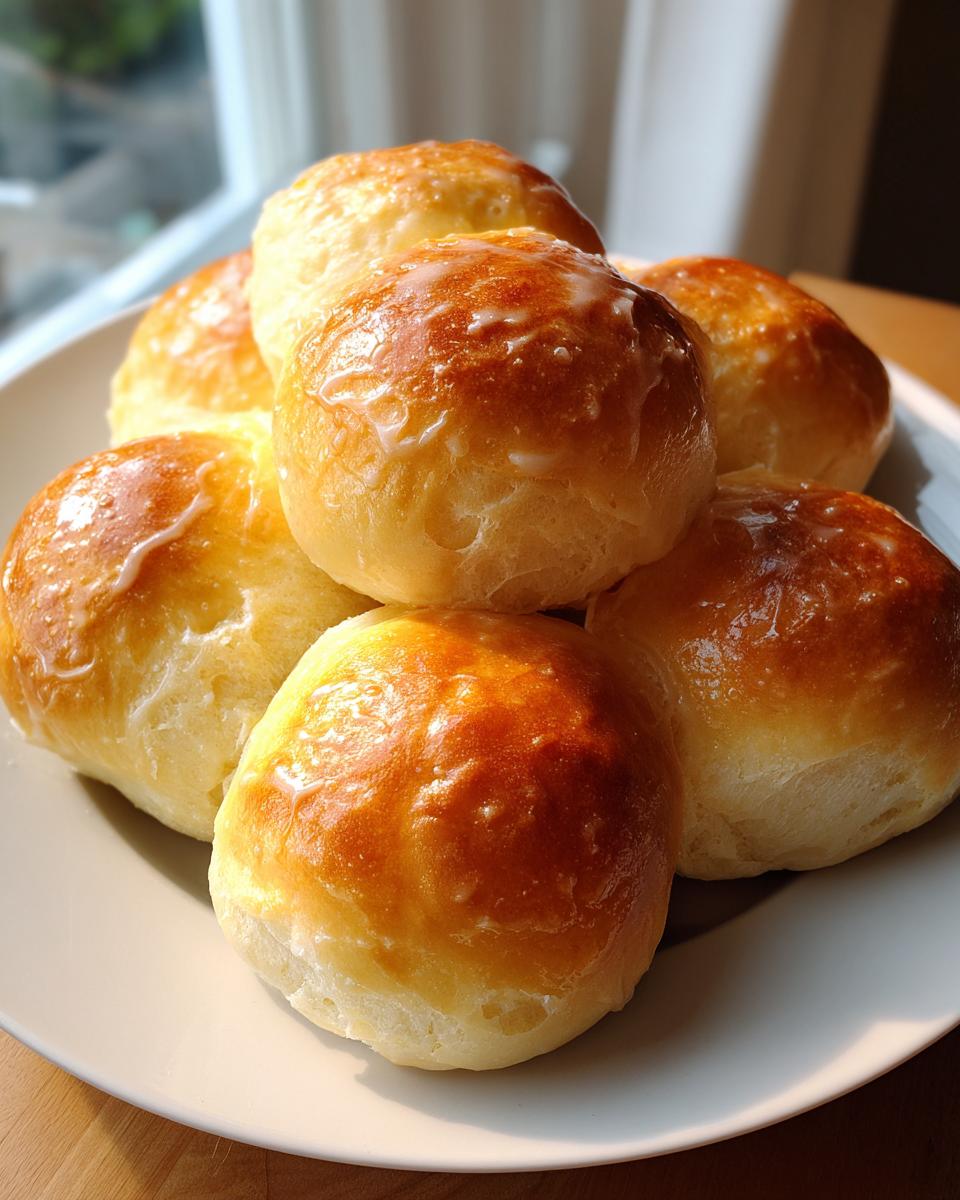
Preheat the oven while the rolls are doing their final puff—375°F (190°C) is our magic number. Bake them for about 15 to 20 minutes until they look beautifully golden on top. Here is the moment of glory! As soon as they come out, grab those last 4 tablespoons of melted butter and brush it liberally all over the tops. This seals in the softness and gives them that incredible flavor that characterizes great buttery yeast rolls. Serve them warm!
If you love homemade bread but want something savory instead of sweet, check out my recipe for easy garlic breadsticks recipe!
Tips for Making Copycat Texas Roadhouse Rolls
Okay, let’s talk about going full copycat here. I know so many of you love those slightly sweet, impossibly soft rolls they serve at Texas Roadhouse. Since our base recipe already nails the fluffy texture, it’s super easy to fine-tune this into your own version of copycat Texas Roadhouse rolls. If you remember from the notes, the real difference maker there is that final, decadent coating.
The basic instructions are already there, but here is where you make the switch: instead of just plain melted butter for that final brush-off, you’re going to mix those reserved 4 tablespoons of butter with about 1 teaspoon of honey. Yes, honey! It gives the rolls that signature subtle sweetness that perfectly balances the savory bread flavor. It’s such a simple tweak, but wow, does it transform them!
My personal pro tip for getting that slightly sweet depth is to make sure that honey is really well incorporated into the butter. If your butter is cool, just warm the honey slightly before whisking them together. That way, you get an even coating across the entire batch of rolls. It’s absolutely heavenly when it sets just slightly as the rolls cool down. If you enjoy dishes where sweet meets savory, you’ll have to try these rolls alongside my meatloaf with glaze sometime!
Making Quick Dinner Rolls: The 30 Minute Rolls Recipe Option
I totally get it. Sometimes you realize at 4 PM that you need warm rolls for dinner at 6 PM, and there is zero time for a long afternoon rise. While I truly believe that patience is part of what makes fantastic homemade bread recipe—especially when dealing with yeast—we home cooks have to be resourceful, right?
This recipe is already pretty speedy compared to some lengthy old fashioned rolls recipes, clocking in around an hour and forty minutes total. But if you are truly chasing that mythical 30 minute rolls recipe dream, we can shave off a few precious minutes!
The trick to getting these quick dinner rolls ready faster lies almost entirely in Step 1: waking up the yeast. If you are in a huge rush, you can bump your water temperature up slightly, maybe to 120°F or even 125°F, but you have to be ready to move fast! I recommend checking out this guide on 30-minute dinner rolls if you want to see exactly how others adjust timing, but be warned—your first rise might be a little less reliable!
Here’s my honest take: you can speed up the initial yeast proofing by using that slightly warmer water, but you can’t really rush the kneading or the rises without sacrificing that signature fluffy texture we love so much in these rolls. For truly soft dinner rolls, you simply need that time for the gluten to develop and the yeast to do its thing.
If you’re on a tighter schedule but still want that homemade quality, try making the dough a day ahead, letting it do its first rise slowly in the fridge overnight. Then, when you’re ready, you just bring it to room temperature, shape it, and do the second rise—it suddenly feels like a much quicker process! If you need inspiration for meals that pair well with these lightning-fast rolls, check out my ideas for quick weeknight dinners!
Ingredient Notes and Substitutions for Your Homemade Bread Recipe
One thing I learned watching my mother bake is that while technique is vital, knowing your ingredients is everything. This is a fantastic homemade bread recipe, and it’s forgiving, but understanding *why* we choose certain things helps you troubleshoot when things go sideways! Let’s chat quickly about the yeast and the liquids, because those two items cause the most reader questions.
For the yeast, the recipe calls for active dry yeast, which needs that warm water bath to wake up and get sudsy. If, for some reason, all you have is instant yeast (or rapid-rise), you can totally use it! You just skip that five-minute proofing step entirely. Dump the instant yeast right in with the sugar and flour mixture and proceed to Step 2. It cuts out a little waiting time but remember, the final rise might happen faster, so keep an eye on the dough!
What about swapping water for milk? Oh, I’ve tried it! Using milk instead of water makes these rolls richer and slightly softer because of the fat content in the milk, which is great. But, and this is important, if you use milk, make sure it’s warmed gently—around 100°F—because milk proteins can sometimes inhibit yeast if it gets too hot. Whole milk really enhances that buttery yeast rolls flavor profile, but I always worry it adds a tiny bit more stickiness during kneading.
If you want a slightly different flavor profile altogether, you could try using half all-purpose flour and half bread flour. Bread flour has higher protein, which can give you a little more “chew” in the final product. We keep ours classic with all-purpose because we want maximum softness, but feel free to experiment once you master the base recipe! If you’ve ever dabbled in making sourdough banana cake, you’ll know that switching up the flour type can change the whole game!
Serving Suggestions: The Best Dinner Sides
Honestly, these soft dinner rolls aren’t just a side dish; they are half the meal, right? They are perfect for soaking up every last bit of gravy or sauce. I’ve made tubs of these before the holidays specifically because they disappear first!
If you’re looking for some inspiration on what main dish deserves these fluffy masterpieces, I have a few favorites that always make it onto the table with my buttery yeast rolls on standby. A simple pairing like a classic roast chicken or savory pot roast is divine. The roll just soaks up all those juices—it’s pure comfort food heaven!
For weeknights when you want something easy but hearty, these integrate perfectly as one of the best dinner sides. You know I love my casseroles, and these rolls are the perfect counterpoint to something creamy and rich, like my chicken and broccoli casserole. The bread provides that necessary texture contrast to the soft filling.
When holidays roll around—Thanksgiving, Christmas, or even Easter—these become essential elements of the table. They are definitely on my list for my favorite holiday bread recipes. They stand up perfectly next to the turkey or ham, and honestly, they are often just as sought after as the main event! They are one of those quintessential comfortable side dishes that remind everyone they are home.
Just remember: serve them warm, and have extra butter ready. That’s the Maddie Thompson guarantee for serving the best dinner sides!
Storage and Reheating Your Soft Dinner Rolls
I always cross my fingers that there will be leftovers, but let’s be real, these rolls disappear fast! When you manage to hide a few away for the next day, how you store them makes a huge difference in keeping them soft. The absolute best method is to pop any leftover rolls into a good airtight container as soon as they cool down to room temperature, but not completely cool. If they are still even a little warm when sealed, you risk introducing moisture that makes them gummy later, which is the kiss of death for a soft dinner roll!
If you aren’t planning on eating them within two or three days, you need to think long term. These freeze like a dream! If you want to prepare ahead for a big meal—maybe even Thanksgiving—bake them, let them cool completely, and then pop them into a heavy-duty freezer bag. Squeeze out as much air as you can before sealing. They hold up beautifully for about a month this way!
Now for reheating—this is non-negotiable if you want that fresh-from-the-oven experience again. If they are room temperature, wrap them tightly in a little foil. Tossing them in the oven at about 350°F for about 8 to 10 minutes usually does the trick. The foil traps the steam, rehydrating that beautiful bread structure so they become fluffy again.

If you’re reheating from frozen, that’s even easier. Just take them out of the bag and wrap them in foil, and extend that oven time a bit—maybe 15 minutes or so. You want them piping hot all the way through. If you are serving them alongside a side dish that is already soaking in sauce or gravy, like my creamy mashed potatoes, they’ll catch just enough steam on the platter to soften up even more!
The key takeaway is: never microwave these! Microwaving turns soft bread hard and gummy almost instantly. Stick with the oven reheat, and you’ll be convincing everyone you just baked a fresh batch!
Frequently Asked Questions About Baking Dinner Rolls
This is where we handle all those little curveballs that pop up when you’re baking yeast bread for the first time. Don’t you worry one bit! When I first started, I had more questions than dough, but that’s why I’m here to translate my failures—and successes—into crystal-clear advice for you. Mastering these soft dinner rolls is all about understanding the basics! Here are the questions I get asked the most when people try out this recipe.
Can I skip the kneading step when making these dinner rolls?
Oh, I really wouldn’t recommend it if you are looking for those amazing, puffy results! Kneading is where we develop the gluten structure in the flour. Think of gluten like tiny, elastic scaffolding inside your dough. If you skip the kneading, the yeast gets busy making gas, but there’s nothing strong enough to actually trap that gas properly. So, instead of getting beautiful, light, fluffy homemade rolls, you end up with dense, crumbly little biscuits. It only takes 5 to 7 minutes with your hands, and it’s worth every minute for the texture.
What is the best way to get sweet dinner rolls?
That’s a great question, especially if you have family members who love that faint sweetness! If you are aiming for truly sweet dinner rolls, you have two main options, and I advise using both for the best effect. First, in the dough itself, you can bump that granulated sugar up from 1/4 cup to 1/3 cup. That gives the dough a little more underlying sweetness as it bakes.
The second, and most impactful way, is using that trick I mentioned for the copycat rolls: the topping! Mix that last 4 tablespoons of melted butter with 1 full teaspoon of honey (or even maple syrup if you have it!) and brush it everywhere right after they come out of the oven. That warm, sticky glaze hits your tongue first and makes the whole batch taste wonderfully sweet. It’s such a quick addition, but it makes a huge difference when serving!
If you’re looking for other simple recipes that are great for breakfast or brunch—since you’ve nailed the bread side dish—you should definitely check out my guide on easy breakfast ideas for some inspiration!
Share Your Homemade Rolls Experience
Well, friends, that’s my entire process for bringing those comforting, warm, buttery yeast rolls from my family history right onto your dinner table. I really hope that seeing how simple the foundational steps are gives you the confidence to tackle this batch of dinner rolls this week!
I am dying to know how they turned out for you! Baking is a journey, and whenever I share a recipe, even one I’ve made a hundred times, seeing your variations and success stories is the highlight of my week. I want to know if you went for the honey glaze or kept them classic!
Did these turn out to be the fluffy homemade rolls you were hoping for? Were they just as soft as the ones you remember from the holidays?
Please take a minute to leave me a star rating right below this section—it helps other home cooks know just how reliable this recipe truly is. And if you took a picture of your golden-brown beauties, please tag me on social media or send a photo over through the contact page! I absolutely love seeing my recipes being shared and enjoyed around your tables. Happy baking, everyone!
PrintThe Best Soft and Buttery Homemade Dinner Rolls

Make incredibly soft, fluffy, and buttery dinner rolls from scratch. This easy recipe delivers warm, comforting bread perfect as a side dish for any family meal or holiday gathering.
- Prep Time: 20 min
- Cook Time: 20 min
- Total Time: 1 hour 40 min
- Yield: 12 rolls 1x
- Category: Dinner
- Method: Baking
- Cuisine: American
- Diet: Vegetarian
Ingredients
- 1 cup warm water (105-115°F)
- 2 1/4 teaspoons active dry yeast
- 1/4 cup granulated sugar
- 1 teaspoon salt
- 1/4 cup unsalted butter, melted, plus 4 tablespoons for brushing
- 1 large egg, lightly beaten
- 3 1/2 to 4 cups all-purpose flour
- For topping: 4 tablespoons unsalted butter, melted
Instructions
- Combine the warm water and yeast in a large bowl. Let it sit for 5 minutes until foamy. This activates the yeast.
- Stir the sugar, salt, 1/4 cup melted butter, and beaten egg into the yeast mixture.
- Gradually add the flour, one cup at a time, mixing until a soft dough forms. You may not need all the flour.
- Turn the dough out onto a lightly floured surface. Knead for 5 to 7 minutes until the dough is smooth and elastic.
- Place the dough in a lightly oiled bowl, turning to coat. Cover the bowl with plastic wrap or a clean towel. Let the dough rise in a warm place for 1 to 1.5 hours, or until doubled in size.
- Gently punch down the risen dough. Divide it into 12 equal pieces. Roll each piece into a smooth ball.
- Arrange the dough balls in a greased 9×13 inch baking pan, leaving a small space between them.
- Cover the pan loosely and let the rolls rise again in a warm spot for 30 to 45 minutes, or until puffy.
- Preheat your oven to 375°F (190°C).
- Bake the rolls for 15 to 20 minutes, or until they are golden brown on top.
- Immediately brush the tops of the hot rolls generously with the remaining 4 tablespoons of melted butter.
- Serve the soft dinner rolls warm as a perfect side dish.
Notes
- For quicker preparation, use slightly warmer water (around 120°F) to speed up the initial yeast proofing.
- If you want Texas Roadhouse copycat rolls, add 1 teaspoon of honey to the melted butter topping for extra sweetness.
- These rolls freeze well after cooling. Thaw overnight and reheat briefly in the oven before serving.
Nutrition
- Serving Size: 1 roll
- Calories: 180
- Sugar: 4
- Sodium: 250
- Fat: 6
- Saturated Fat: 4
- Unsaturated Fat: 2
- Trans Fat: 0
- Carbohydrates: 28
- Fiber: 1
- Protein: 4
- Cholesterol: 20