
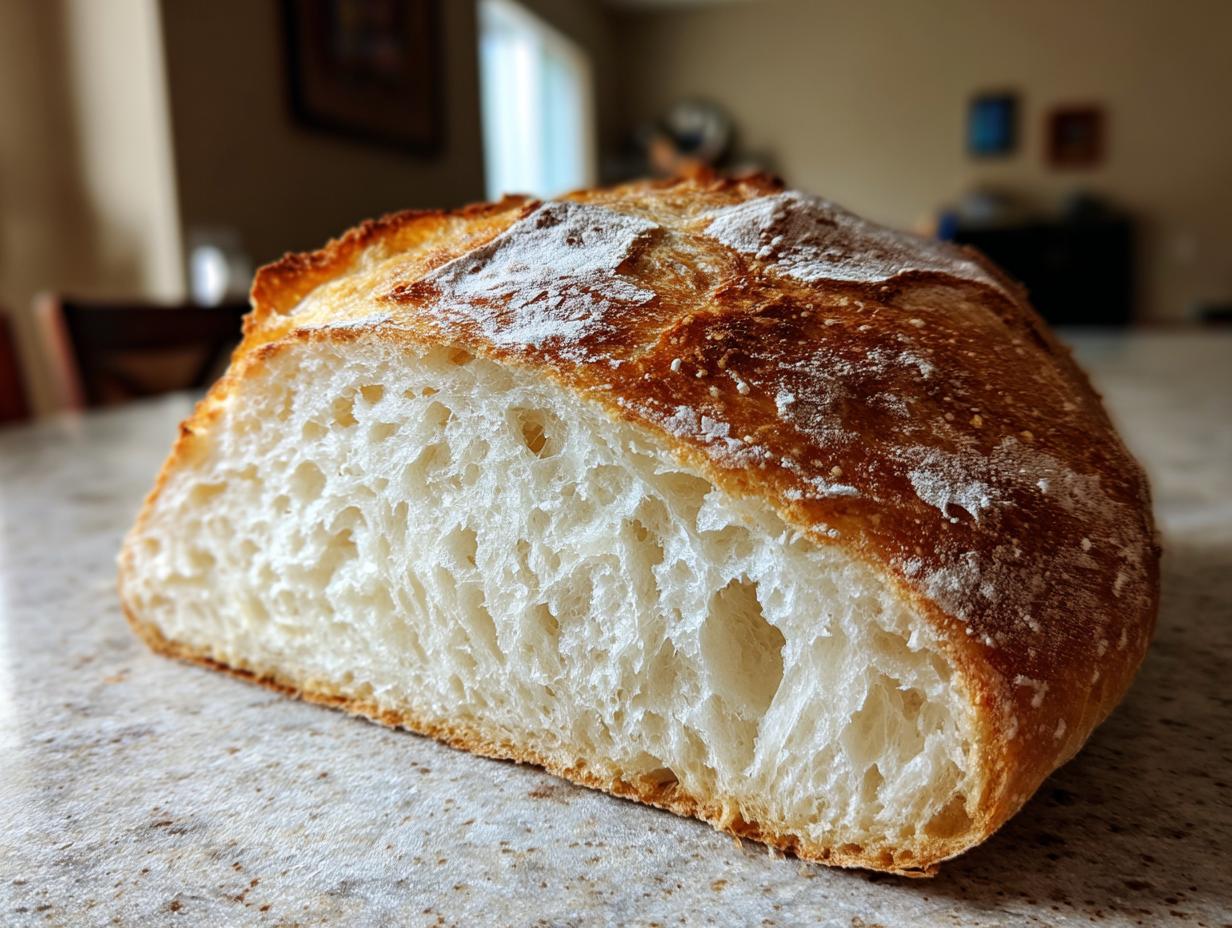
Oh, my friends, there is truly nothing that beats the smell of fresh bread baking; it just floods the whole house with pure joy and comfort, right? If you’ve been dreaming of bringing that authentic, Parisian bakery smell right into your kitchen, I have the most straightforward, reliable adventure for you. Forget those complicated, all-day processes; we are making amazing bakery-style french bread right here, right now. This recipe is my go-to for getting that impossibly crisp exterior that crackles when you slice it, while keeping the inside beautifully soft and airy. You deserve bread this good! If you want to know more about why I started sharing these simple, soulful recipes, check out my story here.
- Why This Homemade French Bread Recipe Works for You
- Essential Ingredients for Perfect French Bread
- Step-by-Step Instructions for Easy French Bread
- Tips for Success When Making Artisan Bread at Home
- Serving Suggestions for Your Classic French Loaf
- Storing Your Homemade French Bread
- Frequently Asked Questions About Making French Bread
- Nutritional Estimates for This French Bread
- Share Your Crusty Homemade French Bread Creations
Why This Homemade French Bread Recipe Works for You
I know you want that incredible, crackle-crust loaf you see in magazines, but you need it fast. Well, this recipe cuts through the nonsense! We focus on simple techniques that give you fantastic results, whether you’re looking for that perfect Crispy Crust Bread or something much softer. If you need bread to go with that amazing quick dinner you are whipping up, this is it—check out my quick weeknight dinners for pairing ideas!
- It’s incredibly straightforward—truly Easy French Bread baking!
- Total hands-on time is low, which means less stress after a long day when you need great Dinner Bread Recipes.
- We nail that essential crust while keeping the inside light.
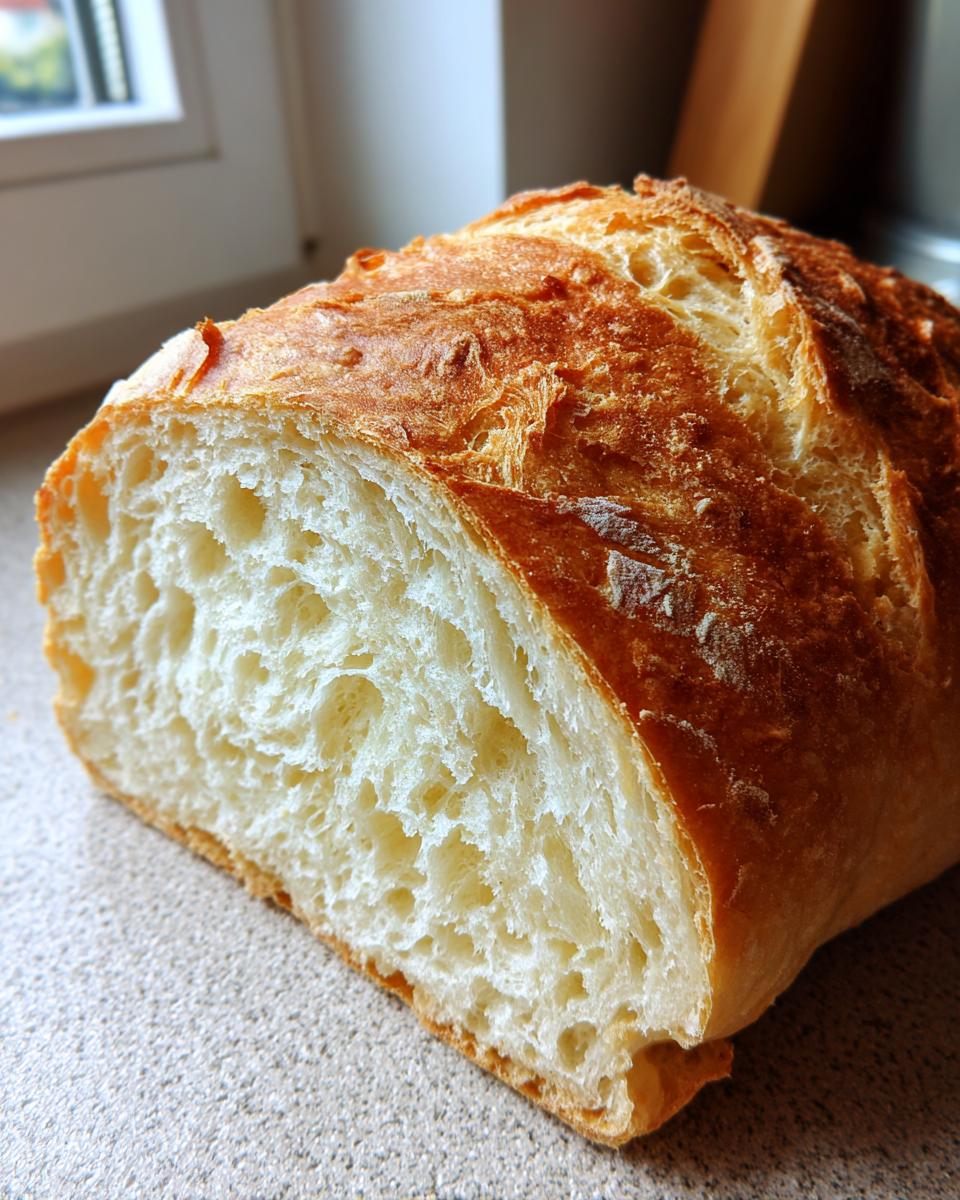
Achieving Bakery Style French Bread Results
The secret to getting that authentic, Bakery Style French Bread taste without the tricky setup? It’s the steam we build in the oven! I’ve tested this exact method dozens of times, and the simple combination of flour, water, yeast, and salt always delivers a consistent, artisan-quality loaf. Trust me, this is a tried-and-true process.
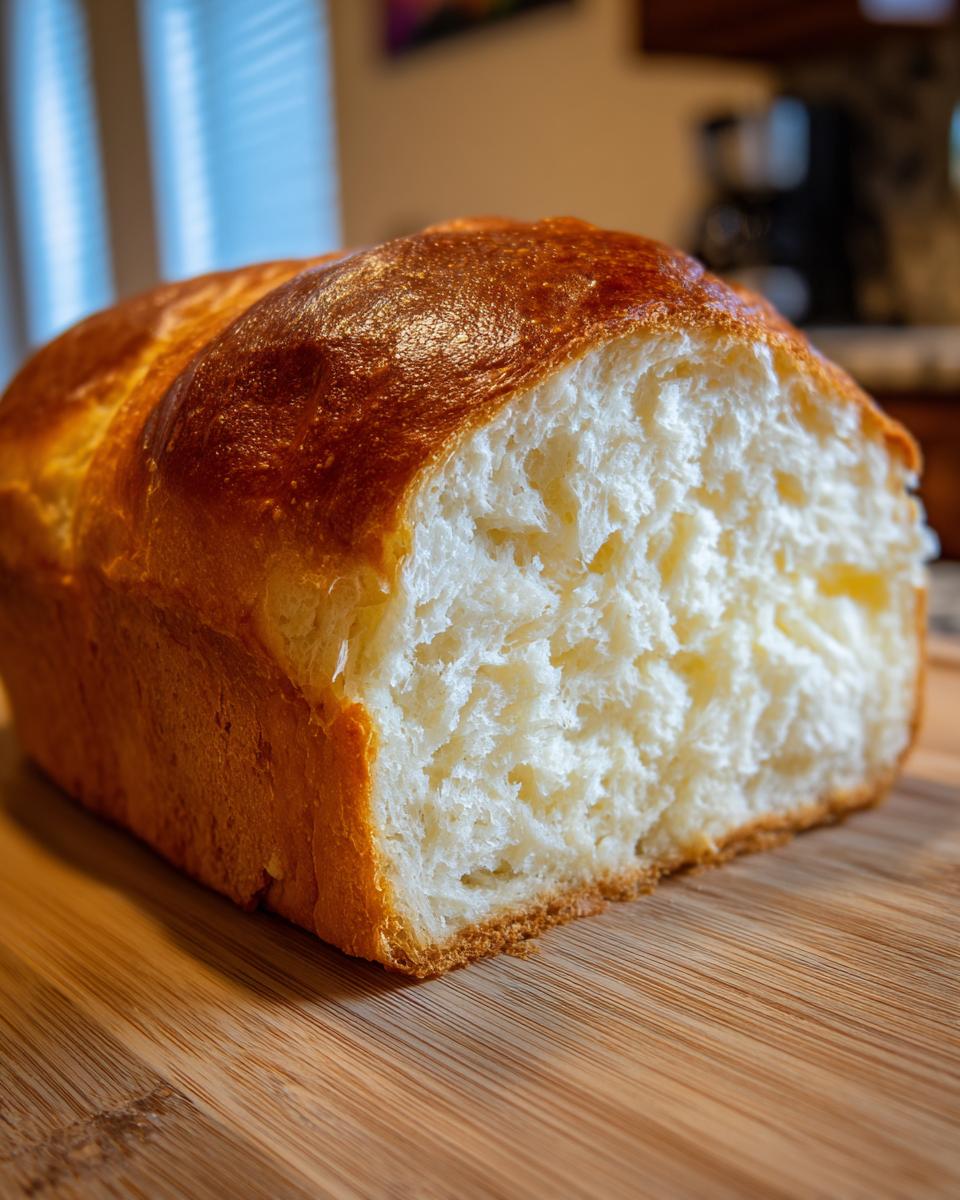
Options for Soft Fluffy French Bread Texture
Now, maybe your family prefers a softer interior—that’s totally fine! If you want a Soft Fluffy French Bread loaf instead of something super rigid, you just make two tiny tweaks. First, give the dough an extra 5 minutes of kneading before the rise. Second, skip putting that hot water pan on the bottom rack; it’s the steam that makes it super crusty! Easy peasy switch!
Essential Ingredients for Perfect French Bread
When you’re aiming for that classic, gorgeous loaf, you don’t need a pantry full of fancy stuff. In fact, this whole recipe relies on just four main players, plus a little olive oil for brushing right at the end! Seriously, the magic is in how few things are involved here. I keep these staples on hand all the time because you never know when a craving for fresh-baked Artisan Bread at Home is going to hit you.
- 3 cups all-purpose flour
- 1 teaspoon instant yeast
- 1 teaspoon salt
- 1 1/4 cups warm water
- 1 tablespoon olive oil (for brushing)
Ingredient Notes and Substitutions
I always insist on using instant yeast for this Homemade French Bread Recipe. It mixes right into the flour and skips that whole messy step of blooming it in the water first—that’s one way we keep things speedy! If you only have active dry yeast, you’ll need to proof it in the warm water (maybe add a pinch of sugar to wake it up) before adding it to the dry mix. Also, don’t skip that warm water; if it’s too cold, the yeast won’t wake up, and if it’s too hot, well, you just killed your yeast, and that’s a sad day for everyone.
Step-by-Step Instructions for Easy French Bread
Okay, are you ready to see just how simple this process is? Since this is designed to be a Quick French Bread recipe—total time is under two hours—we move right along! The best part? We aren’t committing to heavy kneading here. I just want you to mix until things come together. If you need some inspiration for what to do while the dough rises, bookmark my easy breakfast ideas!
Mixing and First Rise for Your French Bread Dough
Grab a big mixing bowl! First, just toss in your flour, yeast, and salt. Give that a quick whisk—you want everything evenly distributed before the liquid goes in. Now, pour in that warm water. Use a wooden spoon or spatula to mix everything up until it clumps together. Don’t worry about getting it perfectly smooth; we want exactly what we call a ‘shaggy dough’ here. It looks messy, and that’s exactly how it should feel! Cover that bowl tightly and tuck it away in a warm spot. You need 60 to 90 minutes for the first rise—let the yeast do the hard work!
Shaping and Creating the Crispy Crust Bread Steam
Once the dough has doubled, gently punch the air out—don’t punch it hard, just gently deflate it! Now, divide that dough right down the middle for your two loaves. On a floured surface, gently ease each half into the long, narrow shape of a baguette. Place those shaped loaves onto a parchment-lined baking sheet and let them rest for just 30 minutes while you crank up that oven to 450°F. This is the crucial part for that Crispy Crust Bread: slide a pan on the bottom rack. When the oven is ready, brush the tops lightly with olive oil—this helps with browning—and use a very sharp knife or razor to score the tops quickly. Then, pour about half a cup of hot water into that bottom pan *fast* and shut the door! That steam is magic for the crackle.
Tips for Success When Making Artisan Bread at Home
Look, baking Artisan Bread at Home can sometimes feel a little unpredictable, but I promise you, once you understand these little quirks, you’ll nail it every single time. The first time I tried this recipe, I forgot to add the hot water for steam, and my loaves came out looking more like pale dinner rolls than crusty baguettes. Total rookie move! So, remember that steam tray—it’s non-negotiable for that crackly exterior. If you struggle with yeast in general, sometimes going back to basics helps; I have a whole post on sourdough starter maintenance that explains how yeast behaves!

If your final Classic French Loaf comes out a little flat, check your yeast or your rise time. If you used water that was too hot, the yeast dies, and the bread won’t puff up during baking. Also, make sure you let the dough rest that final 30 minutes after shaping; that second rest lets the gluten relax so your loaves can expand beautifully in the oven instead of spreading out sadly on the sheet pan. Trust me on these little things; they make all the difference!
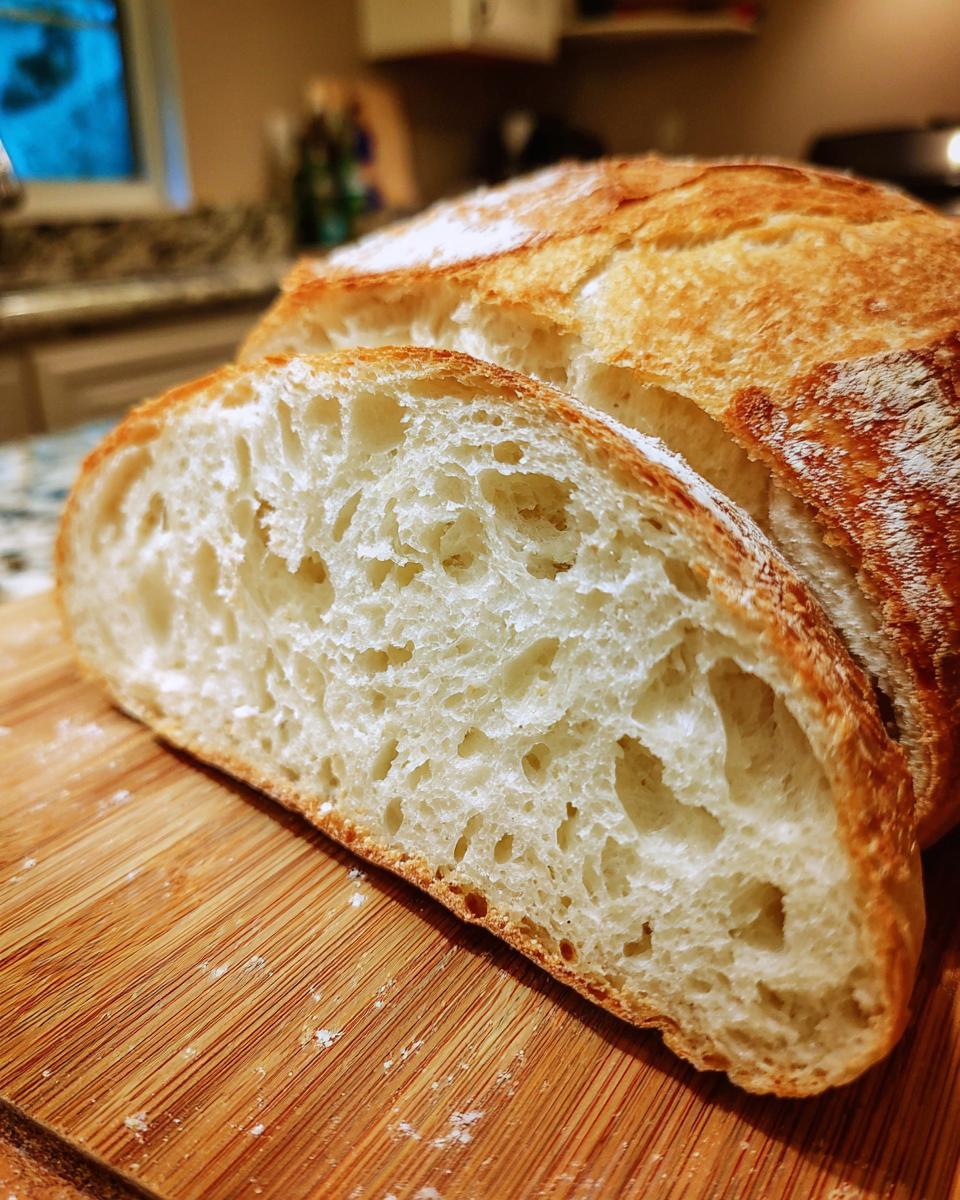
Serving Suggestions for Your Classic French Loaf
This is the fun part! Seriously, this Classic French Loaf isn’t just something to look at; it’s meant to be devoured! Whether you’re aiming for that perfect dipping score or a sturdy base for lunch, this bread shines. I often find myself just slicing it while it’s still warm and drowning it in good olive oil and a sprinkle of flaky salt. It’s simple perfection.
Using French Bread for Sandwiches and Meals
This fresh loaf elevates any simple meal. It’s the best companion for dipping into a deeply flavored, slow-cooked soup; you absolutely must try it with my recipe for Crockpot French Onion Soup or even the Slow Cooker Mexican Street Corn Soup. As an easy side for dinner, it’s unbeatable—truly one of my favorite Dinner Bread Recipes. For sandwiches, just slice it lengthwise and pile on the cold cuts and sharp cheese!
Storing Your Homemade French Bread
Okay, so you baked this masterpiece, and now what? Storing homemade bread is always a little tricky because, let’s be real, the texture changes once that wonderful crust cools completely. My goal is always to keep that beautiful crunch alive for as long as possible. Since this recipe keeps well for a day or two just sitting on the counter, you don’t have a ton of worry, but long-term storage needs a little strategy to keep your hard work paying off.
Reheating Tips for Re-Crisping French Bread
If you have leftover bread that’s gone a little soft, don’t toss it! We can bring that crust back to life. You don’t even need to use the oven, though that works great too. My favorite trick is to pop a slice, or even a small section of the loaf, directly onto a gas burner on the stovetop over low heat for just 30 seconds per side. Watch it close—really close!—until you hear that tiny whisper of crunch returning. It’s fast and amazing.
If you are reheating a full loaf, wrap it tightly in foil first. This traps a little moisture so the inside gets steamy and soft again. Pop that foil-wrapped loaf into a 350°F oven for about 10 to 15 minutes. Then, pull the foil off completely and let it bake for another 5 minutes uncovered. That last blast of dry heat refreshes that exterior crust perfectly. It smells just as good the second time around!
Frequently Asked Questions About Making French Bread
I get so many wonderful questions after people try this recipe for the first time! It’s natural to wonder about little variations, especially when you’re aiming for that perfect result you see in pictures. Don’t worry if your first attempt feels a little different; we all start somewhere in our journey to Homemade French Bread Recipe success. If you’re looking for healthy ways to eat this bread later in the week, check out my healthy lunch recipes!
Can I make this French Bread Recipe without a baking stone?
Absolutely, yes! Don’t let that stop you one little bit. Baking stones are great, but they aren’t required here. Remember how I talked about the steam? What matters most for that Crispy Crust Bread texture is that injection of moisture right when the bread goes in to bake. We achieve that using a simple metal pan placed on the bottom rack. When you pour the hot water in, it creates the steam we need to get that gorgeous oven spring and crackly finish without needing any fancy gear.
What makes this a ‘No Knead French Bread’ style?
That’s a great observation! While it technically isn’t a *true* no-knead recipe where you leave it for 18 hours, it leans heavily into that simplicity. We mix the dough just until the flour is incorporated, creating that ‘shaggy dough.’ This means minimal handling, which makes it the definition of Easy French Bread. You don’t develop tons of tough gluten structure, which results in a lighter, more open crumb naturally. It’s all about maximizing flavor with minimal effort, just like the best recipes found online, such as this amazing crusty homemade french bread guide!
Nutritional Estimates for This French Bread
Now, I always say that baking for your family means you are in charge of what goes into your food, which is one huge reason to bake from scratch! If you’re watching macros or just counting calories, I pulled together some very general estimates for you below. Please remember, this is just an approximation based on the ingredients listed in the recipe and how many slices you decide to cut the loaf into. Your mileage might vary slightly, because, well, this is home baking!
I based these numbers on the assumption that you get two loaves out of the recipe, and then you slice those loaves into reasonable serving sizes. It’s a fantastic, humble side bread that won’t derail your healthy eating goals, especially compared to the highly processed stuff you grab from the store freezer section.
- Serving Size: 1 slice (estimate)
- Calories: Around 150
- Fat: About 2 grams
- Carbohydrates: Roughly 30 grams
- Protein: A solid 4 grams
- Sugar: Just 1 gram—that’s all natural sweetness from the flour!
For a bread this rustic and delicious, I think those numbers are seriously good! It’s mostly complex carbs to keep you satisfied through the meal, and very little saturated fat. It’s honestly just flour, water, salt, and yeast doing their wonderful thing.
Share Your Crusty Homemade French Bread Creations
I absolutely love seeing your bakes! When you make this french bread, snap a picture and tag me online. Seriously, do it! I want to know if you went for that shatteringly crisp crust or leaned toward the Soft Fluffy French Bread side. Leave me a rating down below—aim for five stars if this recipe made your kitchen smell like Paris! If you need a sweet treat after all that bread, check out my delicious dessert recipes, or explore this *90-minute French bread* guide for another great technique!
PrintCrusty Homemade French Bread Recipe
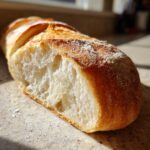
Bake bakery-style French bread at home. This recipe delivers a loaf with a crisp exterior and a soft, airy interior, perfect for serving with soup or salad. It is designed to be straightforward for home bakers.
- Prep Time: 20 min
- Cook Time: 25 min
- Total Time: 1 hour 55 min
- Yield: 2 loaves 1x
- Category: Bread
- Method: Baking
- Cuisine: French
- Diet: Vegetarian
Ingredients
- 3 cups all-purpose flour
- 1 teaspoon instant yeast
- 1 teaspoon salt
- 1 1/4 cups warm water
- 1 tablespoon olive oil (for brushing)
Instructions
- In a large bowl, mix the flour, yeast, and salt together.
- Add the warm water and mix until a shaggy dough forms. You do not need to knead this dough extensively.
- Cover the bowl and let the dough rise in a warm place for 60 to 90 minutes, or until it has doubled in size.
- Gently punch down the dough and divide it into two equal pieces.
- Shape each piece into a long, narrow loaf, similar to a baguette.
- Place the shaped loaves on a baking sheet lined with parchment paper. Cover loosely and let them rest for 30 minutes.
- Preheat your oven to 450 degrees Fahrenheit (232 degrees Celsius). Place a shallow pan on the bottom rack to create steam.
- Lightly brush the tops of the loaves with olive oil. Score the tops of the loaves with a sharp knife.
- Carefully pour about 1/2 cup of hot water into the shallow pan on the bottom rack and quickly shut the oven door to trap the steam.
- Bake for 20 to 25 minutes, or until the crust is deep golden brown.
- Remove the bread from the oven and let it cool on a wire rack before slicing.
Notes
- For a softer crust, skip adding water to the bottom pan during baking.
- If you prefer a softer, fluffier crumb, knead the dough for 5 minutes after mixing before the first rise.
- This bread is excellent served warm with butter or used for sandwiches.
Nutrition
- Serving Size: 1 slice
- Calories: 150
- Sugar: 1
- Sodium: 250
- Fat: 2
- Saturated Fat: 0.5
- Unsaturated Fat: 1.5
- Trans Fat: 0
- Carbohydrates: 30
- Fiber: 1
- Protein: 4
- Cholesterol: 0