
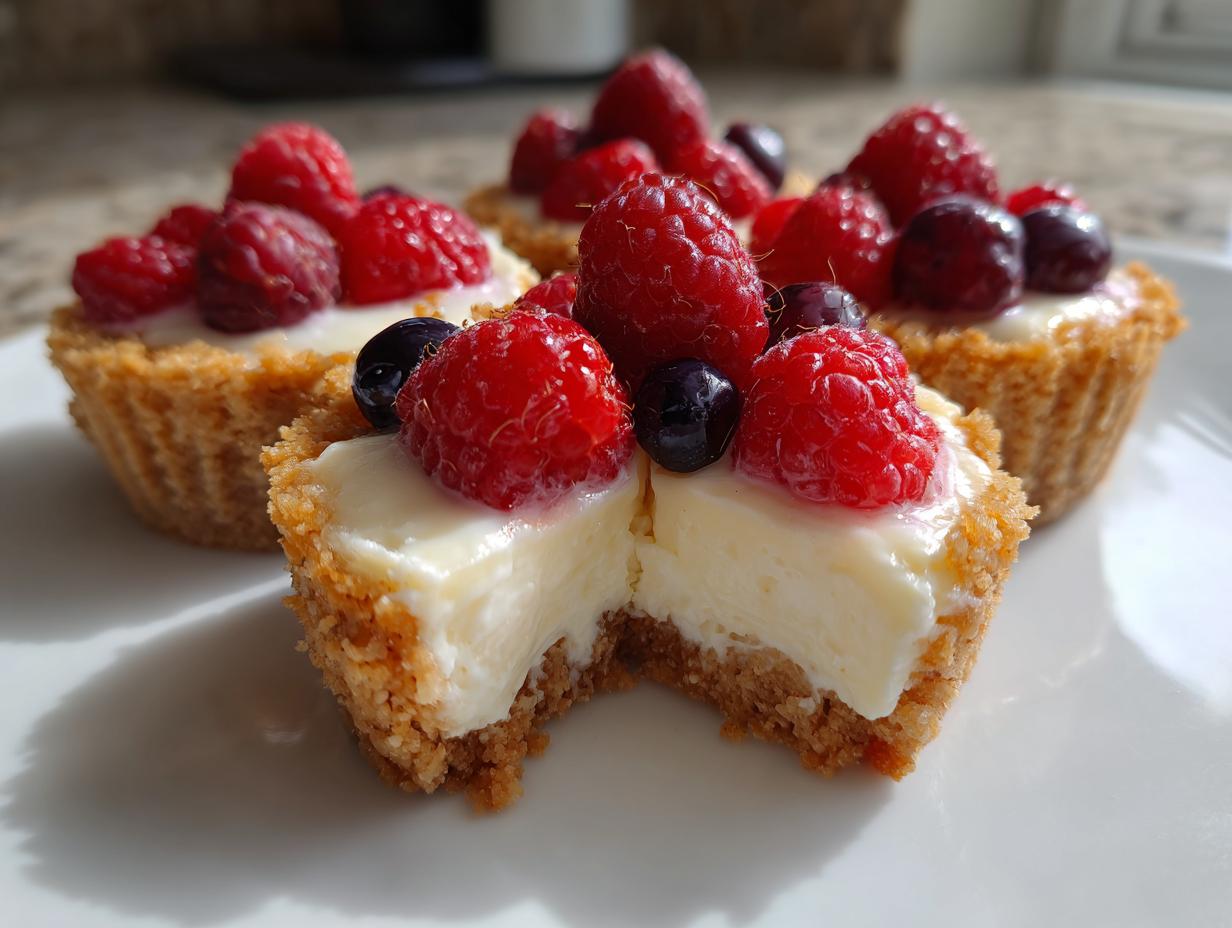
There’s just something magical about tiny, individual desserts, isn’t there? You get all the indulgence without the commitment of a giant slice. If you’ve been looking for the ultimate, fuss-free way to make those perfect, bite-sized treats, stop searching! I have the recipe you need: the easiest no-bake mini cheesecake. We’re skipping the oven entirely, which means less fuss and guaranteed creamy texture, just like my family always preferred in our favorite sweet treats no bake classics.
Because the best food isn’t about fancy techniques—it’s about warmth and connection—this recipe cuts straight to the good part. We’re using simple ingredients to whip up these amazing individual servings you’ll want to make every single time you need a quick dessert recipe. Trust me on this one!
- Why This Easy No-Bake mini cheesecake Recipe Works for You
- Gathering Ingredients for Your creamy cheesecake desserts
- Step-by-Step Instructions for Making Perfect mini cheesecake Bites
- Expert Tips for the Best mini cheesecake Success
- Creative cheesecake toppings ideas for your mini cheesecake cups
- Storing and Keeping your no bake mini cheesecake Fresh
- Frequently Asked Questions about making mini cheesecake
- Nutritional Estimate for Your Creamy Portioned Desserts
- Share Your Perfect mini cheesecake Creations
Why This Easy No-Bake mini cheesecake Recipe Works for You
When I look at what folks are searching for, I see one thing loud and clear: people want amazing desserts without turning the oven on or spending hours on a complicated process. This no-bake mini cheesecake checks every single box. It’s rich, it’s creamy, and it gives you that perfect little slice of heaven every time.
- No oven means zero worries about cracks or boiling water baths!
- The chilling time is hands-off time for you.
- These are the ultimate grab-and-go treats.
Portion Control and Party Perfection for mini cheesecake cups
If you’re hosting, you know the struggle—you want things that look fancy but are easy for guests to grab. These little cups are fantastic for that! They make serving simple and eliminate any awkward slicing moments. They are seriously the best party desserts small portions you can make because they disappear the second they hit the table!
The Simplicity of a No Bake mini cheesecake
Let’s be real, sometimes you just need a quick dessert recipe. Because we aren’t baking these, we get incredible results fast. This is peak low-effort, high-reward baking, making it one of my absolute favorite sweet treats no bake options. If you want a fantastic mini cheesecake without the commitment, this is it.
Gathering Ingredients for Your creamy cheesecake desserts
Okay, time to talk real food. Since we aren’t turning on the oven, the quality of our simple ingredients is what makes these creamy cheesecake desserts shine. My biggest tip right upfront, and please listen to me on this: your cream cheese *must* be room temperature. If it’s even slightly cold, you’ll end up with little snowy lumps, and nobody wants that in their beautiful mini cheesecake!
This list is short, which is another win in my book. Grab everything, let the cream cheese soften on the counter while you crush your crackers, and let’s get going.
Crust Components for your graham cracker crust dessert
For the base, we want that classic, buttery flavor. We need graham cracker crumbs, a little bit of sugar to sweeten it up, and melted butter to hold it all together beautifully. This is your sturdy foundation for the graham cracker crust dessert.
- 1 1/2 cups graham cracker crumbs
- 1/4 cup granulated sugar (for crust)
- 6 tablespoons unsalted butter, melted
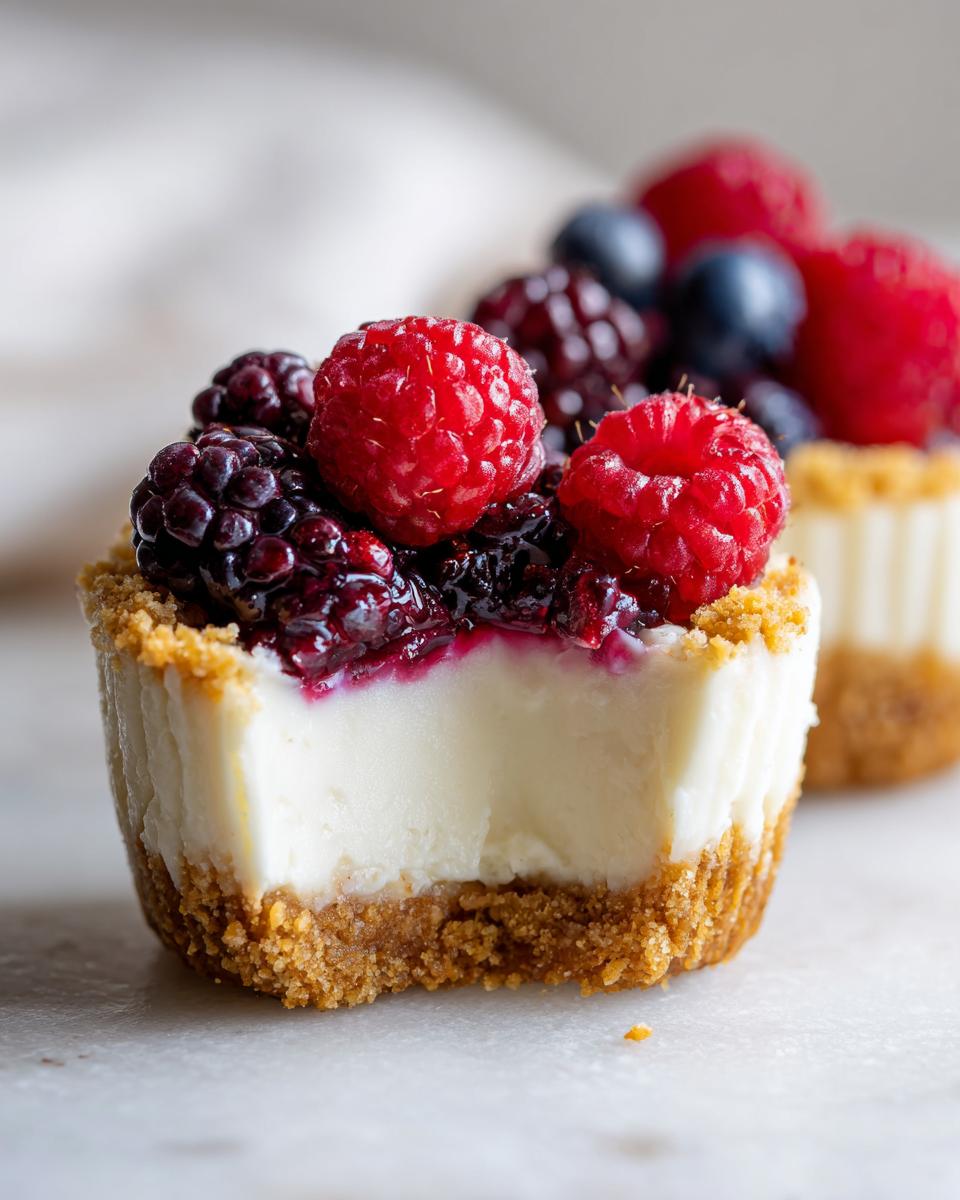
Filling Ingredients for the individual cheesecake recipe
This filling is pure silk because of the heavy cream folded in at the end—it gives us structure without having to bake! Remember that 16 ounces of cream cheese needs to be totally soft for the smoothest individual cheesecake recipe filling.
- 16 ounces cream cheese, softened
- 1/2 cup powdered sugar
- 1 teaspoon vanilla extract
- 1/4 cup heavy cream
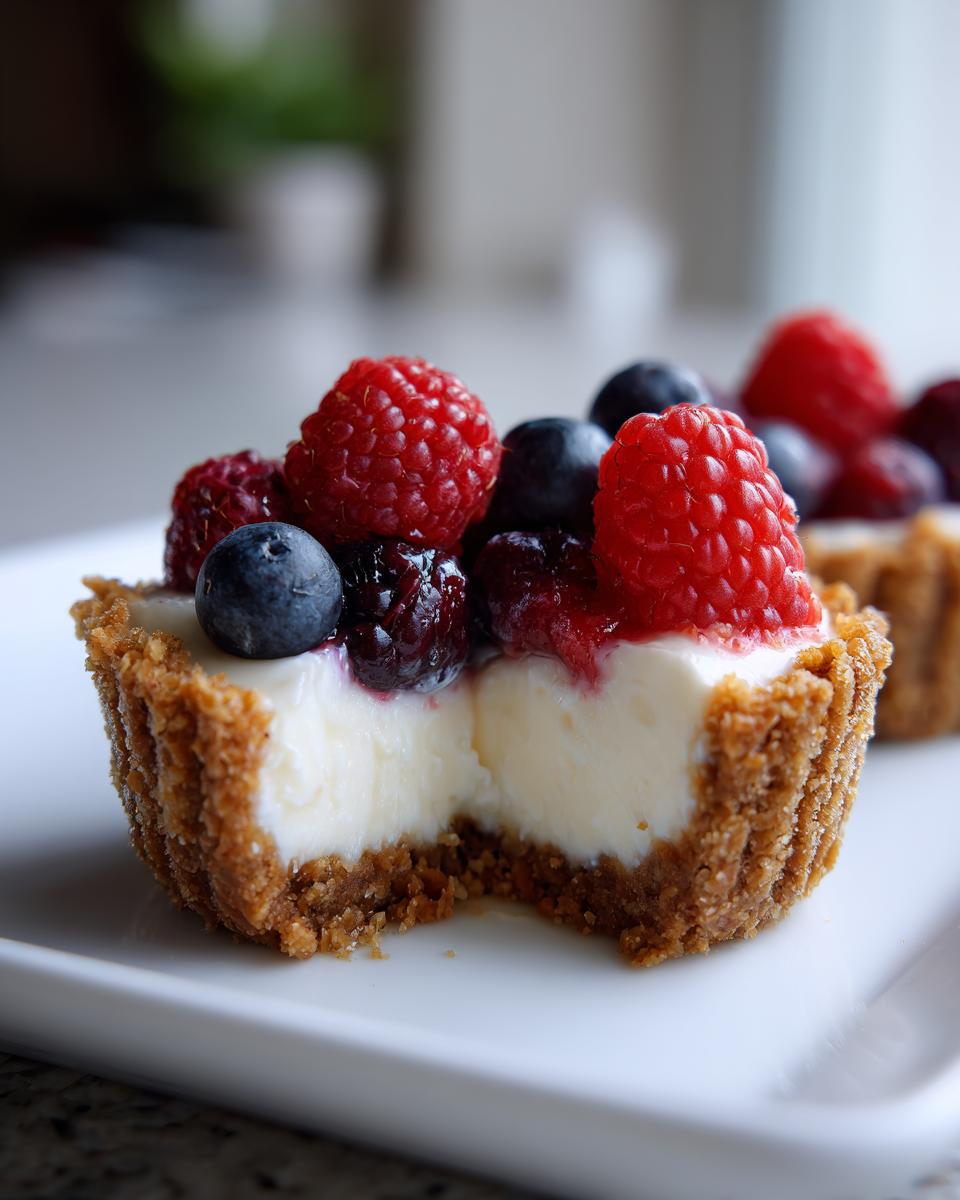
Step-by-Step Instructions for Making Perfect mini cheesecake Bites
Alright, this is honestly the fun part! Since we’re skipping the bake time, our work is fast, clean, and then we let the fridge do the heavy lifting. These steps are how we guarantee those gorgeous, thick, creamy mini cheesecake bites that everyone loves. Remember, preparation is everything when making these adorable cheesecake bites!
Creating the Base for your muffin tin cheesecake
First thing, get 12 paper liners ready in your standard muffin tin. That’s step one! Next, take those graham cracker crumbs, mix them with the crust sugar, and pour in that melted butter. You want the crumbs to look like wet sand—totally moistened but not soggy. Press about a teaspoon and a half of that mixture firmly into the bottom of each liner. That firm press is key for a good base! Pop the whole tin into the fridge for 15 minutes to set up while you focus on the filling.
Whipping the Creamy mini cheesecake Filling
Time for the silky part! Grab your bowl with the room-temperature cream cheese and beat it first, all by itself, until it’s perfectly smooth—no lumps allowed! Then, slowly add in the powdered sugar and vanilla. Once that’s incorporated, it’s time for the heavy cream. Whip that cream separately until it gets nice soft peaks. Then, and this is important for airy, creamy mini cheesecake texture, you gently fold the whipped cream into the cream cheese mix. Don’t stir aggressively, just fold until it barely comes together!
Chilling and Finishing Your mini cheesecake
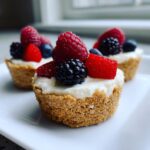
Now, carefully spoon or pipe that luscious filling right over those chilled crusts. Make sure they are level! These need a serious nap in the refrigerator. You absolutely cannot rush this part; you need at least 4 hours for them to get firm enough to handle. Once they are totally set, top them off! I usually wait until right before serving to add fresh berries or a drizzle of chocolate sauce, so the toppings look their absolute best.
Expert Tips for the Best mini cheesecake Success
I know you want these mini cheesecake cups to come out perfectly smooth, creamy, and dreamy. Since this is a no-bake situation, how we treat the ingredients matters even more than if we were baking! A few pointers from my kitchen that I learned through many, many batches will save you time and guarantee that silky texture everyone praises.
Ingredient Temperature Matters for smooth mini cheesecakes
Seriously, this is non-negotiable for flawless mini cheesecakes. Don’t just leave the cream cheese out for five minutes—let it sit until it’s genuinely soft. If you try mixing cold cream cheese, you end up whipping ugly, grainy lumps into your filling. Those lumps are a texture disaster and ruin the gorgeous, creamy mouthfeel we’re aiming for in these individual servings.
Crust Variation Ideas
The recipe calls for graham crackers, which I love, but sometimes you get an itch for something different! If you want to switch things up for these small batch cheesecake treats, try vanilla wafers or even crushed shortbread cookies. My mom, for instance, used vanilla wafers for a batch she made right before my uncle visited one year—it gave the base this lovely spiced depth that contrasted beautifully with the plain filling. It’s an easy switch that keeps this recipe exciting!

Creative cheesecake toppings ideas for your mini cheesecake cups
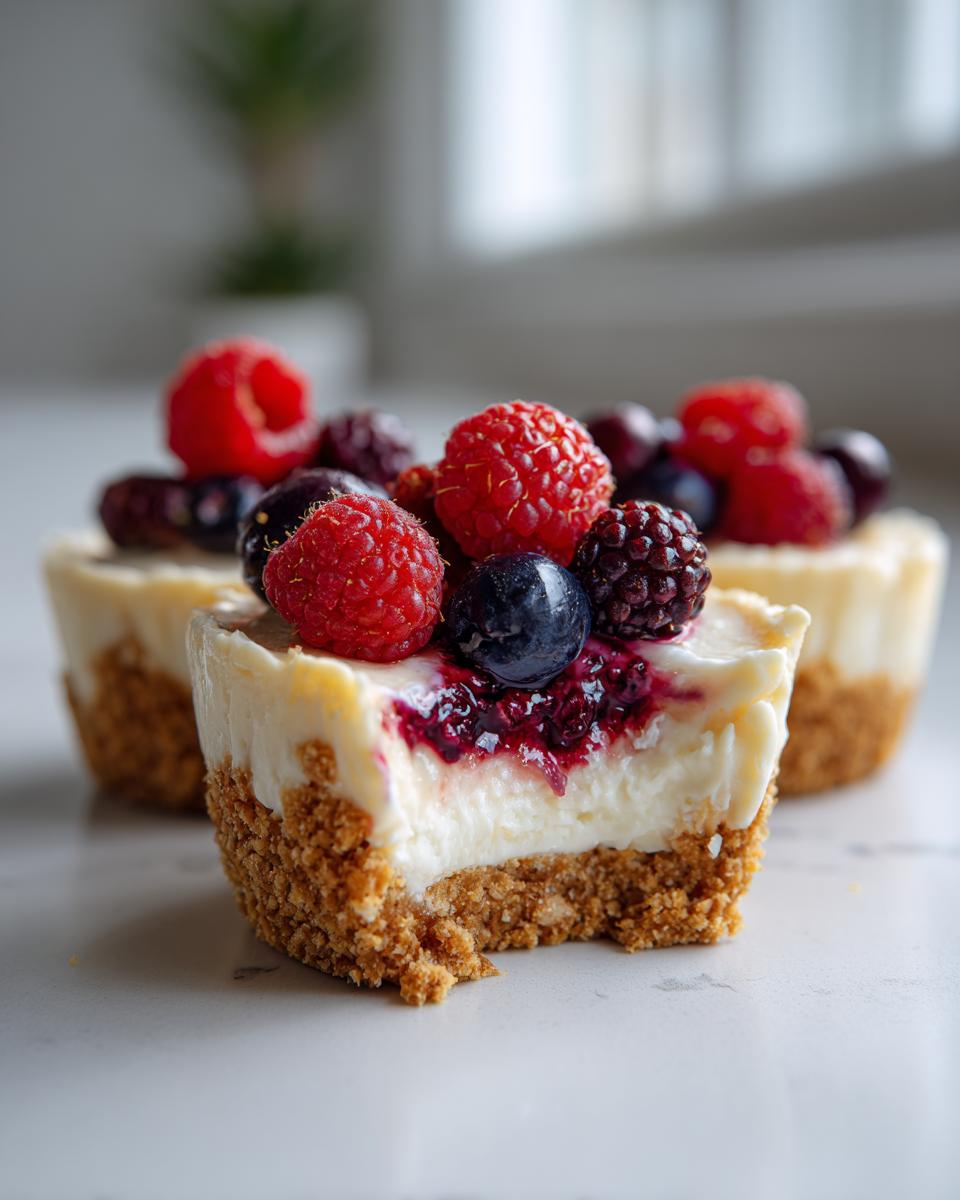
Now that you have these perfectly chilled, creamy bases, the real fun starts: decorating! Since these mini cheesecake cups are so versatile, you can totally customize them for holidays or whatever flavor mood hits you that day. Forget just plain berries; we need some serious flair!
I keep a running list of cheesecake toppings ideas pinned up in my pantry. Think beyond the basics! A little swirl of homemade salted caramel sauce looks amazing and tastes divine against that tangy filling. Or, if you’re feeling really decadent, a small dollop of chocolate ganache paired with a sprinkle of sea salt? Wow! For fall gatherings, you could even try a tiny spoonful of smooth pumpkin dip with cool whip right on top!
You can keep these simple, of course, but experimenting with toppings is where these little treats really become showstoppers for your next party!
Storing and Keeping your no bake mini cheesecake Fresh
The best part about these no bake mini cheesecake cups is that they keep so beautifully well. Since we aren’t worried about that baked texture breaking down, these sealed treats last wonderfully in the fridge! You should keep them in an airtight container, and honestly, they’re great for about 4 to 5 days.
This makes them such a fantastic quick dessert recipe because you can totally make them ahead of time! If you need even more lead time, pop them into the freezer. Just make sure to cover them well, skip the topping until they thaw, and they’ll be perfect when you need them later. They’re ready when you are!
Frequently Asked Questions about making mini cheesecake
I know FAQs can feel a bit stiff sometimes, but these are the exact questions I get asked every time I bring these mini cheesecake treats to a gathering! Let’s clear up any lingering doubts so you can conquer this recipe with total confidence.
Can I use a regular muffin tin without liners for this mini cheesecake recipe?
You technically can, but honestly, why create extra work for yourself? If you skip the paper liners, you absolutely must grease your muffin tin—and I mean really grease it, maybe even over-grease it! These are delicate little cheesecake cupcakes, and trying to pry them out without ripping the crust is a headache I don’t wish on anyone. I always recommend the liners for easy removal!
How do I achieve a New York Style mini cheesecake flavor?
That’s a great question for a no-bake recipe! While true New York style has that baked tang, we can cheat a little bit here to get close. Since we rely on the cream cheese flavor, try bumping your vanilla extract up just a tiny bit, or maybe grate in the zest from half a lemon. That little bit of bright citrus cuts through the sweetness perfectly, giving you a flavor profile that nods right back to a classic new york style mini cheesecake.
What is the best way to serve these bite sized cheesecake portions?
The crucial thing to remember is that these are *no-bake*. That means they rely on being chilled to hold their beautiful shape. Always serve these bite sized cheesecake portions straight from the refrigerator. If you let them sit on the snack table for too long in a warm room, they start to soften up dramatically. Keep them cool, keep them perfect!
Nutritional Estimate for Your Creamy Portioned Desserts
Now, I always tell folks that when you’re making something this delicious, you shouldn’t stress too much about the numbers! But, for those of you who like knowing what you’re diving into, here’s a general estimate for one of these wonderful portioned desserts based on standard ingredients. Keep in mind that this is just an estimate, especially since your toppings will change things!
- Calories: Around 280
- Sugar: About 18 grams
- Fat: Roughly 19 grams
Remember, this is for one perfect mini cheesecake cup, and it doesn’t include any extra sauces or fruit you might pile on top!
Share Your Perfect mini cheesecake Creations
That’s it! You’ve made the best, creamiest, no-bake mini cheesecake batch, and now it’s time to enjoy them. But guess what? The fun isn’t quite over yet! As a home cook, sharing what works (and what doesn’t!) is how we all get better, right?
I absolutely love hearing success stories from other kitchens. Did you stick with the simple fresh berries? Or did you try out one of those wild caramel toppings I mentioned? Don’t be shy! Please drop a comment down below and let me know how your mini cheesecake lineup turned out. Leaving a rating helps others find this simple, reliable recipe too, which makes me so happy!
And hey, if you ended up trying a bite version that was even better than the one I shared here—maybe you found the absolute best way to use Oreo crumbs instead of graham crackers—please share that secret! It’s all about building that community one perfect, small dessert at a time. You can even check out some other amazing creations over at Kathryn’s Kitchen for inspiration!
PrintEasy No-Bake Mini Cheesecake Cups with Graham Cracker Crust
Make simple, creamy, bite-sized desserts using this easy no-bake mini cheesecake recipe. These individual cheesecake portions use a graham cracker crust and are perfect for parties.
- Prep Time: 20 min
- Cook Time: 0 min
- Total Time: 4 hr 20 min
- Yield: 12 servings 1x
- Category: Dessert
- Method: No-Bake
- Cuisine: American
- Diet: Vegetarian
Ingredients
- 1 1/2 cups graham cracker crumbs
- 1/4 cup granulated sugar (for crust)
- 6 tablespoons unsalted butter, melted
- 16 ounces cream cheese, softened
- 1/2 cup powdered sugar
- 1 teaspoon vanilla extract
- 1/4 cup heavy cream
- Fresh berries or chocolate sauce (for topping)
Instructions
- Prepare a 12-cup muffin tin by lining it with paper liners.
- Combine graham cracker crumbs and 1/4 cup granulated sugar in a bowl. Pour in the melted butter and mix until the crumbs are evenly moistened.
- Press about 1 1/2 tablespoons of the crumb mixture firmly into the bottom of each paper liner to form the crust. Chill the crusts in the refrigerator for 15 minutes.
- In a large bowl, beat the softened cream cheese with an electric mixer until smooth.
- Gradually beat in the powdered sugar until fully combined. Mix in the vanilla extract.
- In a separate bowl, whip the heavy cream until soft peaks form. Gently fold the whipped cream into the cream cheese mixture until just combined. Do not overmix.
- Spoon or pipe the cheesecake filling evenly over the chilled crusts in the muffin tin.
- Refrigerate the mini cheesecakes for at least 4 hours, or until firm.
- Before serving, top each mini cheesecake cup with fresh berries or your choice of topping.
Notes
- For a richer flavor, substitute vanilla wafers for graham crackers in the crust mixture.
- If you want a firmer texture, chill the cheesecakes overnight.
- Use room temperature cream cheese to prevent lumps in the filling.
Nutrition
- Serving Size: 1 cup
- Calories: 280
- Sugar: 18
- Sodium: 150
- Fat: 19
- Saturated Fat: 11
- Unsaturated Fat: 8
- Trans Fat: 0.5
- Carbohydrates: 23
- Fiber: 1
- Protein: 4
- Cholesterol: 55