
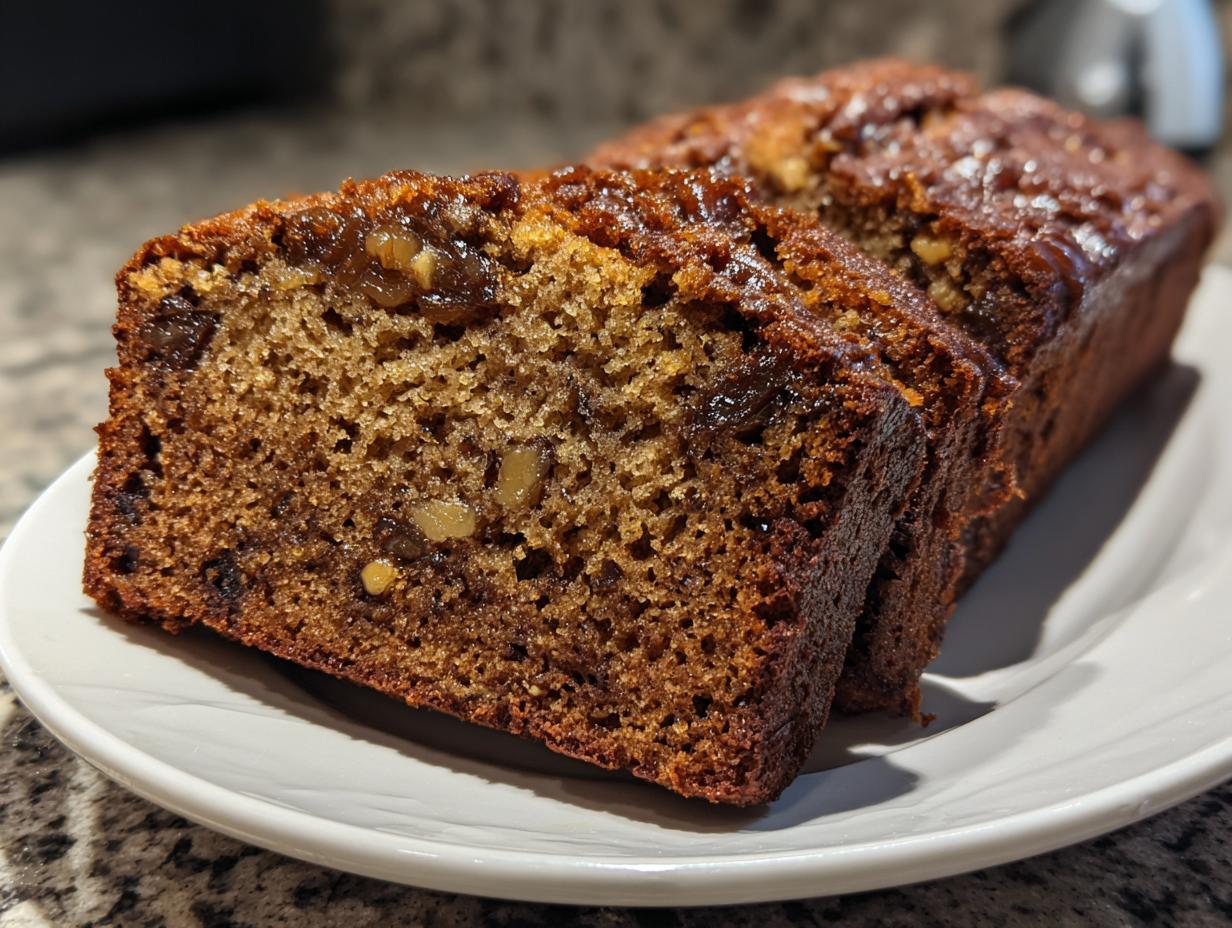
There is just something about a slice of homemade quick bread, right? It’s pure comfort, especially when it’s made the time-tested way. If you’ve ever been scared to try making a loaf because you worried it’d turn out dry and crumbly, I have the recipe for you! This Old-Fashioned Moist Date Nut Bread is my absolutely most reliable recipe. I promise, you get that tender, luxurious crumb every single time. We focus on simple, honest ingredients, just like how Maddie Thompson learned from her family—it’s heritage you can taste! Check out our story to see why connecting with our roots matters here at the blog.
We’ve taken those classic methods that make the best breakfast treats and streamlined them so you don’t need hours to bake. This isn’t a fussy recipe; it’s straightforward goodness that brings the classic flavor right to your counter. You’ll be glad you bookmarked this one if you’re looking for a dependable Homemade Bread Recipe.
- Why This Old-Fashioned Date Nut Bread Stands Out
- Gathering Ingredients for Your Date Nut Bread Recipe
- Step-by-Step Instructions for Perfect Date Nut Bread
- Tips for Success with Your Homemade Bread Recipe
- Serving Suggestions for This Sweet Loaf Cake
- Storage and Make-Ahead Tips for Date Nut Bread
- Frequently Asked Questions About Date Nut Bread
- Estimated Nutritional Information for Date Nut Bread
- Share Your Date Nut Bread Baking Experience
Why This Old-Fashioned Date Nut Bread Stands Out
I know what you’re thinking—another date nut bread recipe? But hear me out! My goal here is always trust, and with quick breads, the biggest fear is dryness. This recipe is different because it delivers on the promise of a wonderfully moist quick bread that stays soft for days. We lean into techniques that guarantee satisfaction, making this an absolute winner for your next batch of Nut Bread Baking.
- Guaranteed Moist Quick Bread Texture
- Classic Comfort Food Baking Profile
- Simplicity that works every time
Guaranteed Moist Quick Bread Texture
The secret weapon hiding right there in the ingredient list? That step where we add baking soda to hot water and pour it over the chopped dates. Wow! This technique really wakes up the soda and creates steam inside the loaf as it bakes. It actively pushes moisture into every corner of the bread. If you’re after a truly luscious slice of Moist Quick Bread, this step is non-negotiable in my book.
Classic Comfort Food Baking Profile
This isn’t one of those trendy, overly-sweet loaves. This is your grandmother’s style of date nut bread. We use cinnamon and nutmeg—that gorgeous, warm spice blend—that just smells like home. It brings out the deep, caramel sweetness of the dates perfectly. It’s honestly the ideal flavor profile when you’re looking for that special Holiday Fruit Bread to serve during the cooler months.
Gathering Ingredients for Your Date Nut Bread Recipe
Okay, let’s talk about what goes into this amazing Homemade Bread Recipe! Because this date nut bread is so simple, the quality of your ingredients really shines through. You’ll need butter, sugar, those eggs, vanilla, the standard dry stuff, plus our stars: the dates and the walnuts. Don’t forget that cup of boiling water—it’s doing some heavy lifting later!
If you are planning other seasonal baking projects, check out my favorite pumpkin banana bread when you’re done here.
Ingredient Notes and Substitutions for Nut Bread Baking
When you chop those dates, make sure they are fully pitted first! I like them in little chunks so you get a nice distribution in every slice. And for the nuts, while this is a classic date and walnut bread situation, please feel free to swap in pecans if that’s what you have! They toast up equally beautifully, giving you that satisfying crunch we all love in our Classic Date Walnut Bread.
Step-by-Step Instructions for Perfect Date Nut Bread
Alright, let’s get baking! Having all your ingredients ready (that’s called *mise en place*, but I just call it being prepared!) makes following this recipe for our Moist Quick Bread a total breeze. Remember, baking is chemistry, so precision matters, especially in the beginning. We’re going to move quickly once the mixing starts, so make sure your oven is preheated to 350°F (175°C) and your 9×5 loaf pan is greased up and floured.
If you want to see another fantastic no-yeast recipe, you should totally check out my notes on amish cinnamon bread!
Preparing the Date Mixture and Wet Ingredients
First up is our date activator! In a bowl, mix your chopped dates and baking soda, then pour that full cup of boiling water right over the top. Leave that mixture alone for a solid 15 minutes. And I mean 15 minutes! This lets the soda totally dissolve and hydrate those dates, which is key for that signature texture in your Easy Date Loaf. While that sits, it’s time for the creaming. In a big bowl, beat that softened butter and sugar together until it’s genuinely light and fluffy—when it looks pale yellow and almost airy, you’ve hit the perfect spot for the wet base.
Combining Batter and Baking the Easy Date Loaf
Once the dates have soaked, we start adding things to the butter mixture: eggs one at a time, then vanilla. Now, for the flour mixture (flour, cinnamon, nutmeg, salt). Here is my biggest warning: add the dry stuff in three batches, mixing only until *just* combined after each addition. Stop right when you see the last streaks of flour disappear. Seriously, do not overmix this batter! That’s what makes bread tough. Finally, gently fold in that date mixture and your walnuts. Pour it all in the pan and slide it into the oven for about 55 to 65 minutes. Stick a wooden pick right in the center; if it comes out clean or with just a few moist crumbs clinging to it, you nailed it!
Tips for Success with Your Homemade Bread Recipe
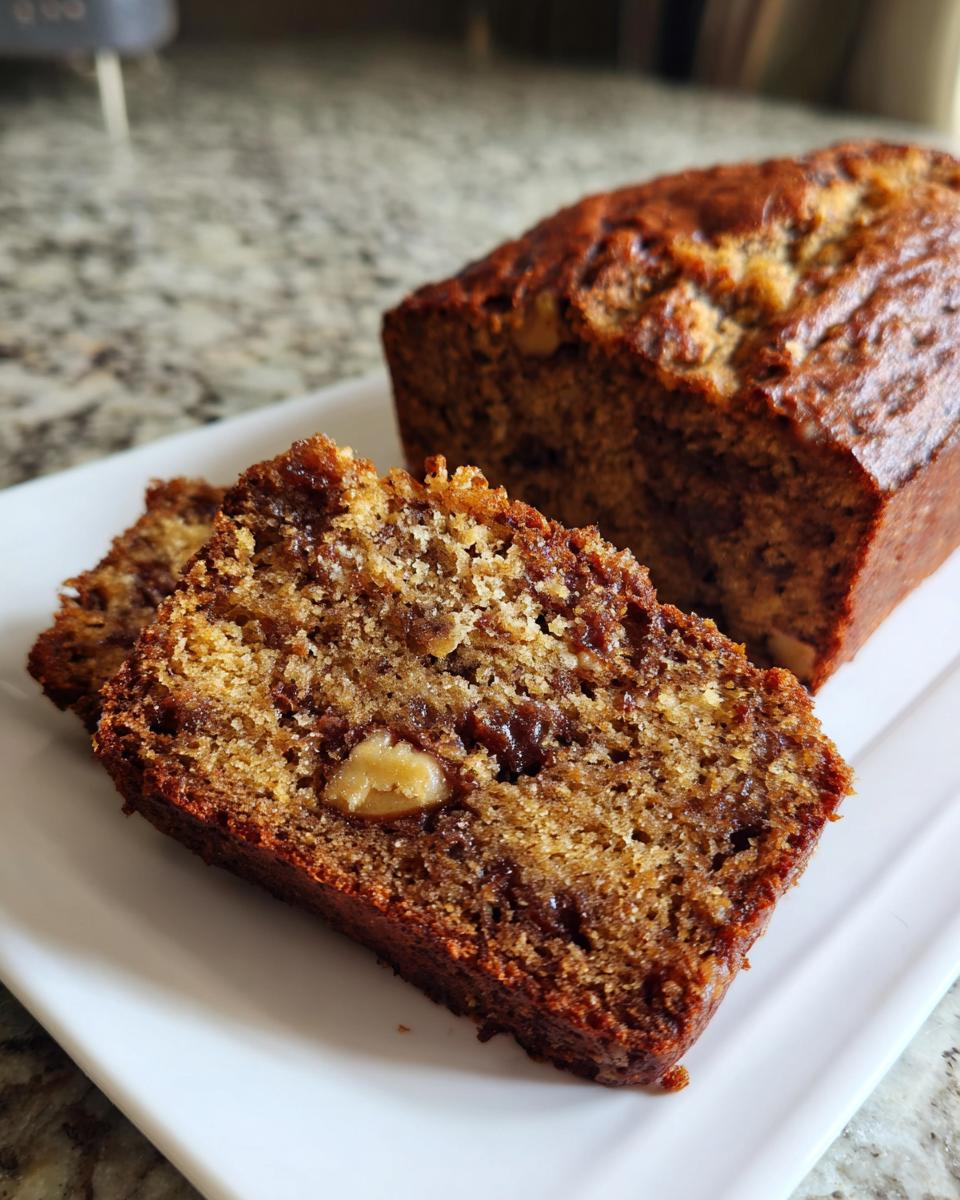
Even though this is an Easy Date Loaf, taking a couple of extra seconds on a few steps makes the difference between good and spectacular. Remember, we are aiming for that ultra-moist texture that everyone raves about when they try this Classic Date Walnut Bread.
First thing: butter temperature is huge! When I say softened, I mean you can easily make an indentation, but it absolutely shouldn’t look greasy or melted in the bowl. If it’s too warm when you cream it with the sugar, you won’t incorporate enough air, and that means a denser, heavier bread. We want light!
Also, folding in those dates and walnuts needs a gentle touch. Use a rubber spatula, not the electric mixer, for this last step. If you beat the nuts and dates in too vigorously, you risk activating too much gluten from the flour you just added, and we end up back at the tough bread problem. Be patient!
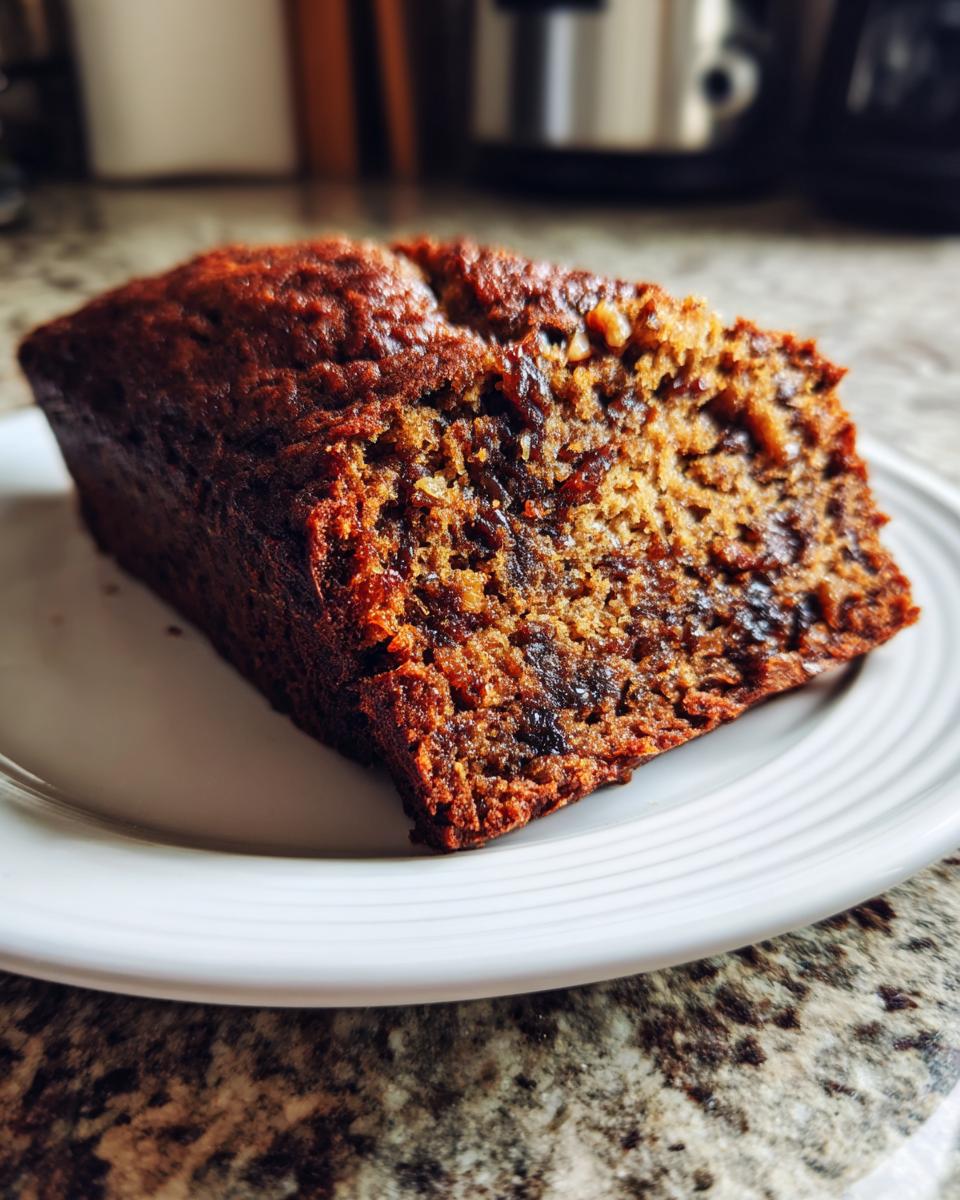
And I can’t stress this enough: when the bread comes out of the oven, let it rest in the pan for 10 minutes before attempting to turn it out. Quick breads are fragile when hot. Once it’s on the rack, though, the best way to enjoy this for one of your favorite breakfast bread ideas is while it’s still warm! Slice it thick and slather it with good quality, soft, salted butter. It melts right into those little air pockets, making it intensely satisfying. Trust me on the warm bread with butter trick!

Serving Suggestions for This Sweet Loaf Cake
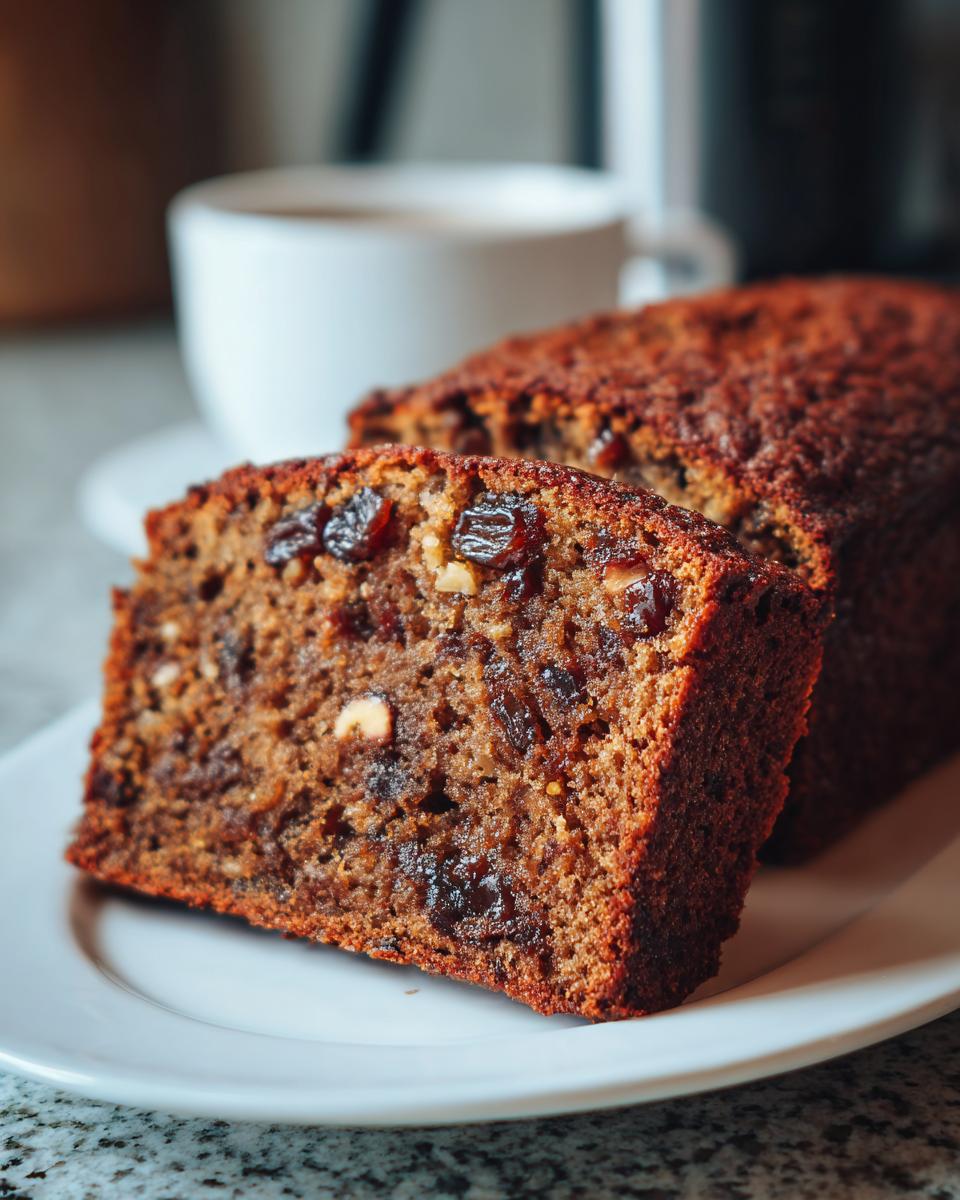
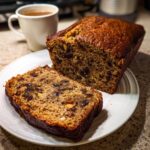
Now that you have this gorgeous, fragrant loaf of Date Nut Bread cooling, the real fun begins! How do you eat it? Well, for me, this is truly one of the most versatile Breakfast Bread Ideas we have on the site. It’s hearty enough to feel substantial but sweet enough to feel like an indulgence.
If you slice it while it’s still relatively warm—not piping hot, but warm from the cooling rack—it really sings. Seriously, grab some good quality butter; it doesn’t even need to be salted! Watch it melt into the crumb. That’s pure comfort right there, perfect for an afternoon coffee break.
If you’re serving this up at a brunch, I love topping a thick slice with a schmear of cream cheese, maybe even whipped cream cheese if you’re feeling fancy. It cuts through the sweetness just right. And because this is such a wholesome, flavorful snack bread, it’s fantastic just plain the next morning with your tea. See? So many ways to enjoy this simple, delicious loaf!
If you want to see more ideas that work great for your morning routine, you should browse my favorite breakfast bread ideas collection!
Storage and Make-Ahead Tips for Date Nut Bread
One of the best things about a good, dense quick bread like this date nut bread is that it actually tastes better the next day, after the moisture has had a chance to really settle in. This makes it perfect for holiday baking when you need to get things done ahead of time!
For short-term storage, just keep the completely cooled loaf wrapped tightly in plastic wrap or tucked inside a resealable bag. Store it on the counter at room temperature. It stays wonderfully moist for about three to four days this way. Don’t refrigerate it unless your kitchen is extremely hot, because cold air can actually dry out baked goods faster!
If you are making this far ahead of time—maybe you baked it for a gift or just want to stash some away—freezing is your best friend. Once the loaf is totally cooled down, wrap it really tight first in a layer of plastic wrap, and then again in aluminum foil or place it in a freezer-safe bag. This double wrap prevents any freezer burn from getting to your beautiful holiday fruit bread.
It thaws beautifully! Just pull the wrapped loaf out of the freezer the night before you need it and let it thaw slowly on the counter. When you’re ready to serve it, slice it up and warm it gently. I like to pop the slices in the microwave for maybe 15 seconds just to get that steam going again. It brings back that fresh-from-the-oven experience, even if you made it weeks ago!
Frequently Asked Questions About Date Nut Bread
Can I make this a Naturally Sweetened Bread using banana?
That’s a popular thought! People definitely look for recipes that use banana for extra sweetness, and yes, you absolutely could adjust things to bring in some mashed banana, much like those banana date nut bread versions you see around. However, if you want this specific, rich, old-fashioned flavor profile, I’d recommend sticking to the sugar and dates for now. Adding bananas brings a lot of extra liquid and a distinct flavor that changes the classic profile we were aiming for here. If you try it, you’ll definitely need to cut back on liquid elsewhere!
What is the best way to store leftover moist quick bread?
The longevity of this bread is one of the things I love most about it! For short-term storage—say, for breakfast over the next few days—keep the completely cooled loaf wrapped tightly in plastic wrap or foil, storing it on the counter at room temperature. Because of the dates, it stays incredibly moist! Avoid the fridge unless your kitchen is extremely warm, as it can make your moist quick bread feel stale faster. If you need to keep it longer, move it to the freezer!
Is this considered an Old Fashioned Quick Bread?
Yes, absolutely! This recipe is built right on those classic foundations that make up the best Old Fashioned Quick Bread recipes. We use simple creaming methods, common pantry spices like cinnamon and nutmeg, and techniques designed to maximize that deep, wholesome flavor without needing yeast. It’s the kind of comforting, reliable baking that feels like it’s been around forever!
Estimated Nutritional Information for Date Nut Bread
Now, before you grab that second piece—because trust me, it happens—I always like to give a quick rundown of what’s in this wonderful loaf. Remember, since every kitchen uses slightly different brands of flour or sugar, these numbers are just estimates. They’re based on the specific ingredients and portioning we used here to make this classic date nut bread recipe. We are looking at about 10 generous slices per loaf.
- Serving Size: 1 slice
- Calories: Around 280
- Sugar: 28g (It’s sweet, thanks to those dates!)
- Fat: 13g
- Carbohydrates: 40g
- Protein: 5g
It’s a wholesome snack bread, full of energy from the dates and nuts, but keep an eye on that sugar! Everything in moderation, especially when it tastes this good. If you’re using different sweeteners or nuts, these values will shift a bit, so just take this as a helpful ballpark figure for your sweet loaf cake!
Share Your Date Nut Bread Baking Experience
And there you have it! Your own perfectly baked, wonderfully aromatic loaf of Date Nut Bread is cooling right now, filling your house with the best smells. I truly hope this recipe gives you that same feeling of contentment and nostalgia that it gives me every single time I pull it out of the oven. It’s baked with love, and I hope you taste that in every slice!
Now that you’ve made this classic quick bread, I really, really want to hear about it! Did it turn out perfectly moist? Did you serve it warm with butter like I suggested? Don’t be shy!
Please take a minute to leave a star rating right down in the comments below—it helps other bakers know they can trust this recipe. If you had any little tweaks or thoughts on your experience making this reliable Homemade Bread Recipe, drop a comment! I read every single one and love to chat baking with you all.
If you snapped a gorgeous photo of your finished loaf, please tag me on social media! Seeing my recipes come to life in your kitchens is genuinely the best part of my day. You can reach out to me directly if you have any questions about bread baking when you’re ready to get in touch, or just want to say hello at my contact page. Happy baking, friends!
PrintOld-Fashioned Moist Date Nut Bread
Bake a comforting, moist date nut bread using simple ingredients and classic spices. This quick bread is perfect for breakfast or as a wholesome snack.
- Prep Time: 20 min
- Cook Time: 60 min
- Total Time: 80 min
- Yield: 1 loaf (about 10 servings) 1x
- Category: Quick Bread
- Method: Baking
- Cuisine: American
- Diet: Vegetarian
Ingredients
- 1 cup boiling water
- 1 teaspoon baking soda
- 1 cup packed pitted dates, chopped
- 1 cup chopped walnuts
- 1/2 cup (1 stick) unsalted butter, softened
- 1 cup granulated sugar
- 2 large eggs
- 1 teaspoon vanilla extract
- 1 3/4 cups all-purpose flour
- 1 teaspoon ground cinnamon
- 1/2 teaspoon ground nutmeg
- 1/2 teaspoon salt
Instructions
- Preheat your oven to 350°F (175°C). Grease and flour one 9×5 inch loaf pan.
- In a medium bowl, combine the chopped dates and baking soda. Pour the boiling water over the mixture and let it sit for 15 minutes.
- In a large bowl, cream together the softened butter and sugar until light and fluffy. Beat in the eggs one at a time, then stir in the vanilla extract.
- In a separate bowl, whisk together the flour, cinnamon, nutmeg, and salt.
- Add the dry ingredients to the wet ingredients in three parts, mixing just until combined after each addition. Do not overmix.
- Stir the soaked date mixture and the chopped walnuts into the batter.
- Pour the batter into the prepared loaf pan.
- Bake for 55 to 65 minutes, or until a wooden pick inserted into the center comes out clean.
- Let the bread cool in the pan for 10 minutes before turning it out onto a wire rack to cool completely.
Notes
- For an extra moist texture, serve slices warm with butter spread on top.
- You can substitute pecans for walnuts if you prefer.
- This bread freezes well once completely cooled; wrap tightly in plastic wrap and foil.
Nutrition
- Serving Size: 1 slice
- Calories: 280
- Sugar: 28g
- Sodium: 180mg
- Fat: 13g
- Saturated Fat: 5g
- Unsaturated Fat: 8g
- Trans Fat: 0g
- Carbohydrates: 40g
- Fiber: 3g
- Protein: 5g
- Cholesterol: 55mg