
You know that sudden, undeniable craving? The one where only something rich, cold, and deeply comforting will do? Forget those dusty packets or too-thin store-bought versions. I’m here to tell you that the chocolate milk of your childhood dreams—the one that tastes like pure, velvety magic—is absolutely achievable in under five minutes. This is the Best Homemade Chocolate Milk Recipe I’ve ever tested, designed to beat anything you buy off the shelf using just basic cocoa powder. As the founder here, Maddie Thompson, I pour all my focus into making sure these recipes are clear and reliable, so you get that perfect, comforting sip every single time you try it from scratch. If you love nailing a perfect classic flavor profile, you should definitely check out my recipe for classic chocolate chip cookies!
- Why This Homemade Chocolate Milk Recipe is the Best Chocolate Milk Ever
- Ingredients for the Best Homemade Chocolate Milk Recipe
- How to Make Easy Chocolate Milk From Scratch
- Tips for the Creamiest Cold Milk Drinks: Perfecting Your Chocolate Milk
- Variations: Healthy Chocolate Milk Ideas and More
- Storage and Serving Suggestions for Your Chocolate Milk
- Frequently Asked Questions About Chocolate Milk
- Nutritional Information for This Classic Chocolate Milk Recipe
- Share Your Homemade Chocolate Milk Experience
Why This Homemade Chocolate Milk Recipe is the Best Chocolate Milk Ever
Honestly, I struggle to understand why anyone buys that pre-made sugary stuff anymore! This recipe is so fast, and the flavor difference is huge. It’s truly better than store bought chocolate milk because you control everything that goes in. Trust me, once you make this, it becomes your go-to. People often ask me what makes it so good, so here are the biggest wins:
- It’s the best chocolate milk ever because the richness comes from real cocoa, not just coloring.
- You get that incredible, creamy texture you crave without any weird stabilizers.
- We’ve linked out to a great resource if you want to see another take on chocolate milk!
Quick Chocolate Drink Recipe Ready in Minutes
You read that time right—three minutes total, give or take a minute for stirring! That means if you get a craving at 8 PM, you don’t have to wait. This isn’t a syrup you simmer for half an hour; this is pure instant gratification. It’s the ultimate quick chocolate drink recipe for when the mood strikes.
Using Cocoa Powder for Rich Chocolate Milk
The secret weapon here is quality, unsweetened cocoa powder. When you use the powder directly, you’re getting pure chocolate flavor, not just sugar and artificial notes. It lets the taste of your actual milk—whether it’s whole darn dairy or creamy oat milk—really shine through. It gives you that deep, slightly complex taste of chocolate milk with cocoa powder that the cheap mixes just can’t replicate.

Ingredients for the Best Homemade Chocolate Milk Recipe
Okay, getting the right stuff for this Homemade Chocolate Milk Recipe is super easy because we aren’t messing around with complicated things. Since this recipe makes one perfect serving—just right for that afternoon pick-me-up—you only need a few key players. Having the right measurements upfront keeps everything smooth, which is my goal in the kitchen, always! If you’re looking for something a little heavier, you absolutely must try my pumpkin banana bread soon; those sweet spices are just divine.
- 2 cups Milk (and listen closely—this can be dairy or any non-dairy milk you like!)
- 2 tablespoons Unsweetened Cocoa Powder (make sure it’s unsweetened!)
- 2 tablespoons Granulated Sugar (we’ll talk about adjusting this in a minute)
- 1 teaspoon Vanilla Extract (this is optional, but why wouldn’t you?)
Ingredient Notes and Substitutions for Your Chocolate Milk
This is where we customize things so it’s perfect for *your* glass. If you are trying to make a low-sugar chocolate milk, go ahead and cut that granulated sugar down to just one tablespoon, or skip it entirely if you’re using a naturally sweetened milk already. Vanilla extract really punches up the flavor dimension, giving you that rich, gourmet feel, but if you don’t have it on hand, don’t stress!
For the milk itself, whole dairy milk gives you the absolute creamiest result, but oat milk or even almond milk works beautifully here. Just know that the texture will change slightly depending on the fat content. Remember, we are making this easy chocolate milk from scratch, so feel free to tweak the amounts until you find your personal sweet spot!
How to Make Easy Chocolate Milk From Scratch
Okay, here’s the absolute most important part of this whole process. If you want a glass of beautiful, lump-free chocolate milk, you cannot just dump the cocoa and sugar straight into a full glass of cold milk. Trust me, you end up with gritty little specks floating around, and nobody wants that! We need to make a tiny chocolate base first. This is the technique that separates the pros from the kitchen rookies when making this easy chocolate milk from scratch.
Once we form that paste, the rest of the steps are just a breeze. You can whip up this drink so fast you’ll barely have time to grab a straw! If you’re trying to get dinner on the table quickly, make sure you check out my tips for quick weeknight dinners too.
Creating the Smooth Chocolate Milk Paste
This tiny bit of effort ensures perfection. Take your cocoa powder and sugar and whisk them together really well in a small bowl first. You want that mix totally uniform, breaking up any hard little clumps the powder might have decided to form. Then, here is the magic step: you only add about a quarter cup of your milk—just a splash, really! Mix that liquid in with purpose until you have a thick, smooth paste that looks almost like hot fudge sauce. This small amount of liquid fully dissolves the granular sugar and the cocoa particles. That’s why folks who follow this tip rarely end up disappointed!
Once that paste is gorgeous and fully mixed, you plop it into your drinking glass. Now you can pour in the rest of your nice, cold milk, and it will dissolve instantly and evenly. You’ll never see a lump again! I always tell people that mastering this paste technique is the secret to the best chocolate milk ever. You can see what another great resource thinks about speedy recipes over at Yummy Toddler Food.
Tips for the Creamiest Cold Milk Drinks: Perfecting Your Chocolate Milk
So, you’ve made the paste, you’ve got your creamy cold milk drinks ready to go! But what if you want to take this from good to absolutely unforgettable? That’s where a little bit of gentle heat comes in handy. If you want a truly decadent, rich chocolate syrup for milk that coats your tongue beautifully, don’t just mix it cold!
Try heating the cocoa, sugar, and just a tiny splash of milk on the stovetop over medium-low heat for just a minute or two. You don’t want it boiling, just hot enough that the sugar fully dissolves into the cocoa, making a glossy, deep syrup. Once it’s smooth, take it off the heat immediately! Let it cool for just a minute—you don’t want lukewarm milk—then mix it into your cold dairy or non-dairy base as normal.
This little trick really deepens the chocolate flavor and ensures zero grittiness, making for the absolute best mixing. Also, don’t forget that a tiny bit of richness goes a long way; while my basic recipe works great, experimenting with maple syrup instead of white sugar adds this wonderful, earthy undertone. For more of my sauce secrets, you should look at how I handled the garlic in my creamy garlic aioli recipe—the principle of dissolving solids in a smaller liquid base is the same!
Variations: Healthy Chocolate Milk Ideas and More
It’s fun to play around once you’ve mastered the classic version! Everyone approaches their glass of cocoa differently, and I think that variety is what makes cooking so enjoyable. We can totally tweak this recipe to fit whatever you’re craving, whether it’s super minimal or slightly more nutritious. I love that this base is so flexible.
If you’re looking for straight-up simple, just remember you have the option for a genuine three ingredient chocolate milk if you leave out the vanilla extract entirely. Two ingredients—milk and the cocoa/sugar paste— and you’re golden! It’s amazingly fast. If you want to explore making wholesome drinks more often, this resource on wholesome chocolate milk has some neat angles.
Making a DIY Chocolate Milk Concentrate
If you know your family goes through chocolate milk like crazy, you don’t want to be forming that cocoa paste every single time, right? That’s where we jump into the world of the DIY chocolate milk concentrate. You’re basically going to make a big batch of the paste—maybe using a whole cup of cocoa and a cup of sugar—but instead of using just a splash of milk, use half a cup of water or slightly more milk and cook it gently until it’s a thick, stable syrup. You want to double or triple the syrup portion of the recipe.
Once this rich syrup cools completely in the fridge, it keeps really well for over a week! Then, whenever you want chocolate milk, you just grab two tablespoons of your concentrate, pour in your cold milk, and stir. It’s almost like having your own homemade chocolate milk powder mix but with a better texture since it’s liquid. If you like meal prepping in advance, I know you’ll appreciate the efficiency here. It’s similar to how I prep my protein ice cream base ahead of time!
Storage and Serving Suggestions for Your Chocolate Milk
Since this single serving recipe is so fast, usually, I’m making it right when I want it—especially since I use cold milk straight from the fridge. But what if you are trying to be efficient and you doubled or quadrupled the recipe to make a pitcher for the kids after school? You can absolutely store any leftover chocolate milk mixture, but you have to be smart about it!
If you made the full paste/syrup (as discussed in the concentrate section) and didn’t add all the milk yet, just pop that thick base into an airtight jar in the fridge. It’s good for about a week, maybe longer! If you mixed the paste with all the milk to make the finished chocolate milk, you still have a good few days in the fridge, just like regular milk. Give it a good shake before you pour, because the cocoa can settle right down to the bottom.
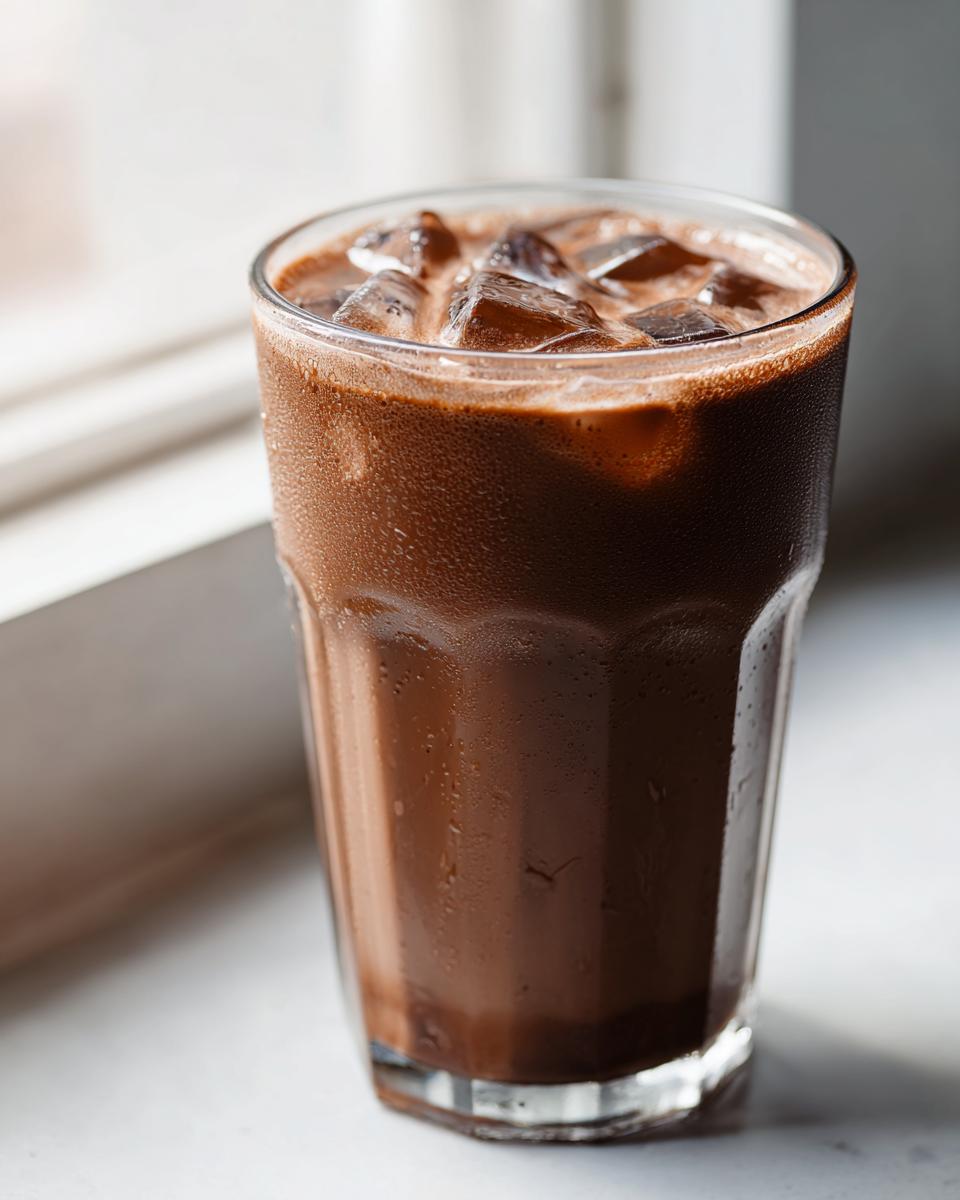
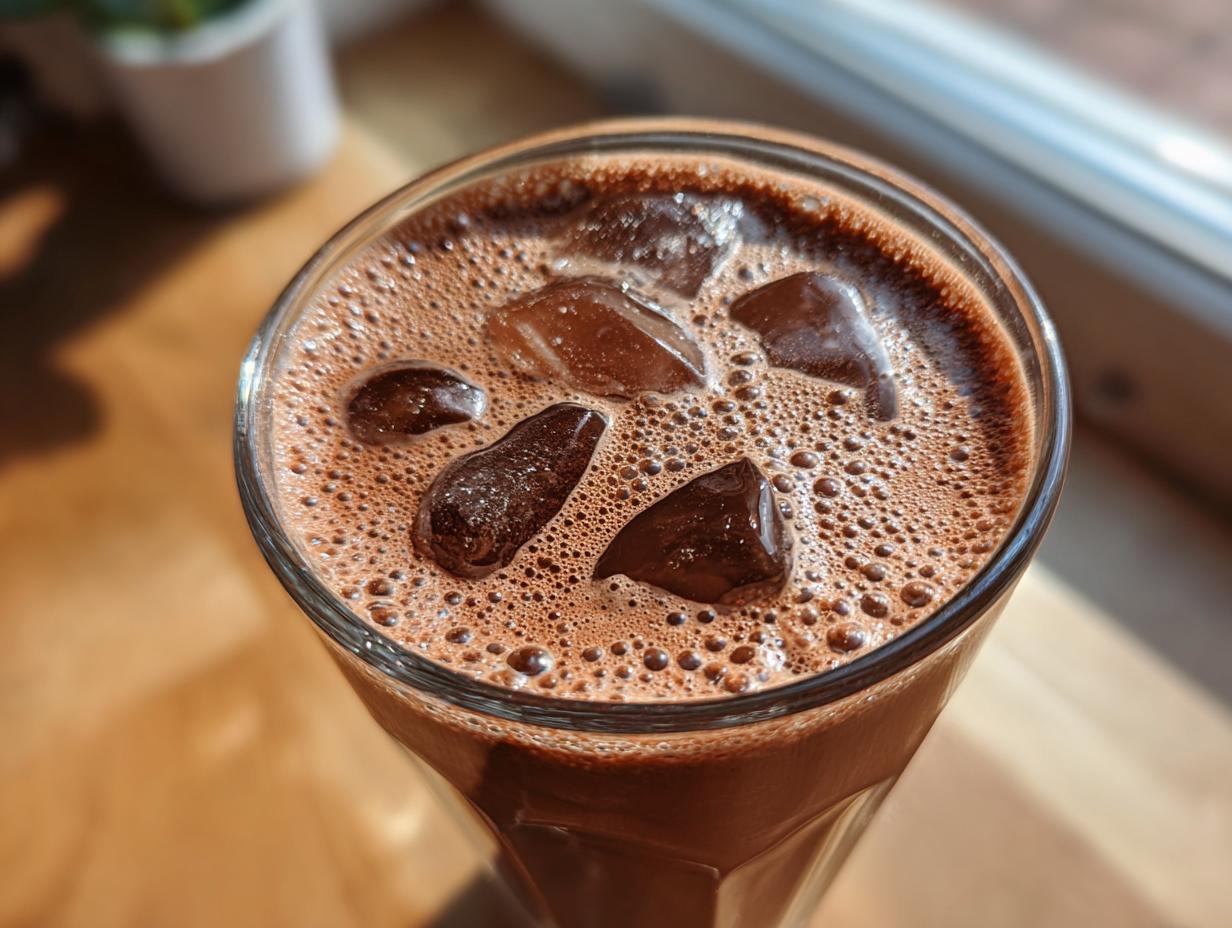
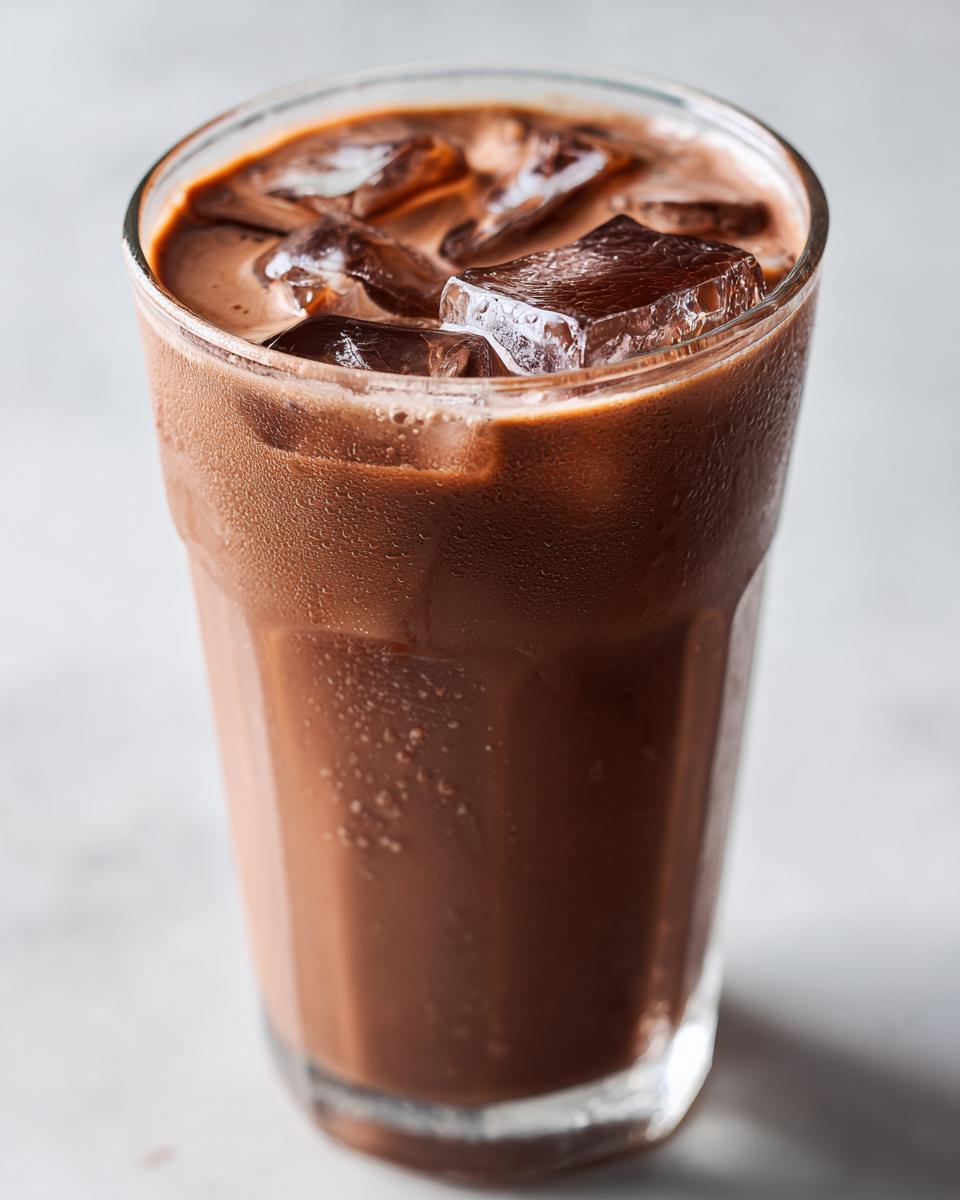
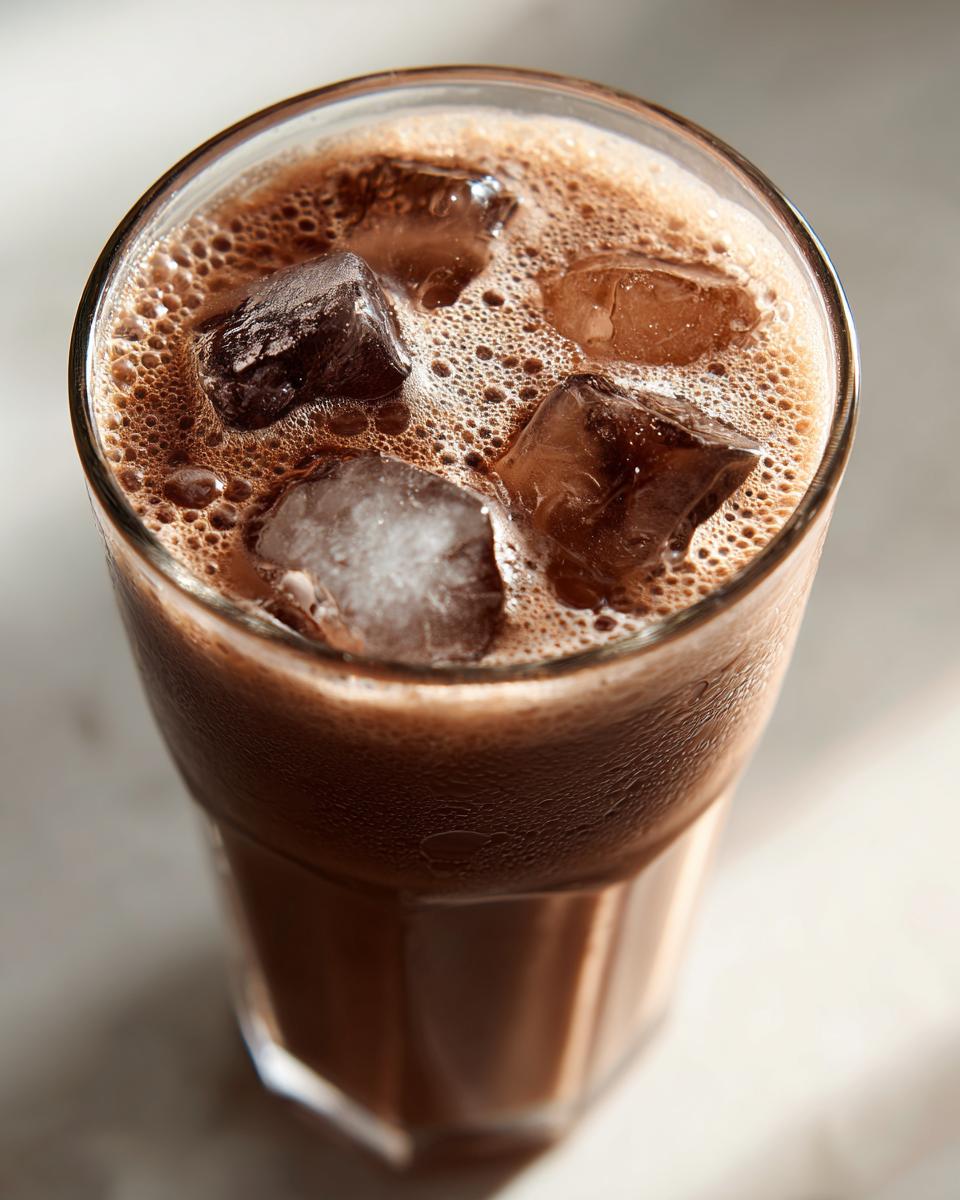
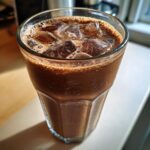
Serving suggestions are the fun part, though! Sure, a fresh glass of cold chocolate milk is amazing, but don’t stop there. My absolute favorite way right now is getting a tall glass, filling it halfway with ice cubes—the bigger the cubes, the slower they melt and water down your drink—and then pouring the fresh mixture over the top. It gets that perfect iced-coffee chill!
Also, think beyond just a drink! Use this rich chocolate milk as a base for something fancier. Try pouring it over a scoop of vanilla ice cream for an instant, homemade shake. Or, if you’re feeling daring, swap out the regular milk for coffee and use this mixture to make a quick mocha. It feels so gourmet, but it’s basically just two ingredients left over from this recipe! It reminds me a bit of how I transform simple pork shoulder into something special using apple cider braised pork shoulder—it’s all about using a great base creatively!
Frequently Asked Questions About Chocolate Milk
I know you might still have a few lingering questions, and honestly, that’s great! It means you care about getting your glass of chocolate milk just right. When I first started experimenting, I had a million questions too, so I gathered up the ones I get asked the most. We want this to be the most reliable, fail-proof drink recipe you have!
Can I make this Old Fashioned Chocolate Milk recipe using honey?
Absolutely, you can! This is one of those fun little tweaks that makes it feel even more old fashioned chocolate milk. Remember in the ingredient notes where we talked about substitutions? Honey or maple syrup work wonderfully in place of the granulated sugar. Now, here’s a little heads-up: use slightly less than the recipe calls for, because honey is often sweeter than plain white sugar. Also, if you’re making the thick paste first, I’d still suggest mixing the honey with the cocoa first, maybe with just a tiny splash of water instead of milk, just to get a smoother start before you mix it with the cold stuff!
How do I make this a Kid Friendly Milk Recipe with less sugar?
Oh, I totally get this one. I love making things that are delicious but also mindful of what my family is consuming. For a truly kid friendly milk recipe that cuts back on the processed sugar, you have a perfect path here. You can easily drop the granulated sugar down to just one tablespoon, or even half a tablespoon if your kids have a lighter sweet tooth. I’ve even made it before using a tiny drizzle of maple syrup instead of scooping sugar. The thing about this homemade chocolate milk is that the cocoa powder itself is bitter, so you do need *some* sweetener, but you don’t need the full two tablespoons if you’re worried about sugar content!
What is the best milk to use for the richest chocolate milk?
If you are asking my personal opinion for the absolute richest, most decadent mouthful, I’m going to tell you straight up: use whole dairy milk. The fat content in whole milk is what gives you that amazing, luxurious mouthfeel—that’s what makes it a truly rich chocolate syrup experience because the chocolate solids bind better to the fat.
That said, don’t you worry if you can’t do dairy! This recipe is happy to work with almost anything. Oat milk is my favorite non-dairy swap because it’s naturally creamy, but even skim milk or almond milk will work fine. Just know that the flavor profile might be a little lighter overall, which is why I always recommend keeping that optional vanilla extract in if you’re using lower-fat milk. If you need some inspiration for those ultra-busy mornings, have you looked at my list of easy breakfast ideas yet?
Nutritional Information for This Classic Chocolate Milk Recipe
I always tell people that enjoying a treat shouldn’t mean totally ignoring what’s in your glass, but let’s be real—we’re making this for the chocolatey goodness first! Since this is a classic chocolate milk recipe based on whole dairy milk (which is what I used for my testing), here is a breakdown of the estimated nutrition for one serving. Keep in mind that if you use oat milk or skim milk, these numbers will certainly shift!
It’s important to remember that these are just estimates based on the standard recipe ingredients listed. Cooking is an art, not an exact science, especially when milk fat percentages vary!
- Serving Size: 1 cup
- Calories: 250
- Sugar: 28g (This is why cutting back is so easy!)
- Fat: 8g
- Saturated Fat: 4g
- Carbohydrates: 35g
- Protein: 10g
- Cholesterol: 25mg
See? If you’re watching that sugar intake, cutting it down is super simple because a good portion comes from the added white sugar, not just the milk itself. Enjoy this wholesome beverage knowing exactly what you’re sipping on!
Share Your Homemade Chocolate Milk Experience
I truly hope you’ve already made yourself a tall, frosty glass of this amazing drink! Now that you know how simple it is to whip up this version of rich chocolate milk right from your pantry, I really want to know what you thought. Did you use oat milk? Did you skip the vanilla and go straight for the three-ingredient magic? Let me know!
Please, if this recipe hit the spot—if it tasted like the perfect, comforting hug we talked about—leave a rating right down below in the comment section. Your feedback helps other home cooks who are just getting started feel confident trying this homemade chocolate milk recipe for the very first time. And please, don’t be shy! Snap a picture of that perfectly mixed glass and tag us on social media. Seriously, seeing your creations makes my whole week!
If you have any lingering questions, or maybe you tried an ultra-gourmet twist, head over to the contact page and shoot me a note. Happy sipping, friends!
PrintBest Homemade Chocolate Milk Recipe
Make rich, creamy chocolate milk from scratch using cocoa powder. This recipe is simple, quick, and tastes better than store-bought mixes.
- Prep Time: 3 min
- Cook Time: 0 min
- Total Time: 3 min
- Yield: 1 serving 1x
- Category: Beverage
- Method: Mixing
- Cuisine: American
- Diet: Vegetarian
Ingredients
- 2 cups Milk (dairy or non-dairy)
- 2 tablespoons Unsweetened Cocoa Powder
- 2 tablespoons Granulated Sugar (adjust to taste)
- 1 teaspoon Vanilla Extract (optional)
Instructions
- Combine the cocoa powder and sugar in a small bowl. Whisk them together thoroughly to break up any lumps.
- Add about 1/4 cup of the milk to the dry ingredients. Stir until you form a smooth, thick paste or syrup. This prevents lumps when mixing with the rest of the cold milk.
- Pour the chocolate paste into a glass or jar. Add the remaining milk and the vanilla extract, if using.
- Stir or shake well until the chocolate mixture is completely dissolved and the milk is uniformly colored.
- Serve immediately over ice if desired.
Notes
- For a richer flavor, heat the cocoa, sugar, and a splash of milk gently on the stove to create a quick syrup before cooling and mixing with the rest of the cold milk.
- You can substitute the granulated sugar with maple syrup or honey for a different sweetness profile.
- This recipe makes one large serving or two small servings. Double the ingredients for more.
Nutrition
- Serving Size: 1 cup
- Calories: 250
- Sugar: 28g
- Sodium: 100mg
- Fat: 8g
- Saturated Fat: 4g
- Unsaturated Fat: 4g
- Trans Fat: 0g
- Carbohydrates: 35g
- Fiber: 2g
- Protein: 10g
- Cholesterol: 25mg