
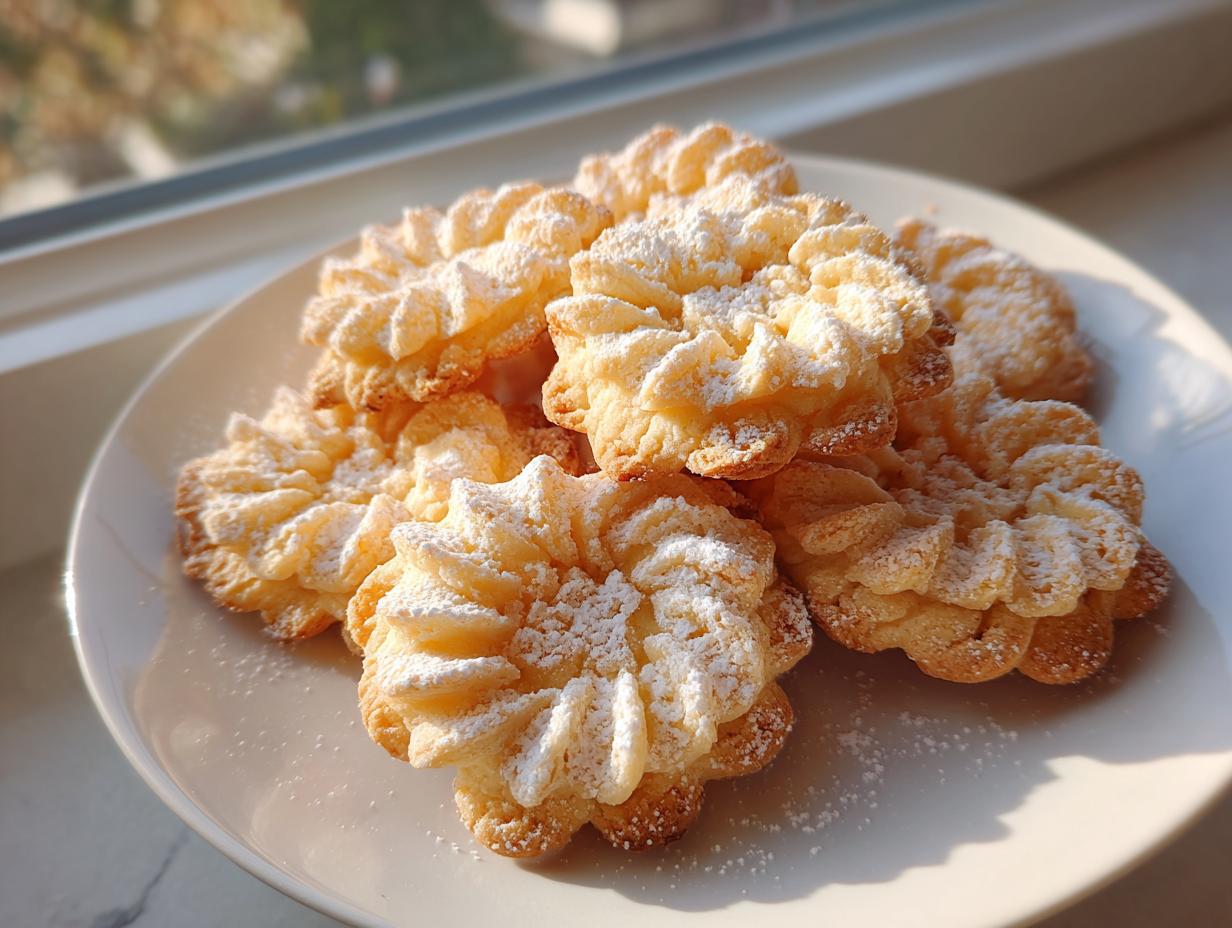
Oh, the siren song of a perfect butter cookie! Honestly, if there’s one treat that instantly whisks me back to that cozy home kitchen mentality Maddie talks about, it’s these Danish ones. Forget those dry, crumbly imitations; we are going for true, authentic decadence here. The absolute best part about this recipe is that we nail that signature melt-in-your-mouth texture without needing a professional pastry chef degree or a million weird ingredients. Trust me, bringing that rich, honest, buttery flavor right into your own oven is so rewarding. It’s about finding joy in making something simple truly spectacular, just like the best home cooking should be!
I learned long ago that the magic doesn’t come from complexity, it comes from loving the process, and this recipe lets the quality of your butter do all the heavy lifting. You can check out the story behind our cooking philosophy if you want to know more about why simple, honest ingredients matter so much to us!
- Why This Danish butter cookie Recipe Delivers Melt In Your Mouth Cookies
- Gathering Ingredients for Your Classic butter cookie Recipe
- Step-by-Step Instructions for Homemade Butter Cookies
- Tips for Success with Your butter cookie Dough
- Variations on the Classic butter cookie
- Serving Suggestions for Tea Time Cookies
- Storage & Gifting: Keeping Your butter cookie Fresh
- Frequently Asked Questions About This butter cookie Recipe
- Estimated Nutritional Data for Your butter cookie Serving
Why This Danish butter cookie Recipe Delivers Melt In Your Mouth Cookies
You asked for it, and I’m happy to tell you: this Danish-style recipe is hugely popular for a reason! When people search online, they specifically want that authentic Scandinavian flavor—crisp on the edge but utterly tender inside. That melt in your mouth cookies quality isn’t an accident; it’s built right into the ratios. Since we are keeping the ingredient list short, we don’t have much to hide behind!
We aren’t dealing with complicated extracts or tons of sugar here. Everything works together perfectly. It’s comforting to know you can achieve such a classic result with just a few basics you probably already have. If you love these, you might also want to check in on my recipe for chewy chocolate chip cookies; it follows a similar philosophy of letting simple ingredients shine!
Achieving Rich Buttery Flavor with Simple Ingredients
This is where we talk quality! Since there are only four main players in this cookie drama—butter, sugar, flour, and salt—your butter has to be top-notch. I always, always use unsalted butter here, and I prefer a European-style butter if I can find it, which usually has a slightly higher fat content. That higher fat equals deeper flavor once it melts on your tongue. Don’t skimp here; we want a rich buttery flavor that sings!
The Secret to Soft Butter Cookies Texture
The texture is all in the beginning, sweetheart! You must take your time creaming that butter and sugar until it’s genuinely light and fluffy—it’s not just for mixing; it’s creating tiny air pockets. Those pockets are your structure for soft butter cookies. The danger zone, though, is when you add the flour. You mix until you *just* see no more white streaks. Stop immediately after that point. Overmixing the flour equals tough cookies, and we certainly don’t want tough! We want tender!
Gathering Ingredients for Your Classic butter cookie Recipe
Okay, let’s get everything lined up. Preparing for this classic butter cookie recipe is almost as satisfying as eating them! Because we are focusing purely on that buttery goodness, every ingredient needs to be exactly what I say it is. There’s no hiding, so make sure your butter is perfect!
This is our short and sweet lineup for about three dozen cookies. Don’t stress about exotic additions just yet; we’re building the perfect base first.
Ingredient Clarity and Preparation
The MOST important thing here is the temperature of your fat. Make sure you have 1 cup unsalted butter, softened—and I mean soft, but definitely not melted! If it’s melted, the cookies spread into flat puddles, and we lose all that beautiful height.
- 1 cup unsalted butter, softened
- 1/2 cup granulated sugar
- 2 cups all-purpose flour
- 1/4 teaspoon salt
- 1 teaspoon vanilla extract (this is totally optional, but I always add it for that little background hug of flavor!)
Just a quick note: if you do end up using salted butter, just skip the 1/4 teaspoon of salt listed above. Easy peasy!
Step-by-Step Instructions for Homemade Butter Cookies
Now for the fun part! Turning those lovely ingredients into actual, tangible, homemade butter cookies that you can immediately devour. I’ve broken these down into simple chunks because, honestly, the whole process is quicker than you think, even with the chilling time involved. Remember rule number one: patience during the mix, speed during the shaping!
Mixing the Dough for Easy Butter Cookies
First things first: grab that softened butter and the sugar. You need to cream them together until they look pale and fluffy—like light yellow clouds, not grainy paste. This traps air! If you were using a fancy mixer, this would take maybe two minutes, but trust me, doing it by hand just makes you appreciate the flakiness later. Once that’s perfect, whisk your flour and salt together in a separate dish. Now, add the dry stuff to the wet stuff, but only a little at a time. Seriously, you must stop mixing as soon as the last streak of flour disappears. If you hear that mixer whirring too long, you’ll develop gluten, and boom—say goodbye to that delicate texture we’re aiming for.
Chilling and Shaping Your Danish Butter Cookies at Home
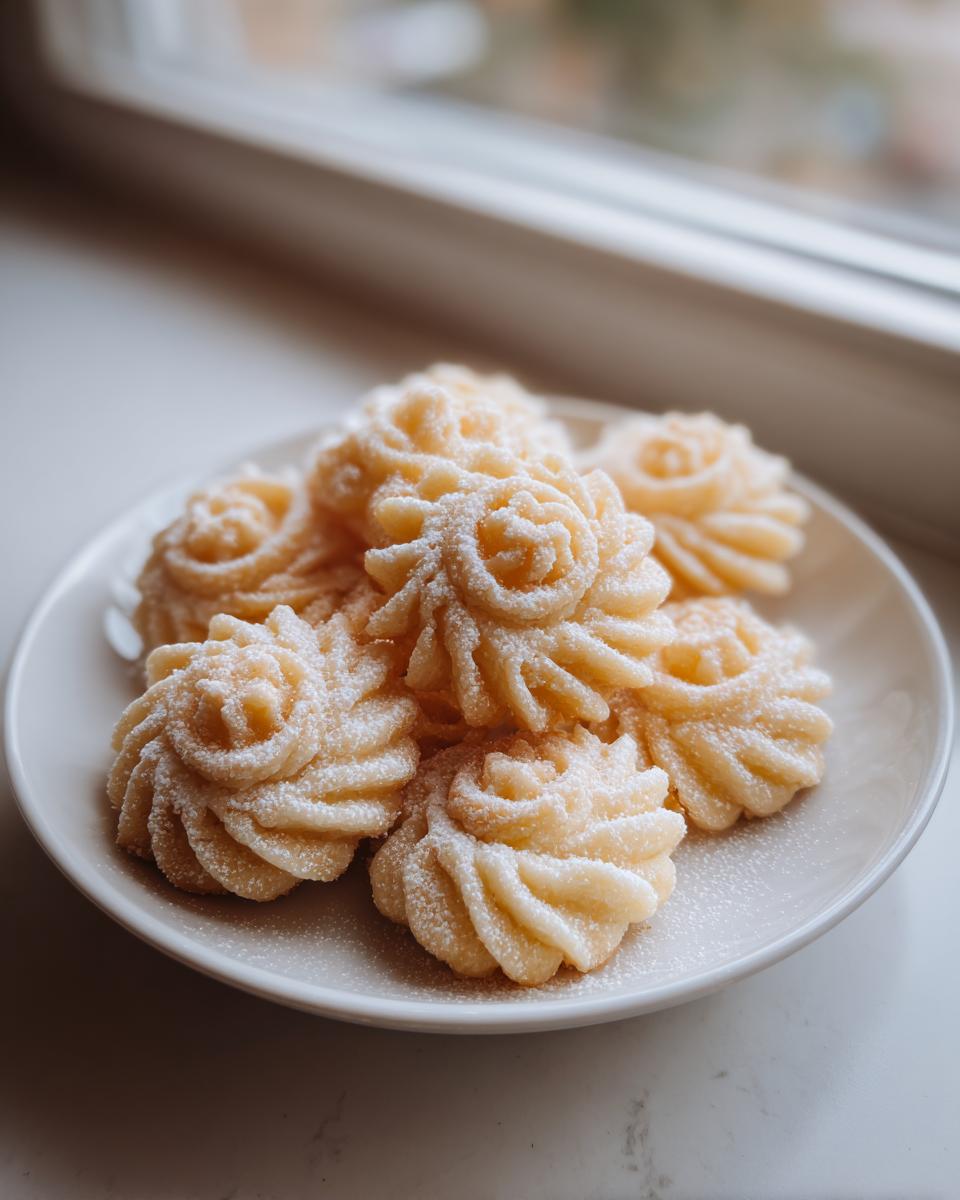
This next step is non-negotiable if you want those pretty, defined shapes of your Danish butter cookies at home: chilling! Wrap up that soft dough and pop it in the fridge for at least 30 minutes. It firms up just enough so it doesn’t turn into soup when it hits the warmth of the oven or your cookie press. If you have a press, load it up with your favorite tip! If you don’t have one, no sweat—just roll the dough into little balls, pop them on the parchment, and gently flatten them with the back of a fork to get that classic crisscross look. They still taste amazing, promise!
Baking to Golden Perfection
Get your oven preheated to 350°F (175°C) while the dough is chilling! Line those baking sheets with parchment paper—it saves so much cleanup later. Pop the cookies in and keep your eyes glued to them. They only need about 10 to 12 minutes. You’re looking for the edges to just barely start blushing golden brown. As soon as you see that color, pull them out! They look pale, but they’re done. Leave them right on the hot pan for five minutes before gently moving them to a cooling rack. This short rest lets them set up properly so they don’t crumble into a million pieces when you try to move them. We’ve all been there, haven’t we? I have a recipe for pumpkin banana bread that also relies heavily on that ‘rest time’ right out of the oven!
Tips for Success with Your butter cookie Dough
Look, anyone can throw butter, sugar, and flour in a bowl, but making cookies that genuinely melt in your mouth requires just a little insider knowledge. Since this recipe uses so few ingredients, the steps matter a ton! I always rely on these little nuances to raise my baking game. For instance, if you are really feeling fancy, using that European-style butter I mentioned earlier pays off beautifully for that rich buttery flavor we are chasing. It’s just a better product, and since it’s the star of the show, that little upgrade is worth it.
Ingredient Temperature Matters for butter cookie Texture
I can’t stress this enough: the temperature of your butter is the foundation of everything! We want it soft and malleable—you should be able to press your finger into it, and it should leave a gentle dent without your finger sinking right through. If your butter cookie dough starts out hard, you will end up with lumpy creamed butter, and that translates directly to a grainy texture in the final cookie. On the flip side, if it’s too warm or mushy, those little air pockets we worked so hard to whip in disappear instantly. Keep it cool, keep it soft, and you’ve won half the battle for great texture! You can see some other interesting takes on butter cookies over at Simple Family Dishes for more inspiration.
Variations on the Classic butter cookie
Once you master this super simple base, you feel like a baking wizard, right? Suddenly, you start thinking about what else you can sprinkle in there! While I adore keeping these butter cookies purely classic, they are a perfect canvas for playing around. If you want just a tiny twist, try adding the zest of one small orange along with the vanilla extract. It gives them this bright little lift that is wonderful for pairing with tea.
Or, if you’re feeling brave and want something much deeper, you could swap out half of that white granulated sugar for dark brown sugar. That switch instantly changes the profile! These cookies are robust enough to handle little changes without collapsing, which is why I love them so much. For interesting adaptations, check out what others are doing with flavorful additions, like in this inspiration source! If you’re looking for more spiced flavor profiles generally, my apple cinnamon muffins are full of warm spices too.
Making French Butter Cookies Recipe Substitutions
If you’re aiming for that luxurious, slightly more rustic French vibe, you absolutely have to try browning your butter first! It’s a game-changer for any French butter cookies recipe. Instead of just softening the butter, melt it gently in a saucepan until the milk solids toast and turn nutty brown at the bottom. Let it cool slightly until it solidifies again before creaming it with the sugar. It adds this incredible depth that feels super fancy, even though the method is still pretty easy. It leans them slightly towards being crispier, but oh my goodness, the flavor reward is huge!
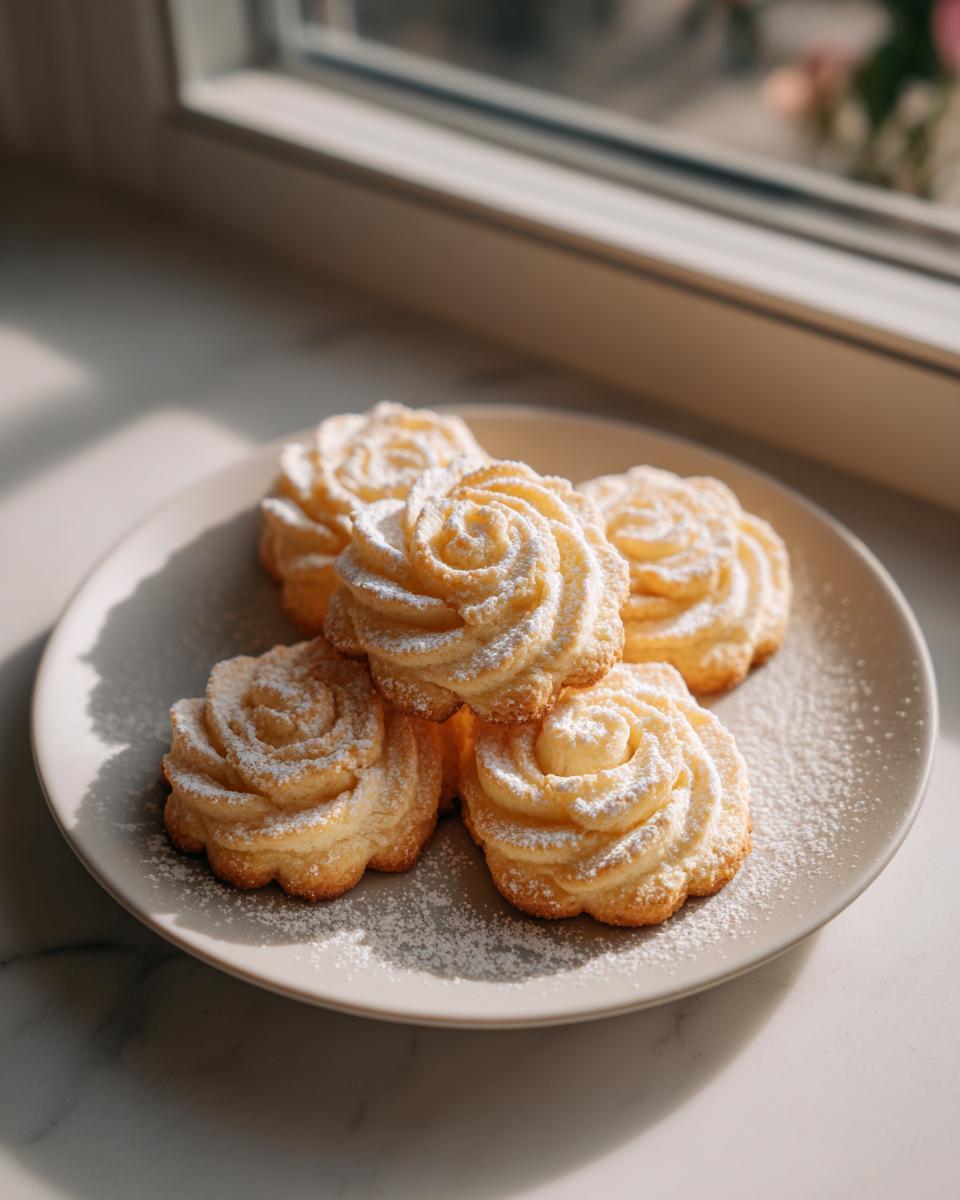
Serving Suggestions for Tea Time Cookies
These beautiful butter cookies weren’t really meant for a quick snack grabbed over the sink—no! They were made for moments of quiet enjoyment. They shine brightest when served alongside a hot cup of coffee or, even better, a delicate black tea. That rich, pure butter flavor cuts through the warmth of the drink perfectly, making these ideal tea time cookies.
And talk about a lovely presentation! I love taking a couple of dozen, placing them snugly in a nice tin (I use the empty tins leftover from holiday tins), and setting them out when friends stop by unexpectedly. If you want some great ideas around pairing simple treats with your morning coffee, you should check out the easy breakfast ideas on the site! For more inspiration on making the best cookies for those slow coffee breaks, take a peek at this article, too: here!
Storage & Gifting: Keeping Your butter cookie Fresh
These gorgeous butter cookies are fantastic for holiday cookie baking because they hold up so well! If you make a big batch for gifting or just want them around for a week, storage is simple. The key, as always, is keeping the air out so they stay tender and don’t go stale. Right after they have cooled completely—and I mean completely, no residual warmth allowed—you need to nestle them into an airtight container.
They stay wonderfully fresh at room temperature for about a week. If you’re packing them up for homemade cookie tins to give away, line the tin with a layer of parchment paper first, then stack the cookies inside, separated by wax paper between layers so they don’t stick together. They travel beautifully! They are so rich that they make truly impressive gifts. If you’re looking for other homemade gift ideas to pair with these, I have a killer recipe for Christmas jam that everyone loves!
If you happen to want even more inspiration on presentation for gifting, I saw some gorgeous ideas over at Cake Me Home Tonight that might give you some decorative ideas for your tins!
Frequently Asked Questions About This butter cookie Recipe
I always get questions when people try this recipe for the first time because they are nervous about messing up that perfect texture. Don’t worry! We’re going to cover the biggest snags here. While this is one of my absolute easy butter cookies to make, getting the technique just right ensures that melt-in-your-mouth magic happens every single time. If you’re looking for other lightning-fast recipes once dinner is sorted, I keep a list of quick-weeknight-dinners up on the site!
Can I make these without a cookie press?
Absolutely, yes! I use the press because I love the classic ridged look, but honestly, you do not need one! If you are trying to keep the cleanup minimal and avoid extra kitchen gadgets, you have two great options. Either you can chill that dough until it’s firm enough to slice into little coins (about a quarter-inch thick), or you can totally roll it into small balls, place them on the sheet, and gently press down with the tines of a fork to make that pretty crisscross pattern. They might not look exactly like the ones from Denmark, but they taste just as divine!
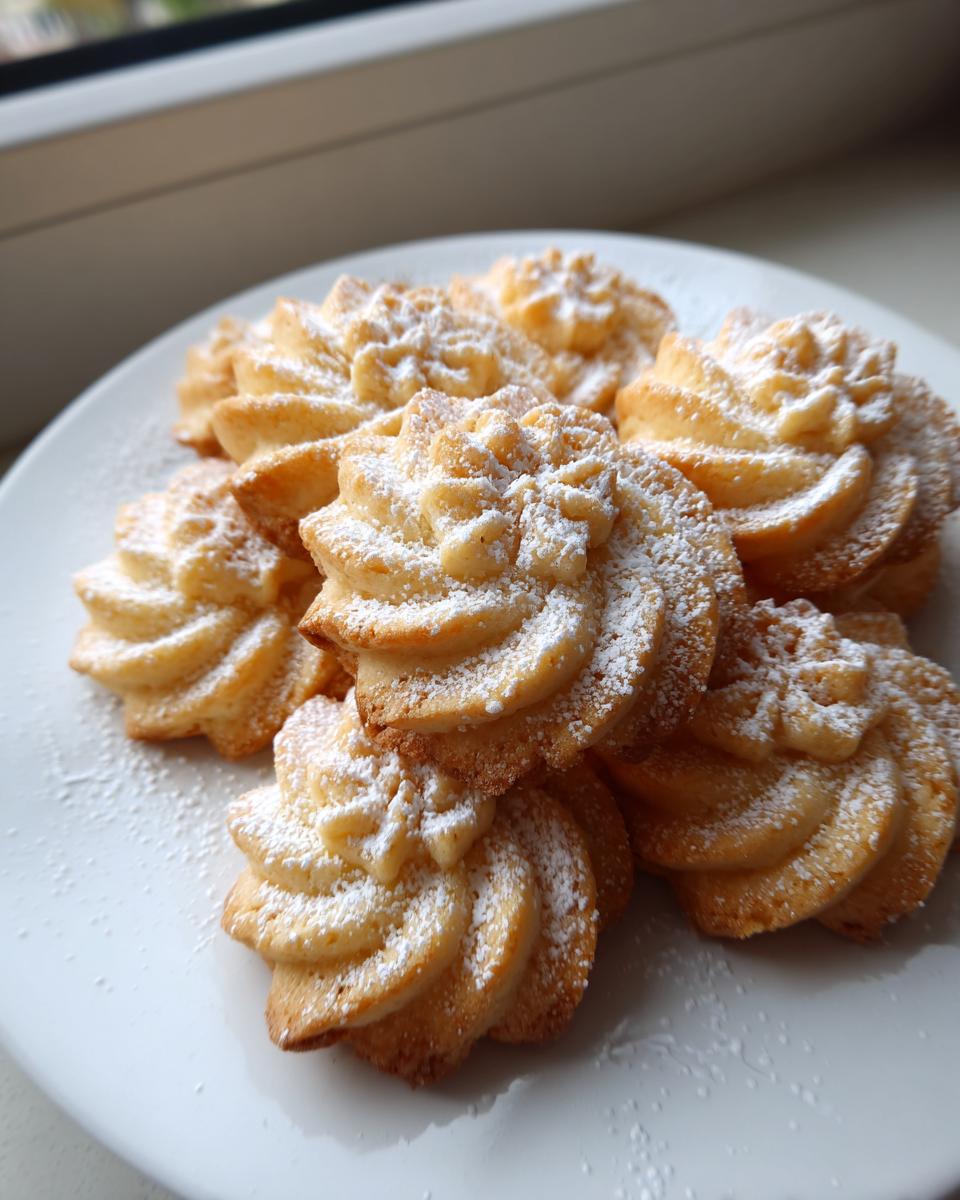
Are these cookies crispy or soft?
That’s the million-dollar question, isn’t it? Because we use a high ratio of butter and less sugar than some recipes, these naturally lean toward being a beautiful, tender shortbread texture. They are crispy at the edges, but the center is incredibly delicate—you know, that melt in your mouth consistency we aim for. If you pull them out right at the 10-minute mark, they will be softer overall. If you push them to 12 or 13 minutes until they are browner on the bottom, they become much crispier. It’s all preference, but either way, they’re delicious!
Can I use salted butter instead of unsalted butter in this butter cookie recipe?
You can, but you have to adjust the salt! Since the goal is that pure, rich buttery flavor without too much sodium overpowering it, I always specify unsalted. If you only have salted butter on hand, just leave out the 1/4 teaspoon of salt listed in the ingredients. That usually accounts for the difference. If your butter is quite salty, you might even want to reduce it slightly further, but always taste-test the dough before you chill it if you make substitutions!
Estimated Nutritional Data for Your butter cookie Serving
Now, I know that when we’re talking about baking pure, delicious butter cookies, we aren’t exactly aiming for a health food platter, are we? Ha! But for those of you keeping track, I wanted to give you a quick snapshot of what you are looking at per cookie. Remember, this is just an estimate based on the simple ingredients we used in the recipe I shared above. If you use more vanilla or eat more than one—which, let’s be real, we all do—the numbers change!
In general, these are delightfully rich cookies, so they have a good amount of fat and flavor packed into each one. Here is the general breakdown:
- Serving Size: 1 cookie
- Calories: 110
- Fat: 7g (4g Saturated Fat)
- Carbohydrates: 10g
- Sugar: 5g
- Protein: 1g
- Sodium: 30mg
This is what happens when you rely heavily on high-quality butter and simple sugar—you get pure, unadulterated cookie goodness! Enjoy every bite, because they are worth the 110 calories, in my humble opinion.
PrintMelt-in-Your-Mouth Danish Butter Cookies

Make classic Danish butter cookies at home that have a rich, deep butter flavor and a perfect melt-in-your-mouth texture. This simple recipe is ideal for holiday baking or gifting.
- Prep Time: 20 min
- Cook Time: 12 min
- Total Time: 52 min
- Yield: About 3 dozen cookies 1x
- Category: Dessert
- Method: Baking
- Cuisine: Danish
- Diet: Vegetarian
Ingredients
- 1 cup unsalted butter, softened
- 1/2 cup granulated sugar
- 2 cups all-purpose flour
- 1/4 teaspoon salt
- 1 teaspoon vanilla extract (optional)
Instructions
- In a large bowl, cream the softened butter and granulated sugar together until the mixture is light and fluffy.
- Mix in the vanilla extract, if using.
- In a separate bowl, whisk together the flour and salt.
- Gradually add the dry ingredients to the wet ingredients, mixing on low speed until just combined into a soft dough. Do not overmix.
- Place the dough in the refrigerator to chill for at least 30 minutes.
- Preheat your oven to 350°F (175°C). Line baking sheets with parchment paper.
- Transfer the chilled dough to a cookie press fitted with your desired decorative tip, or roll the dough into small balls and flatten slightly with a fork to create a crisscross pattern.
- Place cookies about 1 inch apart on the prepared baking sheets.
- Bake for 10 to 12 minutes, or until the edges are lightly golden brown.
- Let the cookies cool on the baking sheet for 5 minutes before transferring them to a wire rack to cool completely.
Notes
- For a richer flavor, use high-quality European-style butter.
- These cookies are excellent for gifting; store them in an airtight container for up to one week.
- If you do not have a cookie press, you can shape the dough using a piping bag or simply slice the chilled dough log.
Nutrition
- Serving Size: 1 cookie
- Calories: 110
- Sugar: 5
- Sodium: 30
- Fat: 7
- Saturated Fat: 4
- Unsaturated Fat: 3
- Trans Fat: 0
- Carbohydrates: 10
- Fiber: 0
- Protein: 1
- Cholesterol: 25