
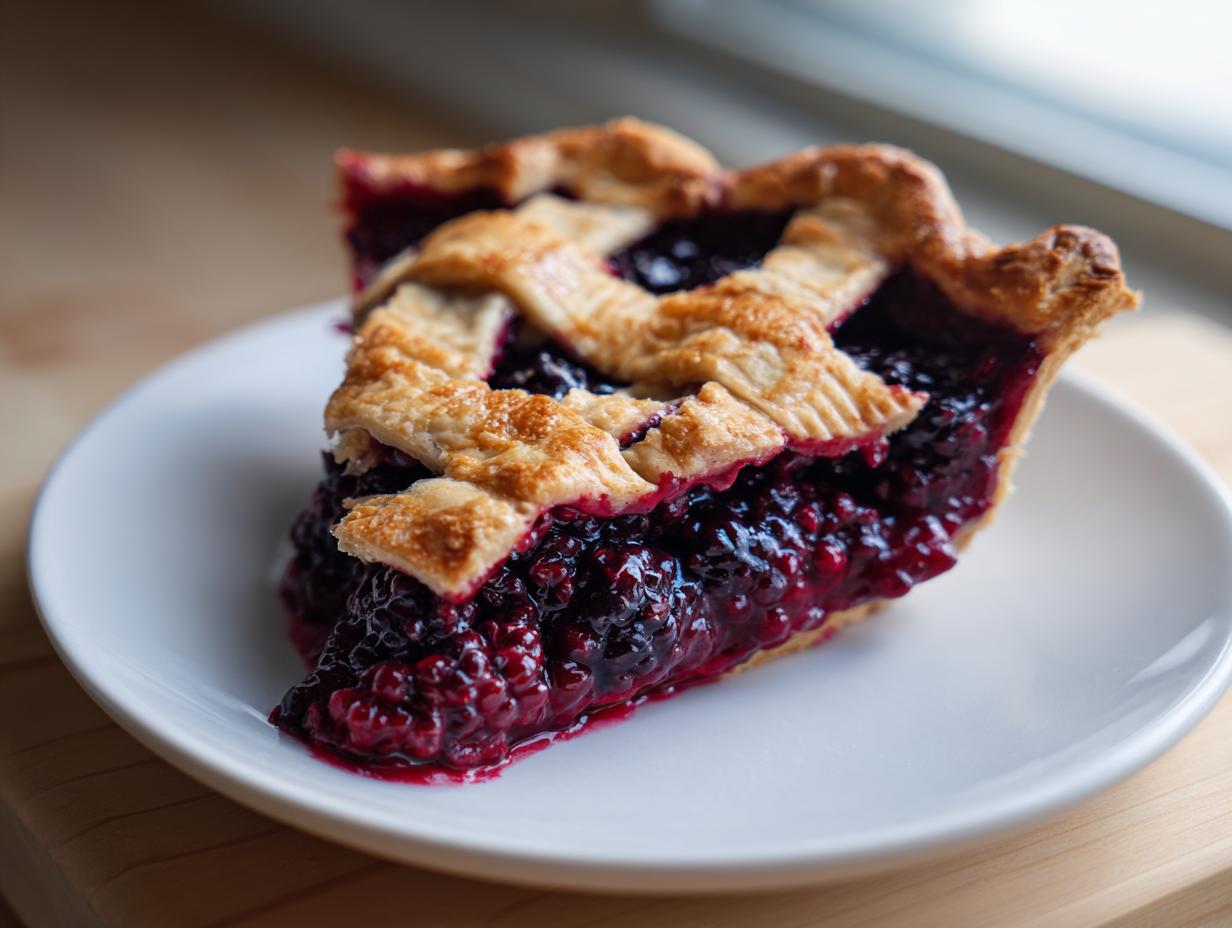
There is simply nothing that compares to the sight of a bubbling, golden-domed fruit pie cooling on the wire rack. That aroma—that comforting, sweet-tart smell—that’s my definition of a perfect summer afternoon. When I think about the meals that rooted me back to my family’s kitchen, it always comes back to a spectacular **blackberry pie**. This isn’t some fussy, complicated recipe; this is our Classic Homemade Blackberry Pie with Flaky Lattice Crust, refined through years of baking trial and error, just like the recipes I grew up learning to trust. I promise you, if you follow these steps, you’ll create a beautiful, reliable, Old Fashioned Pie right in your own home.
- Why This Blackberry Pie Recipe Stands Out
- Essential Ingredients for Your Homemade Blackberry Pie
- How to Make Blackberry Pie from Scratch
- Tips for the Best Blackberry Pie Experience
- Serving Suggestions for Your Classic Blackberry Pie
- Storage and Reheating Instructions for Blackberry Pie
- Frequently Asked Questions About Blackberry Pie
- Essential Details for Your Blackberry Pie
- Nutritional Estimates for This Blackberry Pie
- Share Your Homemade Blackberry Pie Adventures
Why This Blackberry Pie Recipe Stands Out
We all want the Best Blackberry Pie, right? One that’s beautiful on the top and perfectly set on the bottom. Trust me, this recipe delivers that reliability you want when you’re putting in the effort. This version is famous in my friends group for two big reasons.
Check out why this one actually works:
- It gives you that gorgeous, golden, No Soggy Bottom Pie finish we all dream of.
- It handles fresh or frozen berries like a total pro, meaning summer or fall baking is totally fine!
If you want to see what others are saying about how reliable this recipe is, take a peek over here: I love seeing photos from other home bakers!
Achieving the Perfect Flaky Double Crust
This is the part that separates the good pies from the *great* ones. The secret to that famous Buttery Pie Shell is keeping everything—and I mean *everything*—ice cold. You’re aiming for visible chunks of butter in your dough. Those little butter pieces melt in the oven and create steam, which lifts up those flaky layers. Don’t overwork the flour, or you turn that potential flakiness into toughness. Just mix until it barely holds together!
The Sweet Tart Blackberry Filling Secret
Blackberries can be wildly different from one patch to the next, some are super sweet, others are nearly puckering! That’s why we need balance. Our recipe nails that perfect Sweet Tart Berry Filling by using lemon zest—it brightens everything up—and giving you the flexibility to adjust the sugar up or down based on how tart your berries are tasting before they even hit the oven.
Essential Ingredients for Your Homemade Blackberry Pie
Okay, now we’re getting down to brass tacks! A great **blackberry pie** starts and ends with what goes into it. I’ve laid out the full list below, segmented by the two main parts: the dough and the filling. If you get these components right—especially the temperature of the butter—you are halfway to success. I copied this list *directly* from my grandmother’s old card, so you know it’s the real deal.
For the Flaky Pie Crust
This crust relies completely on temperature. If your butter or water is warm by accident, stop! Start over! Warm fat melts right into the flour, giving you a hard crust instead of those beautiful, delicate flakes. If you’re making this on a hot day, even chill your bowl first. You want cold, cold, cold!
- 2 1/2 cups all-purpose flour (plain old white flour works great for this)
- 1 teaspoon salt
- 1 cup (that’s two whole sticks!) unsalted butter, and listen close: it must be very cold and cut into small cubes. Seriously, cube it, chill it again if you need to.
- 1/2 cup ice water, plus maybe a tiny splash more if your dough looks too crumbly.
For the Blackberry Filling
The filling is such a dream because it’s so straightforward. The key here is using enough cornstarch to thicken everything up so it sets nicely—that’s how we beat the soggy bottom monster!
- 6 cups of either fresh or frozen blackberries. Do not thaw them if you’re using frozen ones! Just toss them straight from the freezer into your bowl.
- 1 1/2 cups granulated sugar. Taste your berries first, though! If they’re already super sweet, pull back a tablespoon or two.
- 1/4 cup cornstarch. This is our secret weapon for juiciness that sets up!
- 1 tablespoon lemon zest. This adds brightness that cuts through all that sweetness.
- 1/4 teaspoon ground cinnamon. You don’t need much, just enough to warm up the berry flavor.
- 1 tablespoon lemon juice.
And don’t forget the egg wash—that’s one large egg beaten with 1 tablespoon of milk—and a sprinkle of coarse sugar for that sparkly, crunchy finish on the top of your **Homemade Blackberry Pie**!
How to Make Blackberry Pie from Scratch
This is where the magic happens! Making a true **Old Fashioned Pie** takes a little patience, but let me walk you through it step-by-step. We are building flavor and texture layer by layer, so don’t rush the dough resting time—it’s truly important for that flaky result. You’ll see these details elevate our **Blackberry Pie Recipe** way above the rest. If I can manage this after years of rushed cooking, you absolutely can! I even use these basic pie techniques when I make my famous apple cranberry cobbler, so mastering this crust pays off!
Making the Flaky Pie Crust Dough
First things first, the crust! In a big bowl, whisk together the flour and salt. Now, take your very cold, cubed butter and use a pastry blender or your fingertips to work it into the flour. You are looking for something that looks like coarse crumbs, but you must leave some visible, pea-sized pieces of butter there—those are your flakiness creators! Next, drizzle in the ice water, just a tablespoon at a time, mixing gently until that crumbly mess just starts clinging together. Seriously, stop mixing the second it holds shape. Divide that dough into two flat disks, wrap them tight, and put them right into the fridge to chill for at least one whole hour. That rest time relaxes the gluten, so it rolls out beautifully later.
Preparing the Sweet Tart Berry Filling
While the dough is chilling, make the filling. This is super easy! In a separate bowl, you’re just going to very gently toss your blackberries with the sugar, cornstarch, cinnamon, lemon zest, and lemon juice. If you’re using frozen berries, this is the time you mix them right in their frozen state—don’t thaw them, or they will bleed everywhere! We mix gently so we don’t crush them; we want whole berries in our final slice. Doesn’t that filling look gorgeous? I love seeing how the bright lemon sets off the deep color of the berries.
Assembling the Blackberry Pie with Lattice Topping
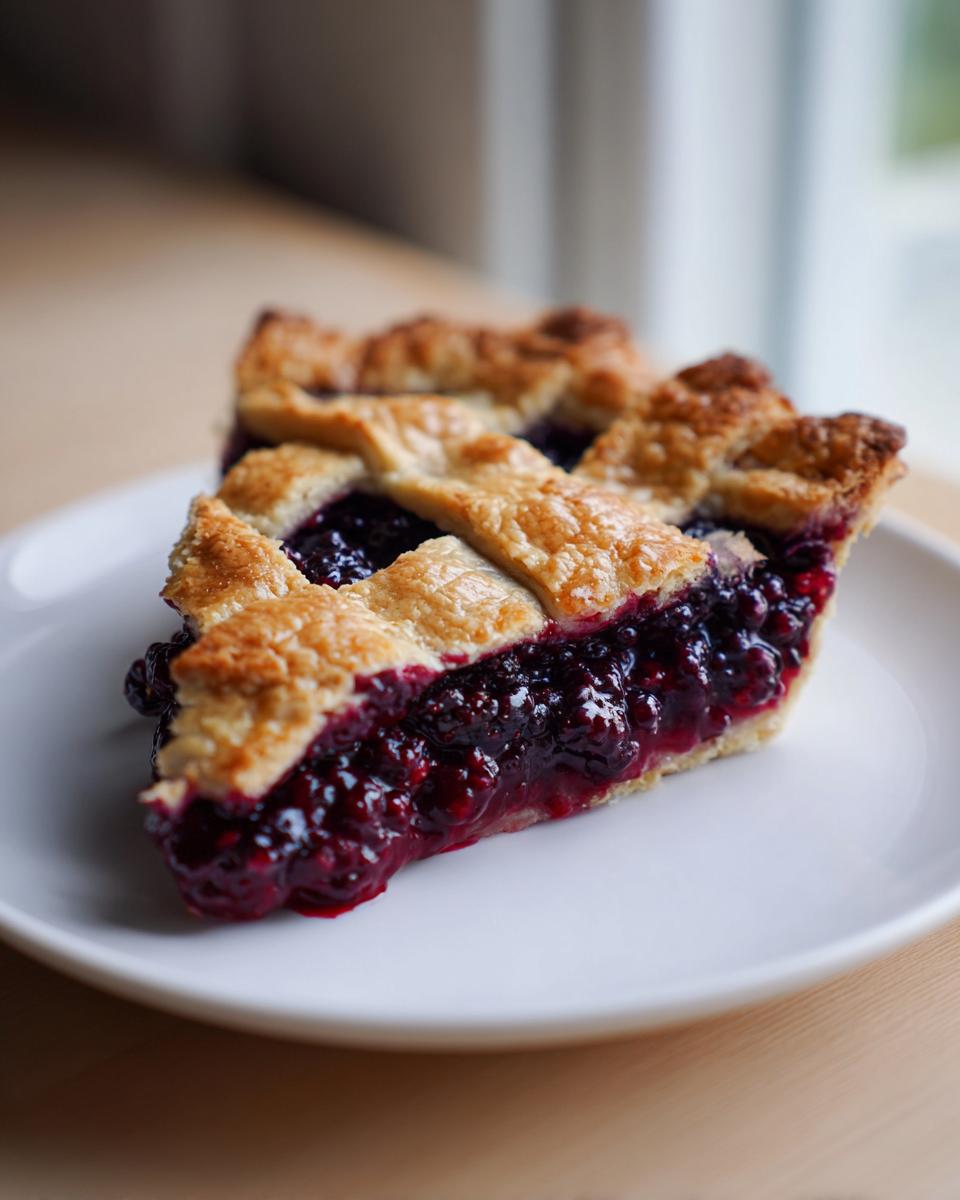
Time to roll! Dust your counter lightly and roll out one chilled disk into a 12-inch circle. Carefully drape this over your 9-inch pie plate; make sure you trim it, leaving about an inch hanging over the edge. Pop that plate back in the fridge—keeping it cold is key before baking! Now, take your second dough disk and cut nice, even strips. This is how you create the classic **Lattice Pie Topping**. You’ll weave those strips neatly over your filling, going over and under until you have that beautiful woven pattern. Once you’re happy with the look, trim the overhang strips and firmly yet gently crimp the top and bottom edges together to seal everything up tight. If you want to learn some fancy crimping tips, there are some great guides over at this homesteading blog!
Baking and Cooling for a Perfect Blackberry Pie
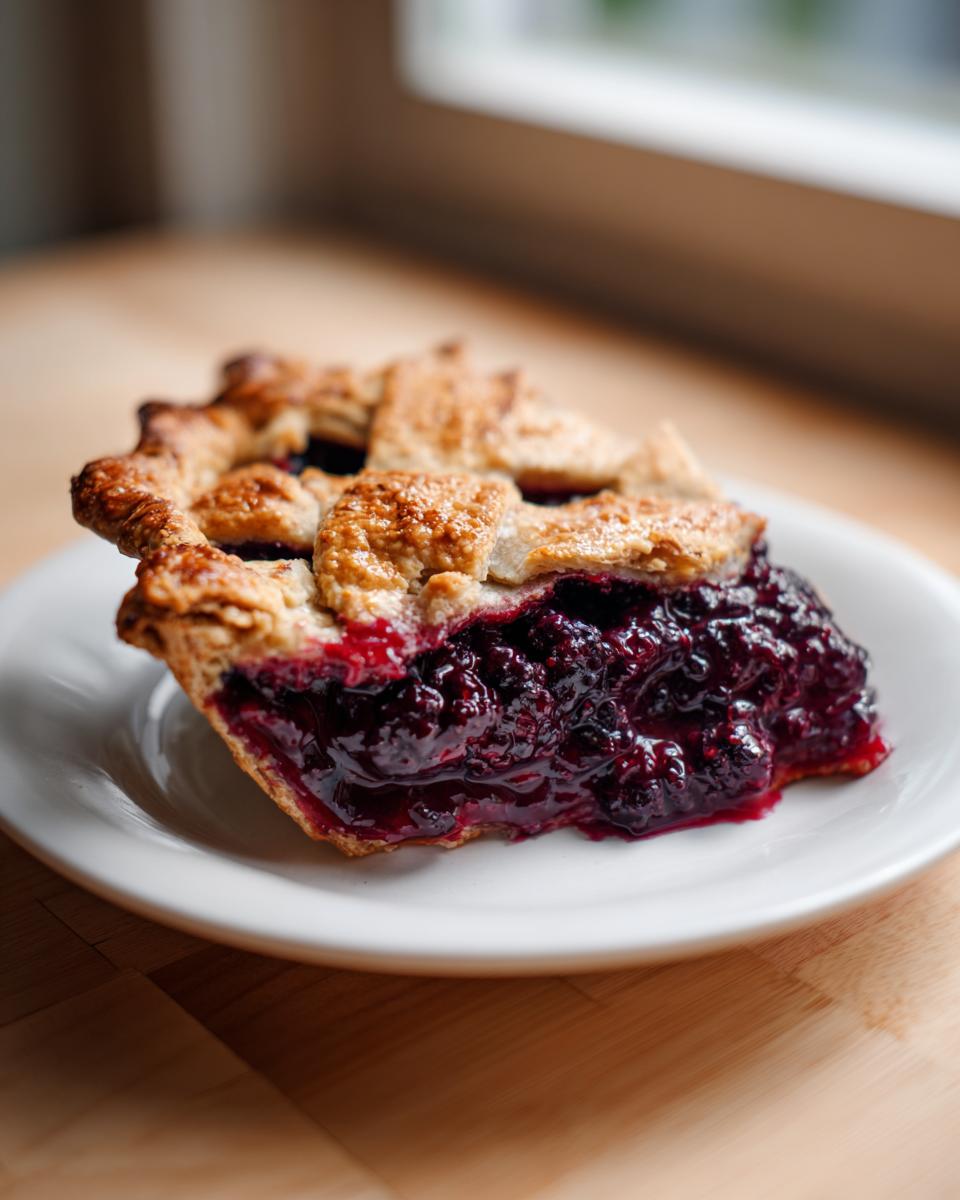
Almost done! Brush the whole top crust with your egg wash—that’s the beaten egg and milk mix—and sprinkle generously with coarse sugar. This happens fast, so let the assembled pie chill for 15 quick minutes while your oven heats up to 400 degrees F. Bake hard for 20 minutes at that high heat. Then, drop the temperature down to 375 degrees F and bake for another 35 to 45 minutes. Keep an eye on those edges; if they look like they are browning too fast, just drape a piece of foil loosely over them. The filling should be thick and bubbly when it’s done. But here’s the hardest part of all: You must let it cool for at least four hours! Seriously, four hours on a rack. This crucial wait time ensures the filling sets perfectly, giving you that beautiful, clean slice and guaranteeing a **No Soggy Bottom Pie**.
Tips for the Best Blackberry Pie Experience
When you’re Baking with Berries, especially seasonal ones, knowing these little tricks makes a huge difference between a good pie and one you’ll make every single year. I learned these bits of wisdom from watching my mom try to save a less-than-perfect batch way back when. These tips should make your experience super smooth!
Handling Frozen Blackberry Pie Berries
I mentioned this once, but I need to shout it from the rooftops: If you’re using frozen blackberries, please, please, please do not thaw them first! If you thaw them, they release all their juice right then and there. That means you end up with a soupy mess before the pie even gets near the oven. Just toss those icy little beauties straight into the cornstarch mixture. They’ll thaw out perfectly fine as the pie bakes, and the cornstarch is ready to grab that liquid right away.
Preventing a Soggy Bottom in Your Blackberry Pie
We all hate that soggy bottom! It happens when the bottom crust steams instead of bakes. To combat that, besides that four-hour rest time after baking—which is non-negotiable—try baking your pie on the lowest rack of your oven for the first 20 minutes. That direct heat blasts energy right up into that bottom crust, usually giving it a head start on crisping up before the filling gets too hot. You can always move it up higher for the second bake, like in the recipe directions. It’s worth checking out Amy’s thoughts on crust perfection; she has some great visuals on getting that initial crisp!
For my own sourdough starter maintenance, I always keep detailed notes, and keeping track of these pie secrets is just as important. If you ever want to dive into my tips for keeping a sourdough starter happy, let me know!
Serving Suggestions for Your Classic Blackberry Pie
This incredible **blackberry pie** is warm, fragrant, and just begging for the perfect partner. Since this is one of my absolute favorite Summer Dessert Recipes, I always serve it slightly warm, not piping hot—remember that four-hour cooling window? That allows the filling to stay firm when sliced! We usually go one of two ways in my house. You absolutely cannot go wrong topping a slice with a big scoop of creamy vanilla ice cream. The cold custard melts just perfectly into the warm, sweet-tart fruit.
If you’re feeling a bit lighter, fresh, lightly sweetened whipped cream is fantastic. I always make sure to use heavy cream and whip it until it just barely holds soft peaks. It adds a lovely richness without weighing down the flaky crust. Or, if you’re feeling ambitious, I have a fantastic recipe for Pumpkin Banana Bread that uses a similar cream cheese element, but for pie, simple is best! For more ideas on presentation, check out what others are serving with their amazing creations over at this lovely site: This link shows great serving inspiration.
Storage and Reheating Instructions for Blackberry Pie
So, you made the most beautiful **blackberry pie**, and now you have leftovers—which is a good problem to have! The thing about these beautiful, juicy fruit pies is that they need a little care once they’re out of the oven for a few hours. Don’t just shove the whole thing in the fridge uncovered; that’s a recipe for a dry, sad crust later!
If you are leaving it out on the counter, keep it covered loosely with foil or plastic wrap, but only for about a day. Since our filling is nicely set thanks to that cornstarch, leaving it at cool room temperature is fine for about 24 hours. Trust me, the kitchen smells amazing when you do this!
For longer storage, the fridge is your friend. Keep that pie covered loosely and it should be perfectly delicious for about three to four days. Cold temperatures can sometimes make the crust a tad less flaky, but the filling stays perfectly set every time.
Now, for reheating! If you took it out of the fridge and want to serve it slightly warm—because who doesn’t love warm pie?—here’s my trick: skip the microwave! Microwaves make that flaky crust tough. Instead, pop a slice (or the whole thing, if you dare!) into a 325-degree oven for about 10 to 15 minutes. You just want to gently warm the filling back up. That quick blast of dry oven heat reactivates the flakiness in the crust edges. It comes out feeling almost fresh-baked!
Frequently Asked Questions About Blackberry Pie
I know you might still have a few sticky questions swirling around once you start looking at all those ingredients! That’s totally normal when diving into an Old Fashioned Pie recipe. I’ve gathered up the things I get asked most often about the crust, the fruit, and how to make sure everything sets up perfectly. If you’re looking to make an Easy Berry Pie, these tips should seal the deal!
Can I substitute other berries in this Blackberry Pie Recipe?
Oh, absolutely! This is such a versatile base recipe. If you find a great deal on blueberries or maybe have some raspberries tucked in the freezer, you can definitely swap them in for some or all of the blackberries. Just aim for about the same volume—so, 6 cups total of mixed fruit. If you use super tart berries like pure cranberries or raspberries, you might want to bump your sugar up by half a cup. For thickeners, cornstarch does a fantastic job with most fruit, but if you use something really watery, like fresh strawberries, you might need to add just an extra tablespoon of cornstarch to keep that filling from turning soupy.
What is the best way to cut a warm pie?
This one is tough because that warm, bubbling filling smells *so* good, but I have to give you the hard truth: you absolutely cannot cut a warm **blackberry pie** cleanly! When the filling is hot, the cornstarch hasn’t fully gelled; it’s still liquidy and will run everywhere, giving you that dreaded runny slice. The best way to get those perfect squares—the kind where the lattice holds its shape—is to let it cool completely, remember that four-hour minimum we discussed. That cooling time locks everything into place, which is our secret to a glorious, tall slice and achieving that **No Soggy Bottom Pie** status! If you’re dying to try it warm, let it set up for at least an hour, but I promise, two hours is better.
How do I make a solid top crust instead of a lattice for my blackberry pie?
A solid top crust is wonderful, especially if you’re worried about the berries scorching or if you just prefer that classic dome look. It’s super simple! Roll out that second disk of dough just like you would for the lattice strips. Lay it right over the top of your filled bottom crust. Trim the edges so they match the bottom overhang. Then, you *must* cut vents—at least four or five slits right in the middle of the top crust. These vents are crucial! They let the steam escape while baking so your crust doesn’t explode or get soggy underneath. After venting, brush on your egg wash and coarse sugar, just like we did for the lattice version!
If you want more inspiration for simple, delicious baking that feels just as homemade, check out my guide on making an easy berry pie; it uses similar crust techniques!
Essential Details for Your Blackberry Pie
Sometimes, you just need the facts fast so you can get back to the baking, right? I totally get it! After you’ve mastered the flaky crust and mixed up that gorgeous filling, you need to know exactly how long the whole process takes and what this **blackberry pie** yields. I’ve put all the crucial numbers right here for you. These details help me plan my day perfectly when I’m getting ready for a big gathering, so I hope they help you map out your baking time too!
This recipe flows beautifully into my collection of other delicious dessert recipes because it’s so dependable.
- Prep Time: You’ll need about 45 minutes of active time to assemble the crusts and mix the filling. That doesn’t include the hour the dough needs to chill, though!
- Cook Time: Total baking time is around 65 minutes, depending on how your oven runs. We use that two-temperature method to make sure the crust sets up beautifully without burning.
- Total Time: If you count the minimum chilling, you’re looking at just under two hours total hands-on time, but remember that four-hour cooling window is *mandatory* before slicing!
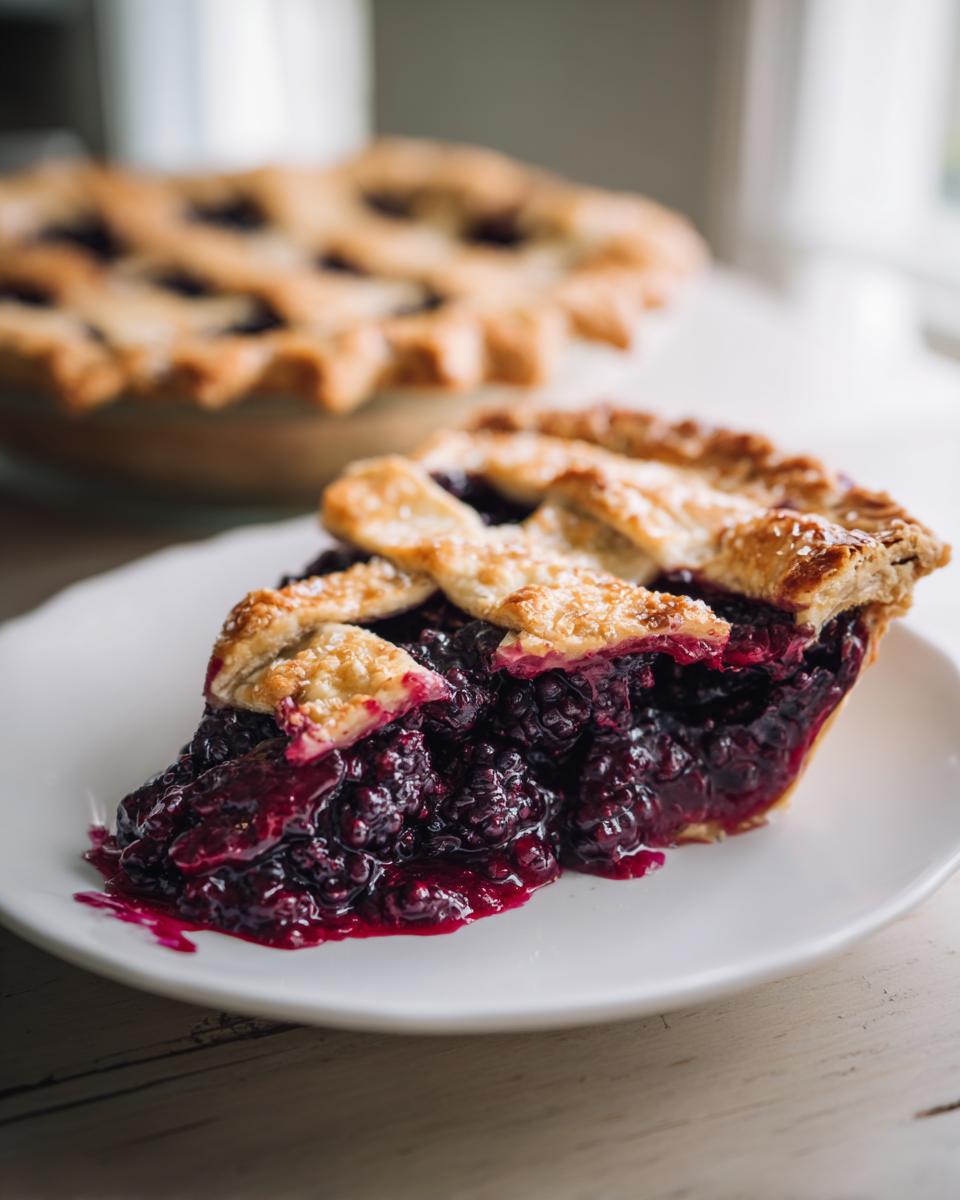
- Yield: This recipe makes one standard 9-inch pie, which serves 8 people generously. If you are hosting a huge crowd, you might want to double the batch and get a second pie plate ready!
- Category: This is definitely a classic American Dessert, falling squarely in the ‘Dessert’ category. It’s the star of any summer BBQ or holiday table!
- Method: We are doing classic oven baking for this one.
- Cuisine: American, through and through!
- Diet: This recipe, as written, is vegetarian.
Nutritional Estimates for This Blackberry Pie
Alright, let’s talk numbers for a minute. I know some of you are tracking macros, and others are just curious! I want to be totally clear: I am a home cook, not a nutritionist, so these figures are just my best **estimate** based on the standard ingredients listed in the recipe—the flour, the butter quantity, and the sugar. These numbers can swing wildly depending on whether your berries were naturally sweeter or if you swapped out butter for a different fat.
If you make this **Homemade Blackberry Pie** with the exact measurements provided, here is what one slice generally looks like:
- Serving Size: 1 slice
- Calories: 450
- Sugar: 35g (Yes, it’s a treat! Remember that lovely sweetness comes from those big blackberries!)
- Sodium: 250mg
- Fat: 25g
- Saturated Fat: 15g
- Carbohydrates: 58g
- Fiber: 4g
- Protein: 5g
- Cholesterol: 60mg
Take these figures with a grain of salt—or maybe a sprinkle of coarse sugar, which I definitely add to my top crust! This is definitely a dessert to be enjoyed occasionally, showcasing the best of summer fruit. If you are sharing this at a potluck, people are going to be focused on that rich, buttery crust and juicy flavor, not the saturated fat count!
Share Your Homemade Blackberry Pie Adventures
Whew! You made it through the baking, you waited the agonizing four hours, and now you have the most beautiful, fragrant **blackberry pie** cooling on your counter. I truly hope you enjoyed the process as much as I do! Now that you’ve experienced the joy of making something truly from scratch—that flaky crust, that sweet-tart filling—I’d love to hear all about it!
This entire blog, MDLATDMM Recipes, is built on connecting over good, honest food, and your feedback helps me know that these heirlooms—like this classic **Homemade Blackberry Pie**—are still connecting people in their kitchens today. So please, don’t be shy!
If you followed the steps and had a major success—maybe your lattice came out perfectly even, or maybe you finally conquered the **No Soggy Bottom Pie** challenge—tell me! Click right down below and leave me a comment. I want to hear every detail about your experience. Did you serve it warm? Did you use fresh or frozen berries?
And if you took a picture of your beautiful finished pie, snap it up and share it! Tagging me lets me see your creations. If you ever need to reach out to me privately with a question or an idea for a future recipe you’d like me to test, you can always send a note through the contact page. Happy baking, my friend!
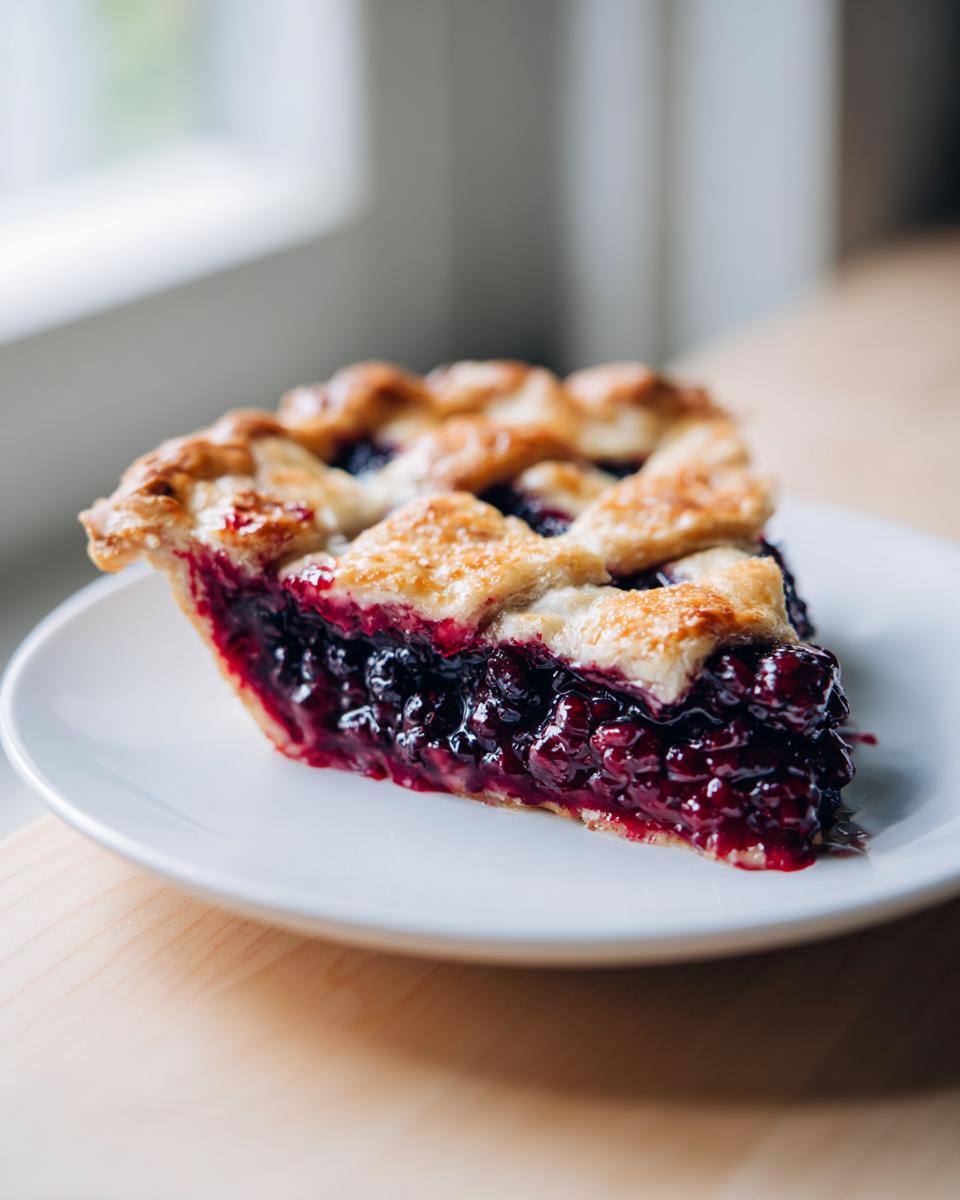
PrintClassic Homemade Blackberry Pie with Flaky Lattice Crust

Make an old-fashioned blackberry pie from scratch featuring a sweet-tart berry filling and a perfectly flaky, buttery double crust. This recipe works well with fresh or frozen blackberries.
- Prep Time: 45 min
- Cook Time: 65 min
- Total Time: 110 min
- Yield: 8 servings 1x
- Category: Dessert
- Method: Baking
- Cuisine: American
- Diet: Vegetarian
Ingredients
- 2 1/2 cups all-purpose flour
- 1 teaspoon salt
- 1 cup (2 sticks) unsalted butter, very cold and cut into small cubes
- 1/2 cup ice water (plus more if needed)
- 6 cups fresh or frozen blackberries (do not thaw if frozen)
- 1 1/2 cups granulated sugar (adjust based on berry tartness)
- 1/4 cup cornstarch
- 1 tablespoon lemon zest
- 1/4 teaspoon ground cinnamon
- 1 tablespoon lemon juice
- 1 large egg, beaten with 1 tablespoon milk (for egg wash)
- 1 tablespoon coarse sugar (for sprinkling)
Instructions
- Prepare the Pie Crust: In a large bowl, whisk together the flour and salt. Cut in the cold butter using a pastry blender or your fingers until the mixture resembles coarse crumbs with some pea-sized pieces of butter remaining.
- Gradually add the ice water, one tablespoon at a time, mixing until the dough just comes together. Do not overmix. Divide the dough in half, flatten each half into a disk, wrap in plastic, and chill for at least 1 hour.
- Prepare the Filling: In a separate bowl, gently combine the blackberries, granulated sugar, cornstarch, lemon zest, cinnamon, and lemon juice. If using frozen berries, mix gently to coat without crushing them.
- Assemble the Bottom Crust: On a lightly floured surface, roll out one disk of dough into a 12-inch circle. Carefully transfer the dough to a 9-inch pie plate. Trim the edges, leaving a 1-inch overhang. Place the pie plate in the refrigerator while you prepare the top crust.
- Create the Lattice Top: Roll out the second disk of dough. Cut the dough into even strips for the lattice design. Weave the strips over the filling in a lattice pattern. Trim the strips and crimp the top and bottom crust edges together to seal.
- Chill and Bake: Brush the lattice top with the egg wash and sprinkle evenly with coarse sugar. Chill the assembled pie for 15 minutes before baking. Preheat your oven to 400 degrees Fahrenheit (200 degrees Celsius). Place the pie on a baking sheet to catch any drips.
- Bake the Pie: Bake at 400 degrees Fahrenheit for 20 minutes. Reduce the oven temperature to 375 degrees Fahrenheit (190 degrees Celsius) and continue baking for another 35 to 45 minutes, or until the crust is golden brown and the filling is bubbling thickly. If the edges brown too quickly, cover them loosely with foil.
- Cool Completely: Remove the pie from the oven and let it cool on a wire rack for at least 4 hours before slicing. This cooling time allows the filling to set properly and prevents a runny slice or a soggy bottom.
Notes
- Serve this classic blackberry pie warm or at room temperature with a scoop of vanilla ice cream or fresh whipped cream.
- To prevent a soggy bottom, chill the bottom crust thoroughly before adding the filling and bake the pie on the lowest rack of your oven for the first 20 minutes.
- If you prefer a solid top crust instead of a lattice, cut a few vents in the top crust before egg washing.
Nutrition
- Serving Size: 1 slice
- Calories: 450
- Sugar: 35g
- Sodium: 250mg
- Fat: 25g
- Saturated Fat: 15g
- Unsaturated Fat: 10g
- Trans Fat: 0g
- Carbohydrates: 58g
- Fiber: 4g
- Protein: 5g
- Cholesterol: 60mg